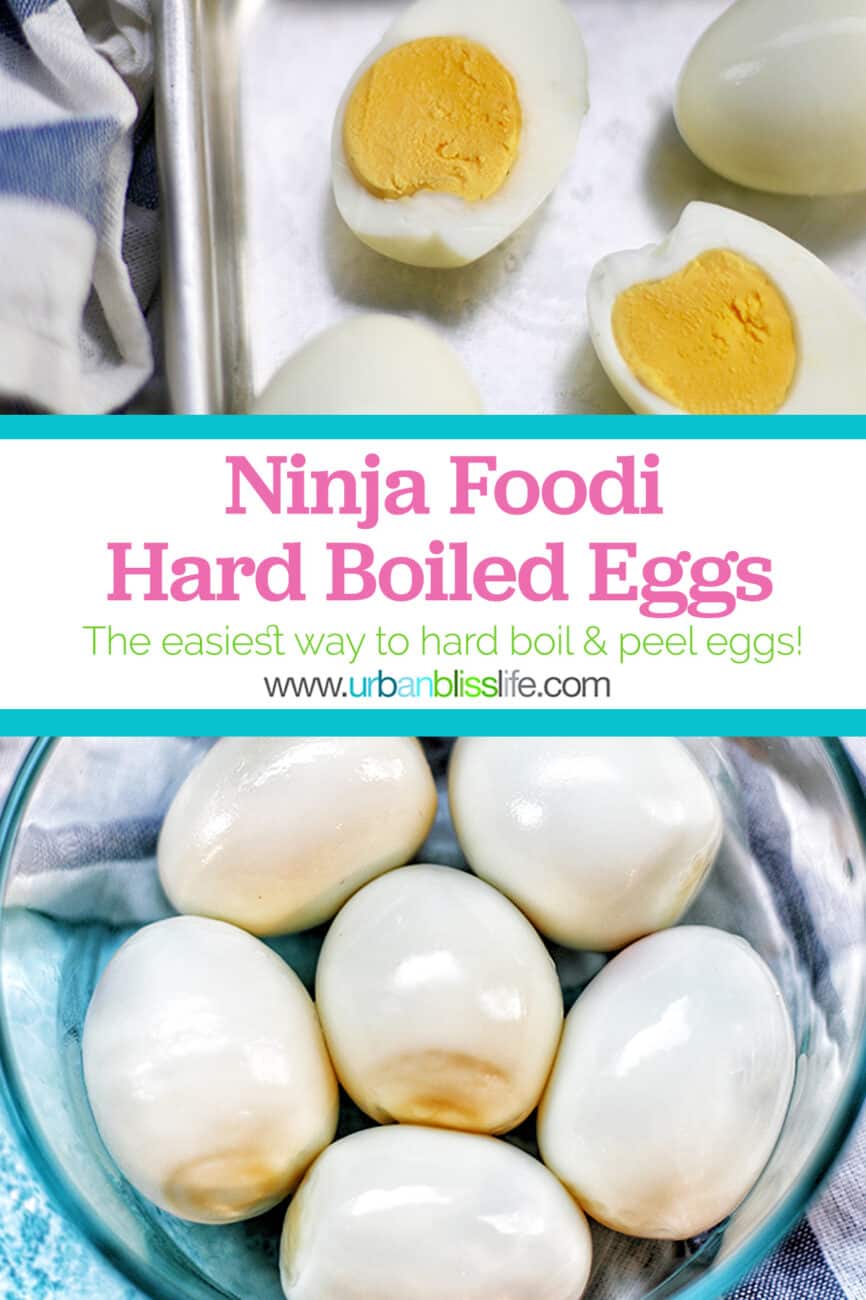
Here’s the hands-down, easiest way to hard-boil eggs in the Ninja Foodi or Instant Pot!
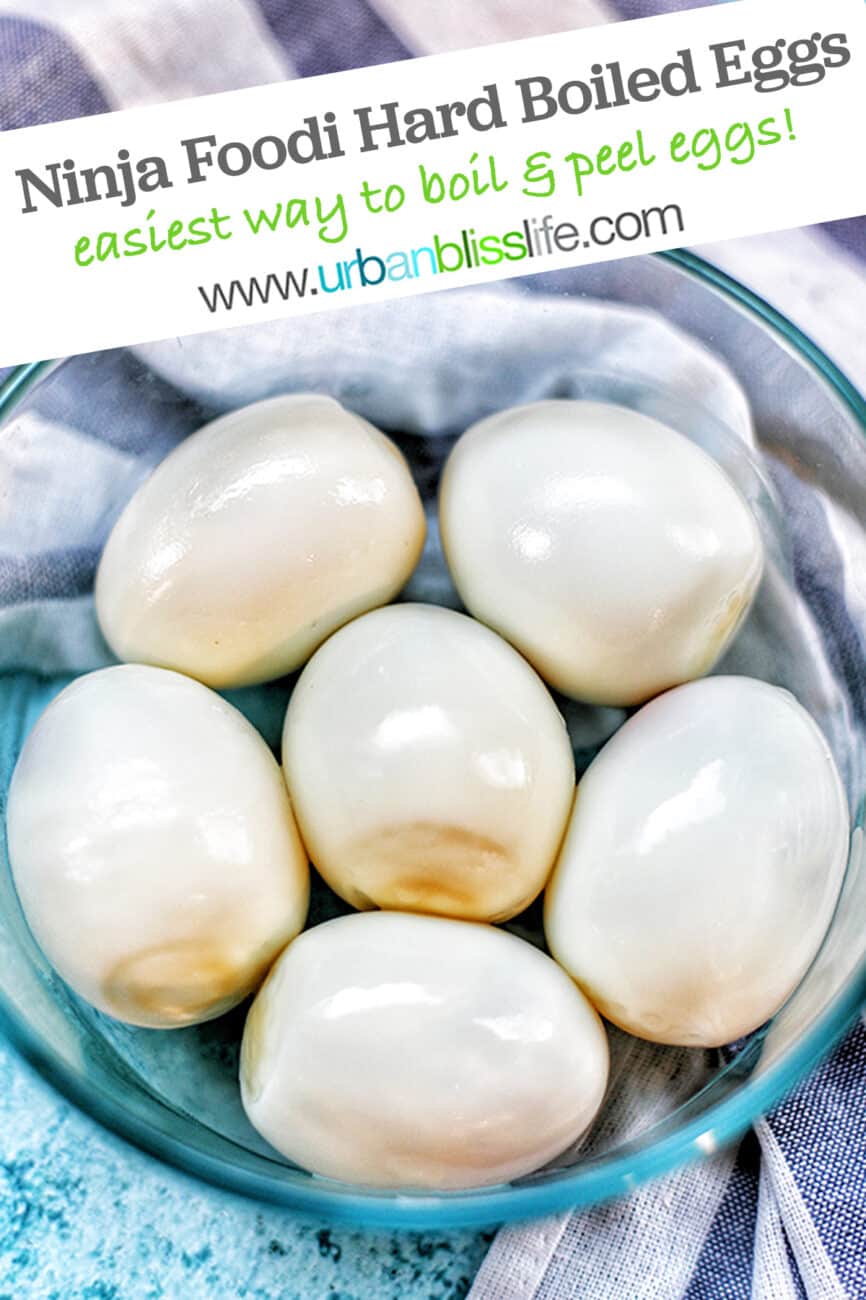
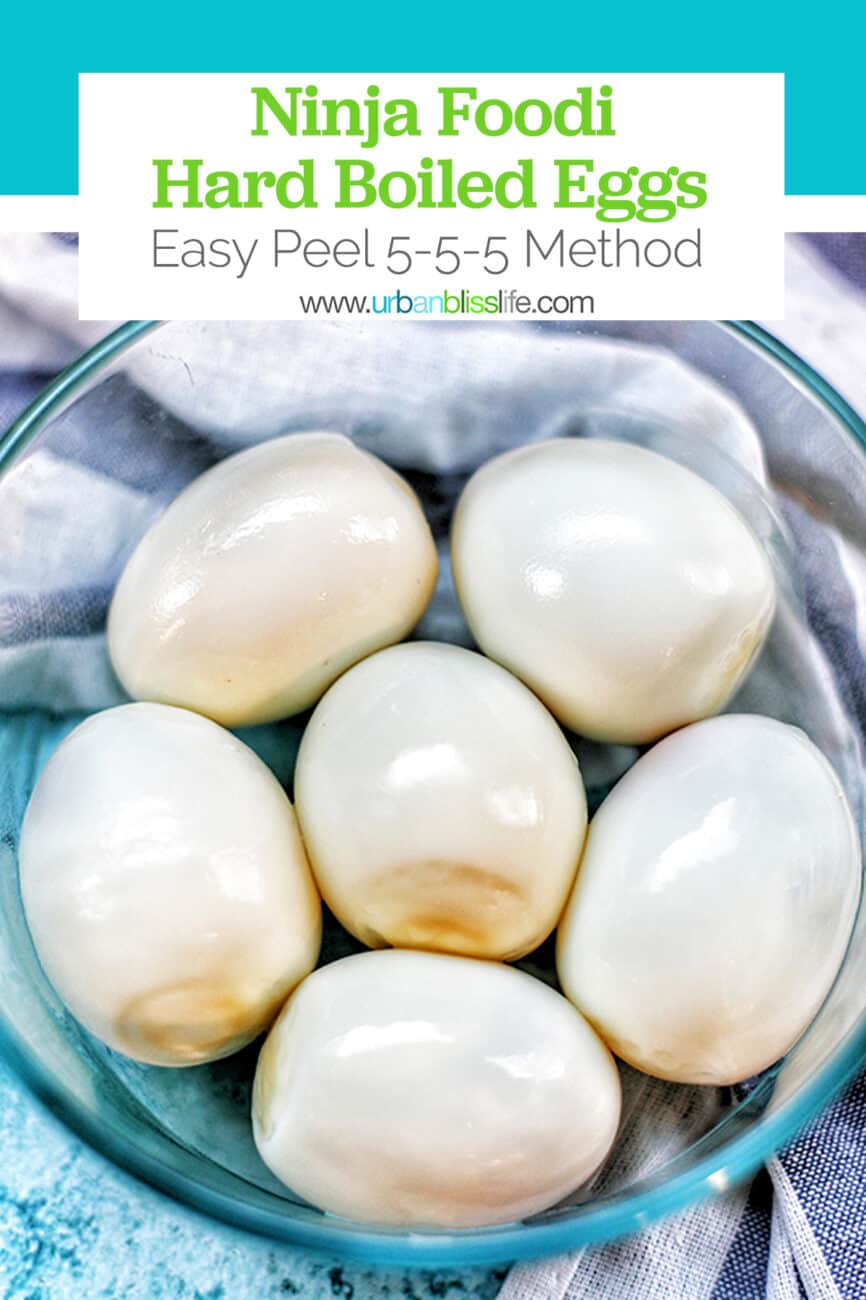
Want to know the EASIEST way to hard boil eggs? The 5-5-5 method in the Ninja Foodi or Instant Pot! It’s also the easiest way to peel eggs.
If you haven’t yet tried the 5-5-5 Method to perfectly hard-boiled eggs, I encourage you to try it. It’s really simple, and once you learn this method, you can adjust the timings to achieve soft-boiled eggs and jammy eggs too!
Table of contents
Ninja Foodi Hard-Boiled Eggs
If you have an Instant Pot or a Ninja Foodi, you most likely have heard of the 5-5-5 Method. But you might not have tried it yet, or know what it’s all about. If you’re new to the Ninja Foodi or Instant Pot, definitely take a few minutes to read through the tips here. They will help you achieve perfect hard-boiled eggs every time!
What is the 5-5-5 Method?
The 5-5-5 Method is simple, and is as follows:
- FIVE minutes of pressure cooking
- FIVE minutes of natural release
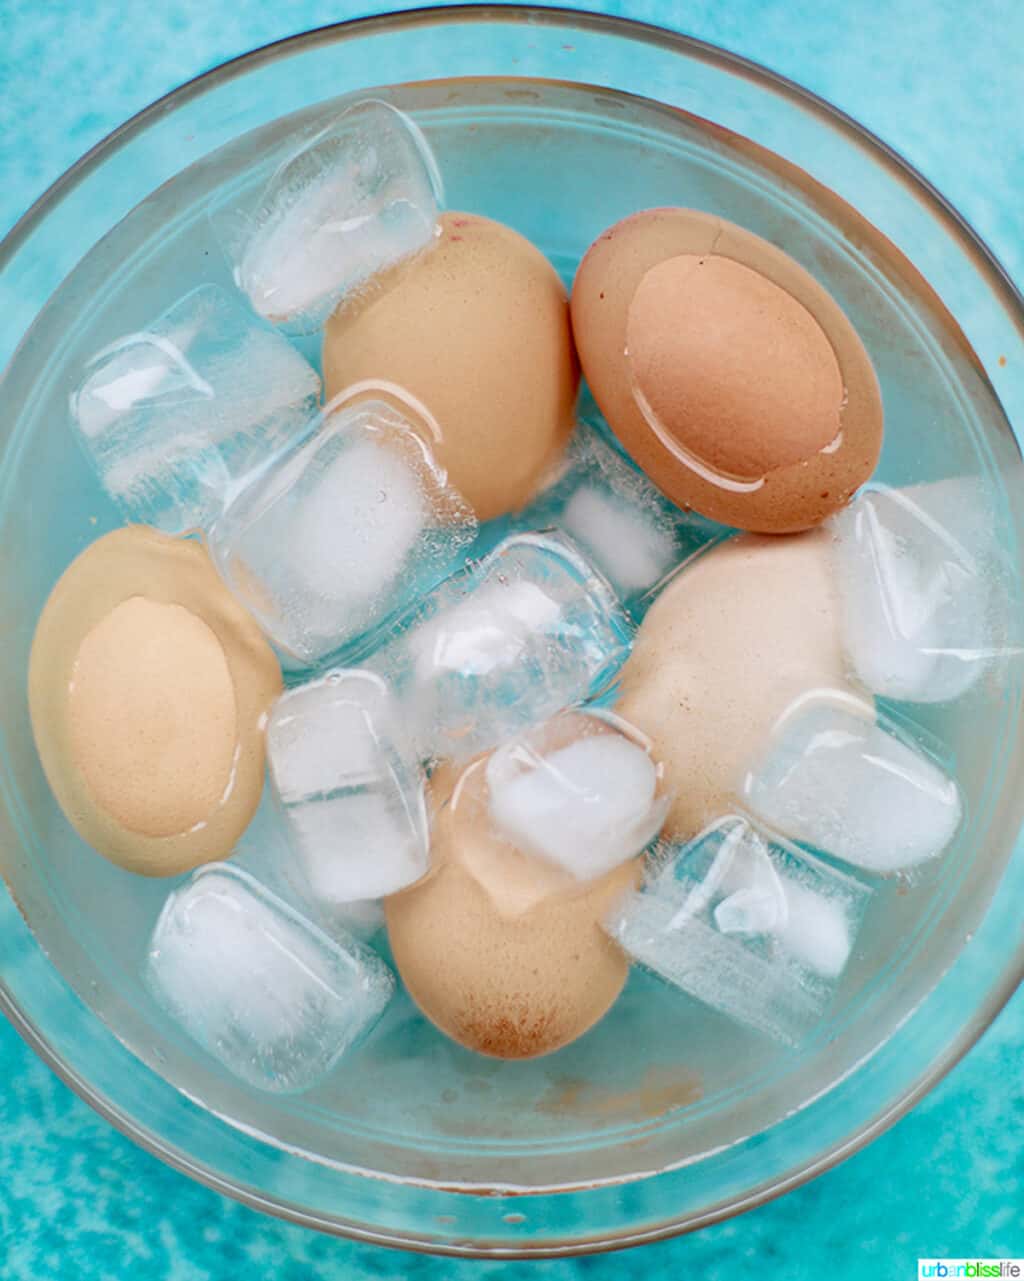
- FIVE minutes in an ice bath
That’s it. So easy, but it makes a BIG difference!
How to hard-boil eggs using the 5-5-5 Method in the Ninja Foodi
Here’s exactly how I achieve perfect hard-boiled eggs every time.

Place eggs on the rack in the Ninja Foodi pot 
Pressure Cook on HI for 5 minutes, then natural release for 5 minutes
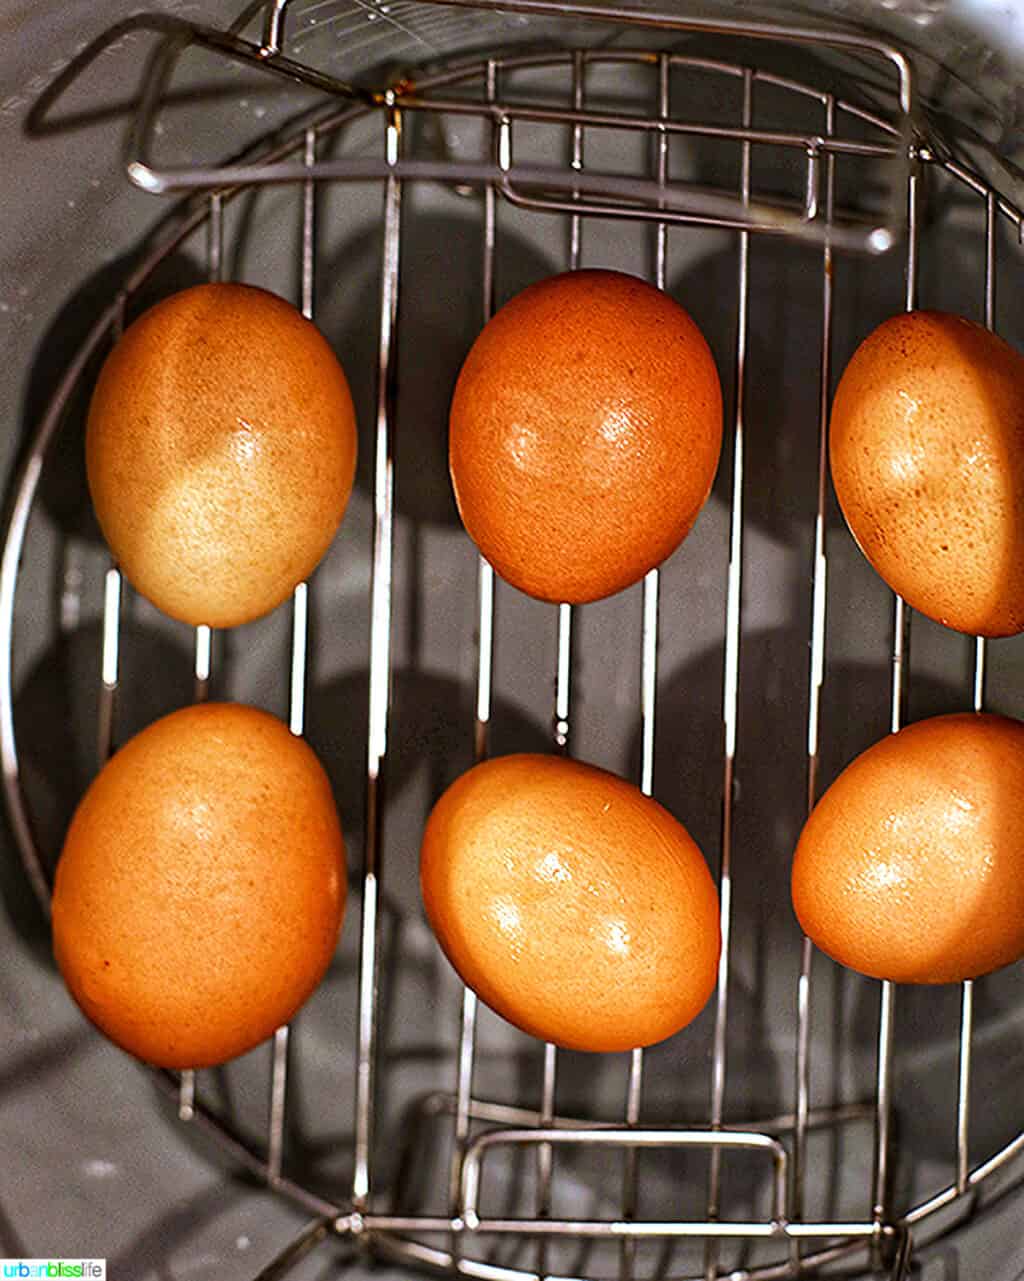

- Place a rack into the Ninja Foodi pot. Pour in one cup of water.
- Place the eggs carefully onto the rack, giving them some space in-between.
- Secure the pressure lid, making sure the pressure release valve is in the Seal position.
- Select Pressure Cook, set the temperature to HI, set the time to 5 minutes. Select Start/Stop to begin. If you have a Ninja Foodi 6.5 quart, it will take approximately 7 minutes to come to pressure. If you have a Ninja Foodi 8-quart, it will take approximately 10 minutes to come to pressure.
- When cooking is complete, allow for natural release for 5 minutes.
- At the end of 5 minutes, switch the valve over to Vent for quick release. During this time, while all remaining pressure is venting from the Nija Foodi, create the ice bath. Add equal parts ice and cold water to a large bowl. Set aside.
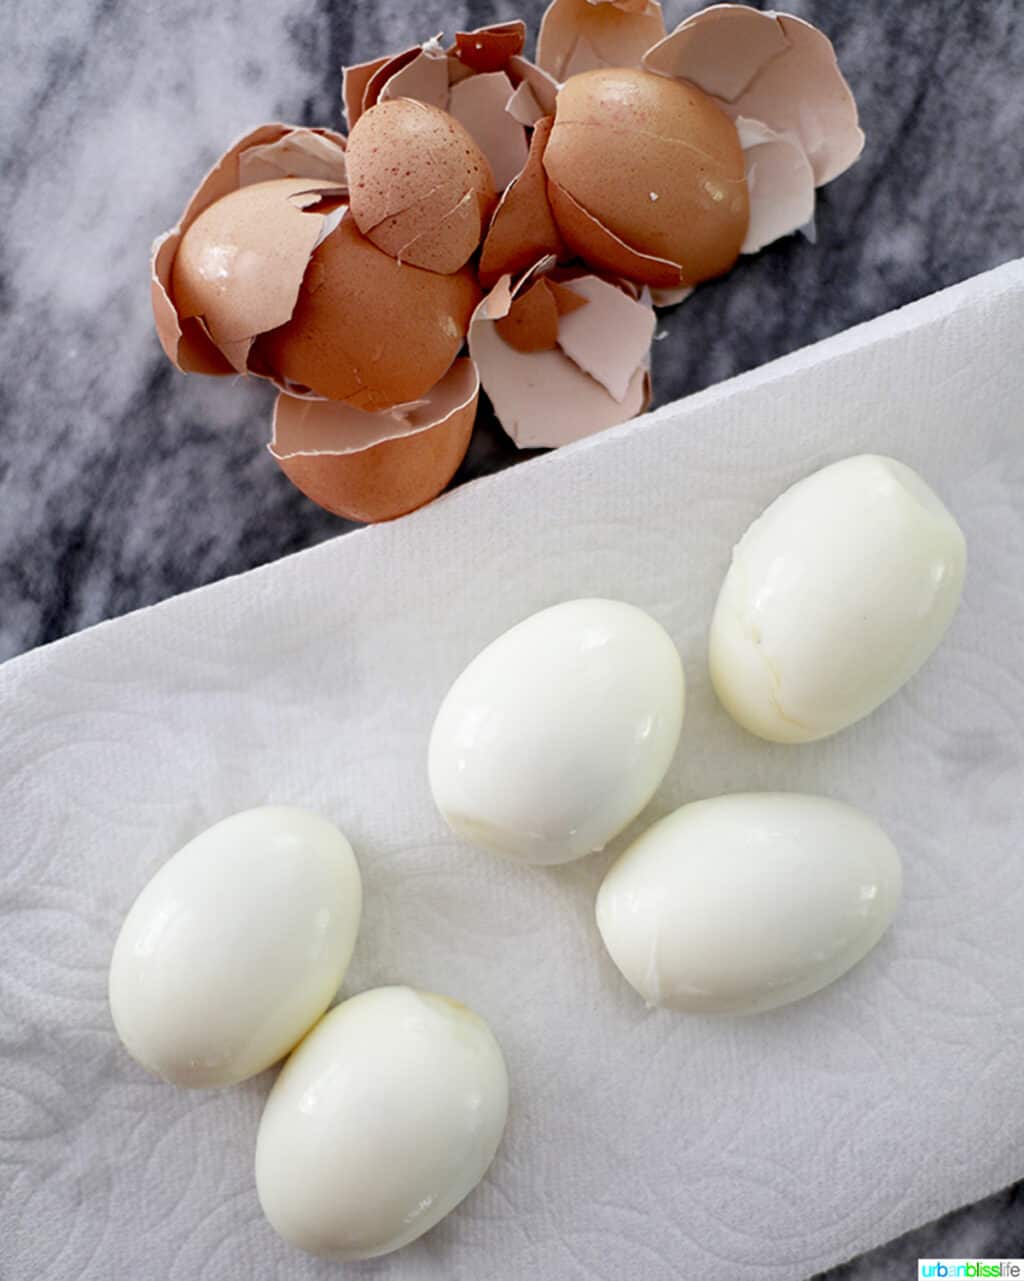
Immediately place hard-boiled eggs in the ice bath of equal parts ice and cold water Allow eggs to sit in the ice bath for 5 minutes Immediately peel the eggs, then eat or store in the refrigerator

7. When all pressure is released and the valve is all the way down, carefully twist the lid open. Use oven mitts to carefully lift the rack with eggs out – or use tongs or an oven mitt to lift the eggs out one by one.
8. Immediately and gently place the eggs into the prepared ice bath. Allow them to sit in the ice bath for 5 minutes.
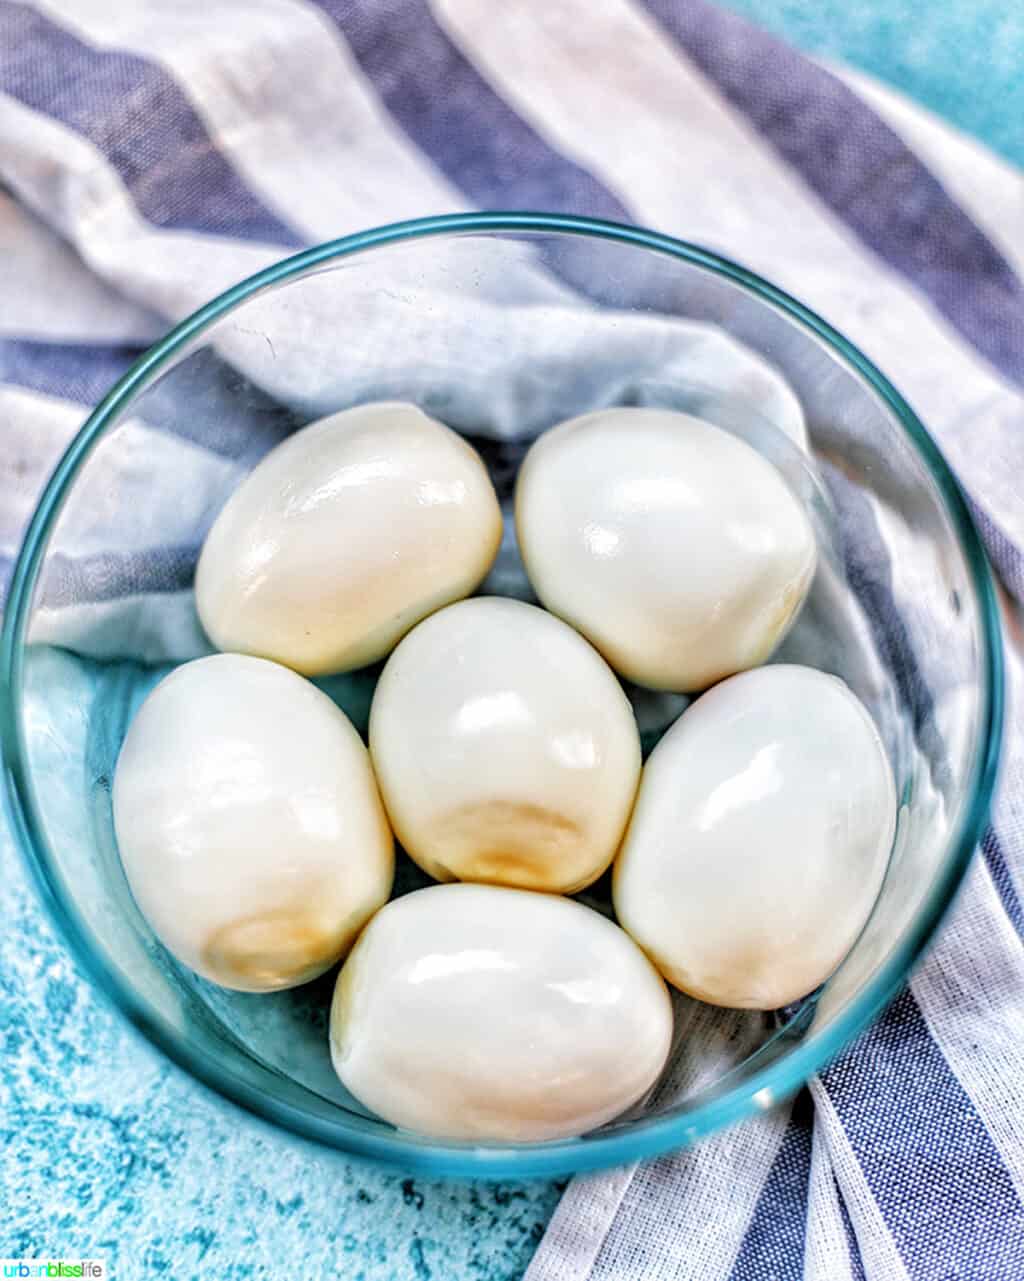
9.When 5 minutes is up, peel the eggs.
Ninja Foodi Hard Boiled Eggs FAQ
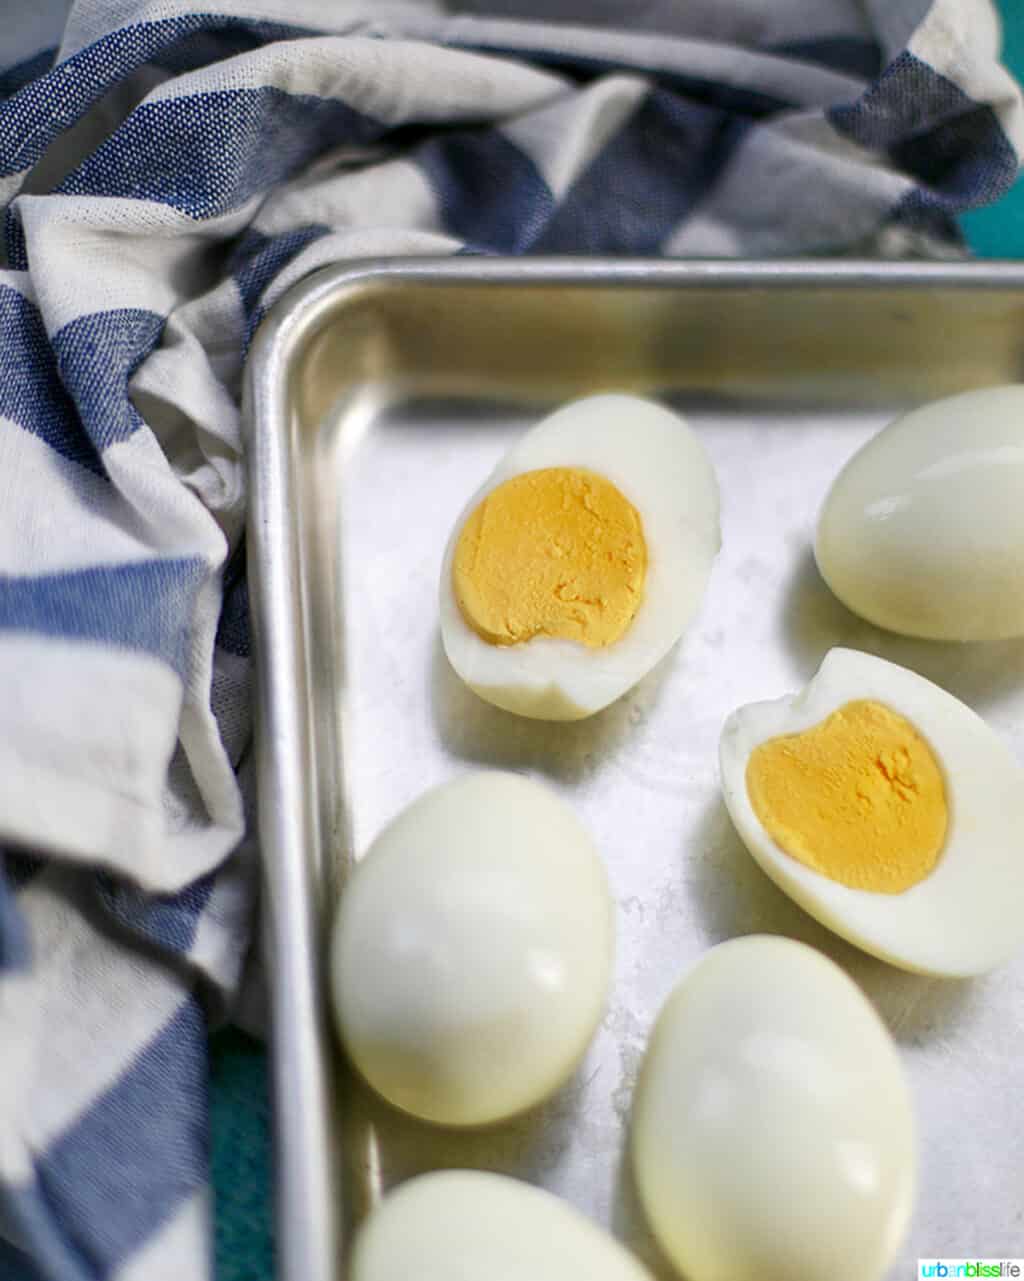
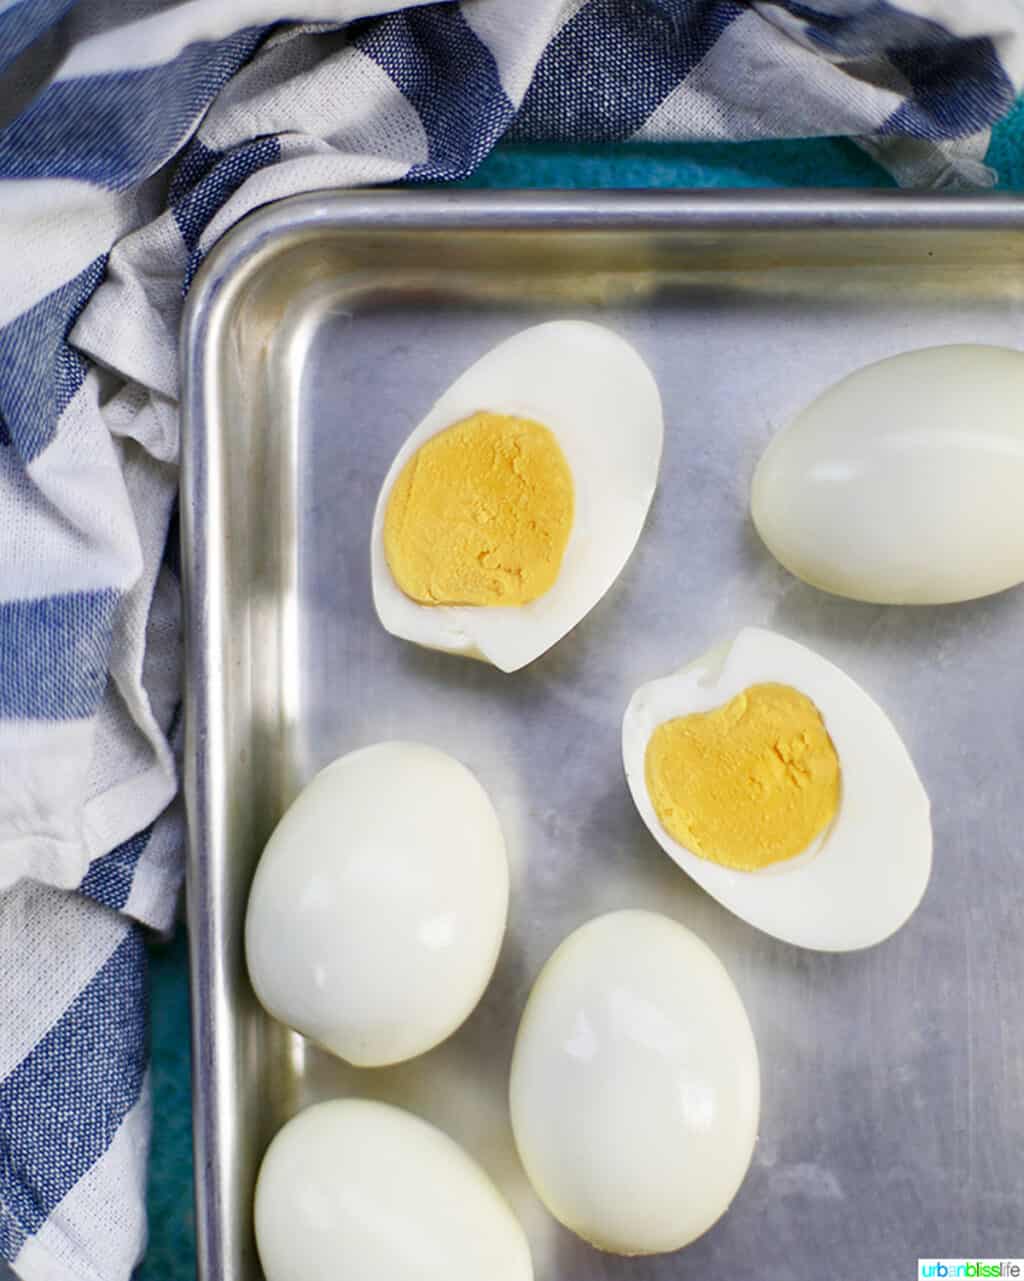
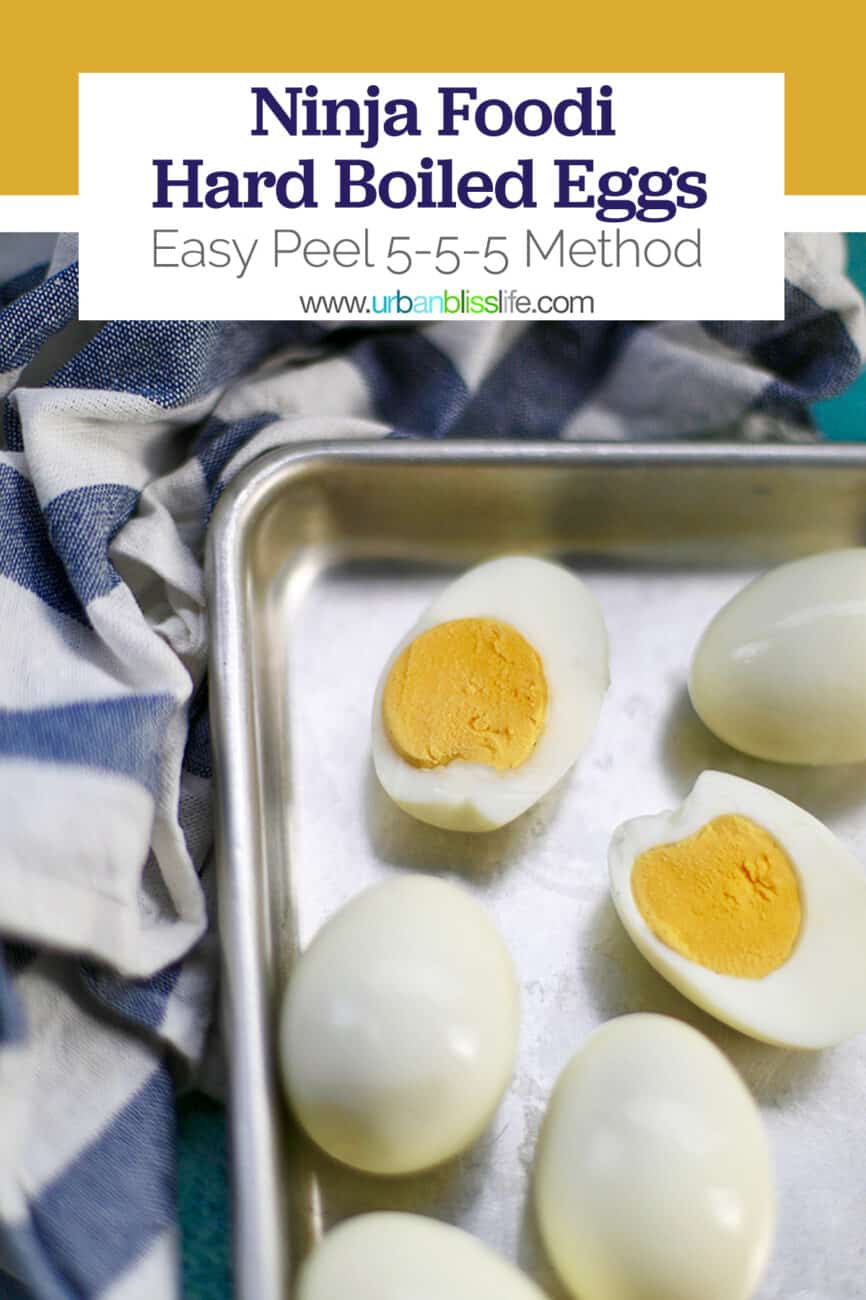
Placing hard-boiled eggs immediately into an ice bath does three things. First, it stops the cooking process, which helps ensure your eggs aren’t overdone. Second, the ice bath helps separate the egg from the shell. This is why this method makes peeling eggs so much easier! Third, because the ice bath stops the cooking process at the right time, it helps you avoid the dreaded green ring around your eggs that you can get from overcooked eggs.
Almost as many as you’d like! Without going overboard, that is. I’ve cooked as few as three eggs and as many as nine eggs at one time using this method.
Nope. In my experience, all of the times can remain exactly the same.
I’ve cooked as many as nine eggs at one time using one cup of water. If you are cooking a dozen or more eggs, you might want to add a half cup. So try one and a half cups of water for 12 or more eggs.
Allow the eggs to cool completely. Then store them in an airtight container in the refrigerator for up to 5 days. 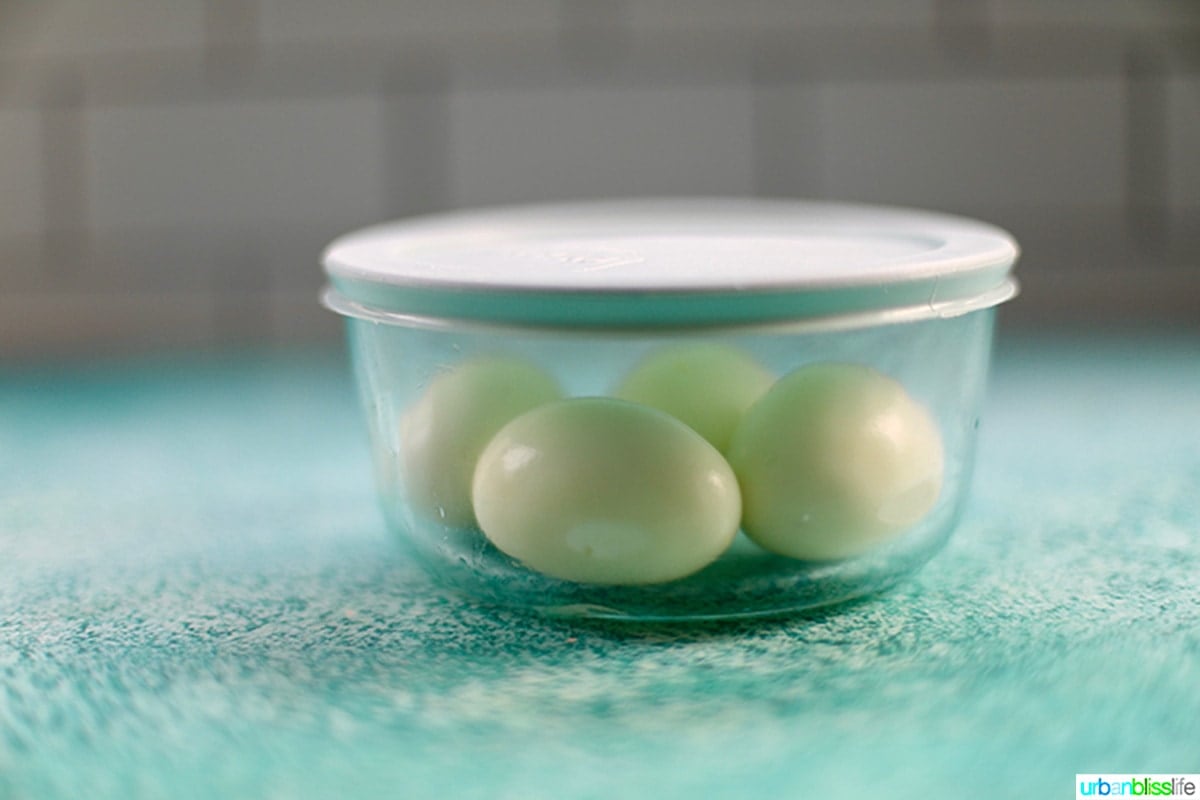
Recipes using hard-boiled eggs

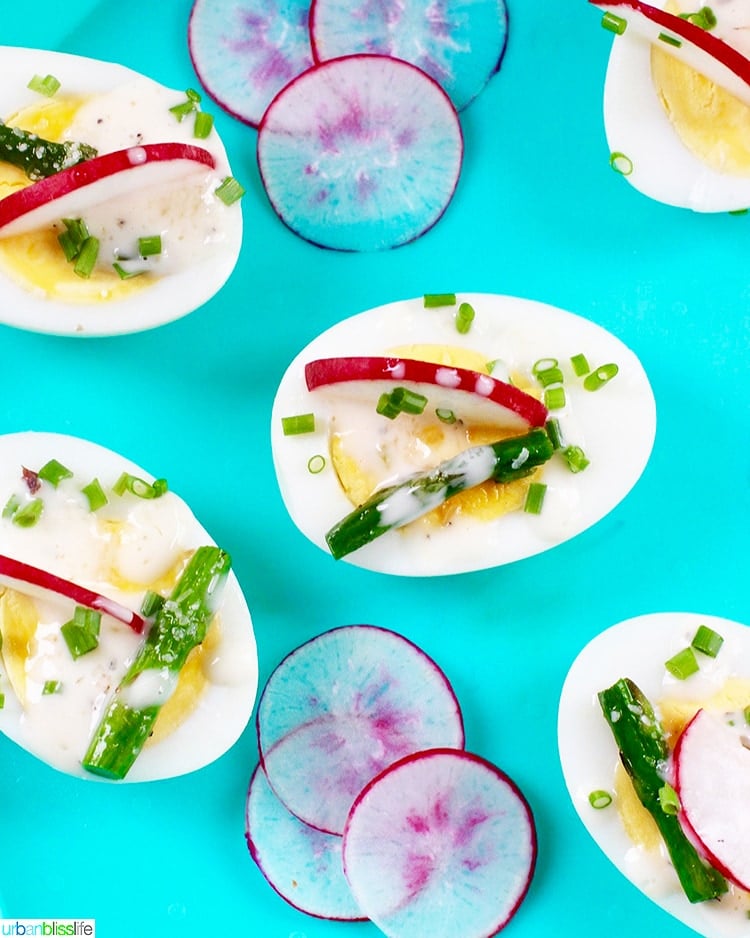
Spring Hard-Boiled Egg Appetizers 
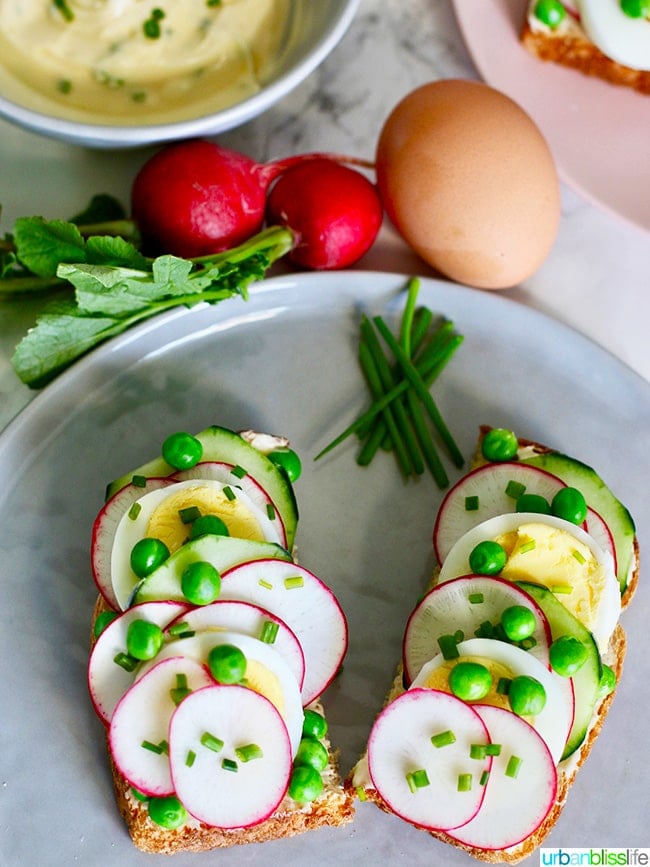
Spring Veggie & Eggs Toast
I love to make a batch of Ninja Foodi Hard Boiled Eggs as part of my meal prep for the week. That way, anyone can grab an egg for some quick protein in the morning or as an afternoon snack.
You can also use hard-boiled eggs in these delicious recipes:
More Spring Recipes
- Garlic Rosemary Glazed Roasted Carrots
- Roasted Asparagus with Garlic and Lemon
- Radish Carrot Arugula Salad
- Mini Lime Tarts
- Easy Spring Fruit Tarts
More Ninja Foodi Recipes
- Pressure Cooker Wedding Soup (Ninja Foodi/Instant Pot)
- Ninja Foodi Broccoli
- Ninja Foodi Paprika Chicken
- Ninja Foodi Cajun Chicken Pasta
- Ninja Foodi Homemade Pizza Rolls
The Ninja Foodi Pressure Cooker Meal Prep Cookbook
Do you have a Ninja Foodi? I’m so excited to announce the release of my first cookbook: The Ninja Foodi Pressure Cooker Meal Prep Cookbook! It’s coming out mid-May 2021, and it’s packed with meal prep & planning tips, 8 weeks worth of meal plans, plus 75 easy recipes – all using the Ninja Foodi!
Be sure to subscribe to my weekly newsletter to get cookbook updates, and exclusive GIVEAWAYS!! Each Sunday morning, get exclusive food, wine, and travel content while you’re enjoying your morning cup of coffee.
Recipe for Pressure Cooker Hard-Boiled Eggs
Ninja Foodi Hard Boiled Eggs

Instructions
- Place a rack into the Ninja Foodi pot. Pour in one cup of water.
- Place the eggs carefully onto the rack, giving them some space in-between.
- Secure the pressure lid, making sure the pressure release valve is in the Seal position.
- Select Pressure Cook, set the temperature to HI, set the time to 5 minutes. Select Start/Stop to begin. If you have a Ninja Foodi 6.5 quart, it will take approximately 7 minutes to come to pressure. If you have a Ninja Foodi 8-quart, it will take approximately 10 minutes to come to pressure.
- When cooking is complete, allow for natural release for 5 minutes. At the end of 5 minutes, switch the valve over to Vent for quick release. During this time, while all remaining pressure is venting from the Nija Foodi, create the ice bath. Add equal parts ice and cold water to a large bowl. Set aside.
- When all pressure is released and the valve is all the way down, carefully twist the lid open. Use oven mitts to carefully lift the rack with eggs out – or use tongs or an oven mitt to lift the eggs out one by one.
- Immediately and gently place the eggs into the prepared ice bath. Allow them to sit in the ice bath for 5 minutes. When 5 minutes is up, peel the eggs.
Notes
Nutrition
Nutrition information is automatically calculated, so should only be used as an approximation.
Pin it:


Great,simple, and easy. Clear directions. Thanks for your help!