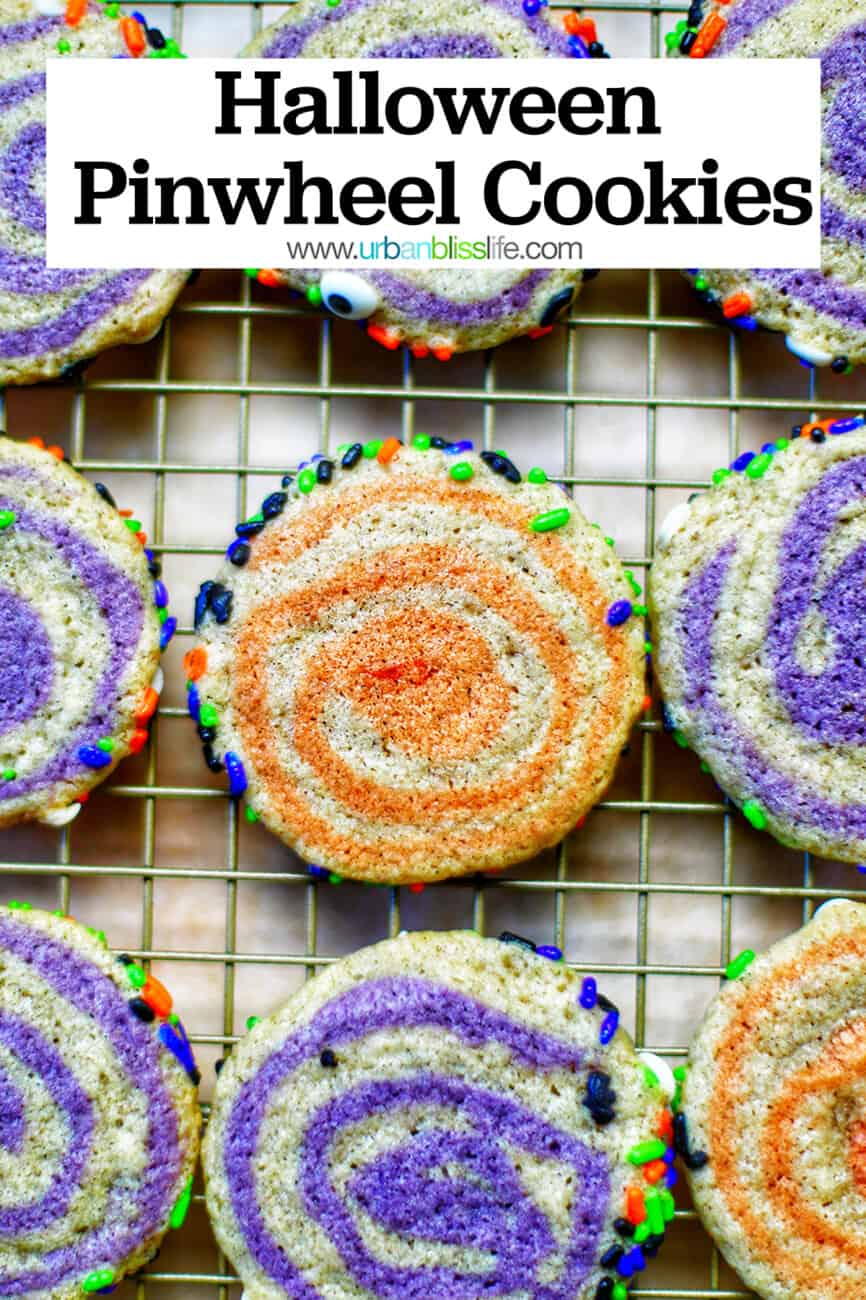
Slice and bake pinwheel cookies get a fun makeover for fall! These Halloween Pinwheel Cookies have a hint of pumpkin spice and a whole lot of Happy Halloween vibes. These pinwheel cookies are the perfect treat for Halloween season.
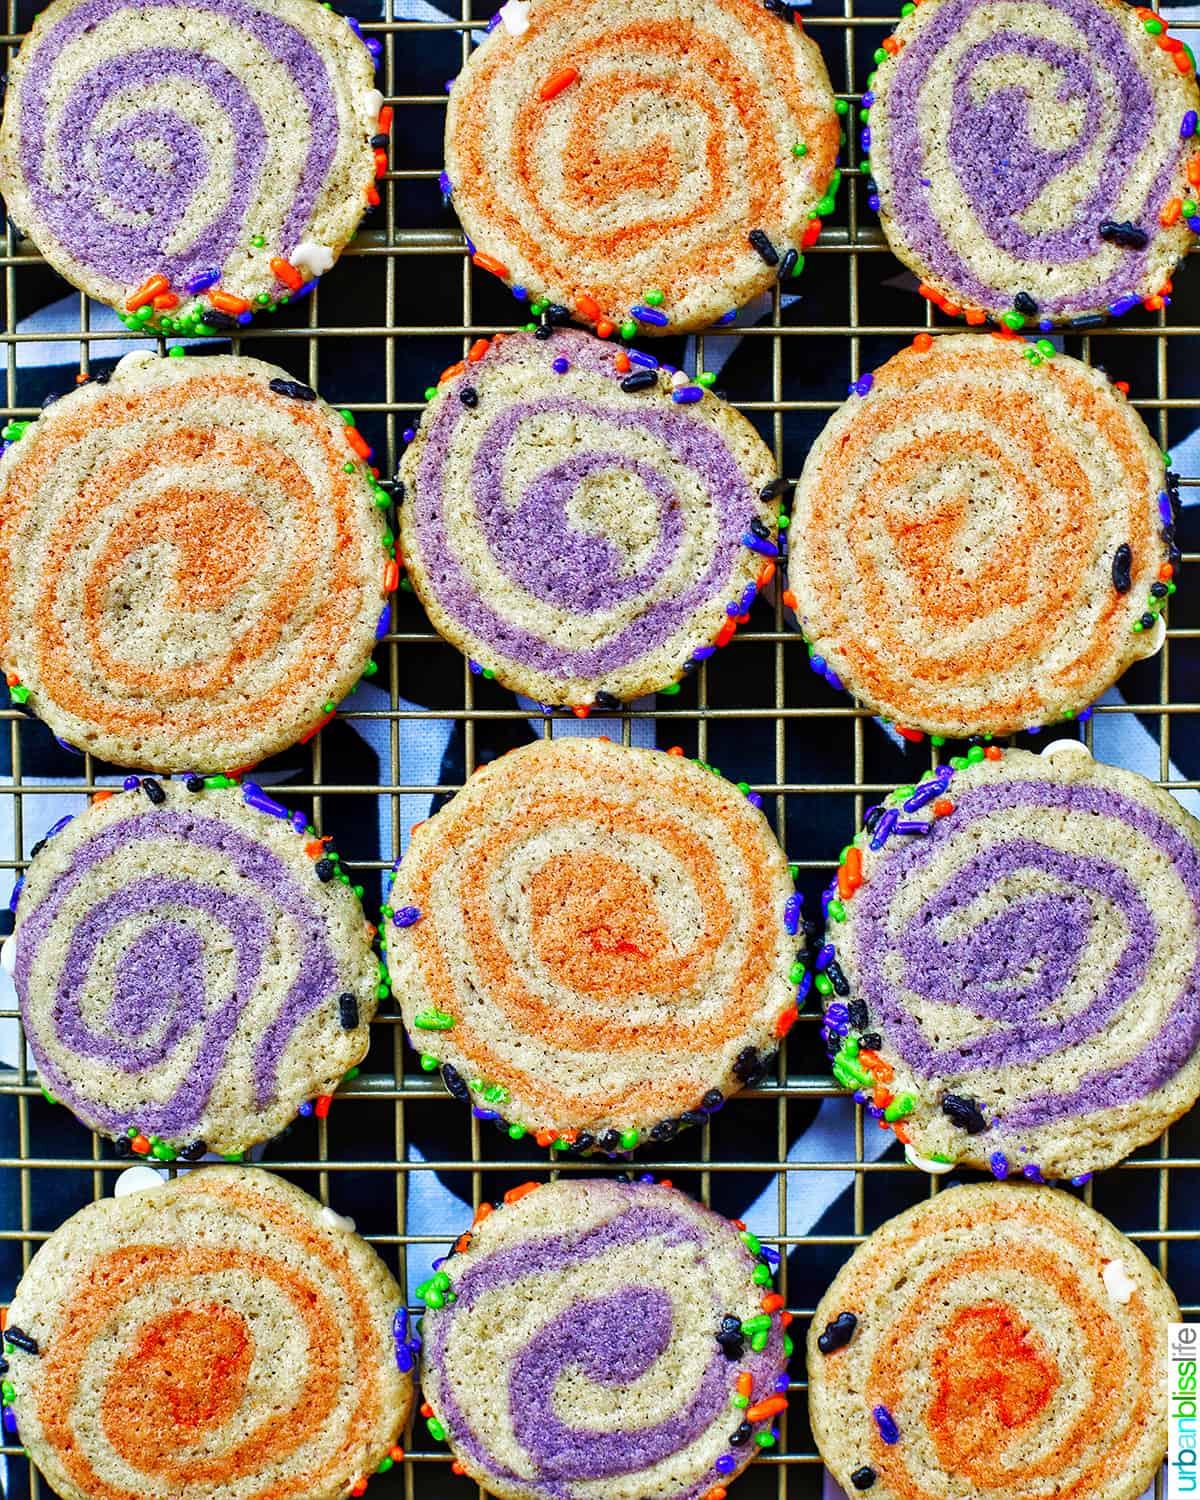
Are you all ready for Halloween? This year, I've given classic sugar cookie dough slice and bake cookies the Halloween treatment!
These Halloween sugar cookies are a fun treat for your next Halloween party.
Jump to:
- ❤️ Why you'll love this recipe
- 🎃 Ingredient notes
- ✅ Step-by-step instructions
- Roll, assemble, and decorate
- ❓Recipe FAQs
- 🥣 Kitchen tools and equipment
- 🍽 Ways to serve Halloween pinwheel cookies
- 👩🏽🍳 How to create vacuum sealed treat bags
- 😱 You've Been Booed printables
- 👻 More Halloween Recipes
- Halloween Pinwheel Cookies
- 🎃 Halloween printables
❤️ Why you'll love this recipe
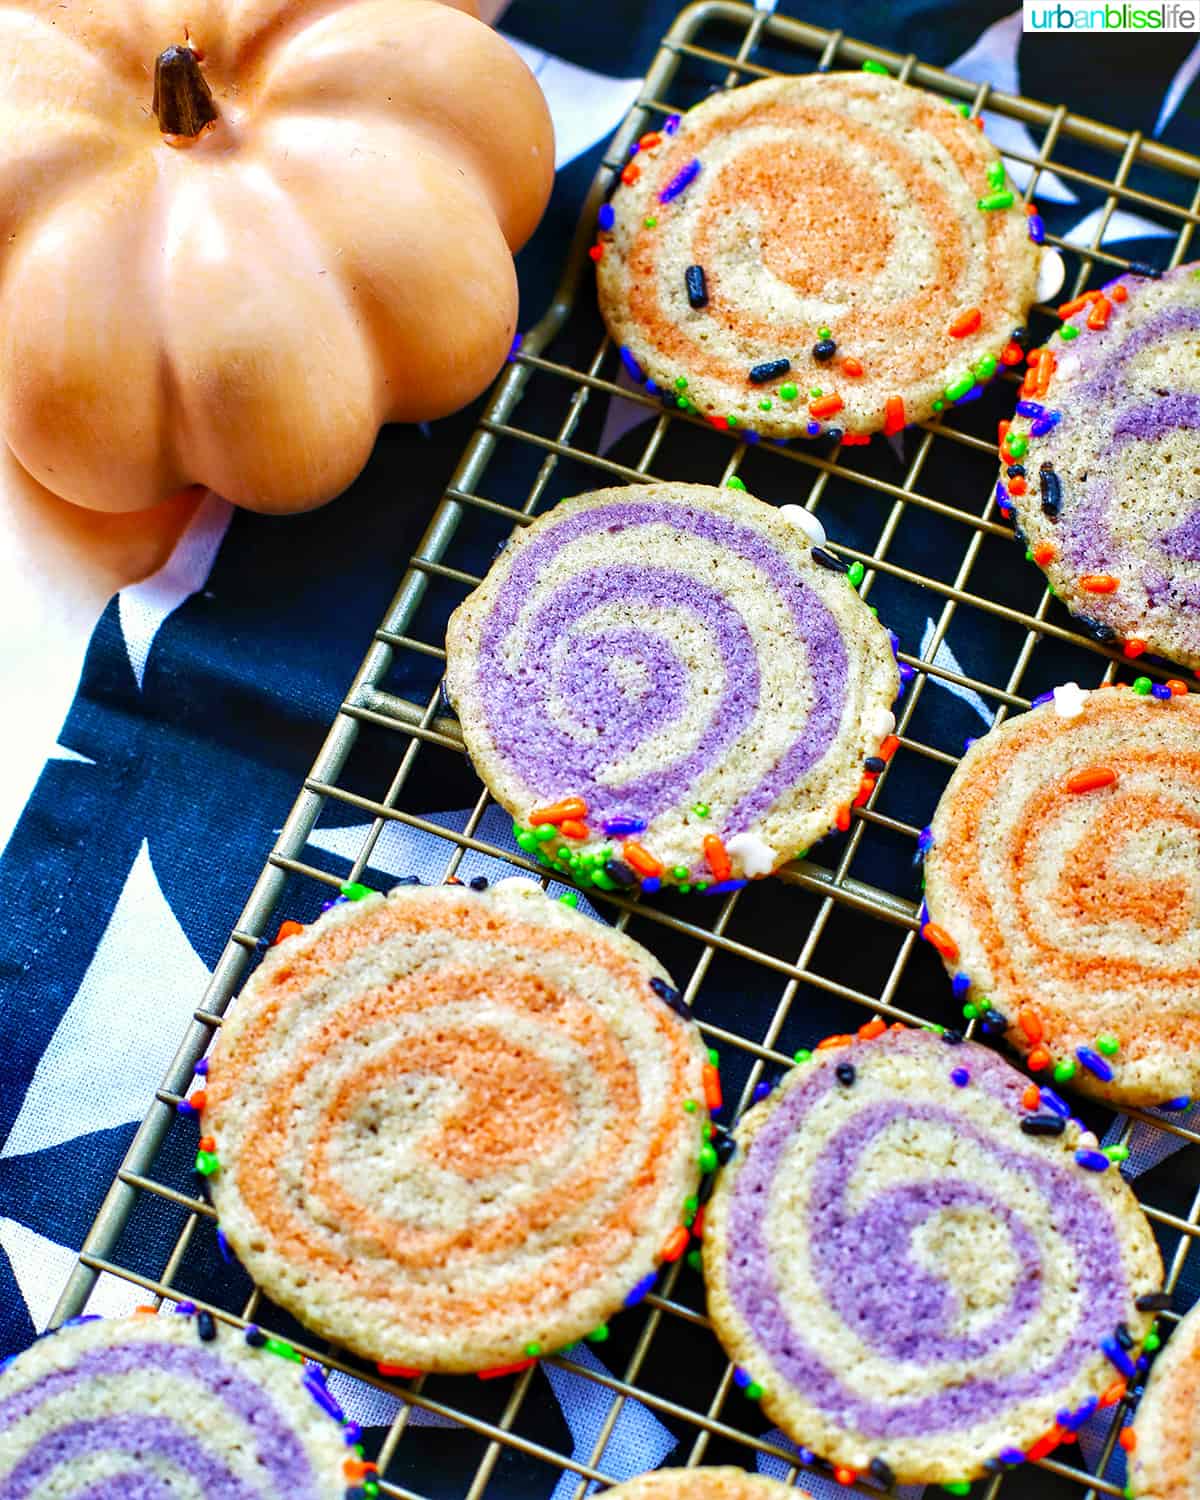
- Fun to make with your kids - Halloween is one of my favorite times of the year because there are so many fun Halloween recipes you can make. This is no exception. Whether you have young tots or older teens, this is a great way to get the whole family into the Halloween spirit!
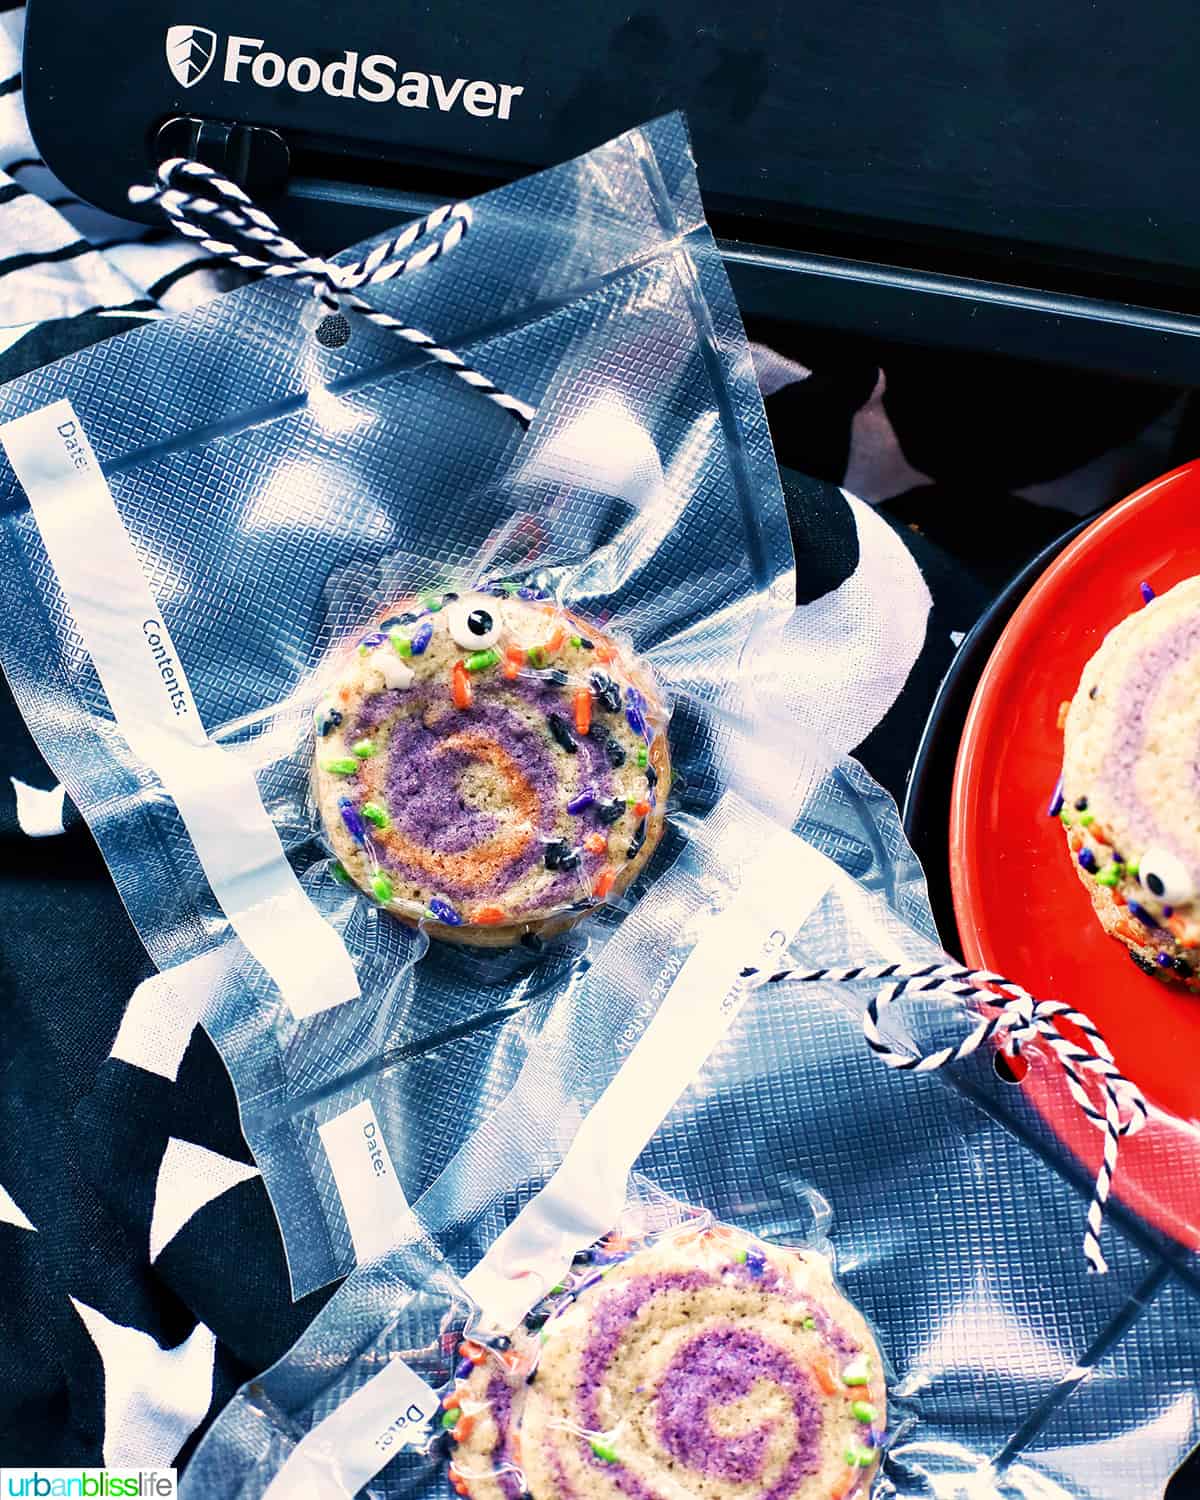
- Great to make ahead of time - These are perfect to make in advance. You can vacuum seal with your FoodSaver® to lock in freshness in individual treat bags! I share how to do so later in this post.
- Great to give as gifts - Bake some of these sweet treats up and bring them along to your next Halloween party!
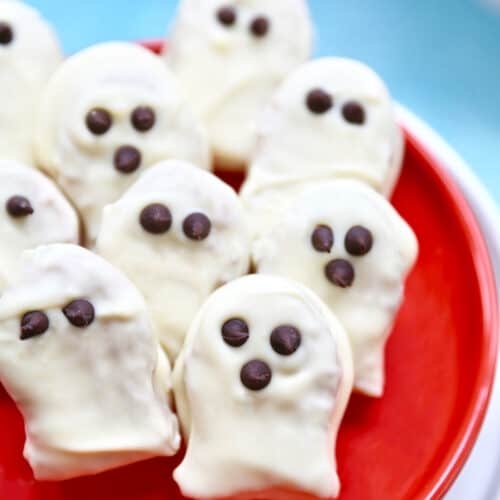
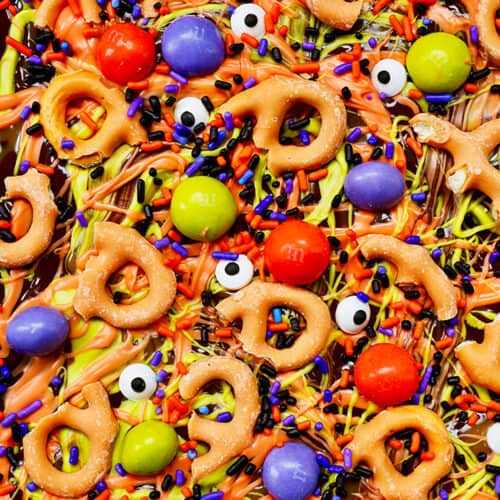
They also go great with other Halloween treats Monster Halloween Bark, Frankenstein Rice Krispie Treats, or Nutter Butter Ghost Cookies.
🎃 Ingredient notes
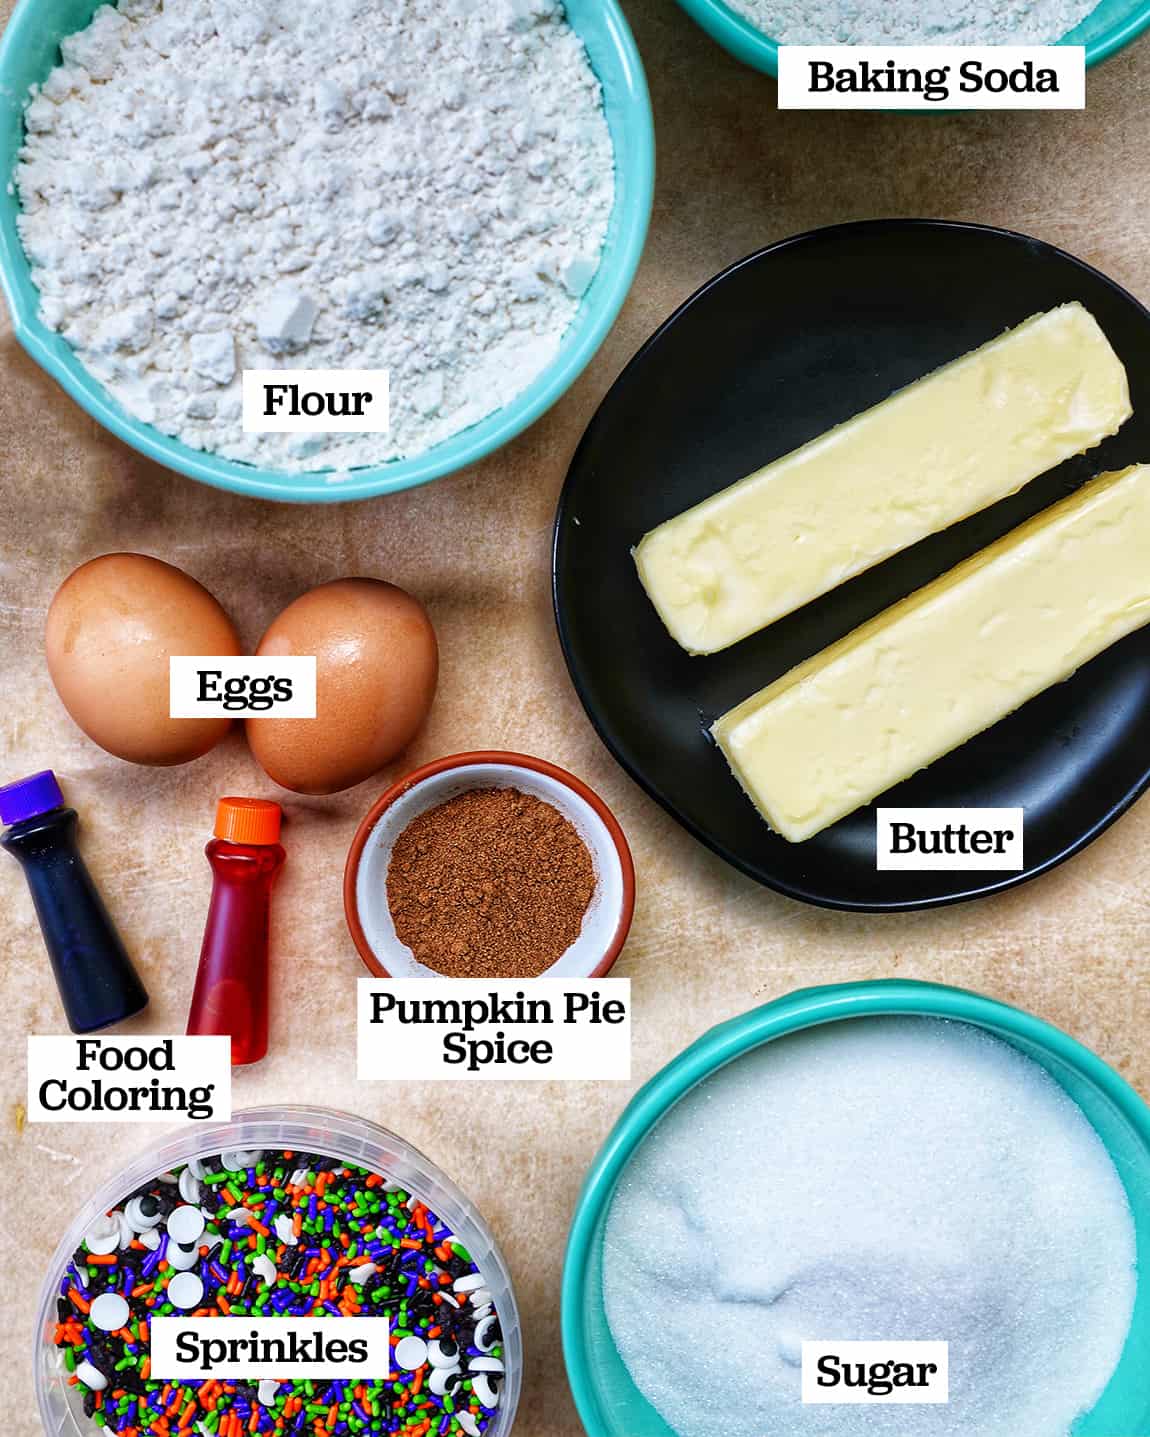
You'll need basic sugar cookie ingredients to make these delicious cookies.
- Butter - be sure to take the unsalted butter out of the refrigerator about 30 minutes to soften it before you start baking. It should be at room temperature.
- Sugar - use granulated sugar for these cookies.
- Flour - you'll need all-purpose flour for these spiral cookies.
- Pumpkin Pie Spice - this Halloween recipe calls for one tablespoon, which gives the cookies a light pumpkin spice flavor. If you'd like these to have MORE pumpkin flavor, feel free to add up to two tablespoons of pumpkin pie spice total.
- Food Coloring - I use orange and purple for these festive cookies. But you can use orange, purple, black food coloring, or green, which are the traditional colors associated with Halloween in the United States. I also keep two parts of the dough the regular dough color, but you can also add food coloring to those dough discs and create super colorful cookies! Think orange and black, green and purple, or orange and purple and green and black. Get creative!
✅ Step-by-step instructions
A full list of ingredients and detailed instructions can be found in the printable recipe card at the bottom of this post. Here's a step-by-step photo guide to help you as you bake these fun Halloween cookies!
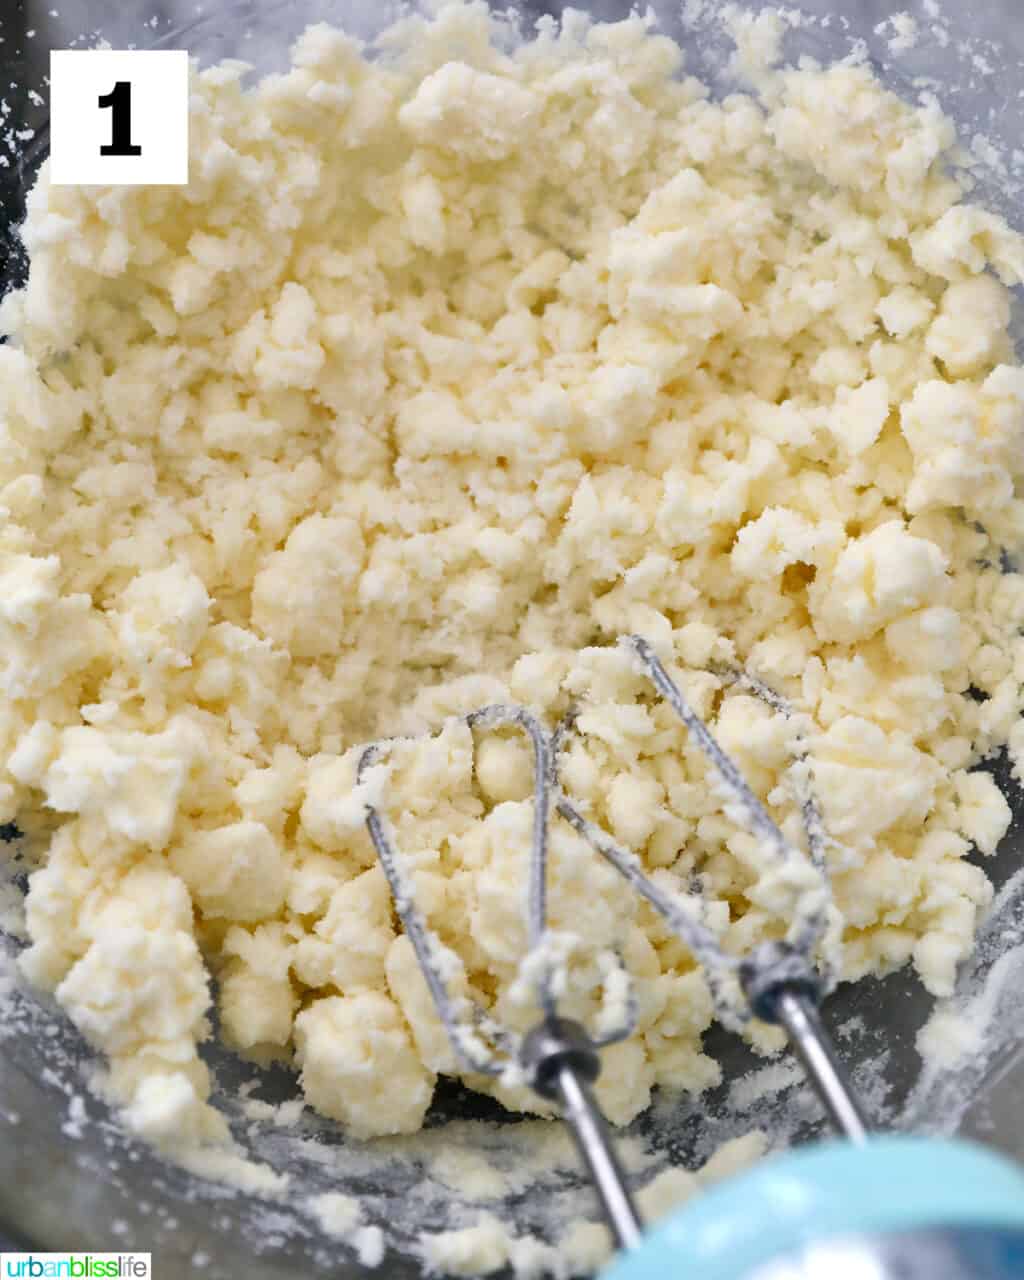
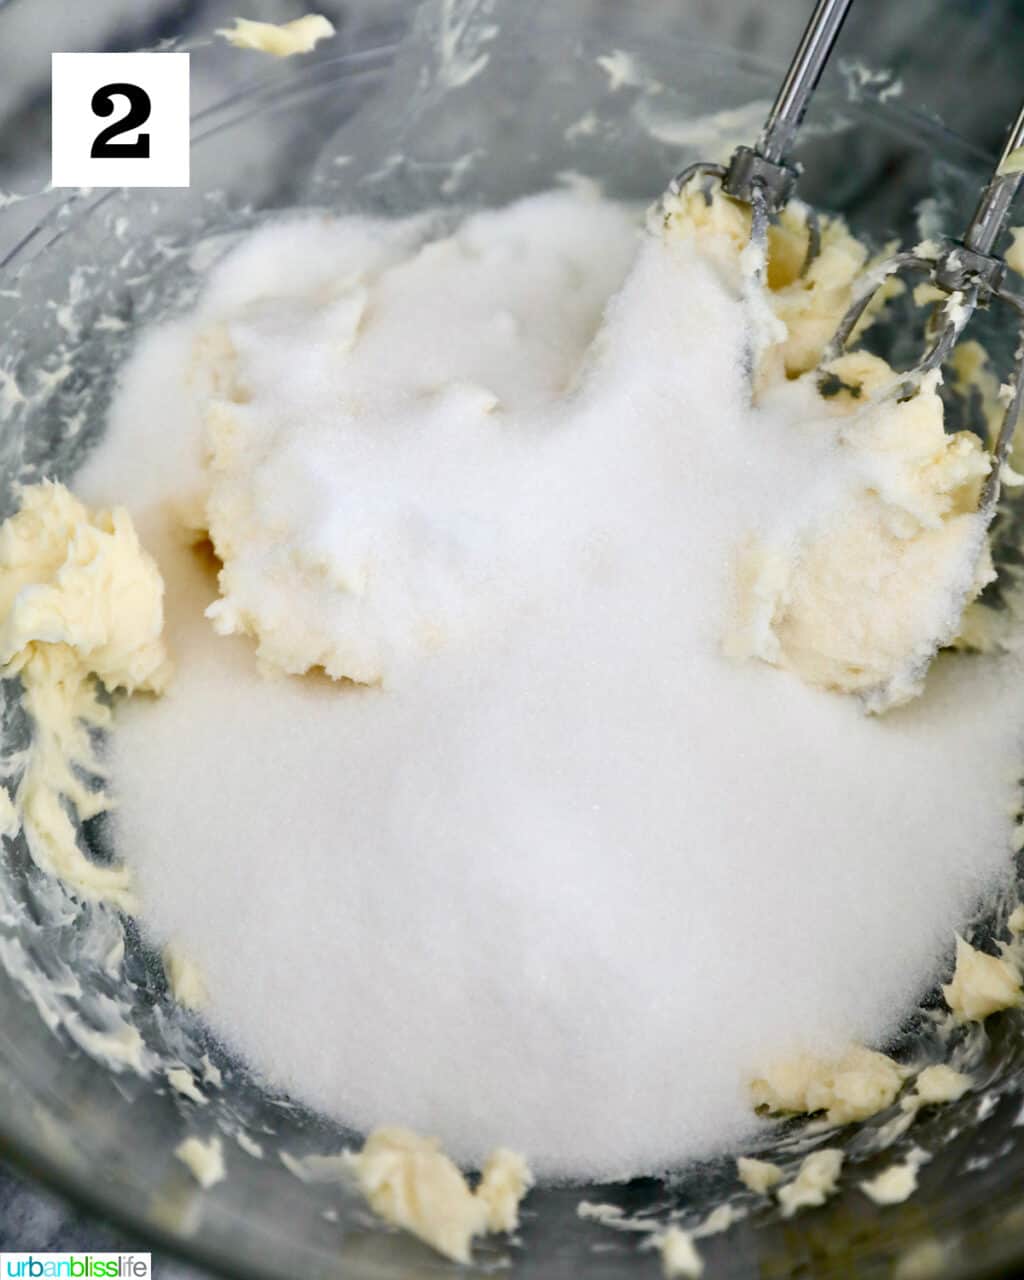
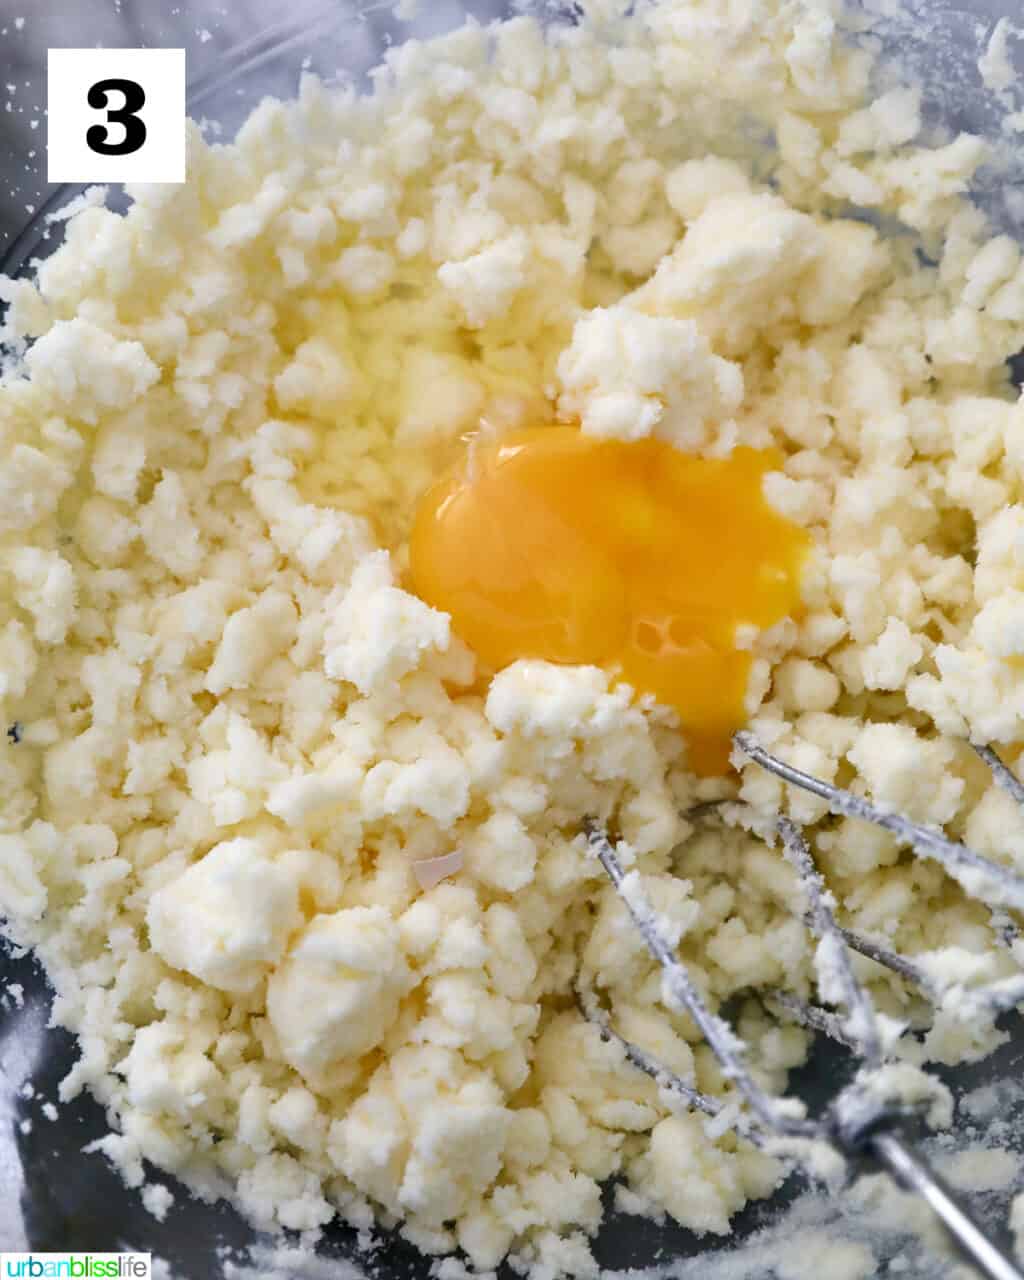
1-2. In a large bowl using a hand mixer, or in a stand mixer, cream the softened butter together with the sugar until fluffy.
3. Beat in the egg.
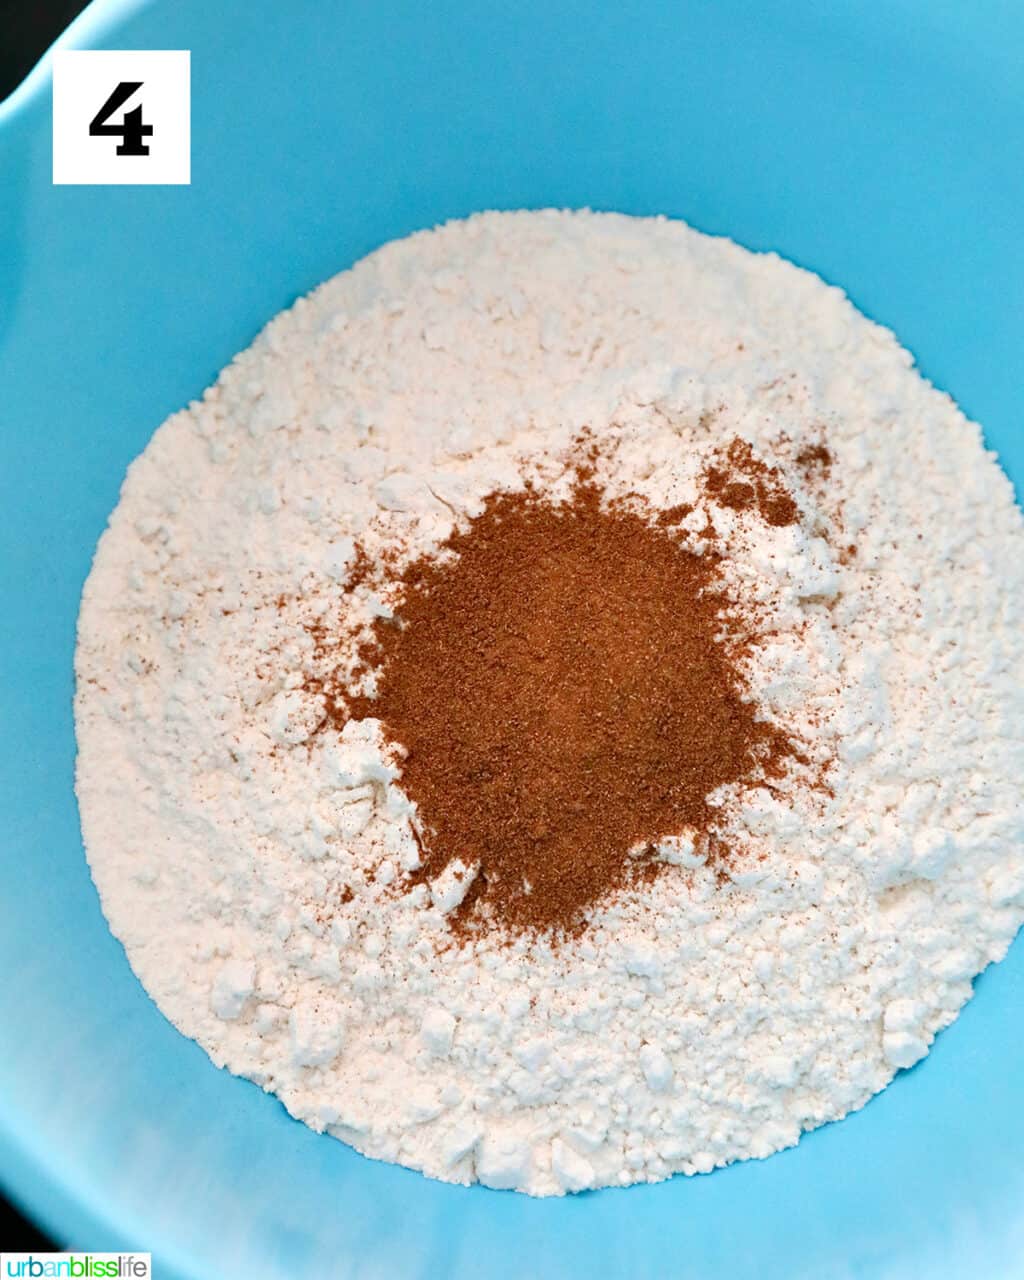
4. In a separate large bowl, whisk together the flour, baking soda, and pumpkin pie spice.
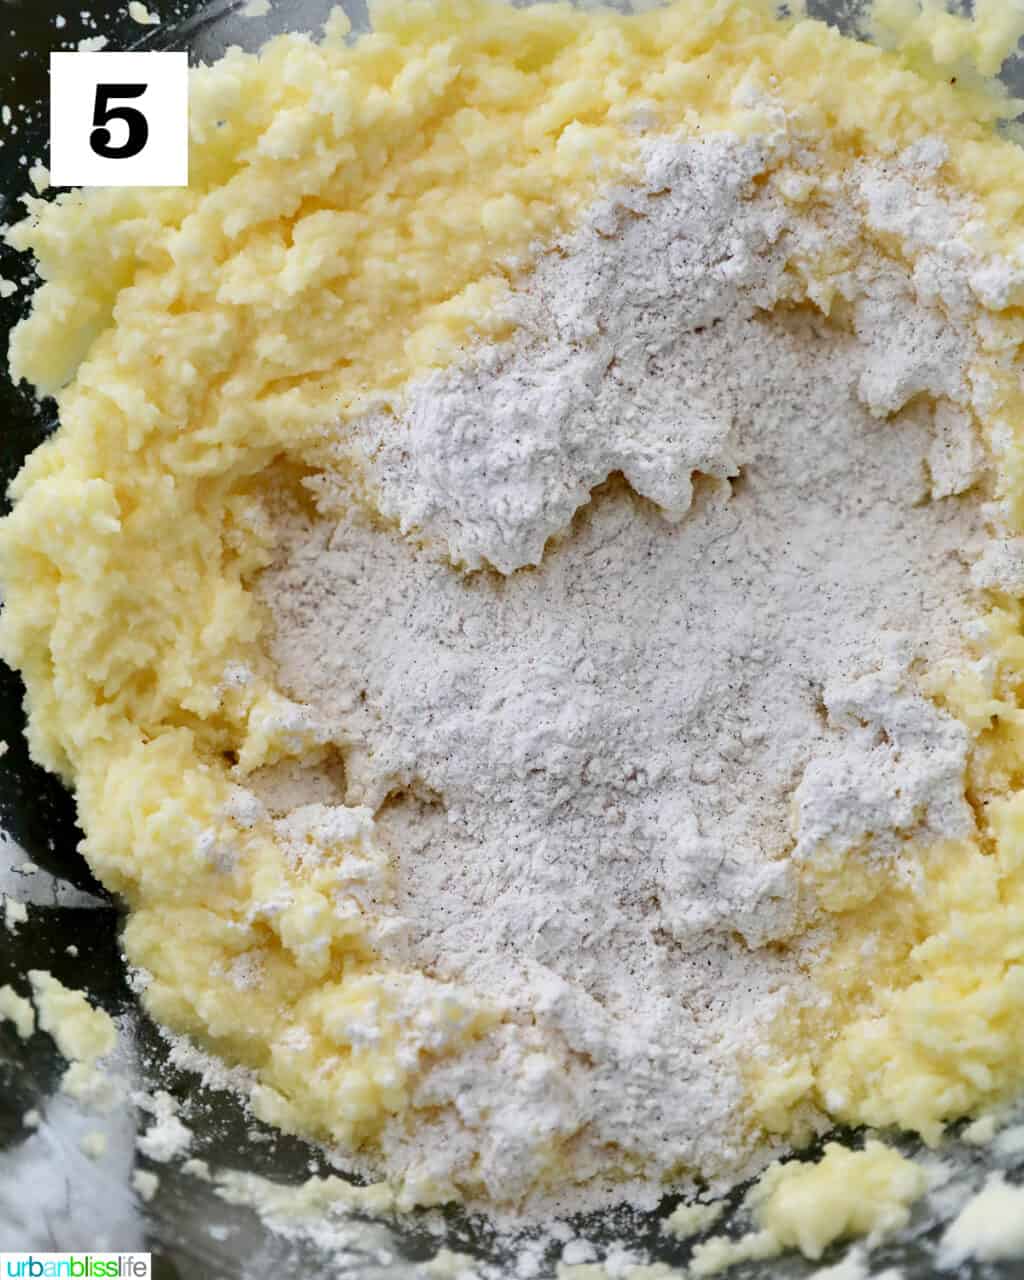
5. Gradually beat the dry ingredients (flour mixture) into the wet ingredients.
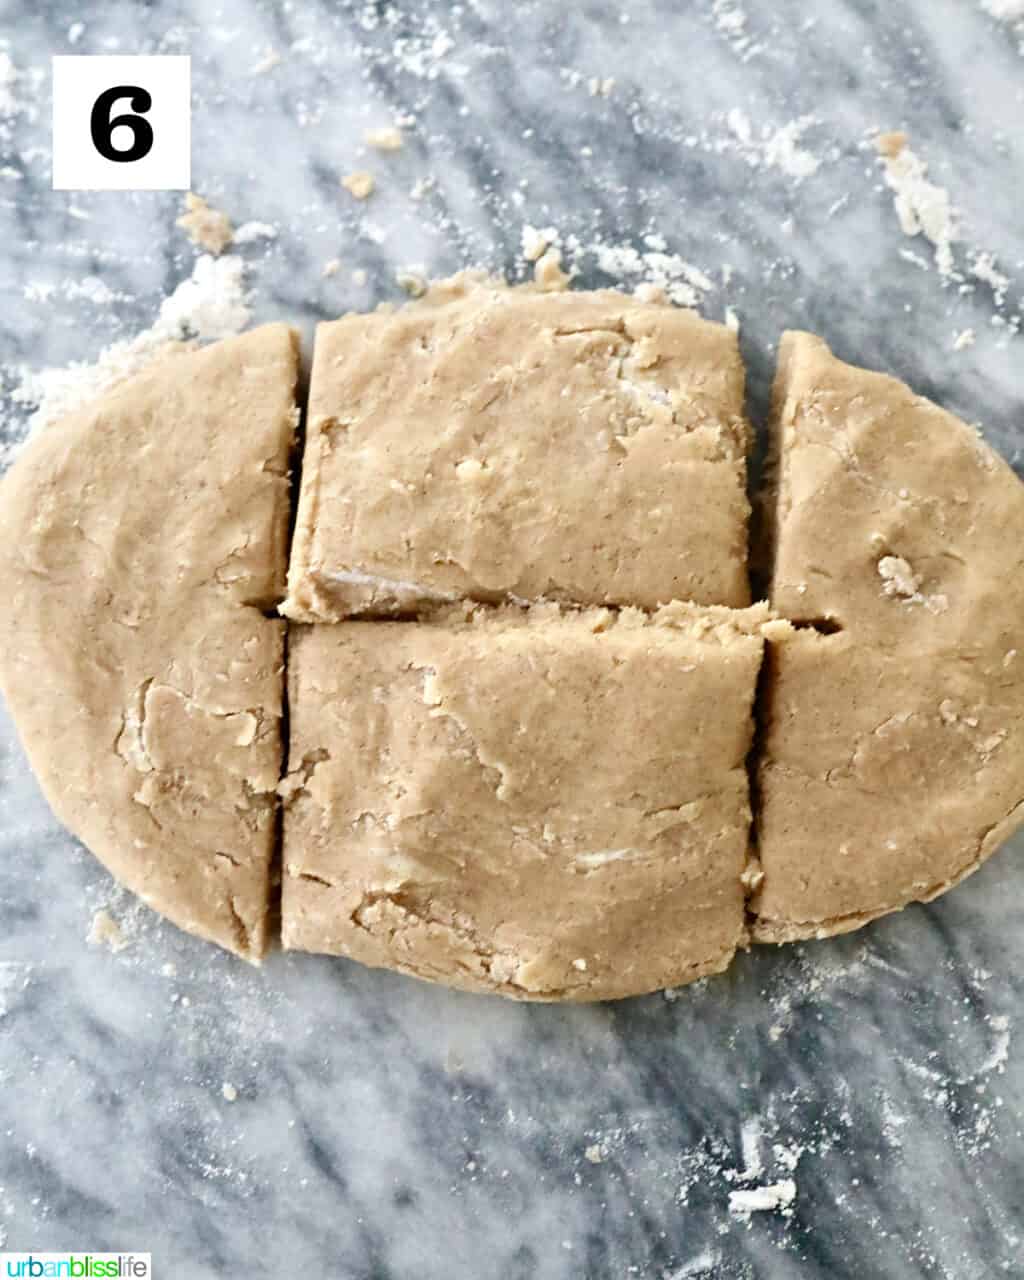
6. Lightly flour a clean surface. Roll the cookie dough onto the floured surface and divide into four equal pieces.
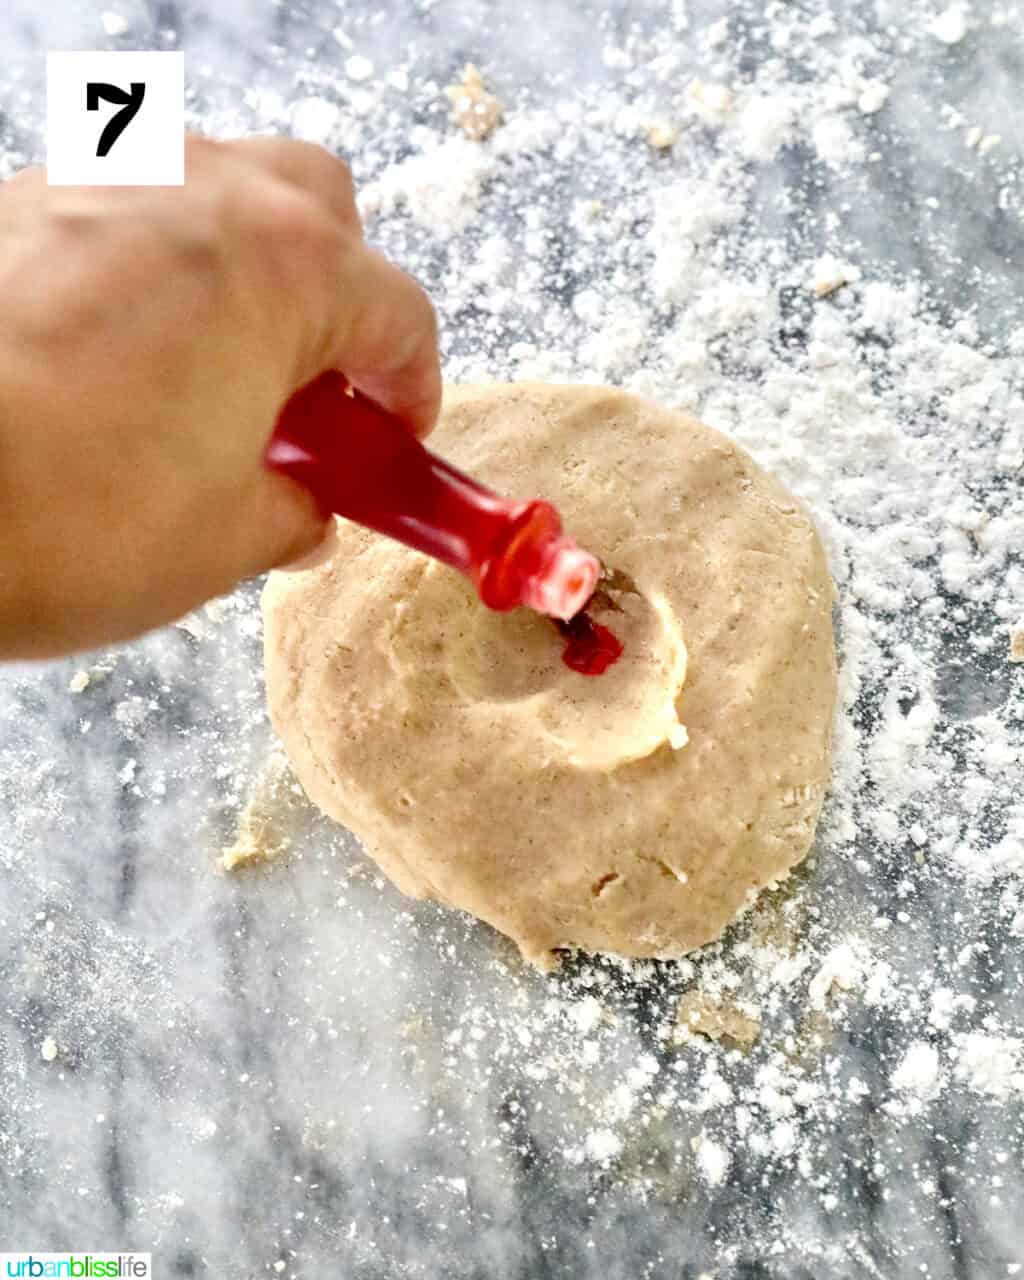
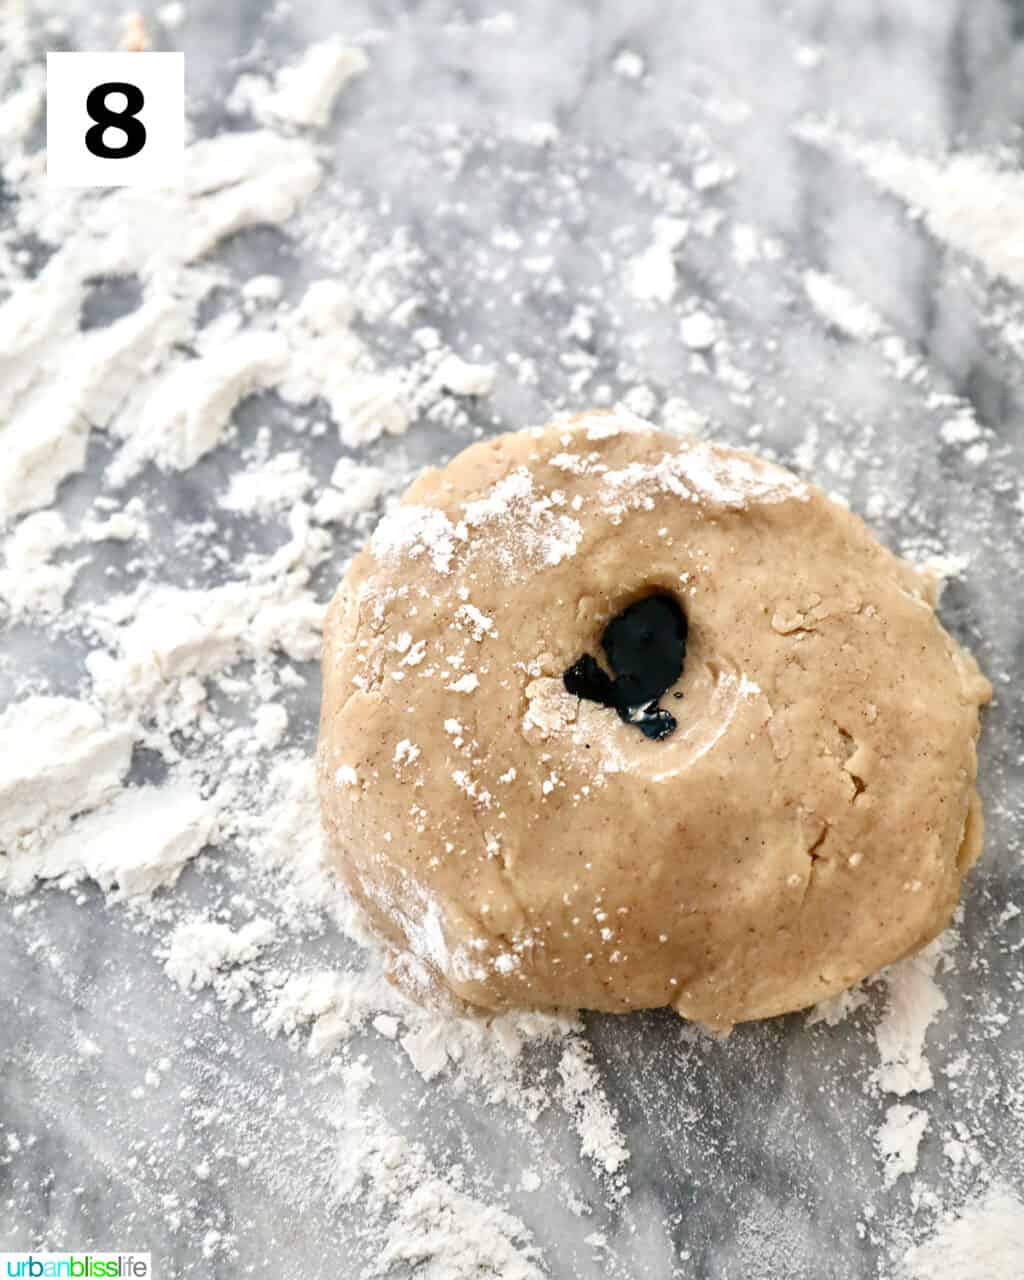
7. Add one food color to one dough piece and continue folding dough into itself until the food coloring is evenly distributed throughout that dough pieces. Shape into a disc and set aside.
8. Repeat the process with another dough piece.
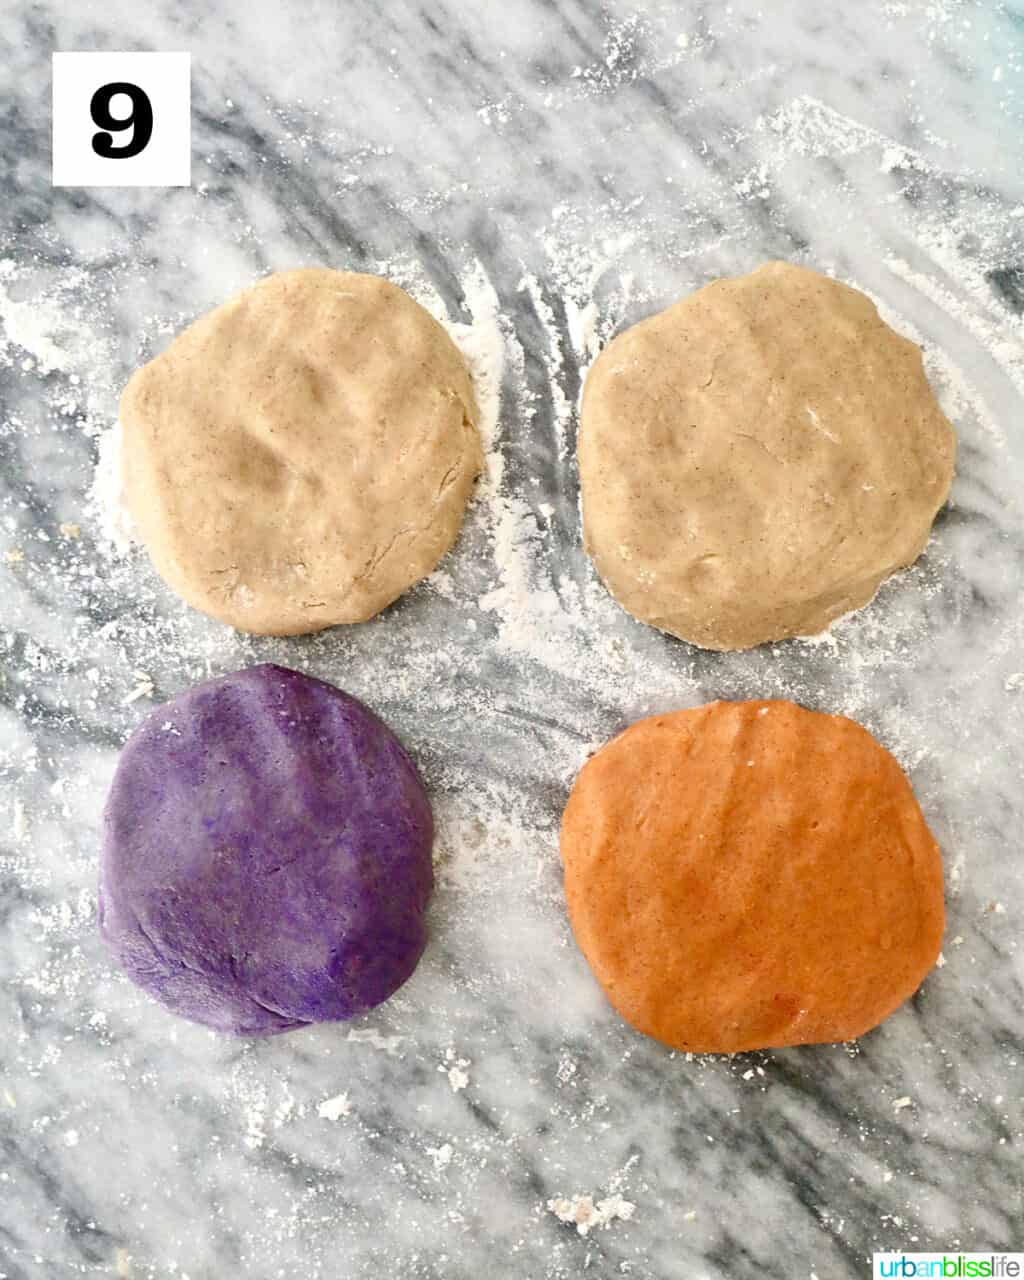
9. Leave the remaining two dough pieces the original color, or feel free to add food coloring to those as well. Shape the orange dough, purple dough, and regular dough into discs.
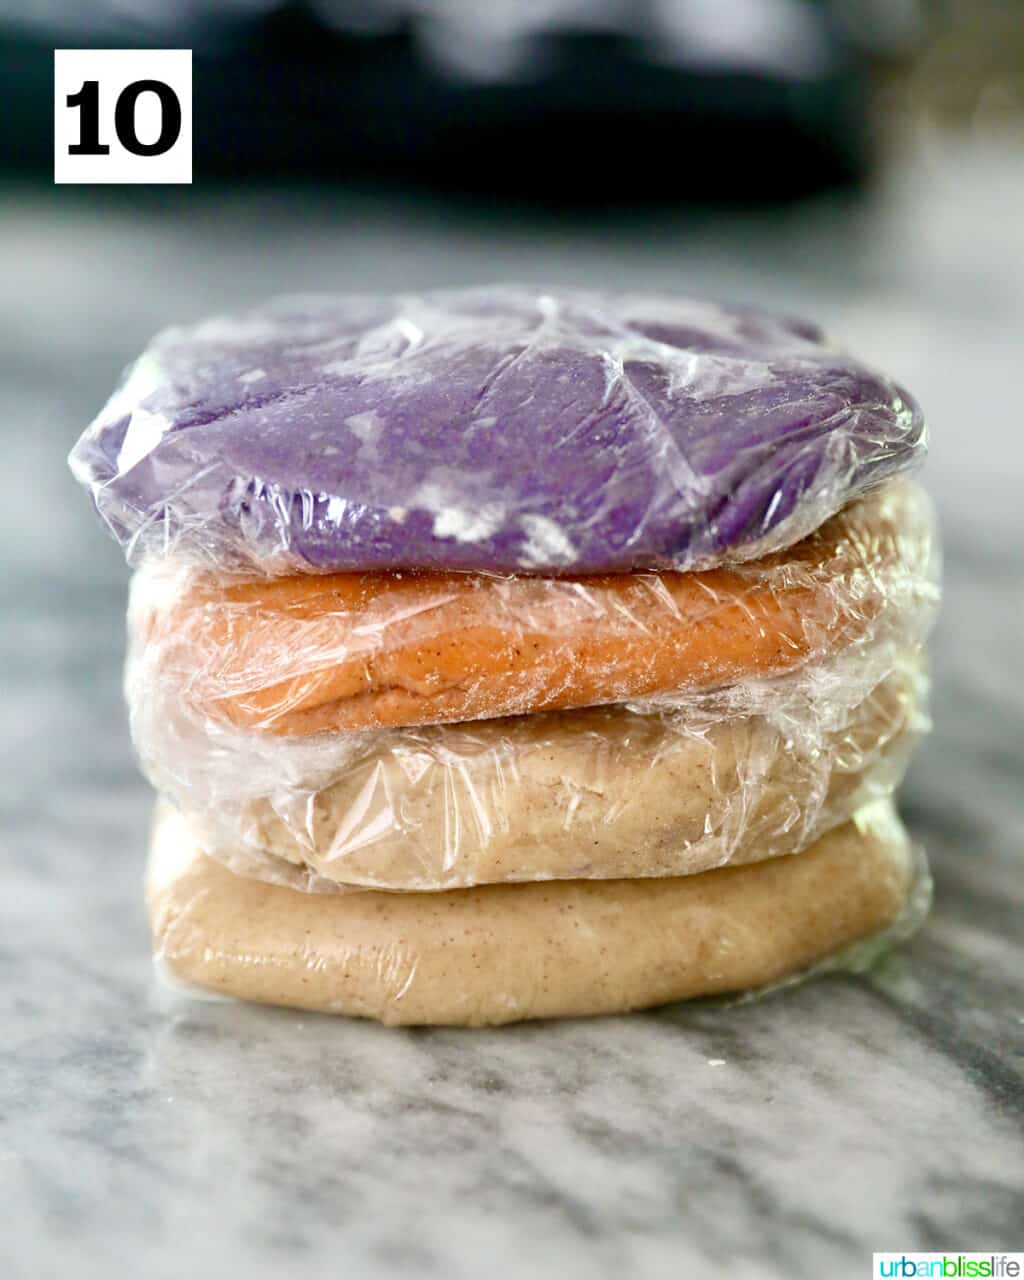
10. Wrap each disc in plastic wrap and refrigerate for 30 minutes.
Roll, assemble, and decorate
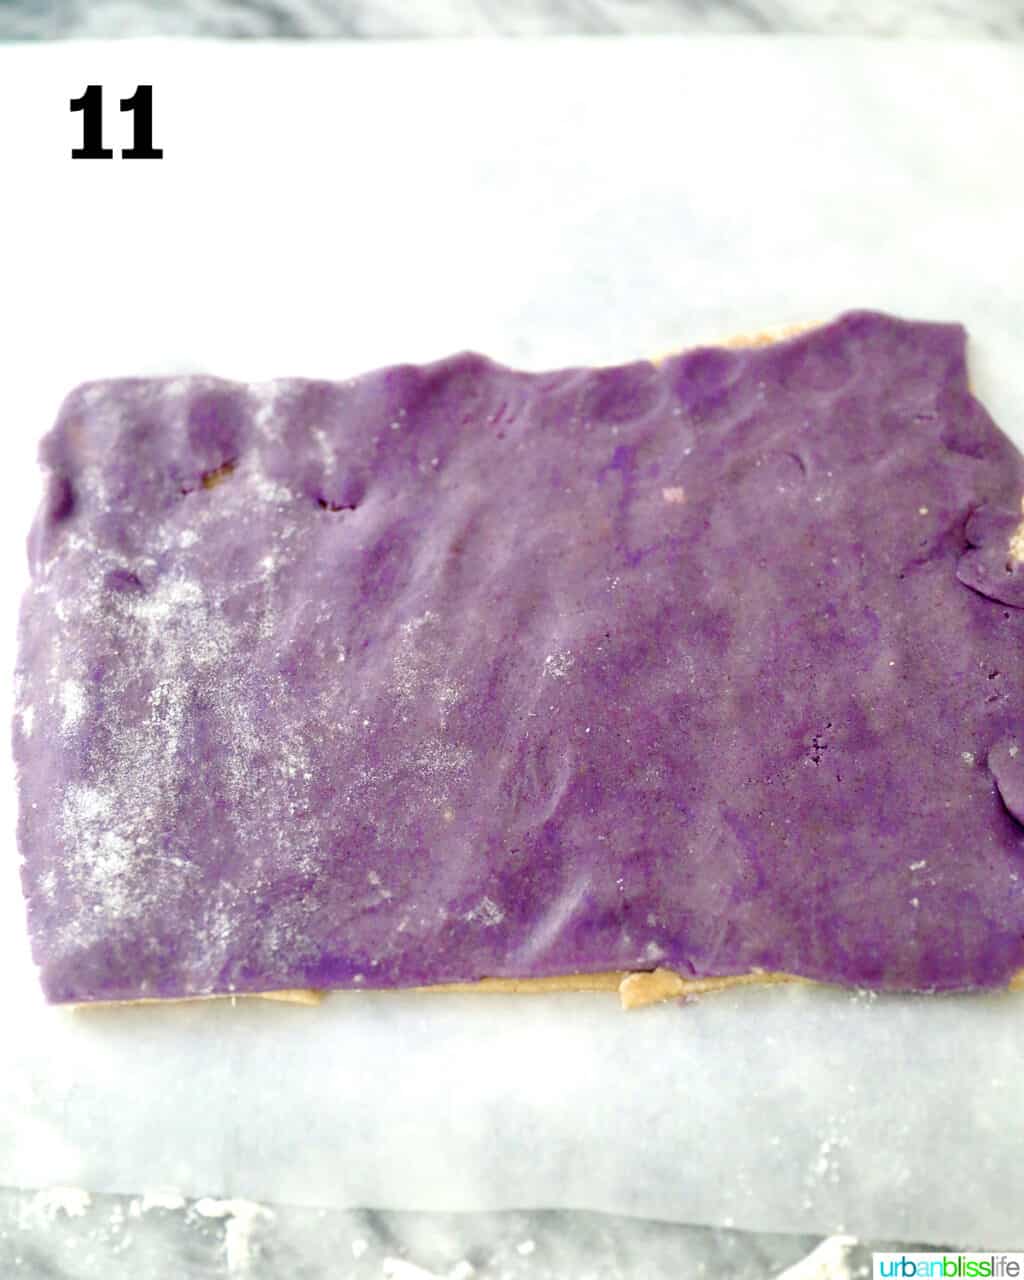
11. After 30 minutes, remove the dough discs from the refrigerator. Using a rolling pin, roll out one regular colored dough disc. Use a sharp knife or pastry scraper to cut the dough into a rectangle. Repeat this process with one of the colored dough discs.
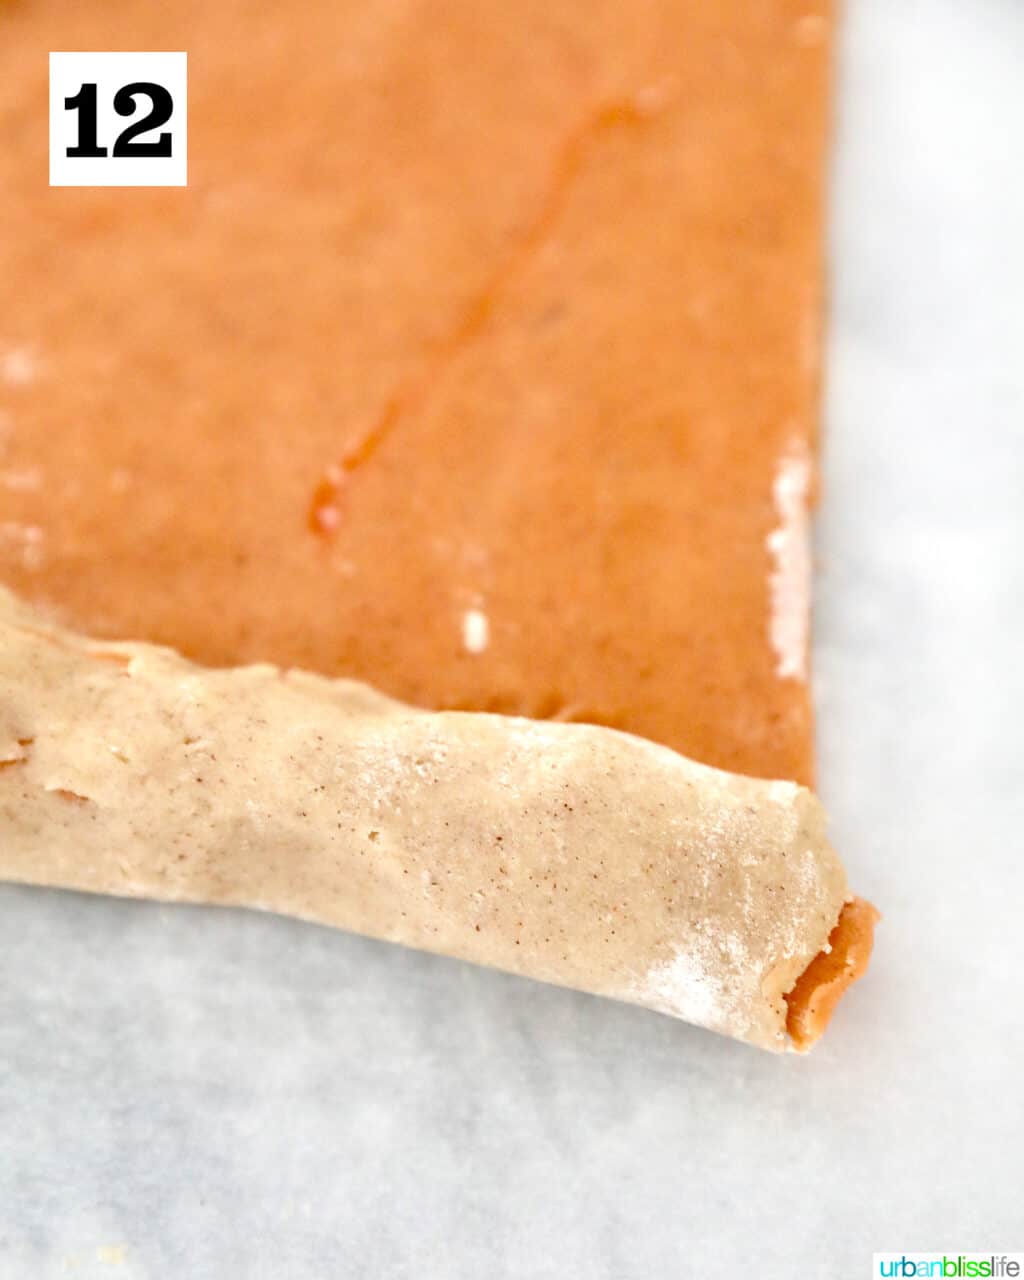
12. Place the colored dough disc onto the regular dough disc. Then, working from one of the shorter ends of the rectangle to the other, roll the stacked dough tightly into a log. It's okay if there are small cracks here and there because they will push together as you roll the rest of the dough up.
Repeat this process with the remaining uncolored dough disc and remaining colored dough disc. Re-wrap both dough logs in plastic wrap and refrigerate for 1 hour.
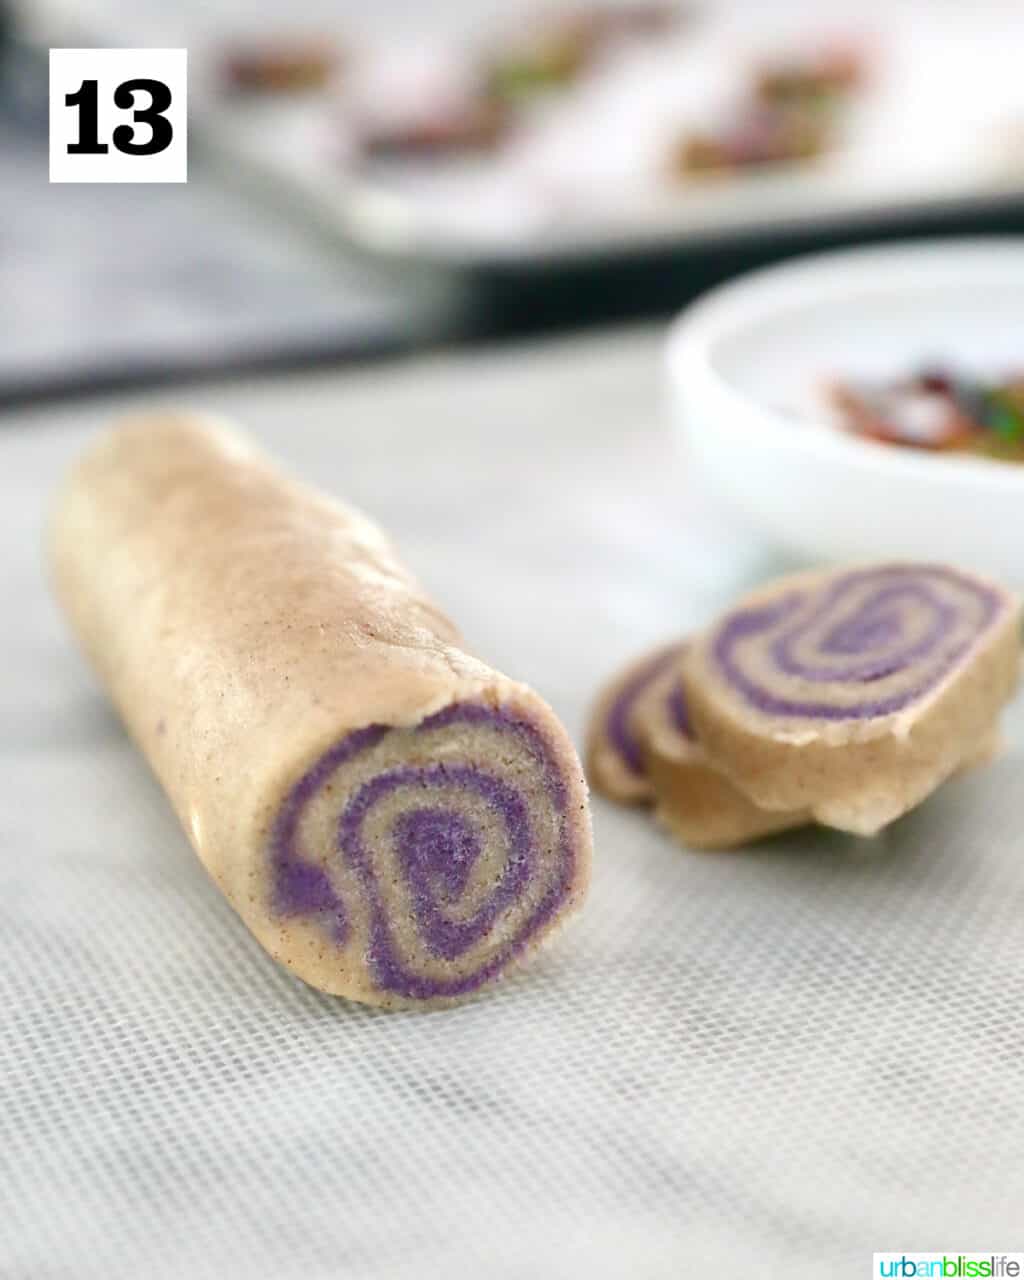
After 1 hour, remove the dough logs from the refrigerator. Preheat the oven to 350°F. Line two baking sheets with parchment paper and set them aside.
13. Using a sharp knife, slice the dough logs into thin slices about ¼-inch to ½ inch slices.
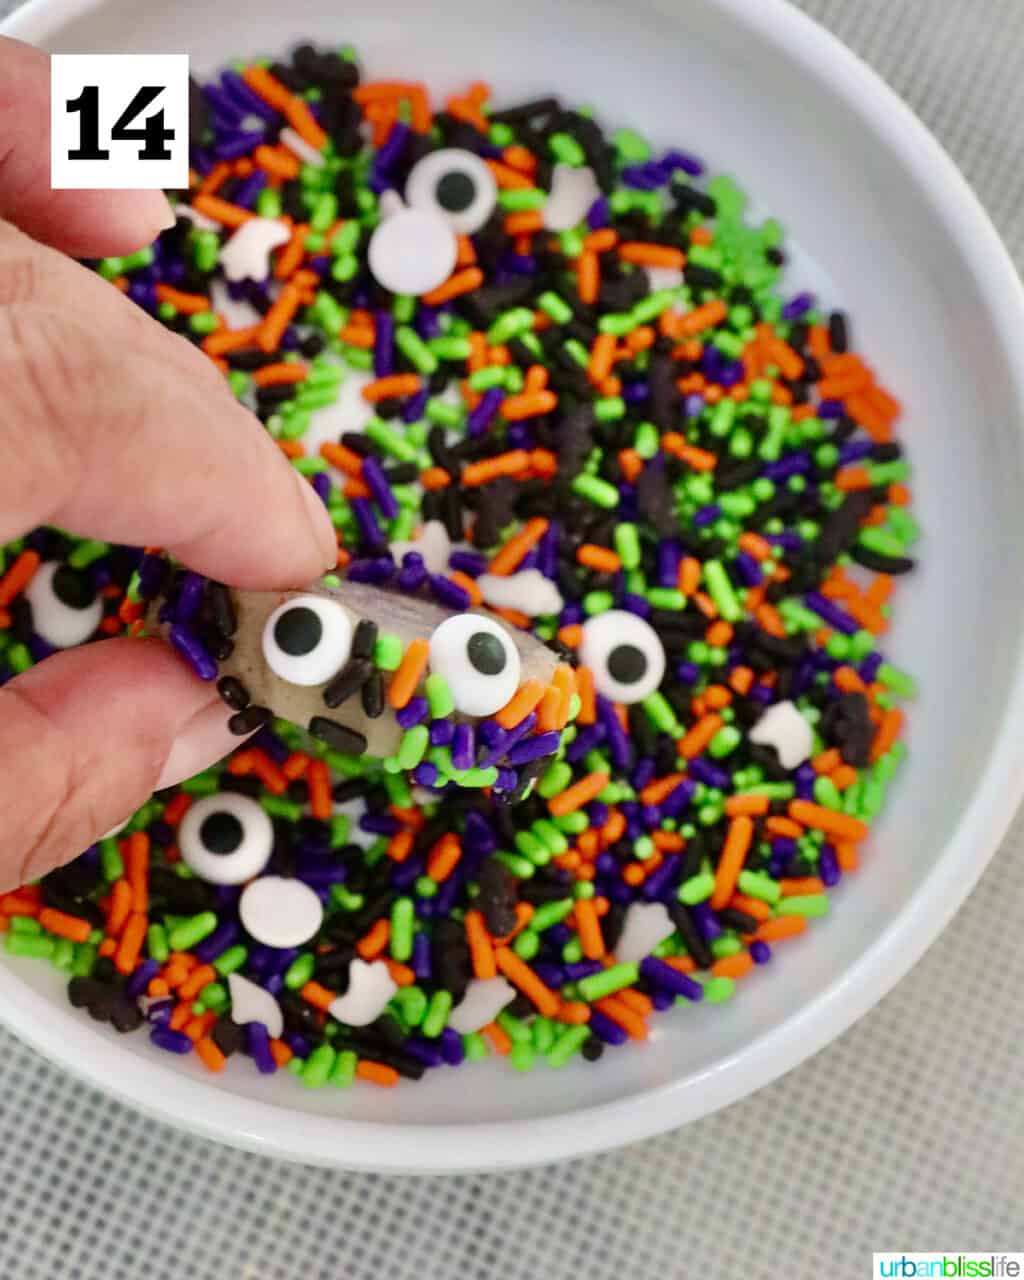
14. Dip the sides of each sliced cookie dough into the colored sprinkles.
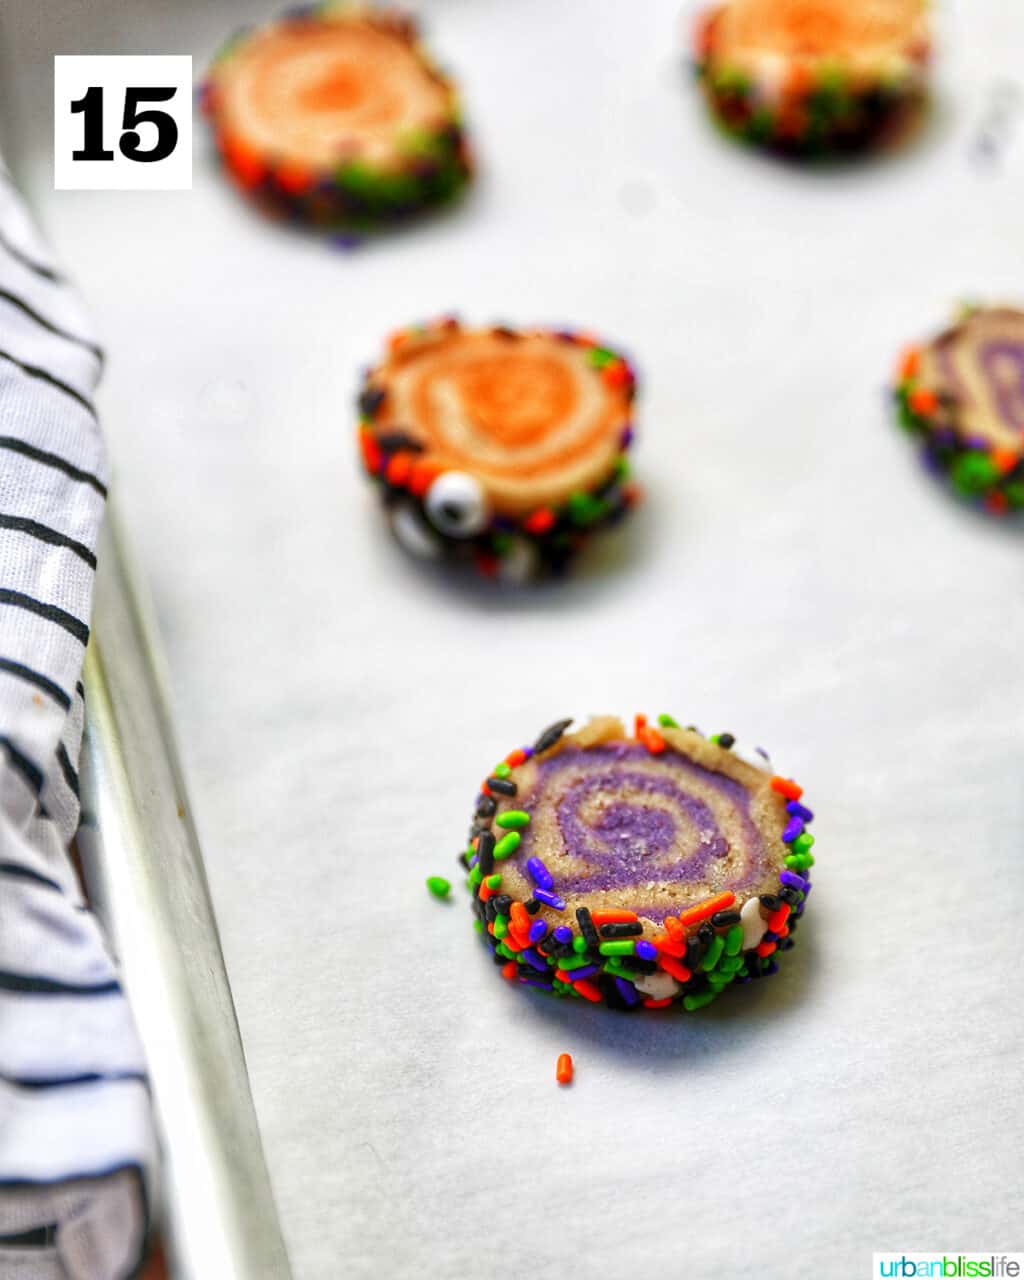
15. Place on the prepared baking sheet approximately 2 inches apart, as the dough will spread while baking.
Bake sugar cookies at 350°F for 11 to 13 minutes. Let cool on the pan for 2 to 5 minutes before transferring to a cooling rack to cool completely.
❓Recipe FAQs
Store in an airtight container at room temperature for up to five days.
Yes! I use my FoodSaver to vacuum seal cookies and then freeze them for up to two months.
I have found that stacking these slice and bake cookies in stacks of no more than two cookies help ensure the cookies stay intact during the vacuum seal process. If your cookies are really thin, you can try to stack three cookies on top of each other. But in my experience, cookies tend to crack the more you stack them.
🥣 Kitchen tools and equipment
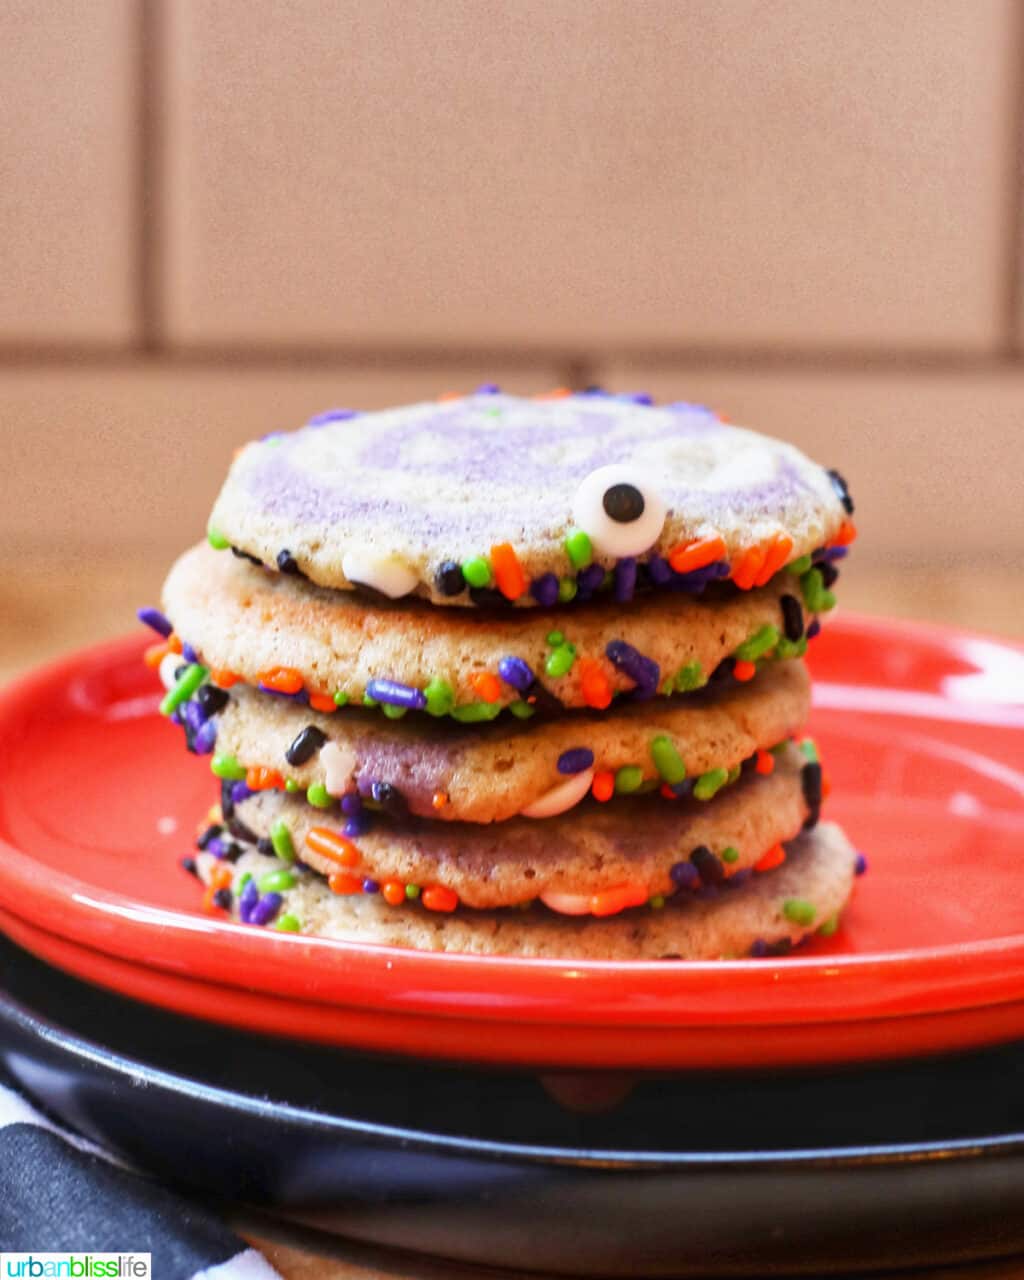
Here's what you'll need to make these cookies:
- 2 Baking sheets - this recipe makes a few batches, so you'll need two half sheet baking sheets and then you'll likely need to do a second batch.
- Parchment paper - to line the cookie sheet and make sure the cookies don't stick to the pan
- Mixer - you'll need either a stand mixer or large bowl with hand mixer to cream the butter, sugar, eggs, and then to mix in the dry ingredients.
- A second large mixing bowl - to mix the dry ingredients
- Whisk - to whisk together the dry ingredients
- Spatula - I always find it easier to use a heatproof silicone spatula to scrap all of the dough out of the bowl.
- Plastic wrap - to wrap the dough while it chills in the fridge.
🍽 Ways to serve Halloween pinwheel cookies
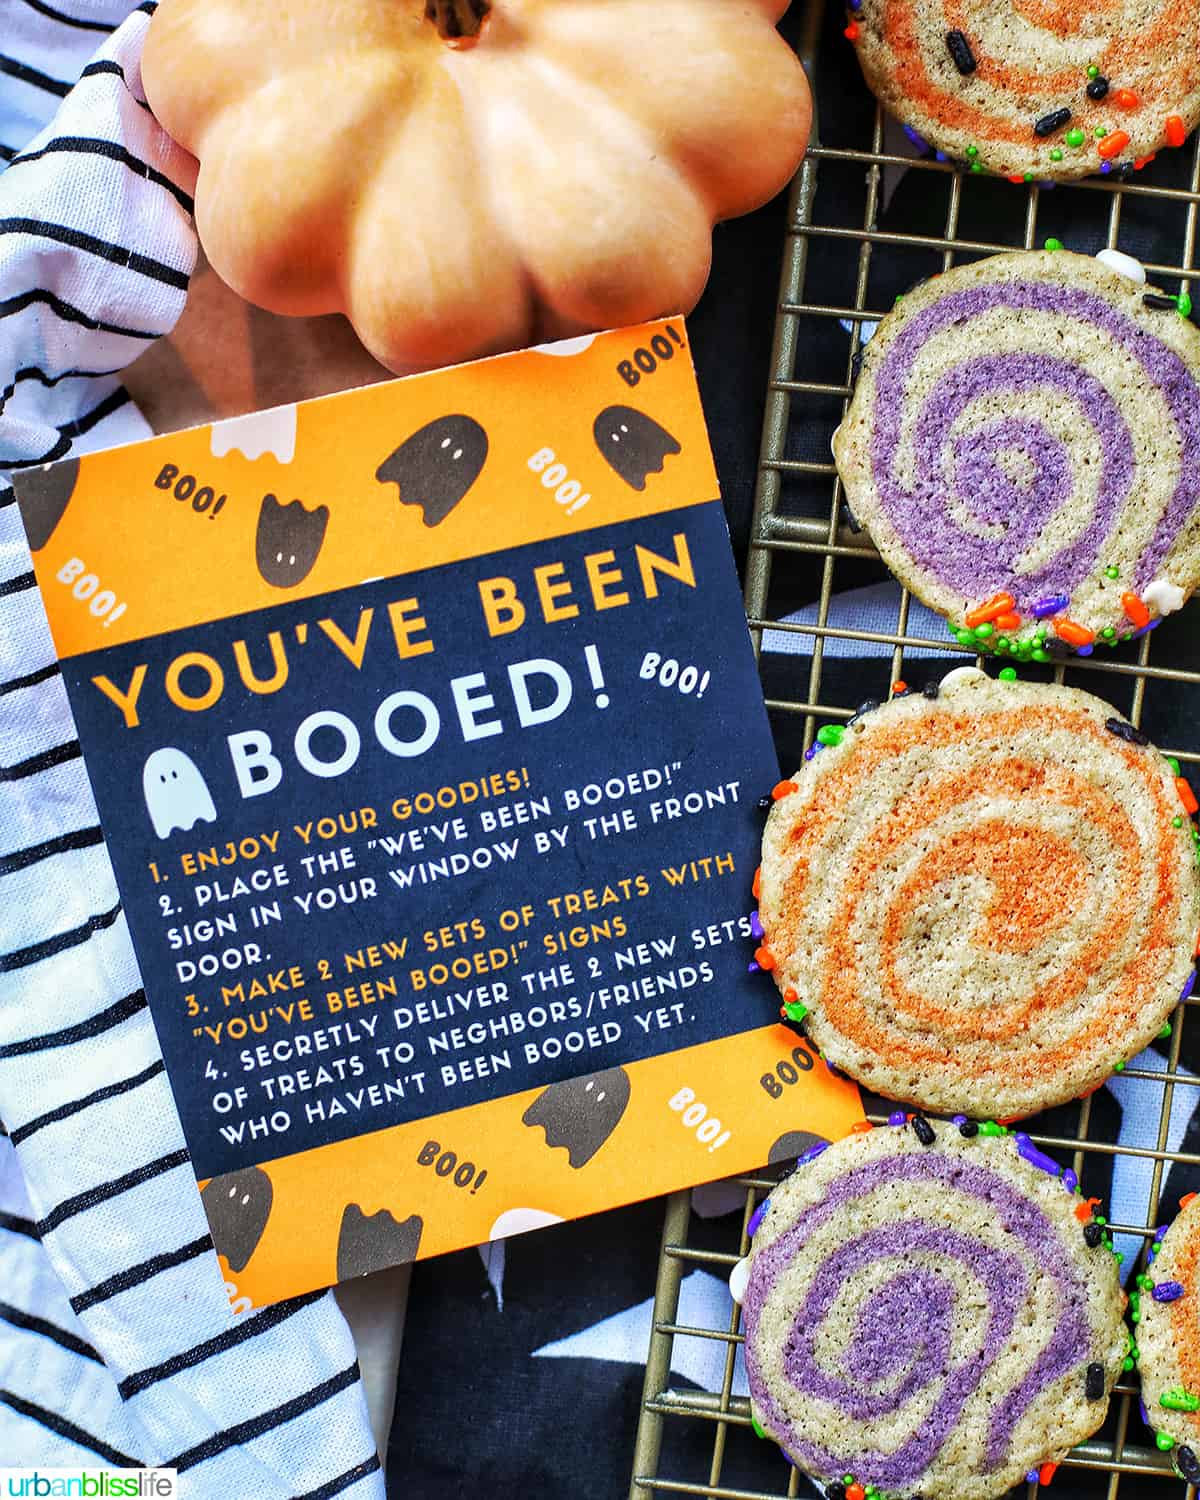
These Halloween Pinwheel Cookies are great for so many reasons. I love how easy they work in so many different situations!
- Stack them into food-safe boxes and ship them to friends and family.
- Make them earlier in the month and freeze them so you'll be all set once Halloween rolls around.
- Plate them up for Halloween parties.
- Pack them into cute little bags for Halloween party favors or as treats for You've Been Booed baskets!
👩🏽🍳 How to create vacuum sealed treat bags
To keep these cookies fresh for Halloween party favors and You've Been Booed baskets, I use my FoodSaver® VS3110 food preservation system along with FoodSaver Vacuum Seal Roll bags.
Here's how I do it:
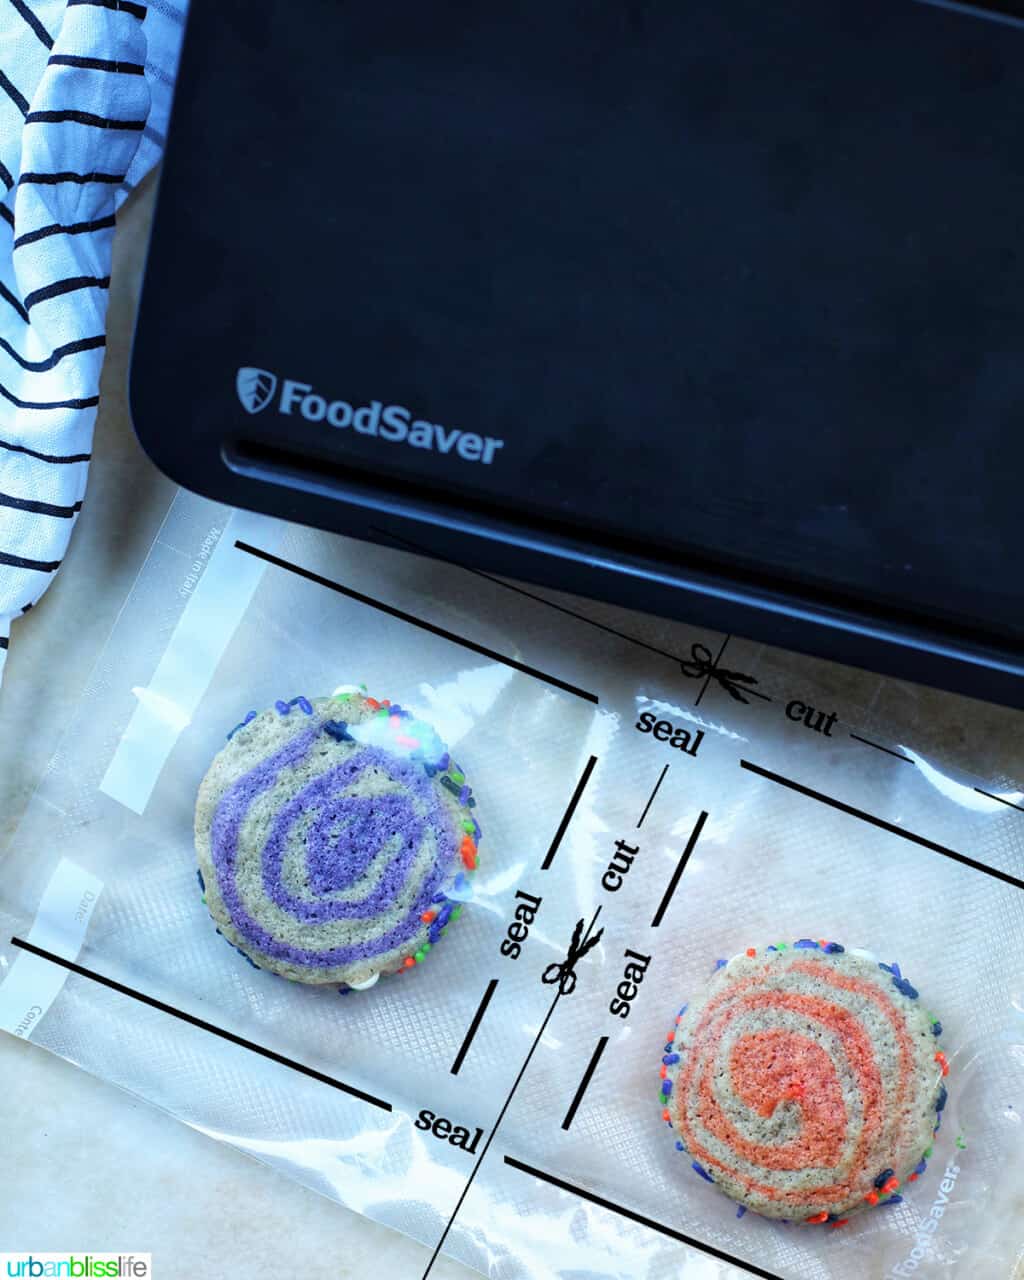
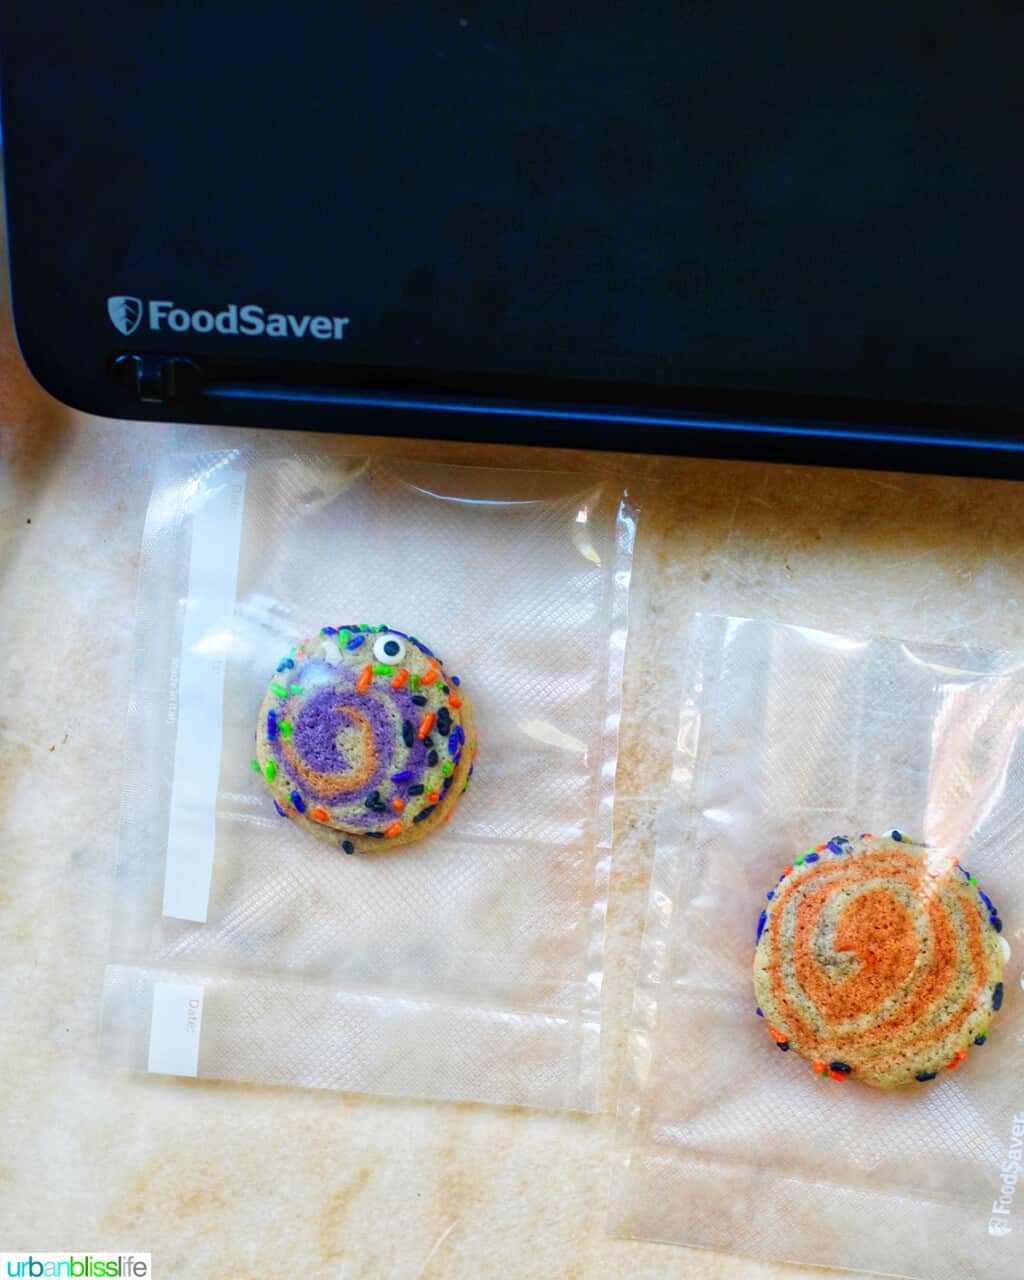
- Use the FoodSaver that you have to seal the bottom of the bag.
- Place two cookies on top of the bag in a row, to measure out and create two individual treat bags. Use a pen to help mark the spots you'll need to seal and cut out two individual treat bags, leaving at least one inch around each cookie.
- Remove the cookies and line the bag up with your markings, then use the FoodSaver built-in cutter to cut out along the marking for the top of the goodie bags.
- Rotate that cut bag 90 degrees and line it up with your sealing markings in the middle then use the Seal function on your FoodSaver to create two seals, and then use the built-in cutter to cut in-between those two mid-way seals. At the end, you'll have two treat bags sealed on three sides that can hold two cookies each.
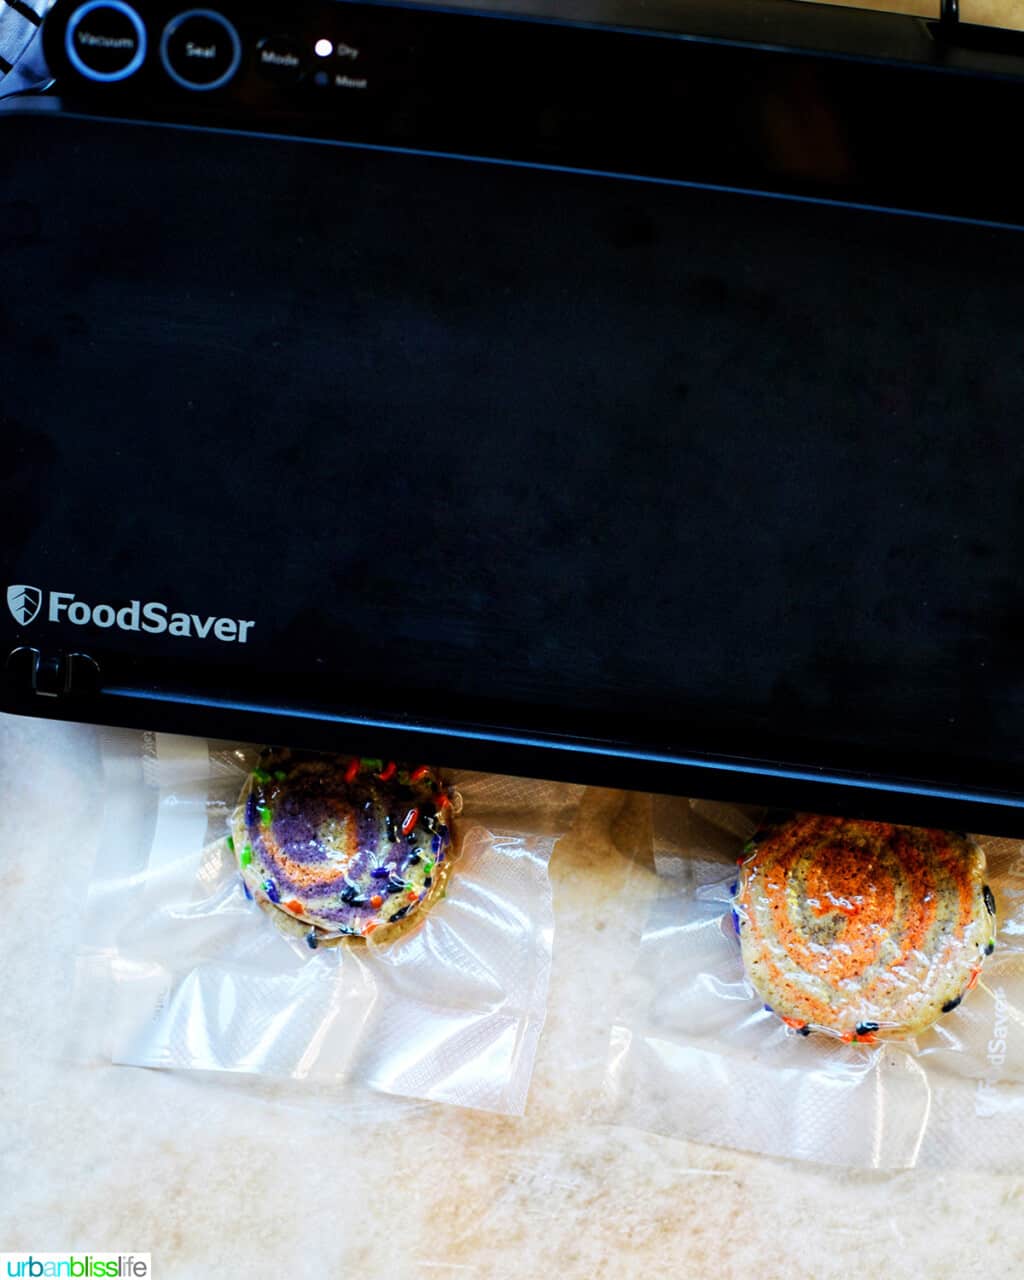
- Place two cookies inside each of the bags, then use your FoodSaver to create one final seal across the top of each bag.
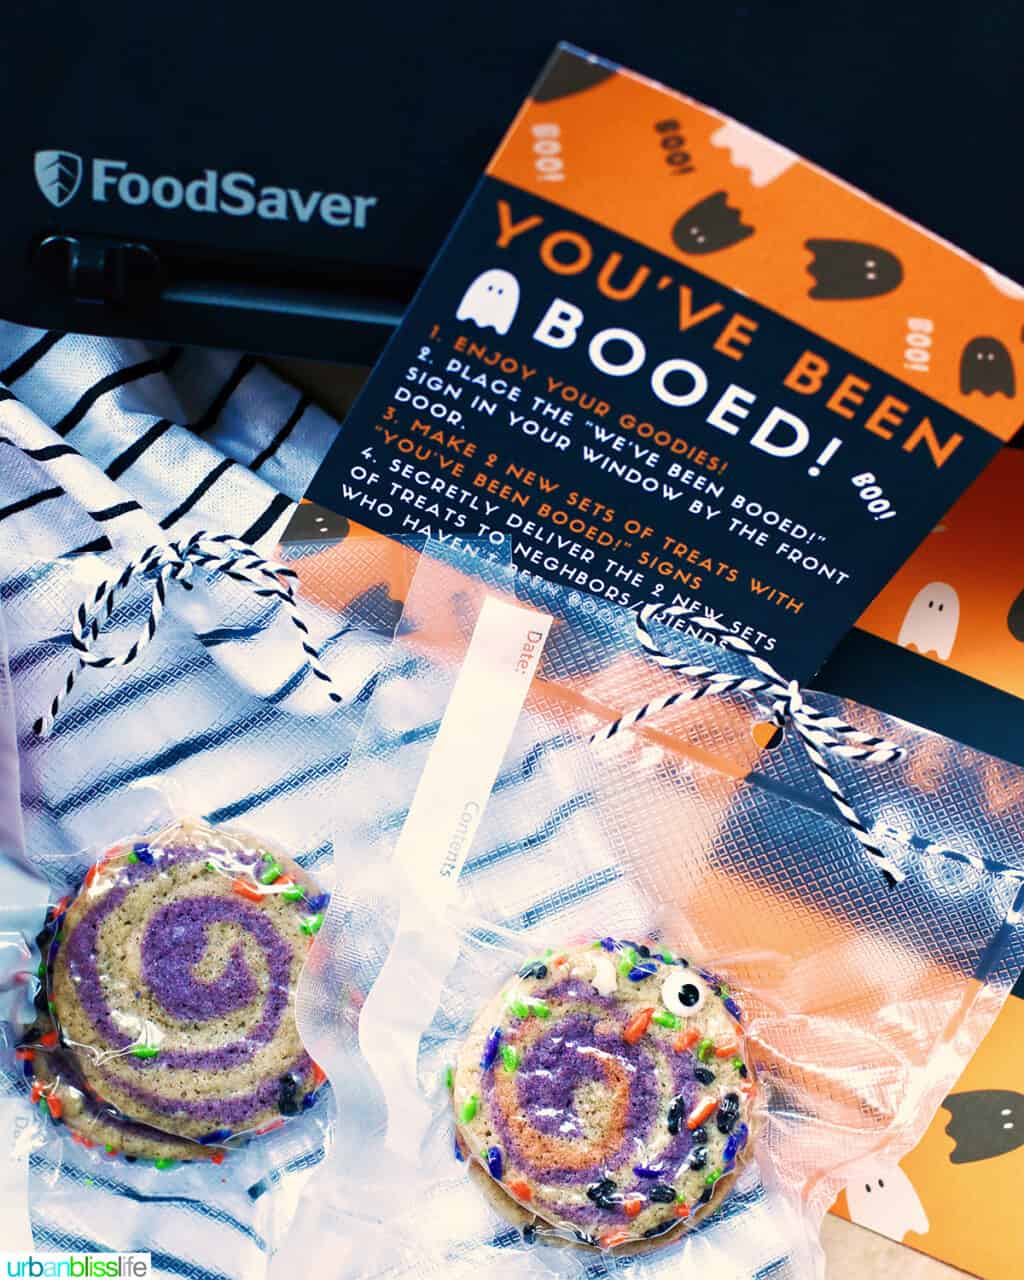
- Use a hole punch to punch a hole at the top of each bag, above the seal, then tie a festive ribbon through it.
- Repeat these steps to create as many individually sealed cookie bags as you need!
😱 You've Been Booed printables
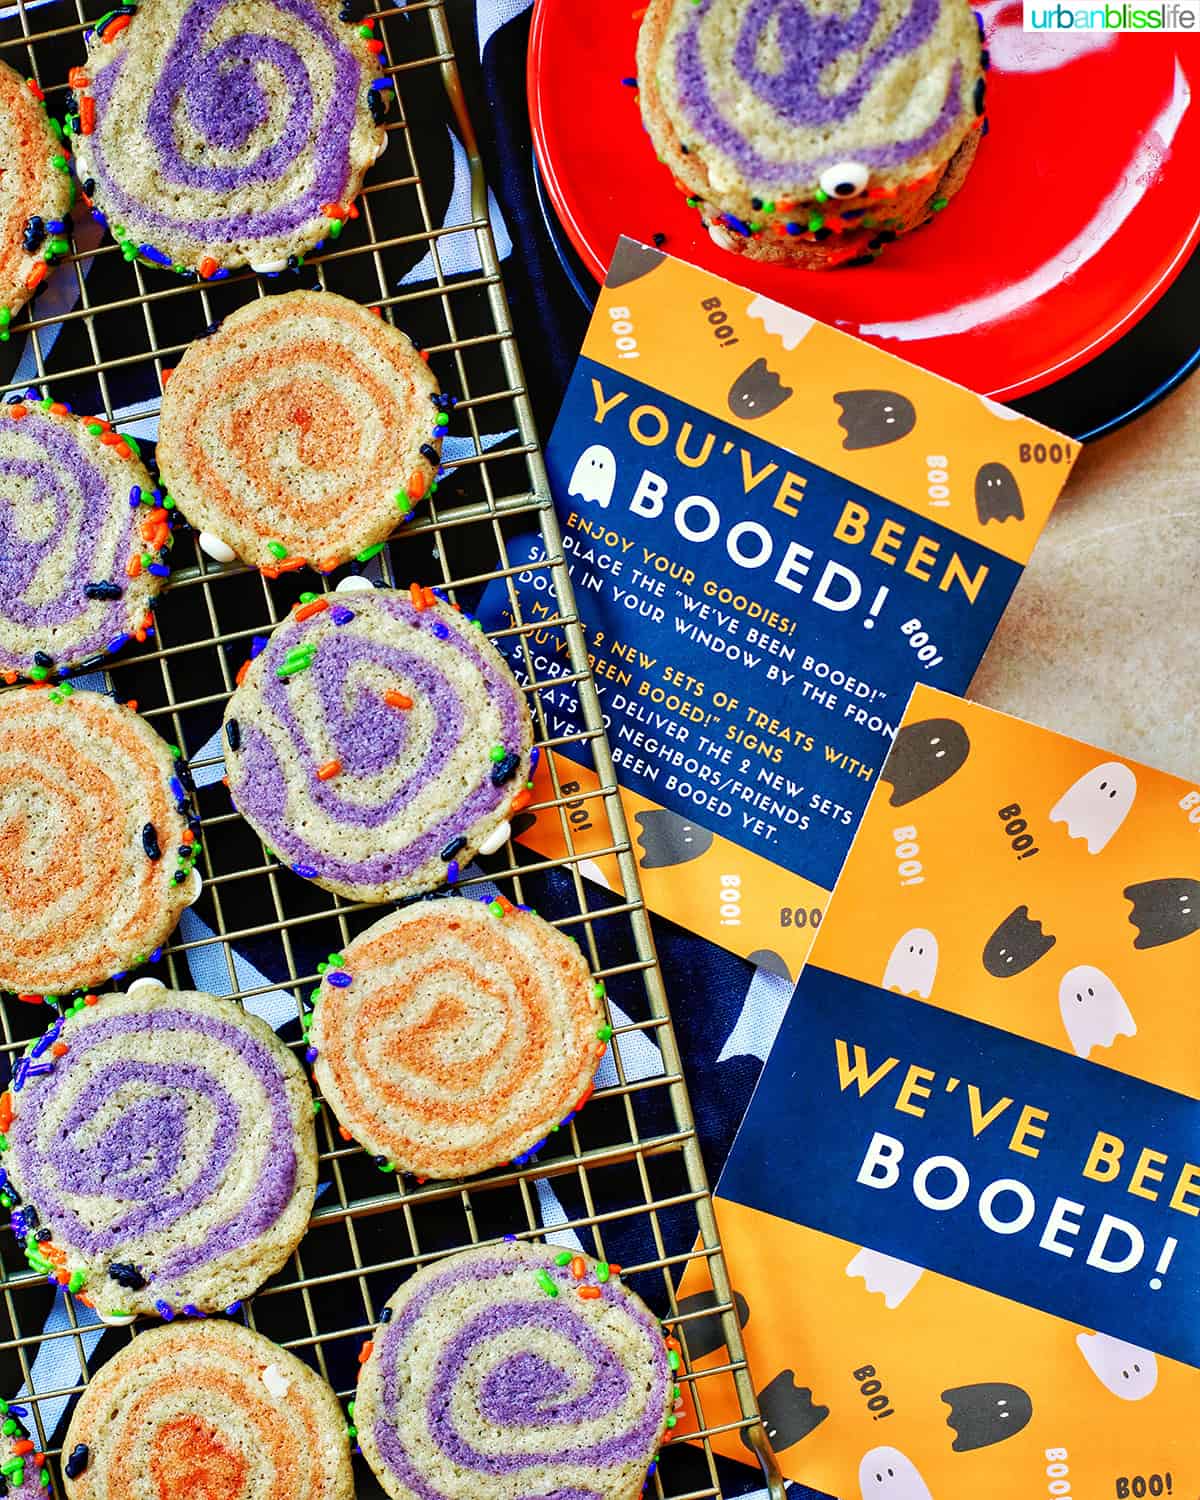
Do you participate in the You've Been Booed pay it forward Halloween treating fun? Essentially, you secretly place some treats on a neighbor's front door with You've Been Booed and We've Been Booed signs.
Then the neighbors do the same for two other neighbors, and so on, and so on. It's a fun and festive way to celebrate Halloween! Especially in a time when trick-or-treating isn't what it used to be.
I designed these cute You've Been Booed and I've Been Booed signs that you can download for free. Print as many as you need!
Download the free Halloween printables over on this post.
👻 More Halloween Recipes
Did you make this recipe? Don't forget to leave a 5-Star 🌟🌟🌟🌟🌟 rating in the recipe card, and if you really loved it, please leave a comment further down on the page. Thank you!
Halloween Pinwheel Cookies
Ingredients
- 1 cup (2 sticks) unsalted butter, softened to room temperature
- 1½ cups granulated sugar
- 2 large eggs, at room temperature
- 2¾ cups all-purpose flour
- ½ teaspoon baking soda
- 1 Tablespoon pumpkin pie spice
- food coloring
Instructions
- In a large bowl using a hand mixer, or in a stand mixer, cream the softened butter together with the sugar until fluffy. Beat in one egg at a time until incorporated.
- In a separate large bowl, whisk together the flour, baking soda, and pumpkin pie spice.
- Gradually beat the dry ingredients into the wet ingredients until combined.
- Lightly flour a clean surface. Roll the dough onto the floured surface until the dough no longer sticks to your hand.
- Divide the dough into four equal pieces. Add one food color to one dough piece and continue folding dough into itself until the food coloring is evenly distributed throughout that dough pieces. Shape into a disc and set aside.
- Add a second food coloring to another dough piece and repeat the process.
- Leave the remaining two dough pieces the original color, or feel free to add food coloring to those as well. Shape into discs.
- Wrap each disc in plastic wrap and refrigerate for 30 minutes.
- After 30 minutes, remove the dough discs from the refrigerator. Roll out one regular colored dough disc and use a knife or pastry scraper to cut the dough into a rectangle. Repeat this process with one of the colored dough discs. Place the colored dough disc onto the regular dough disc. Then, working from one of the shorter ends of the rectangle to the other, roll the stacked dough tightly into a log. It's okay if there are small cracks here and there because they will push together as you roll the rest of the dough up.
- Repeat this process with the remaining regular colored dough disc and remaining colored dough disc. Re-wrap both dough logs in plastic wrap and refrigerate for 1 hour.
- After 1 hour, remove the dough logs from the refrigerator. Preheat the oven to 350°F. Line two baking sheets with parchment paper and set them aside.
- Slice the dough logs into thin slices about ¼" to ½" thick. Dip the sides of each sliced cookie dough into the colored sprinkles and place on the prepared baking sheets approximately 2 inches apart, as the dough will spread while baking.
- Bake at 350°F for 11 to 13 minutes. Let cool on the pan for 2 to 5 minutes before transferring to a cooling rack to cool completely.
Notes
Nutrition
Nutrition information is a general estimate. Actual nutrition details may vary depending on the exact foods & brands you use to make this recipe. It does not take into account any substitutions, toppings, or optional ingredients.
🎃 Halloween printables
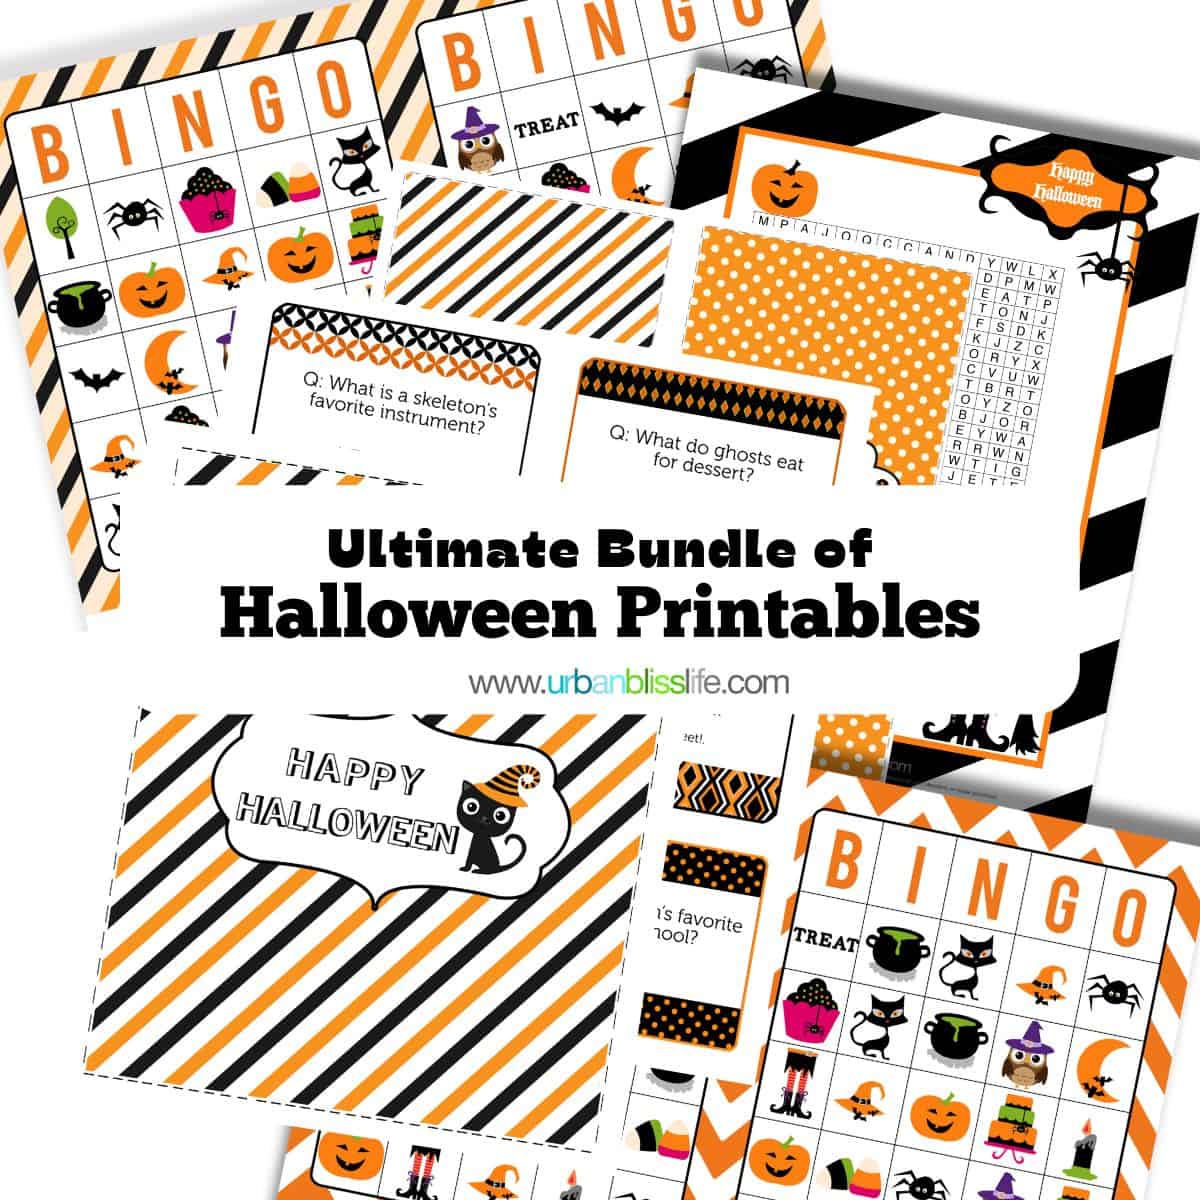
Throwing a Halloween party? Check out our Ultimate Bundle of Halloween printables!
The Halloween printables bundle includes:
- Halloween party invitation design
- Halloween bingo cards + call-out cards
- Lunchbox laughs with Halloween-themed jokes
- Halloween word search
- Halloween favor bag fold-over tags
- Trick-or-treating scavenger hunt
- Halloween candy wrappers


Leave a Reply