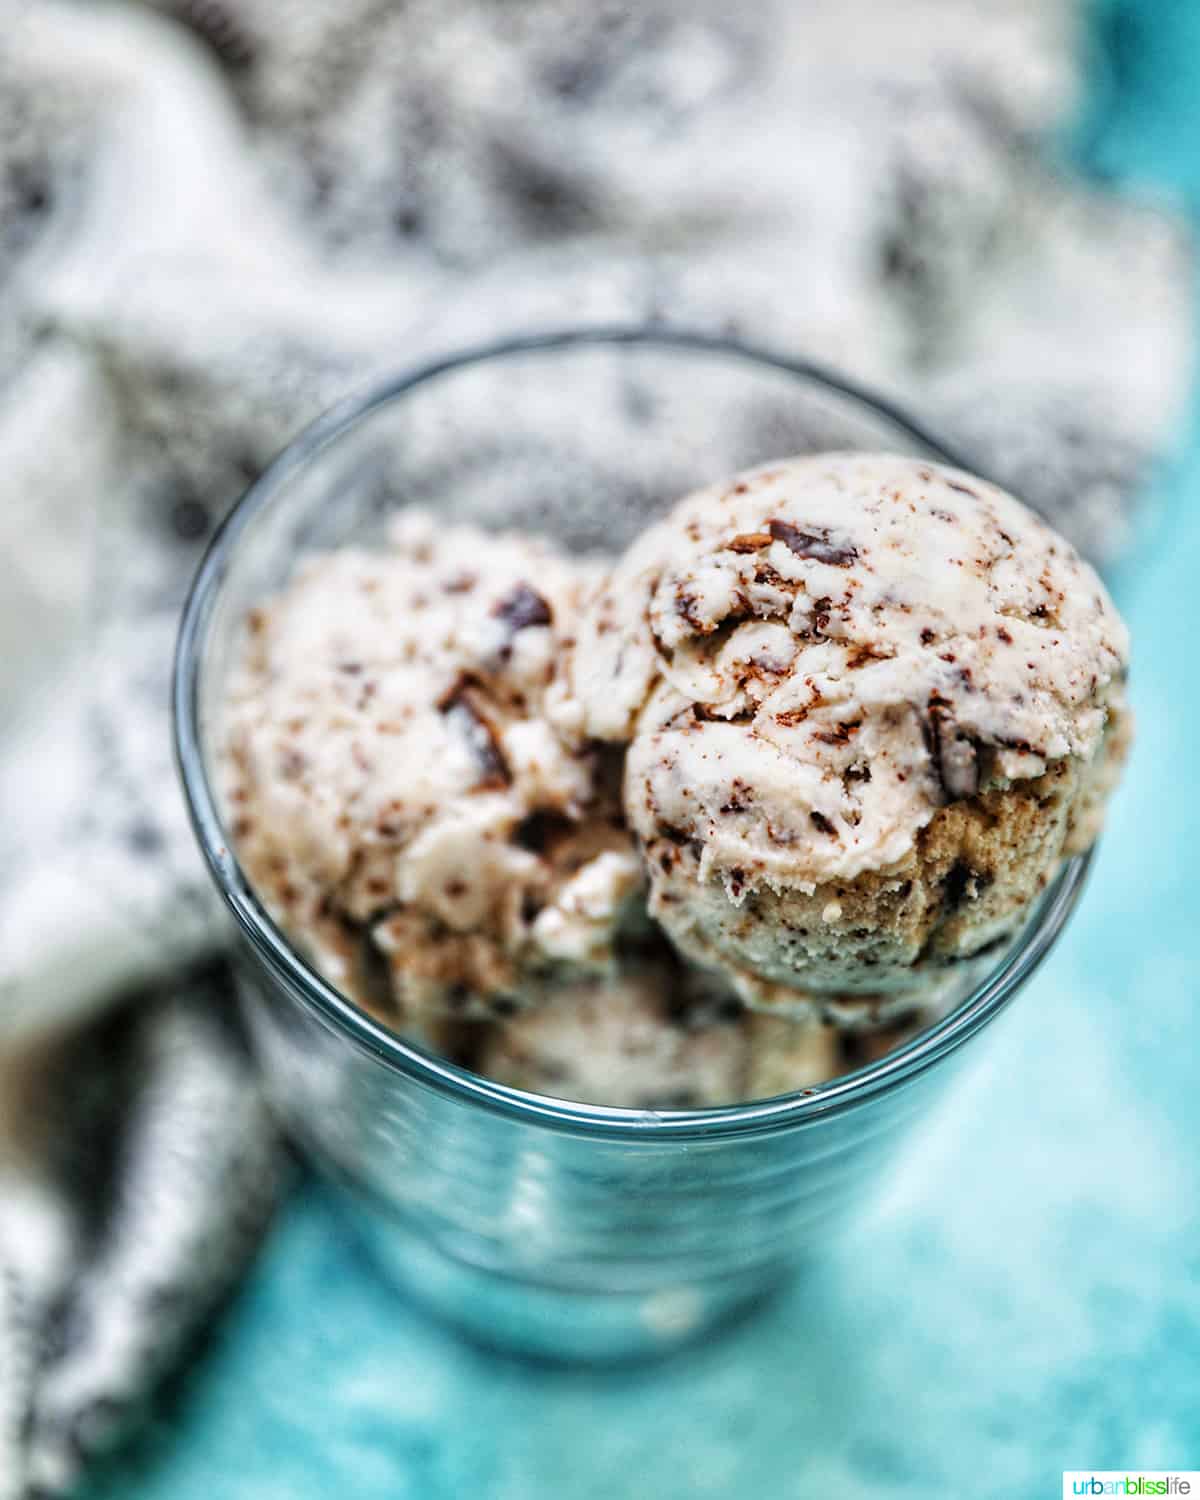
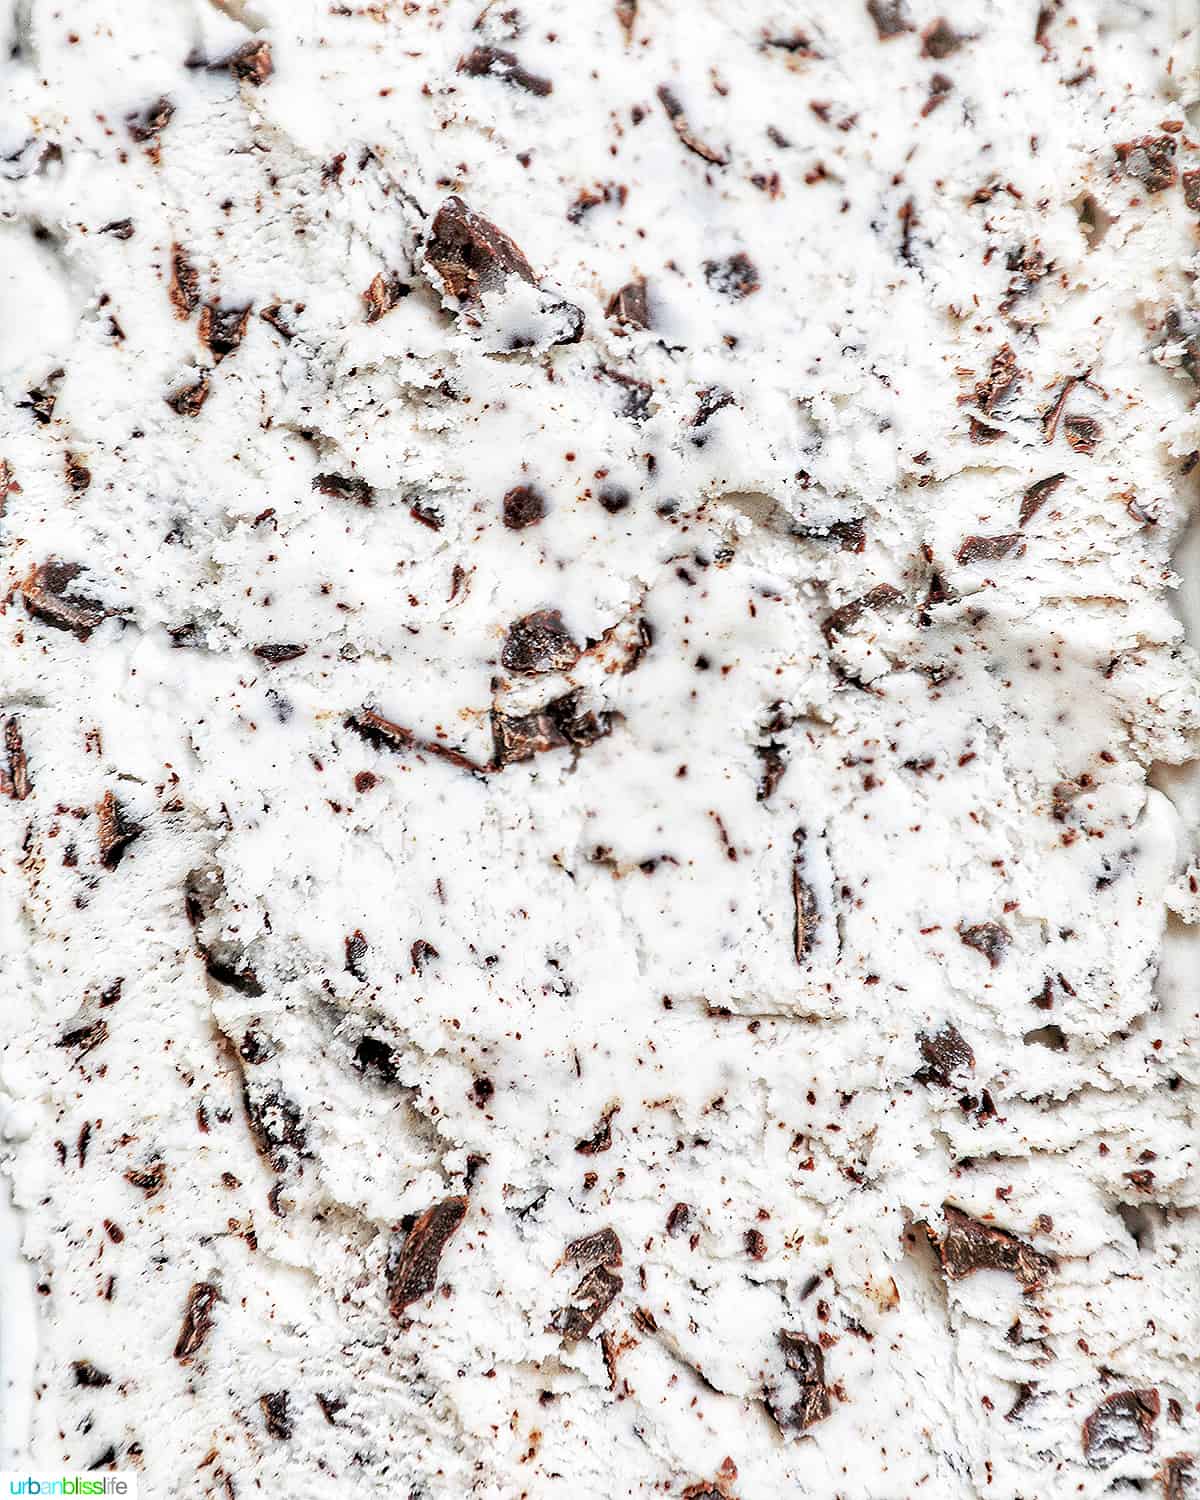
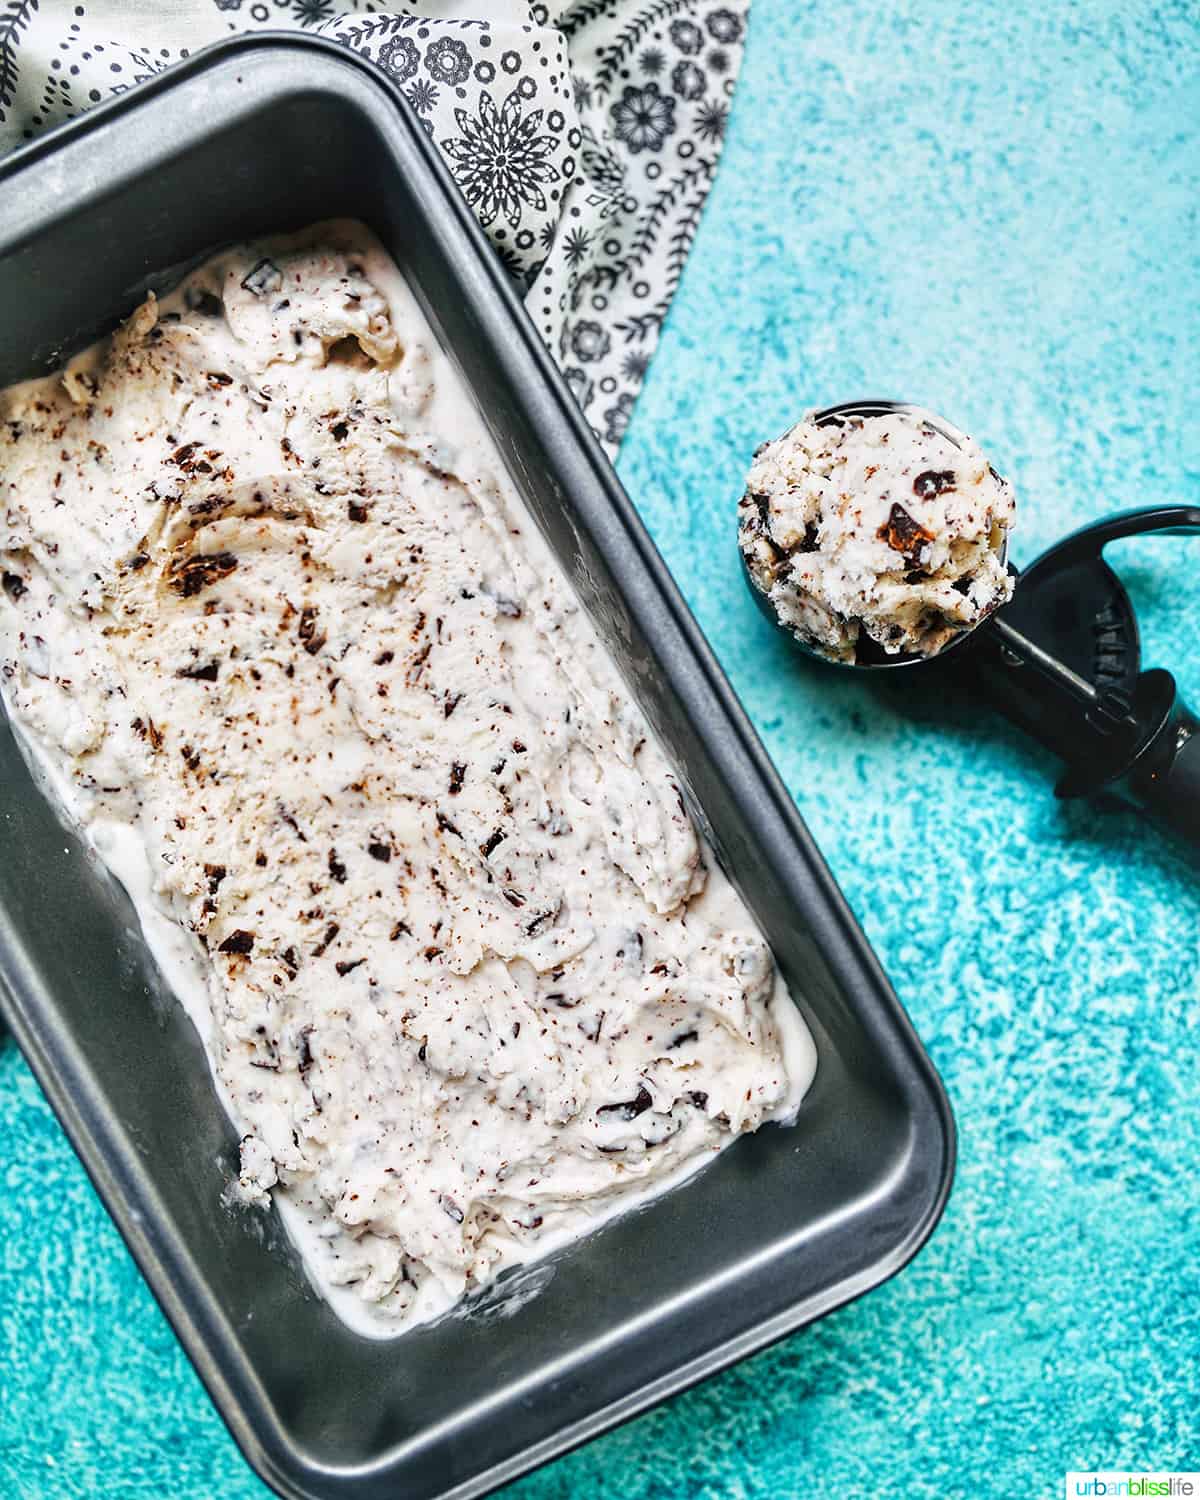
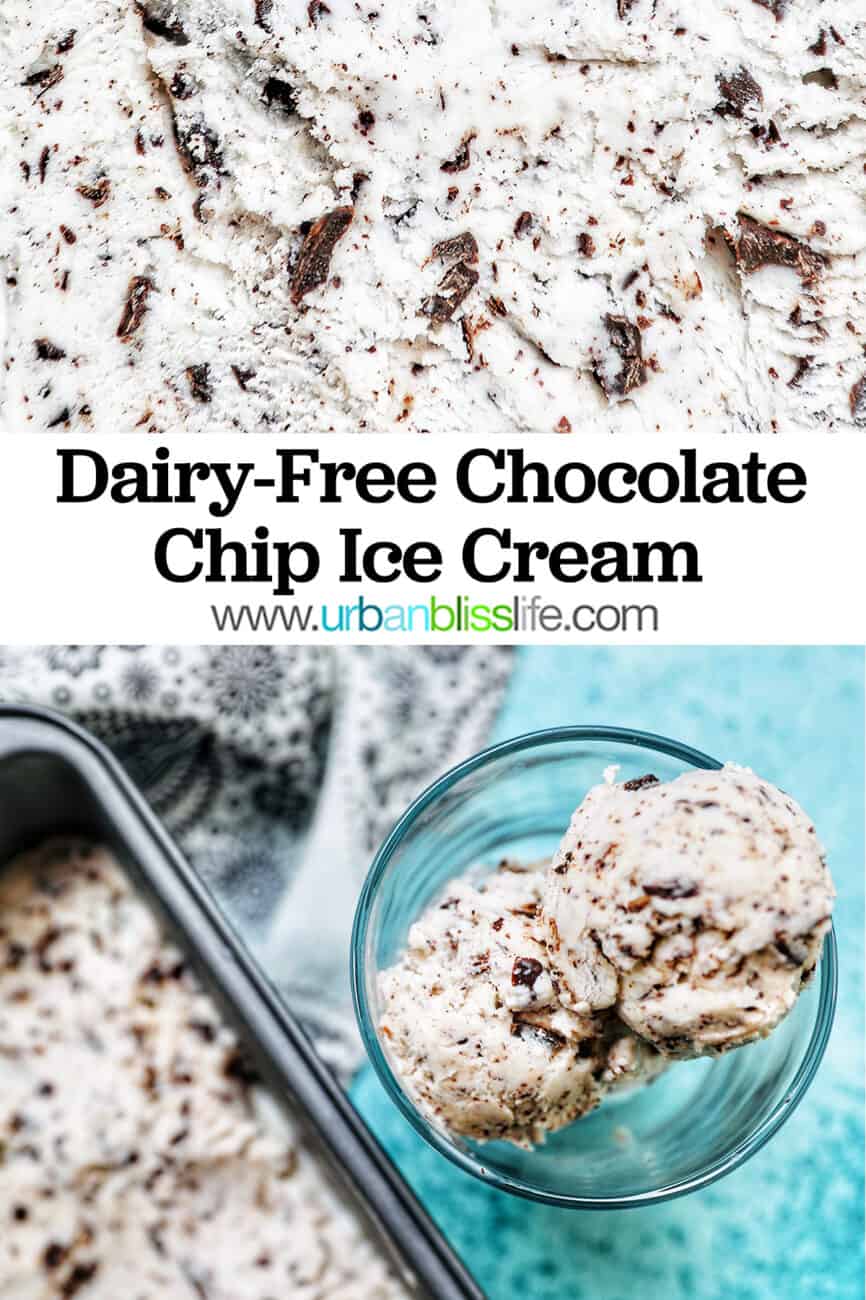
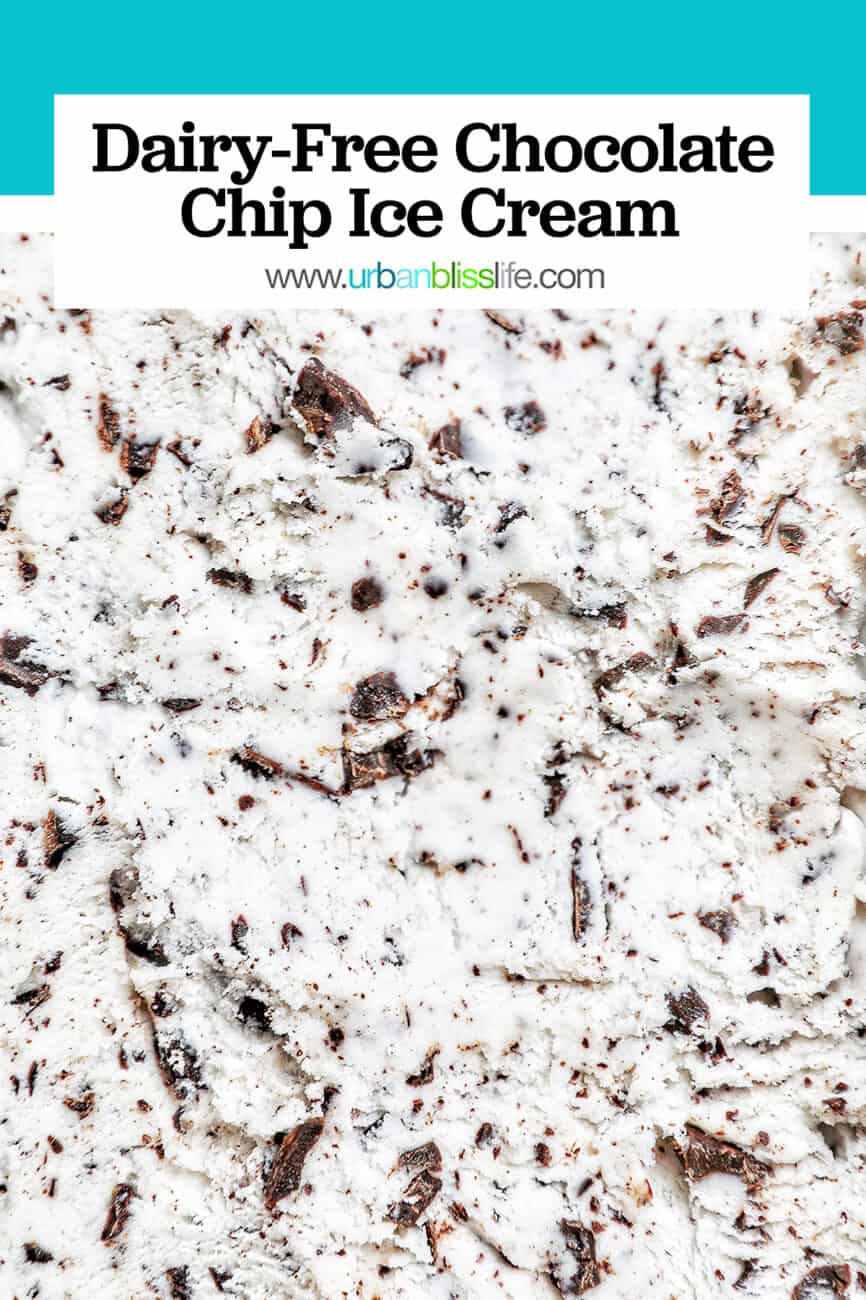
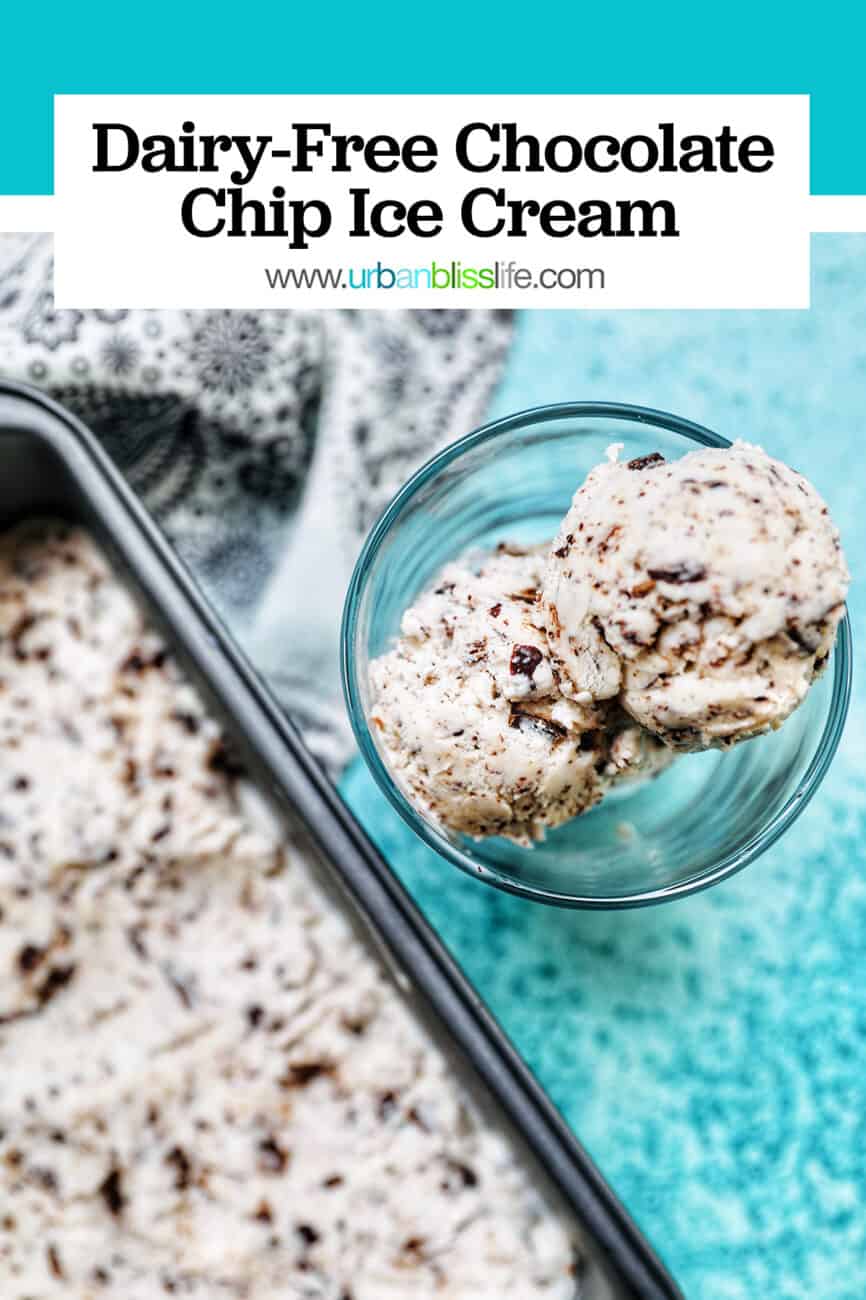
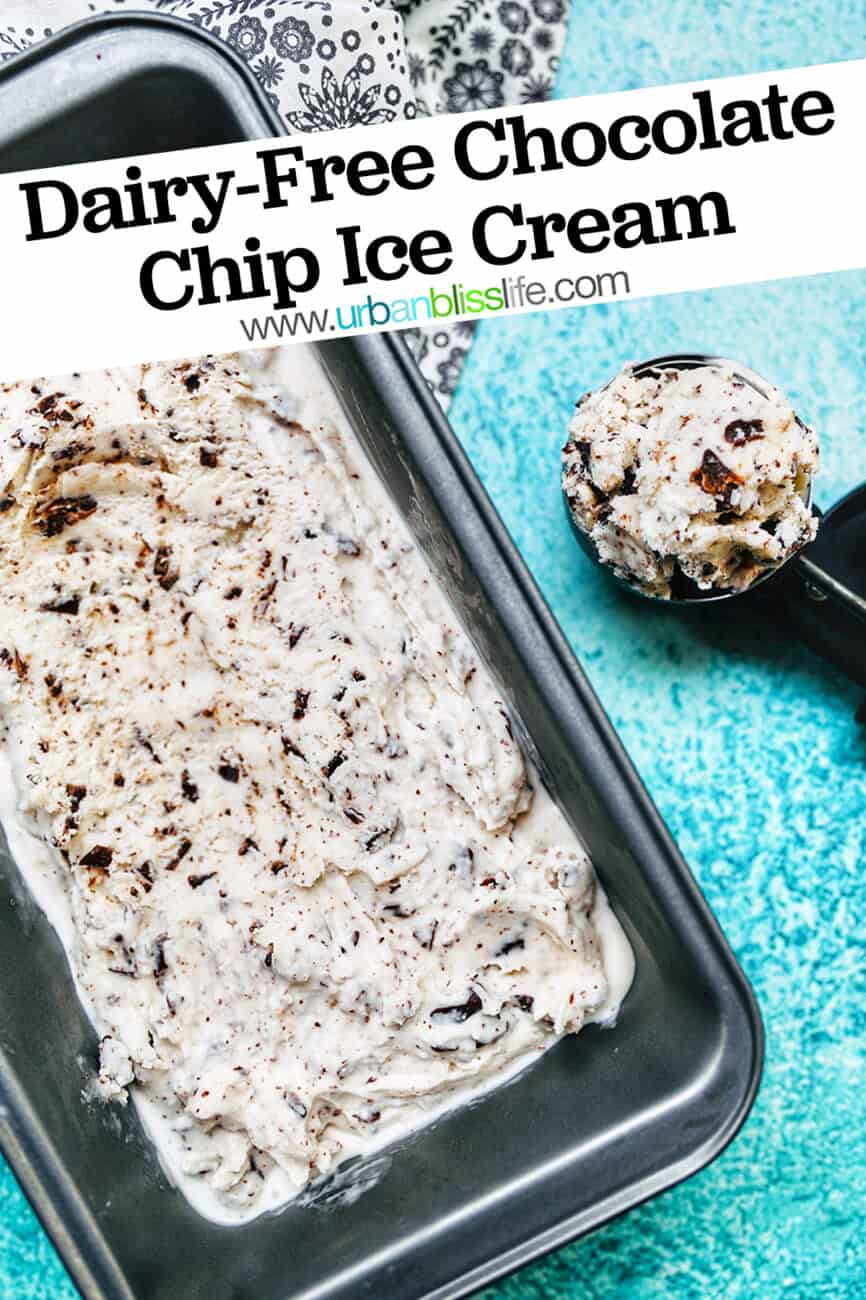
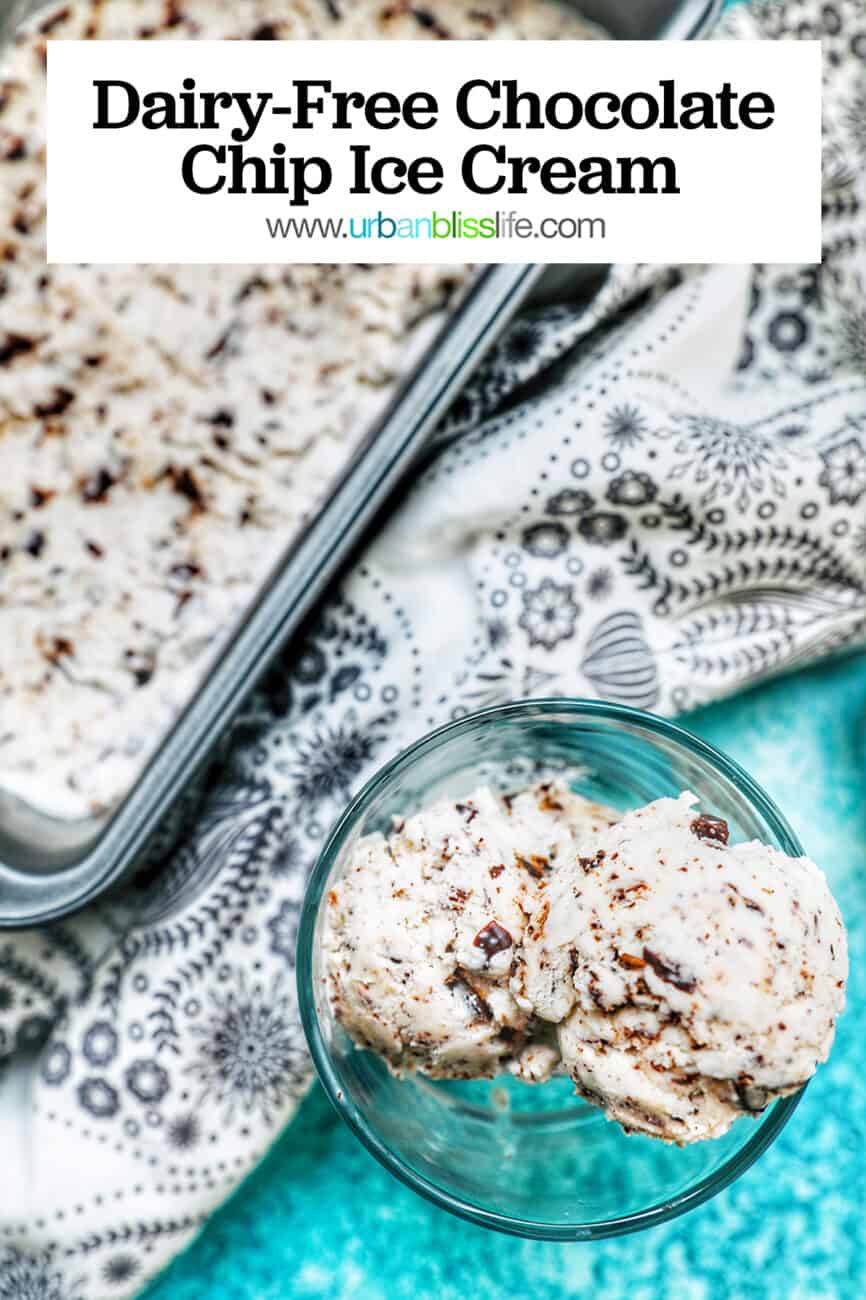
This Dairy-Free Chocolate Chip Ice Cream is as close to a dairy-free version of the Baskin Robbins’ chocolate chip ice cream as it gets. So creamy and full of sweet chocolate flakes and chunks. A luscious vegan treat that’s easy to make!

Welcome to ice cream season!
We love making homemade frozen treats in our house. Whether it’s Orange Sorbet, Raspberry Sherbet, or a yummy Cookies and Cream Ice Cream, we almost always have the ice cream maker bowl in the freezer ready to make a batch.
Jump to:
🌟 Why you’ll love this recipe
Over the past few years, I’ve been on a mission to create a vegan version of my absolute FAVORITE ice cream since I was a kid: Baskin Robbins Chocolate Chip Ice Cream.
At long last, I have done it, my friends! And now I’m excited to finally be able to share this dairy-free copycat Baskin Robbins recipe with you!
This recipe is:
- Made with just 5 ingredients (plus salt). You probably already have all of the ingredients in your house!
- Packed with dairy-free chocolate shavings, so you get some yummy chocolate in each bite.
- Refreshing and light.
- Easy to make.
🍫 Gather your ingredients
First, make sure you place the ice cream maker bowl into your freezer about 24 hours before you want to make the ice cream.
When you’re ready to start making the ice cream, gather your ingredients:
- coconut milk – make sure you use canned full fat coconut milk. It makes a BIG difference in the texture of the finished ice cream
- granulated sugar – a half cup is just the right amount to add enough sweetness to this dairy-free ice cream. This is one ingredient that I strongly recommend NOT substituting. Any different type of sugar will completely change the entire constitution of the ice cream.
- kosher salt – if you want to use table salt instead, cut the amount in half.
- cornstarch – a thickening agent like cornstarch is important when making dairy-free ice cream. It helps thicken the mixture
- vanilla extract – use pure vanilla extract for the best flavor.
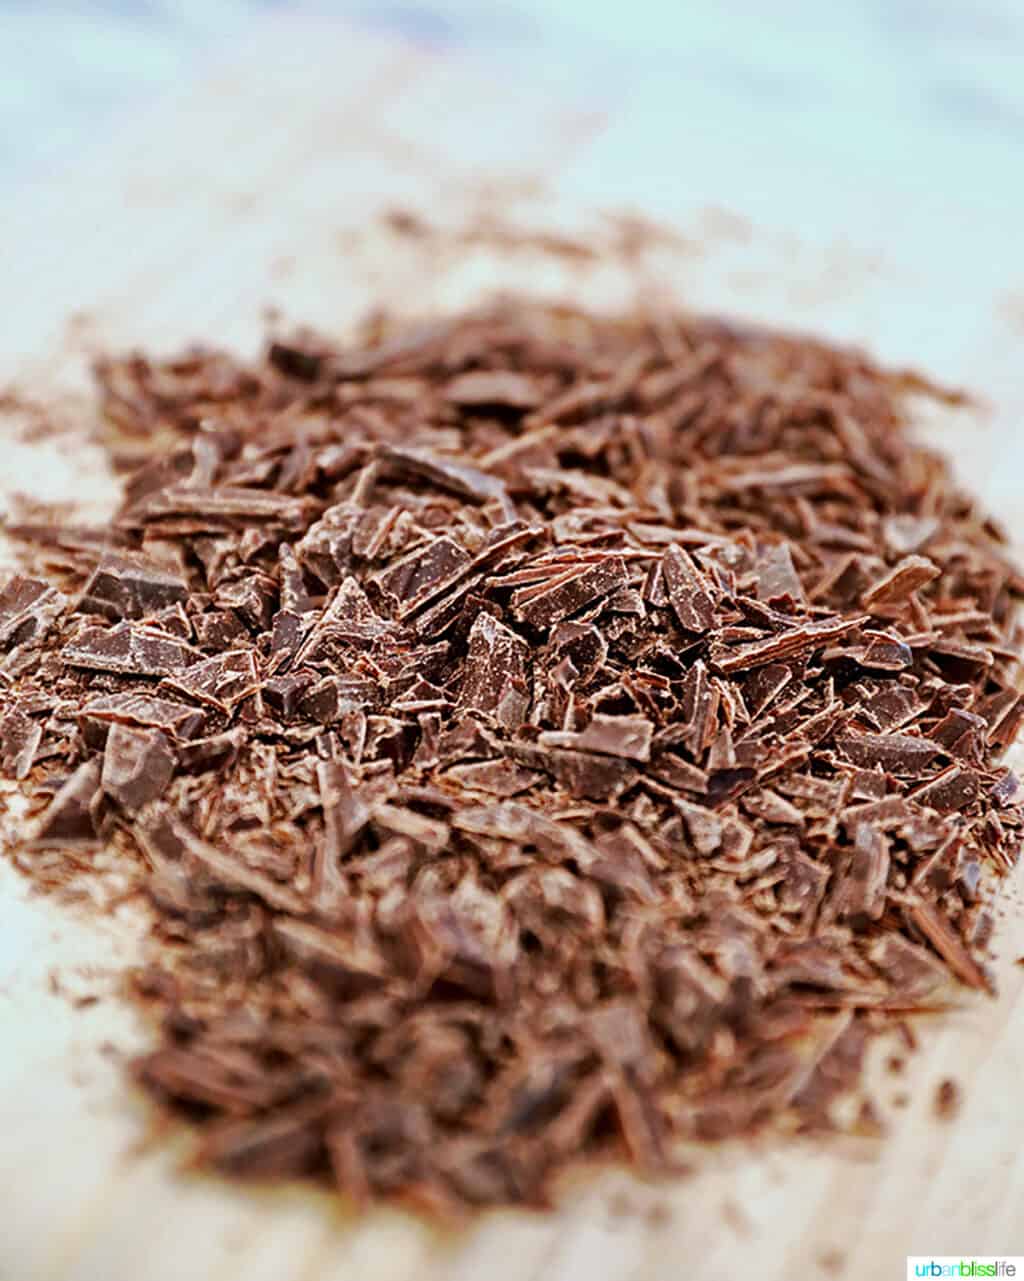
- dairy-free chocolate bar – choose a dairy-free chocolate bar that you love. You can either chop or use a peeler to create chocolate shavings.
✅ Step-by-step instructions
Step 1 – Pour 1/4 cup of the coconut milk into a small bowl and set aside. Combine the remaining coconut milk, sugar, and salt in a medium saucepan over medium heat. Warm, stirring occasionally, until the sugar has fully dissolved, about 2 minutes.
Step 2 – Whisk the cornstarch into the bowl of reserved coconut milk until completely dissolved.
Step 3 – Stir the cornstarch mixture into the warm coconut milk base on the stove and cook over medium heat to thicken, about 6 to 8 minutes. The mixture should be thick enough to coat the back of a spoon. Watch the mixture carefully to be sure it doesn’t come to a boil. Remove the mixture from heat and stir in the vanilla.
Step 4 – Pour mixture into a shallow container, such as a loaf pan, and allow it to cool at room temperature for about 15 to 20 minutes. Then cover and refrigerate for at least 3 hours or overnight.
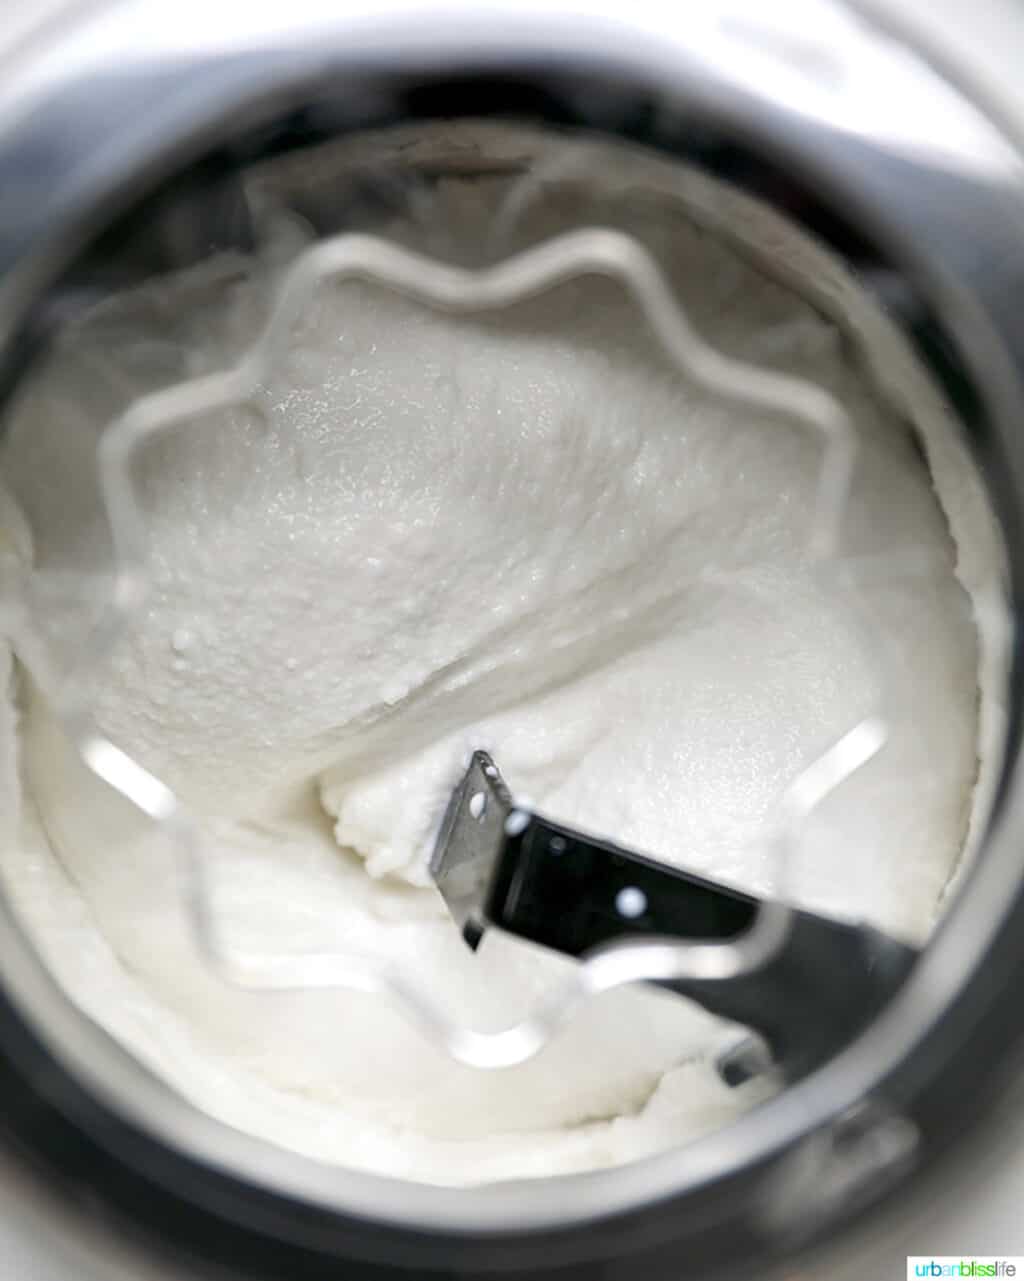
Step 5 – Once this base mixture is completely chilled, you’re ready to churn the ice cream. Pour the mixture into your ice cream machine and churn according to manufacturer’s instructions (usually about 15 minutes).
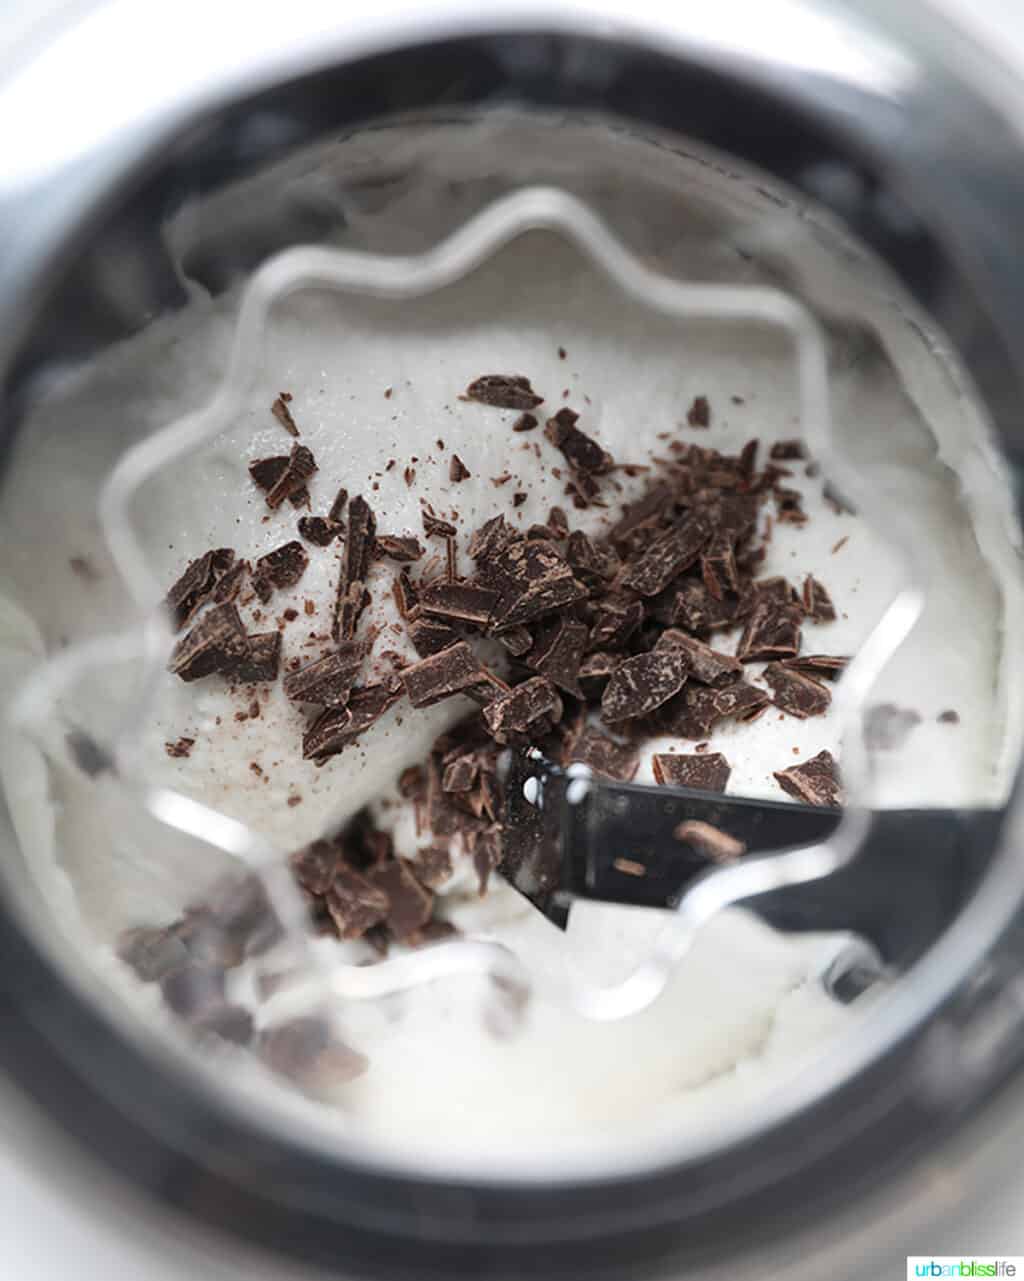
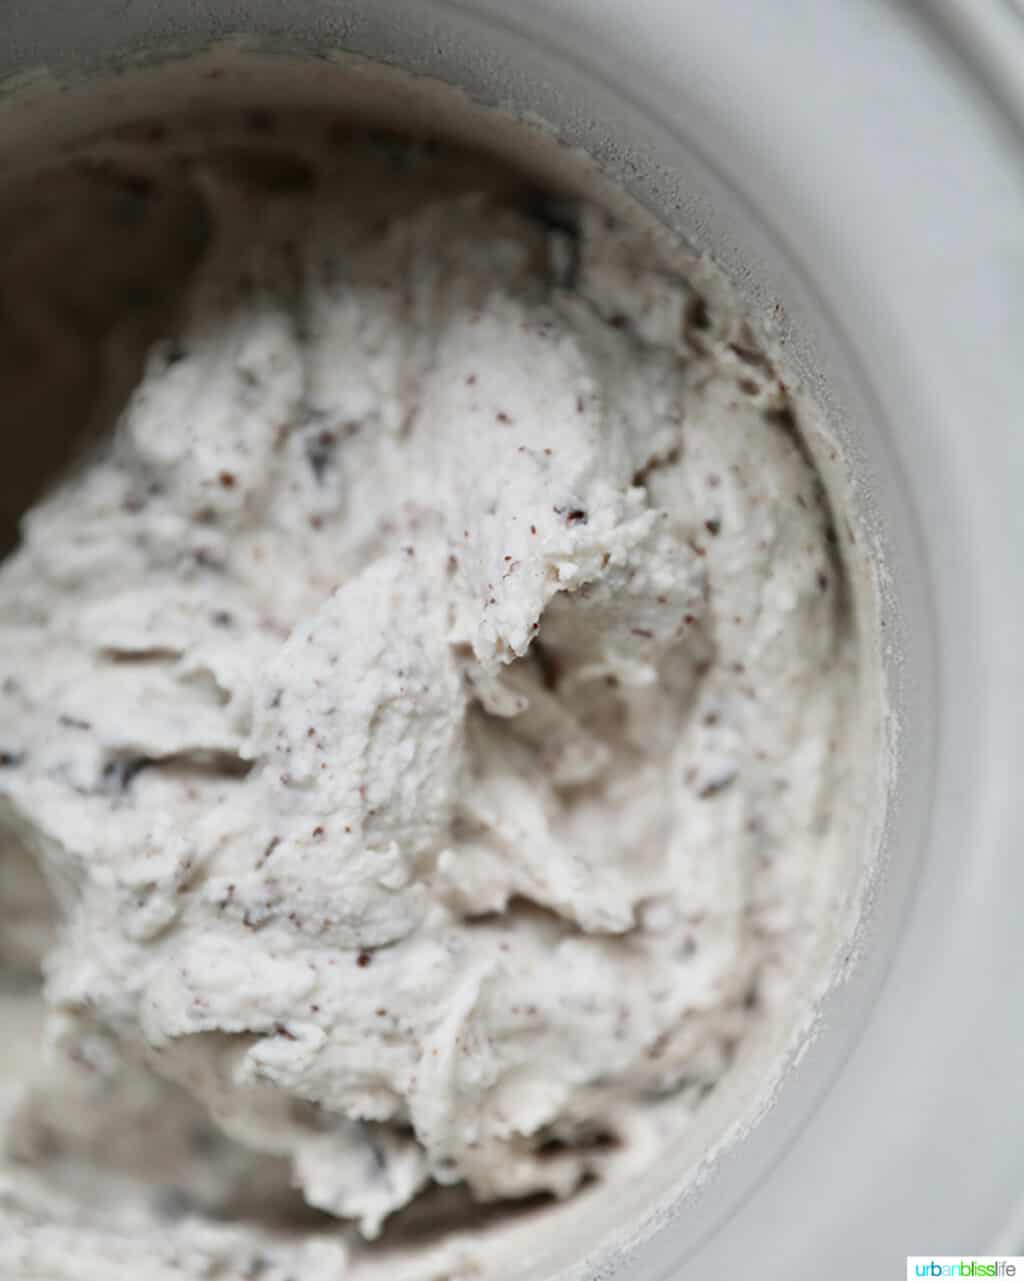
Step 6 – Once the mixture has thickened to the consistency of custard, and before it’s fully reached peak consistency, add in the chopped chocolate and churn for another minute, just until the chocolate is well-combined.
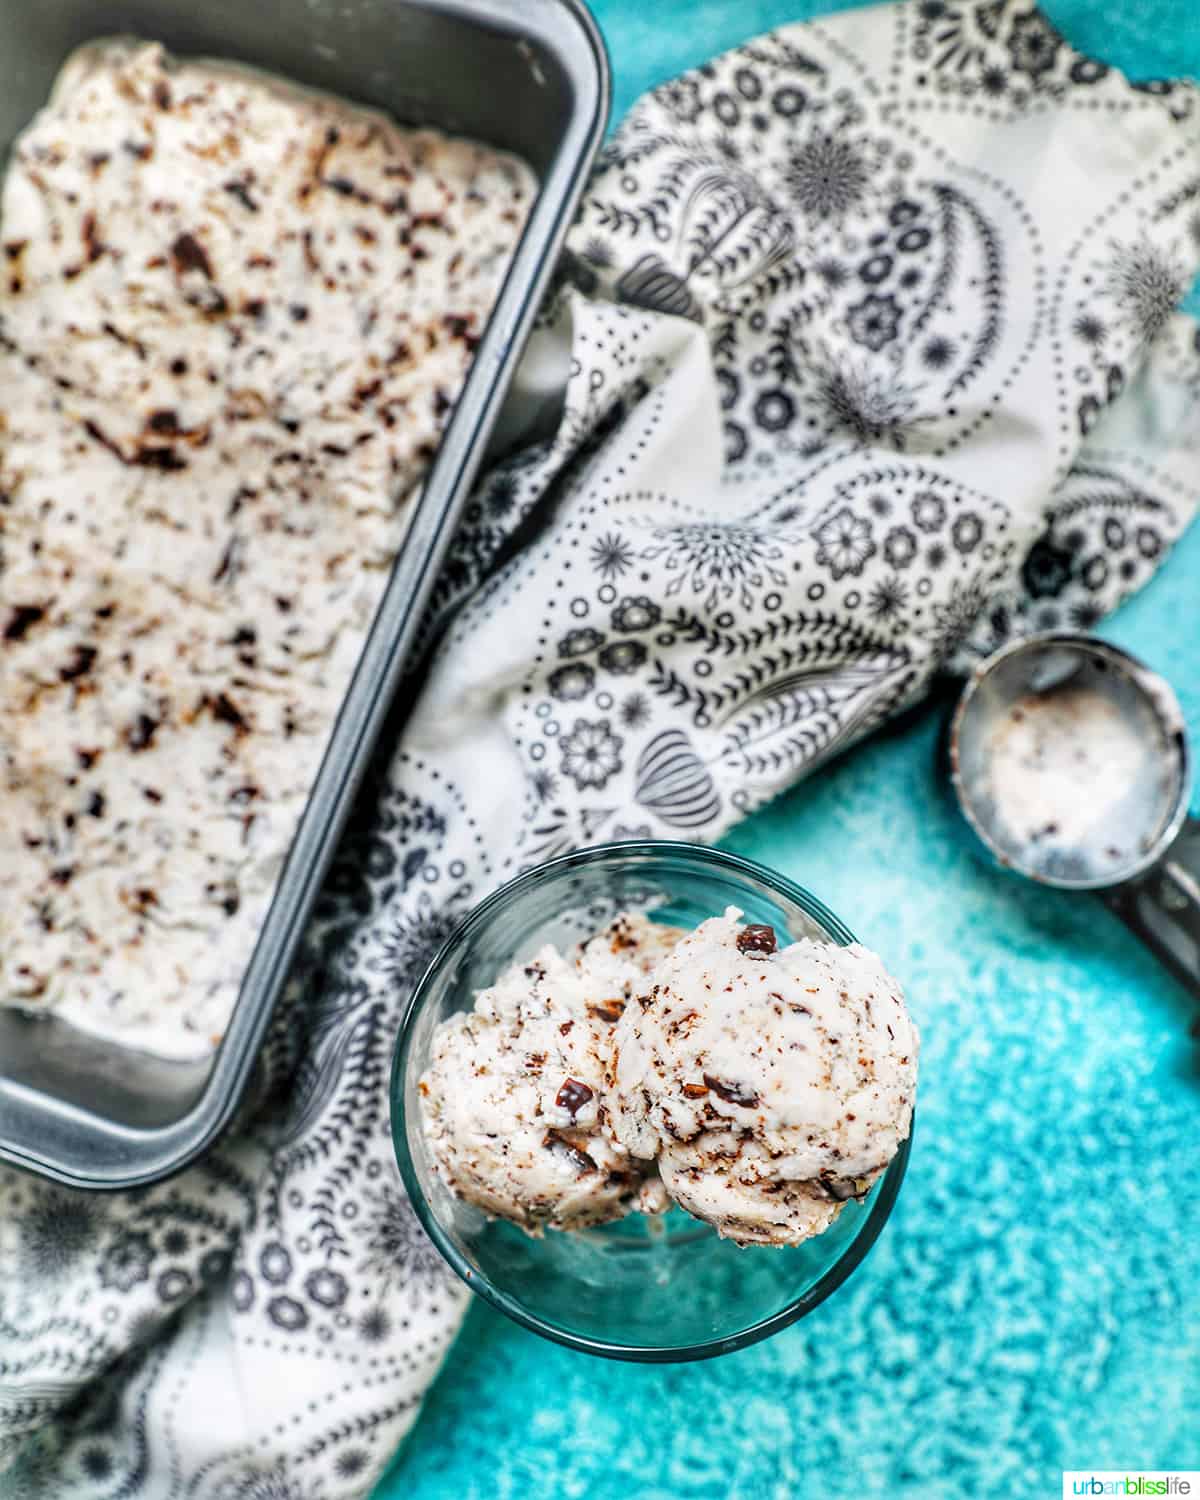
Step 7 – Use a rubber spatula to transfer the ice cream into a loaf pan or other freezer-safe container, and cover tightly with plastic wrap. Freeze for at least 3 hours, until the ice cream is fully frozen.
When you’re ready to serve, take the ice cream out of the freezer and allow it to sit on the counter at room temperature for 5 to 10 minutes to soften just enough to scoop.
🍦 Vegan Ice Cream FAQs
When using a milk substitute, you need to choose one with a higher fat content in order to create a creamy consistency that is close to that of regular ice cream. Or, you can use a mixture of lower fat content milk alternative (almond milk, for instance) with full-fat coconut milk.
If your ice cream turned out icy, it most likely is because the milk alternative you chose to use doesn’t have a high enough fat content to create a creamy ice cream.
I use cornstarch, or arrowroot powder. This helps create a creamier consistency when making dairy-free ice cream. You can also use tapioca starch or xantham gum.
You can find dairy-free chocolate bars at most grocery stores these days, both in the baking aisle and in the candy aisle.
🥄 Kitchen tools and equipment
To make this recipe, you will need:
- medium saucepan to heat up and mix the main ingredients before chilling them
- a container to chill the mixture, such as a 9 x 5-inch loaf pan
- ice cream scoop
- an ice cream maker
More ice cream recipes
Did you make this recipe? Don’t forget to leave a 5-Star 🌟🌟🌟🌟🌟 rating in the recipe card, and if you really loved it, please leave a comment further down on the page. Thank you!
Dairy-Free Chocolate Chip Ice Cream

Ingredients
- 2 cans (14-ounces each) full-fat coconut milk
- ½ cup granulated sugar
- ¼ teaspoon kosher salt
- 2 tablespoons cornstarch, or: tapioca starch, arrowroot powder, or xantham gum
- ¼ teaspoon vanilla extract
- 4 ounces dairy-free chocolate bar, chopped or peeled into chocolate shavings
Instructions
- Pour 1/4 cup of the coconut milk into a small bowl and set aside. Combine the remaining coconut milk, sugar, and salt in a medium saucepan over medium heat. Warm, stirring occasionally, until the sugar has fully dissolved, about 2 minutes.
- Whisk the cornstarch into the bowl of reserved coconut milk until completely dissolved.
- Stir the cornstarch mixture into the warm coconut milk base on the stove and cook over medium heat to thicken, about 6 to 8 minutes. The mixture should be thick enough to coat the back of a spoon. Watch the mixture carefully to be sure it doesn't come to a boil.
- Remove the mixture from heat and stir in the vanilla.
- Pour mixture into a shallow container, such as a loaf pan, and allow it to cool at room temperature for about 15 to 20 minutes. Then cover and refrigerate for at least 3 hours or overnight.
- Once this base mixture is completely chilled, you're ready to churn the ice cream. Pour the mixture into your ice cream machine and churn according to manufacturer’s instructions (usually about 15 minutes).
- Once the mixture has thickened to the consistency of custard, and before it's fully reached peak consistency, add in the chopped chocolate and churn for another minute, just until the chocolate is well-combined.
- Use a rubber spatula to transfer the ice cream into a loaf pan or other freezer-safe container, and cover tightly with plastic wrap. Freeze for at least 3 hours, until the ice cream is fully frozen.
- When you're ready to serve, take the ice cream out of the freezer and allow it to sit on the counter at room temperature for 5 to 10 minutes to soften just enough to scoop.
Notes
Nutrition
Nutrition information is automatically calculated, so should only be used as an approximation.
Pin it


My son is dairy free, so I can’t wait to make this ice cream with him over the weekend!
This ice cream was so rich and creamy, no one could tell it was dairy free! Perfect for summer!
A wonderful and easy summer treat!
Always looking for good dairy free ice-cream and with chocolate added? Oh yes please. I need to make this this summer for sure!
This was the perfect summer treat for my family! We loved the flavor and found it so creamy!