These Snowflake Cookies are fun, festive, and so easy to make — with no chill time required! Tasty sugar cookies are decorated with a classic royal icing and decorating sugar for the full holiday effect. Perfect for your holiday dessert table or cookie exchanges!

It’s the most wonderful time of the year: holiday baking time!
I’ll admit that I’m a bit of an over-enthusiastic weirdo when it comes to holiday baking: I start in October. It definitely gets me into the holiday spirit for the whole season!
Plus, it helps me make a TON of holiday cookies, cakes, pies, and other desserts without stressing about doing everything last minute.
And it’s freezer-friendly cookie recipes like this easy one for simply adorable Snowflake Cookies that help me get a jump start!
Jump to:
🌟 Why this recipe works

These Snowflake Cookies are super awesome for the holidays! How much do I love them? Let me bullet point the ways…
- You can make this with basic pantry ingredients that you probably already have on hand.
- The instructions are easy to follow.
- This is a great baking recipe you can bake with the kids!
- Get creative! You can pipe royal icing to decorate these cookies, or you can use a buttercream frosting and turn them into sandwich cookies!
- These sugar cookies freeze well. So you can bake them up to two months in advance and freeze them, then decorate the day or day before you serve them.
- The cookies also ship well for holiday care packages and cookie exchanges.
🛒 Ingredient notes

You only need 7 basic pantry staple baking ingredients to make these snowflake sugar cookies! Some tips:
Unsalted Butter – Use unsalted butter that is softened at room temperature for this recipe. You can take the butter out of the refrigerator about 30 minutes before you start baking so that it is softened and ready to go.
Eggs – I use large organic free range brown eggs for most of my baking recipes. Make sure you take the eggs out of the refrigerator about 30 minutes before you start baking. They should be at room temperature when you add them to the batter so that they mix smoothly.
If you want to use royal icing, I’ve got an easy 3-ingredient icing recipe on the blog!
✅ Step-by-step instructions
Preheat your oven to 350°F. Line two baking sheets with parchment paper; set aside.
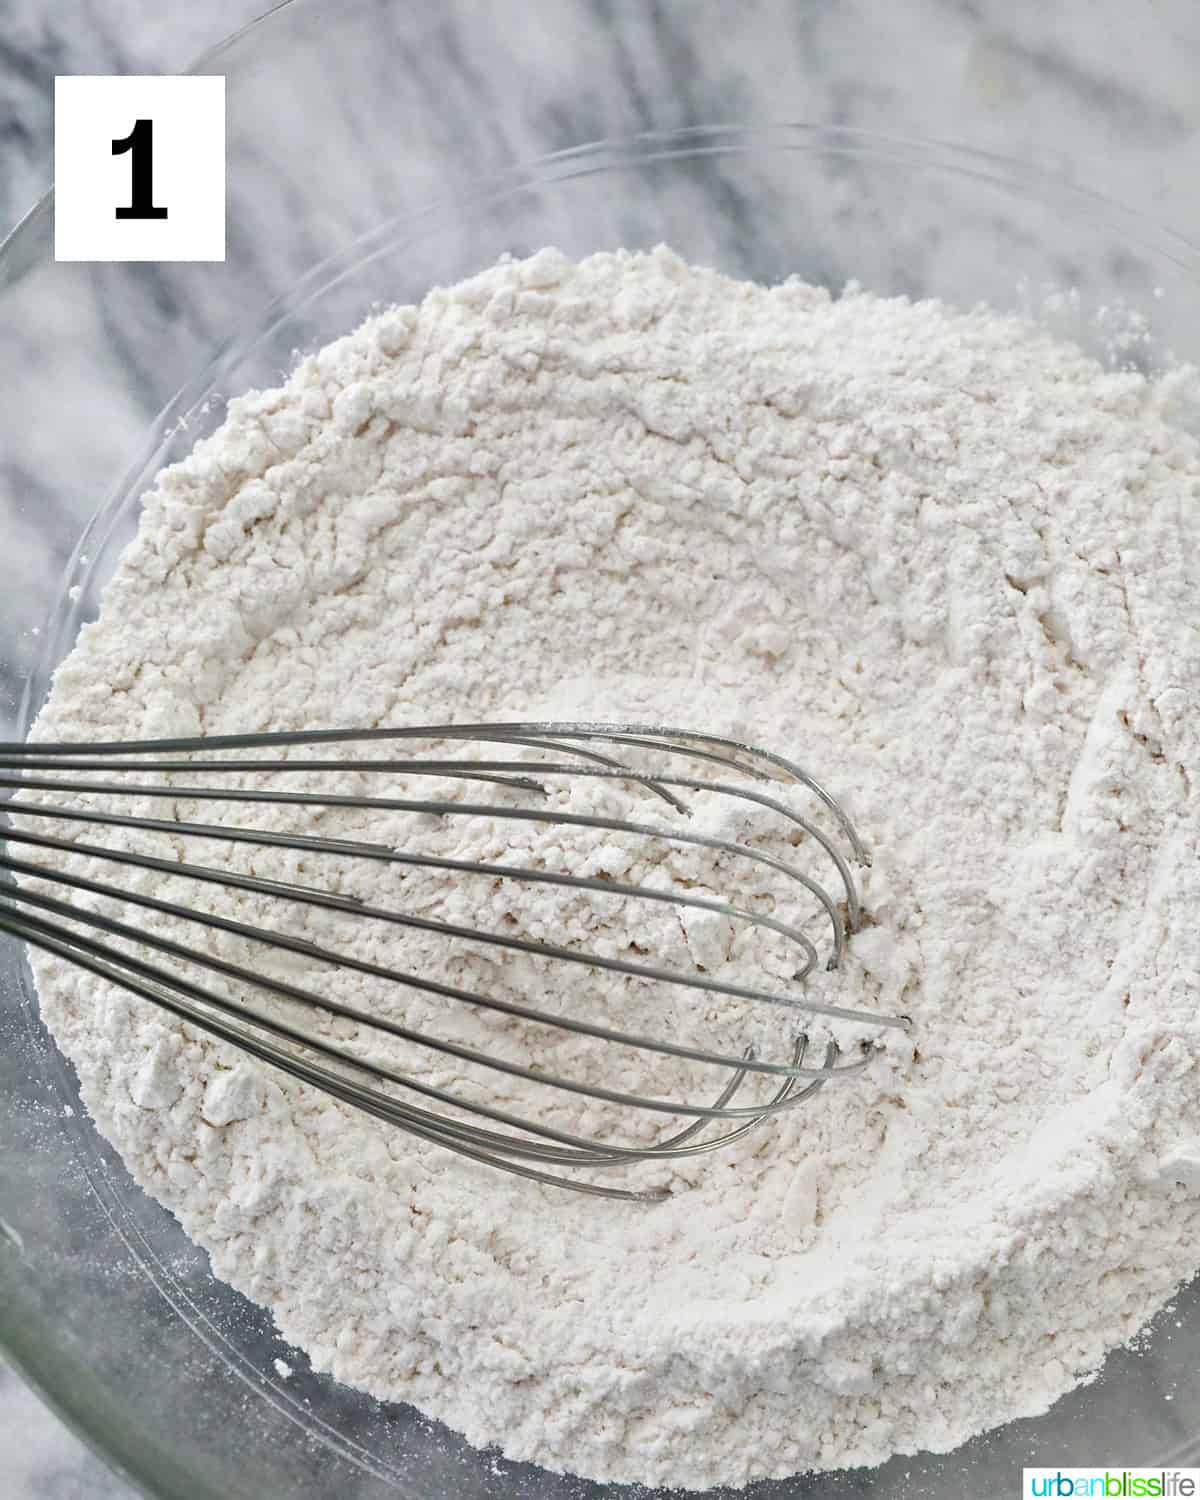

- In a large bowl, whisk together the flour, baking powder, and salt.
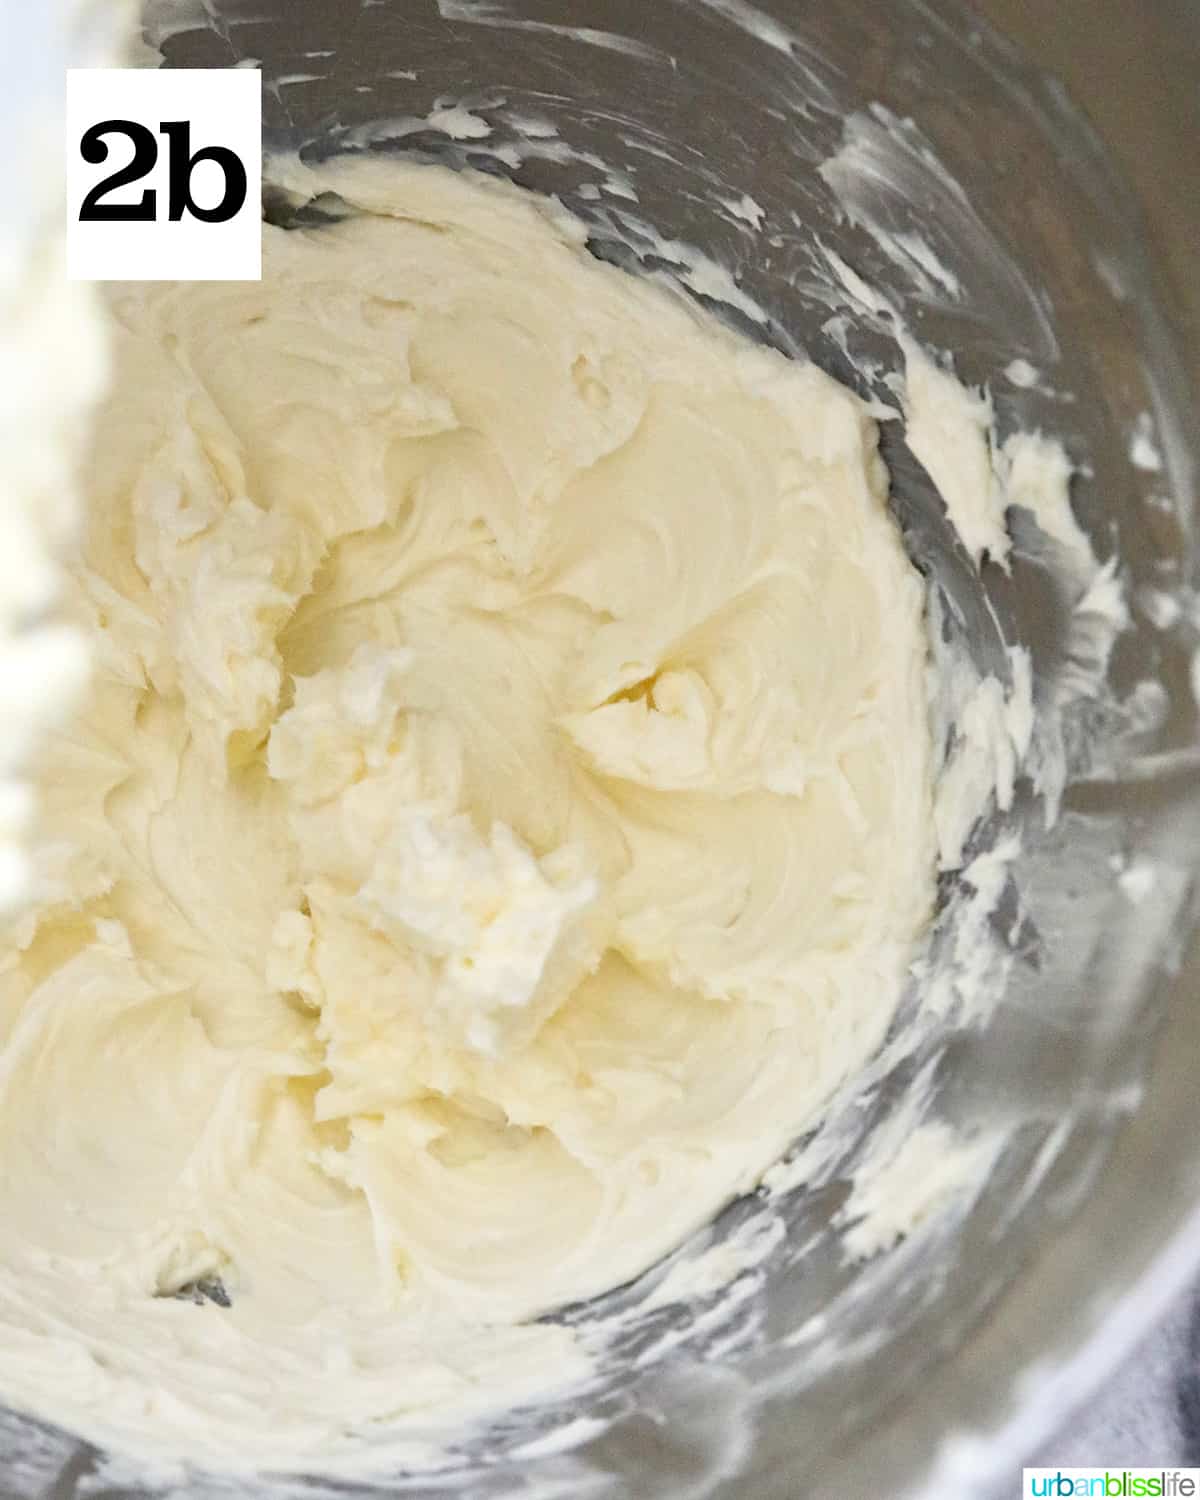
2. In a stand mixer (or another large bowl and using a hand mixer), beat the butter until it’s light yellow, smooth and creamy. This takes anywhere from 3 to 5 minutes. Don’t skimp on this step!
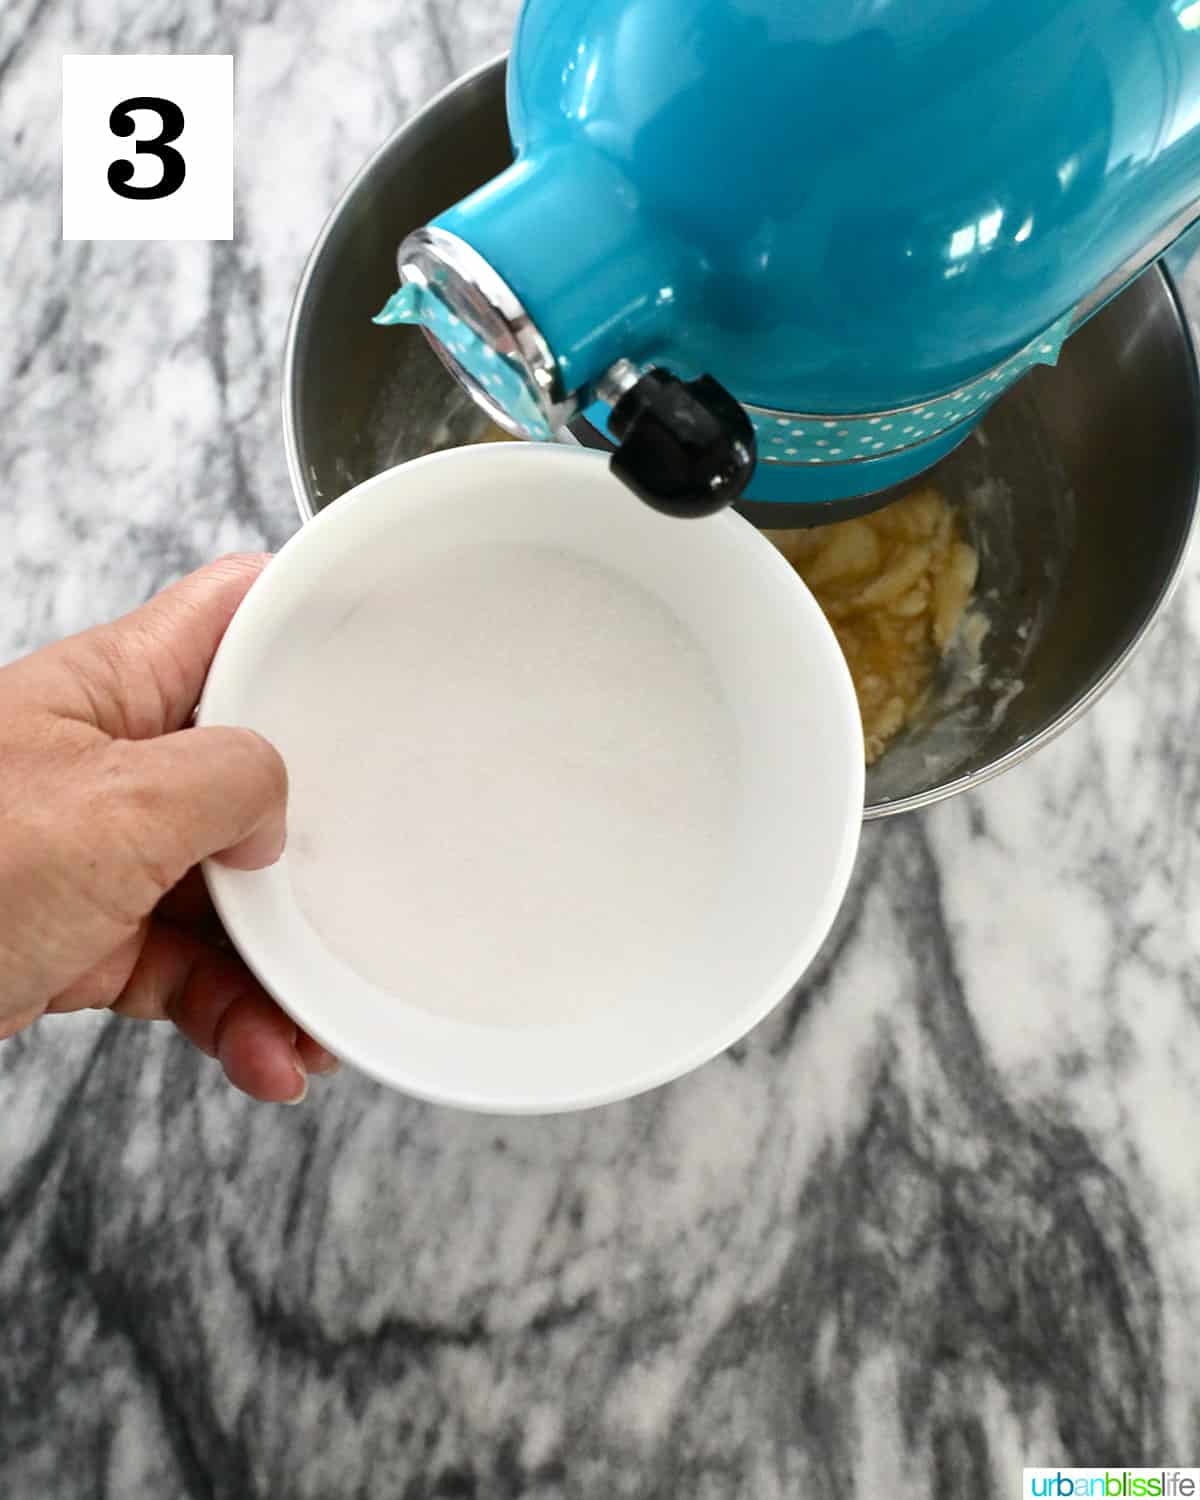


3. Add the sugar, egg, and vanilla to the creamed butter.
4. Beat together on low until incorporated.
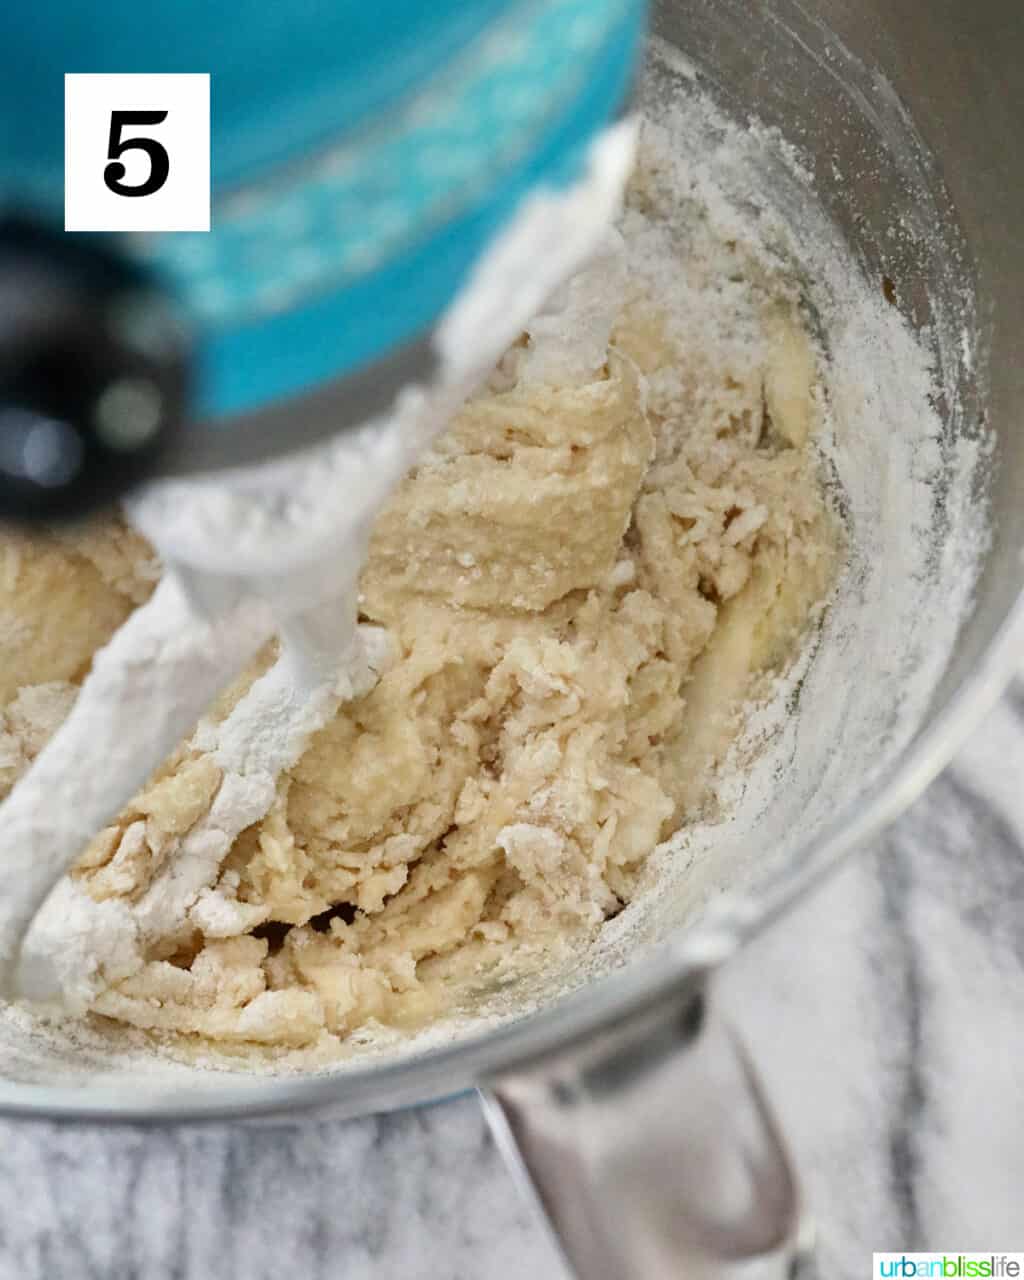

5. Slowly add the dry ingredients to the wet ingredients in the stand mixer and beat together just until combined.
5b. This is what the dough will look like: a little crumbly but all of the ingredients are incorporated and the dough comes together easily. Be careful not to overmix.

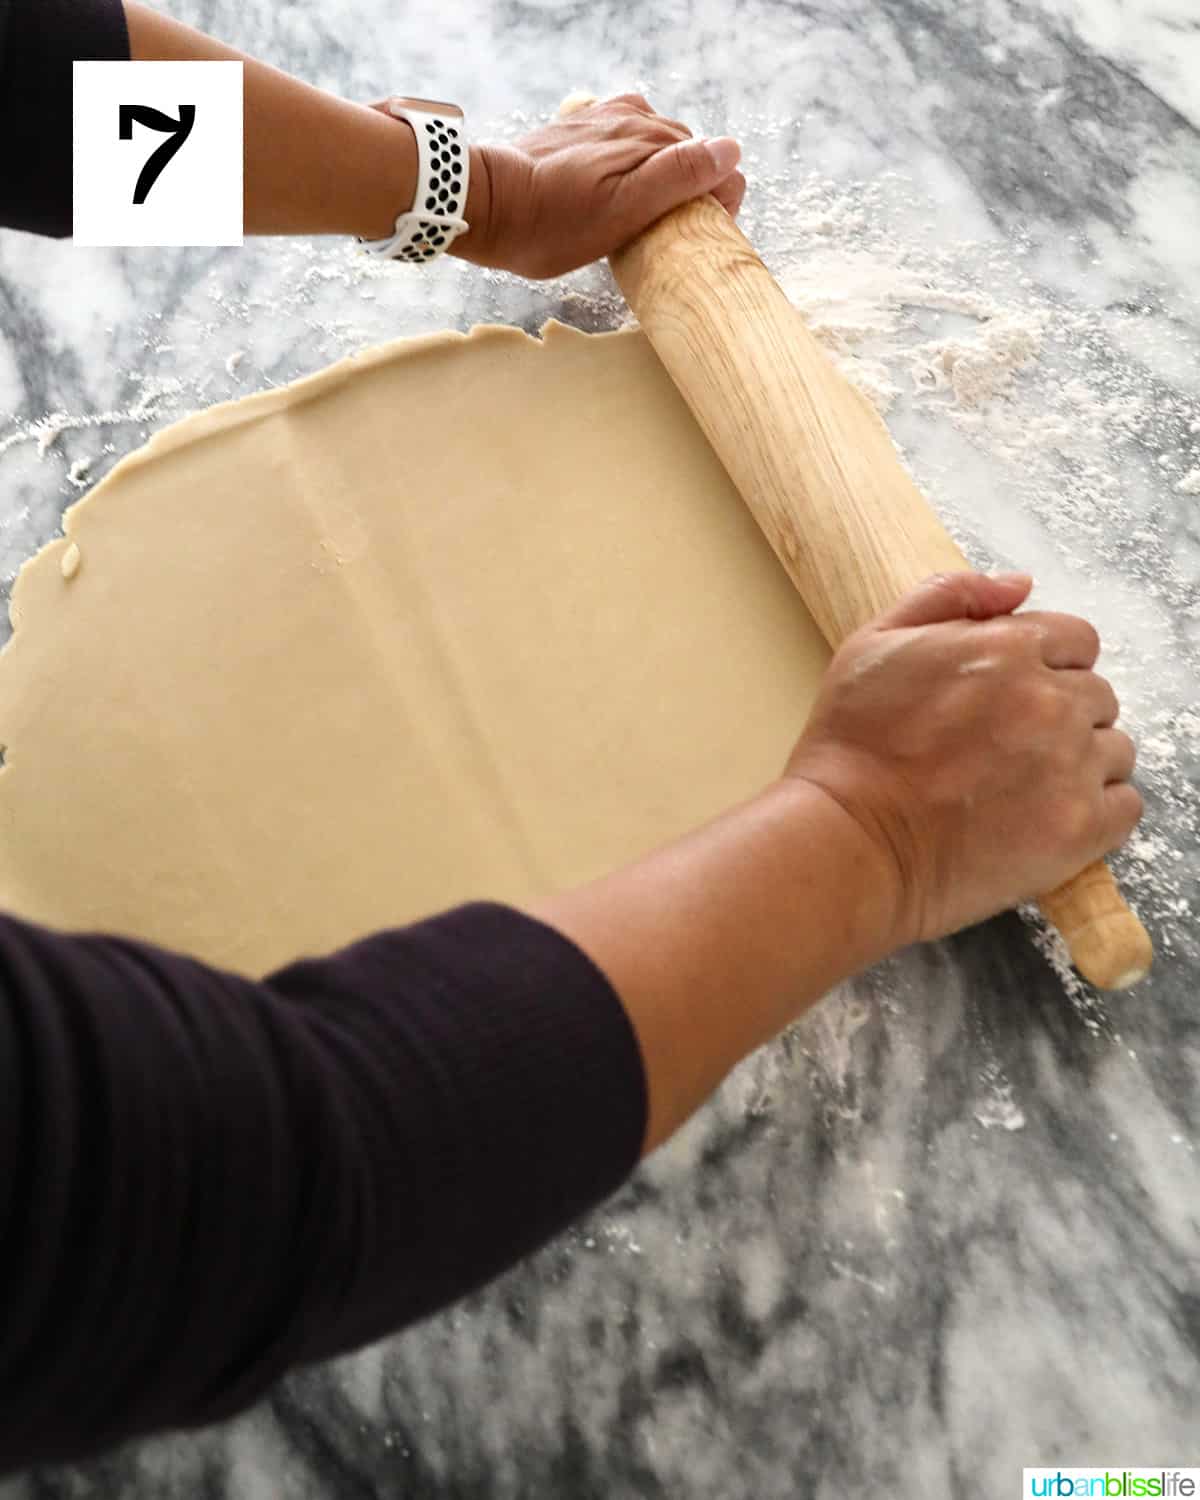
6. Turn out the dough on a lightly floured surface and form a round disc.
7. Use a rolling pin to roll out until about ¼” to ½” thick. It’s really up to you how thick you want your cookies to be. Thinner cookies will be crispy; thicker cookies will be softer.

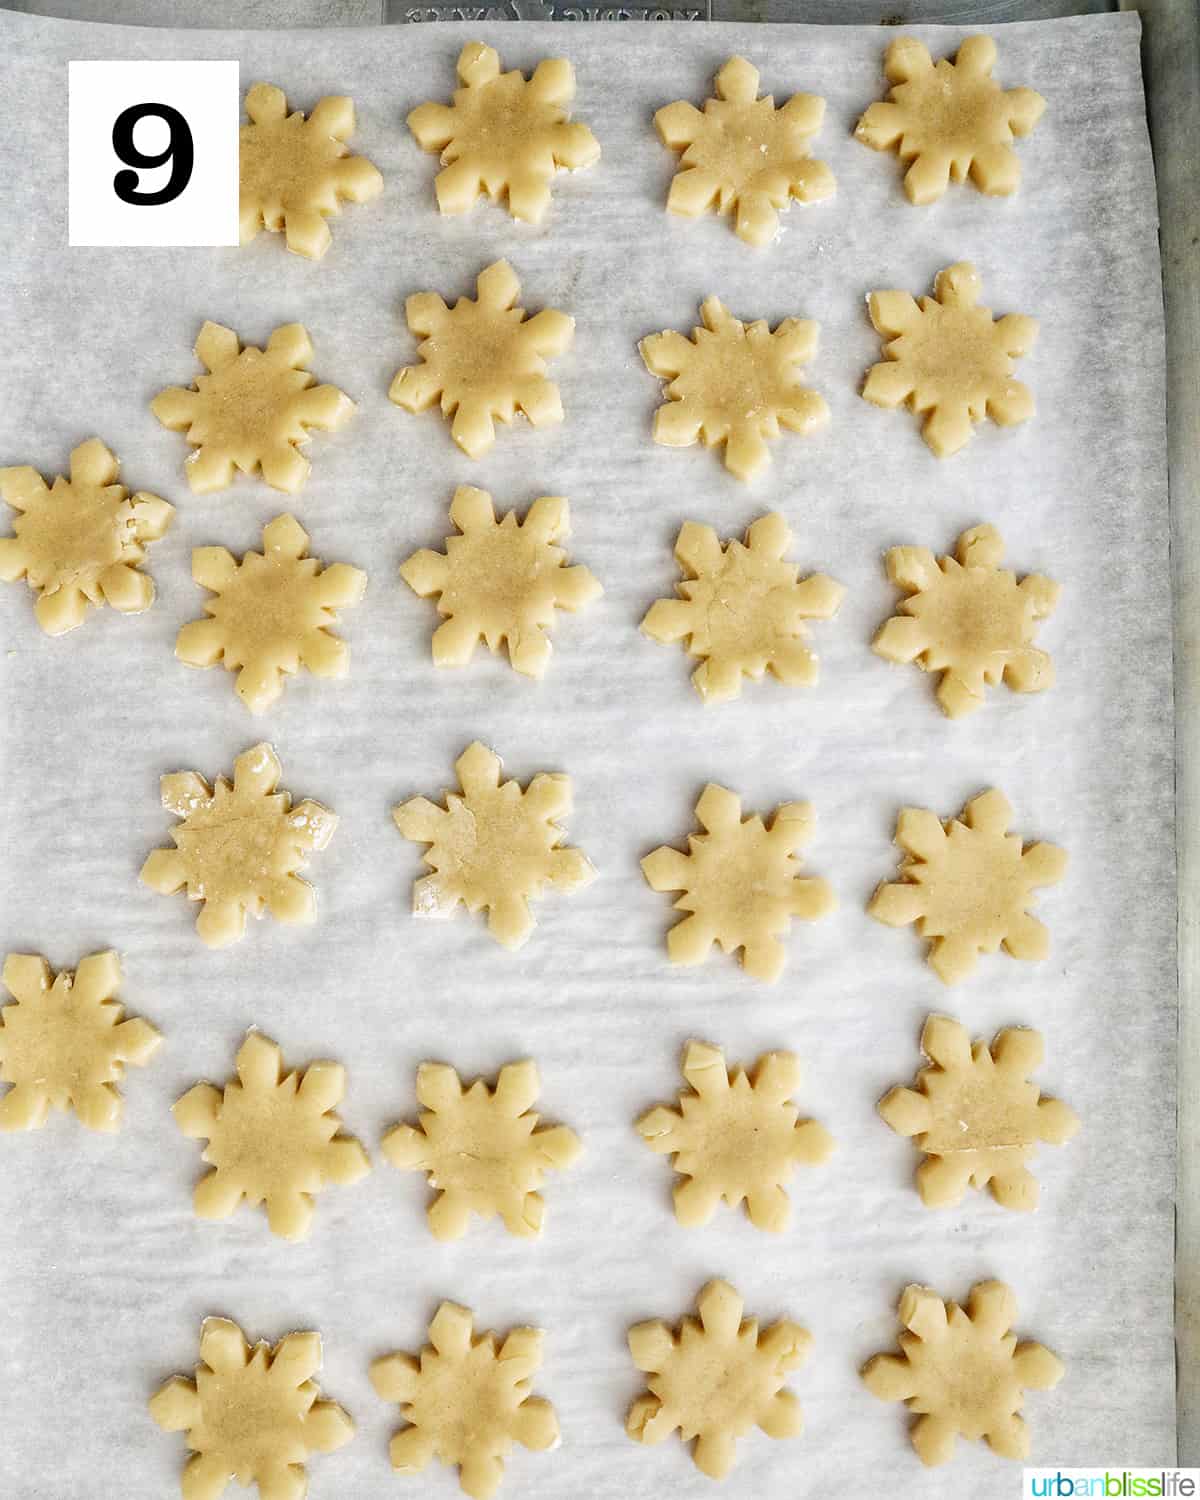
8. Using snowflake cookie cutters, cut out cookies and place onto the prepared baking sheets.
9. Bake at 350°F for 10 to 12 minutes, just until the edges of cookies start to turn a light golden brown.
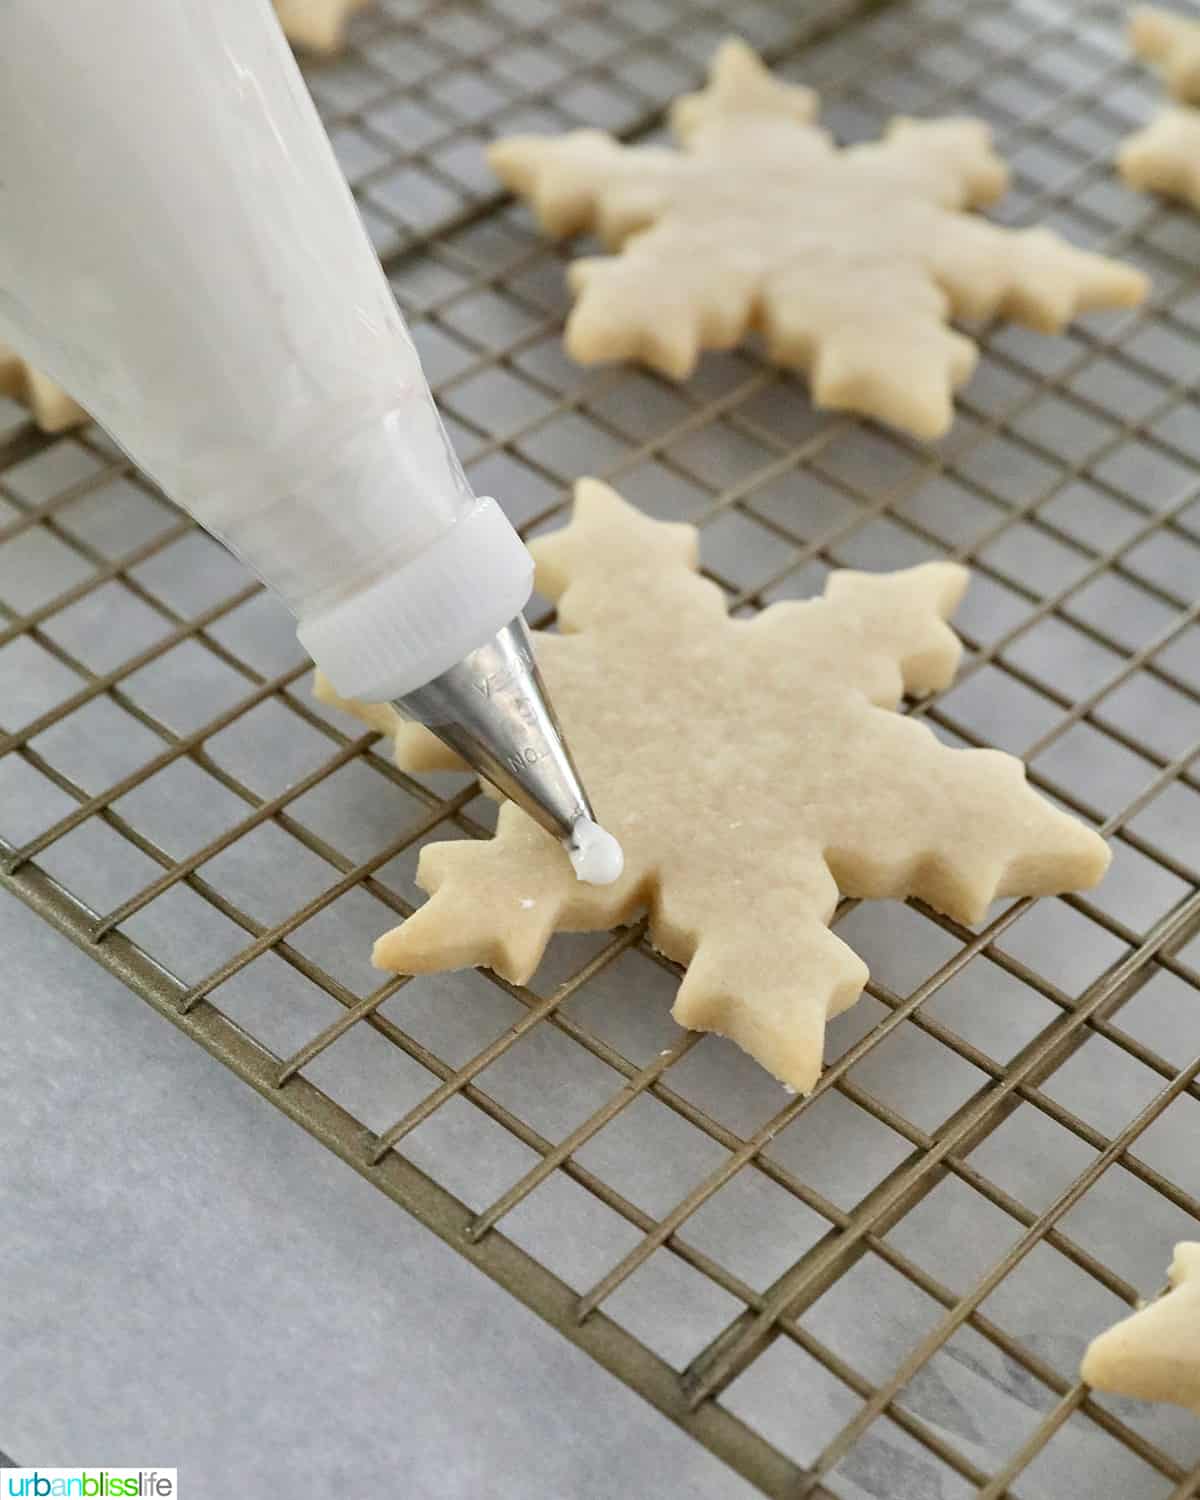

10. Remove the pans from the oven and allow the cookies to rest for a couple of minutes in the pan before transferring them carefully to a wire rack to cool completely. Once the cookies are cool to the touch, decorate with royal icing.
👩🏻🍳 Recipe FAQs

There are so many ways to decorate these cookies! The easiest way is to make a simple royal icing, and then pipe the icing onto the cookies, sprinkle sanding sugar over the icing, and let the icing harden. You can also use your favorite frosting and decorate with holiday sprinkles. The possibilities are endless!
Store unfrosted cookies in an airtight container at room temperature for up to 4 days, or in the refrigerator for up to 5 days.
Yes! Lay cookies in a single layer on top of a parchment paper lined baking sheet, then freeze for a couple of hours. After a couple of hours, remove the cookies from the freezer and then place cookies down in layers in a freezer bag or freezer-safe container. Use parchment paper or wax paper to separate each layer.
🍽 Serving ideas

These snowflake sugar cookies look great on any holiday dessert table!
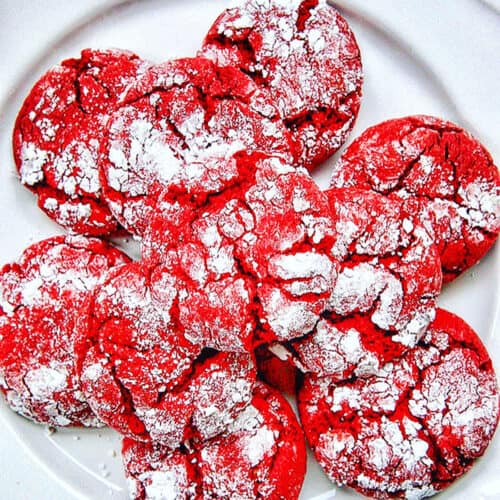
If you’re doing a cookie exchange, consider making other freezer-friendly and shipping-friendly cookies. These include Red Velvet Crinkle Cookies, Chewy Ginger Molasses Cookies, Soft Gingerbread Cutout Cookies with Icing, and Chocolate-Dipped Peppermint Shortbread Cookies.
🍳 Kitchen tools and equipment
Ready to make these cookies? Here are the kitchen tools and equipment you’ll need:
- Stand mixer – or a large bowl and hand mixer
- Mixing bowls
- Measuring spoons
- Measuring cups
- Snowflake cookie cutters
More holiday cookie recipes
We have so many more cookie recipes on the blog to help you make this holiday season the most delicious holiday season yet!
Did you make this recipe? Don’t forget to leave a 5-Star 🌟🌟🌟🌟🌟 rating in the recipe card, and if you really loved it, please leave a comment further down on the page. Thank you!
Snowflake Cookies

Equipment
Ingredients
- 3½ cups all-purpose flour
- ½ teaspoon baking powder
- ½ teaspoon kosher salt
- 1 cup (2 sticks) unsalted butter, softened to room temperature
- 1 cup granulated sugar
- 1 egg, at room temperature
- 2 teaspoons vanilla extract
- royal icing
Instructions
- Preheat your oven to 350°F. Line two baking sheets with parchment paper; set aside.
- In a large bowl, whisk together the flour, baking powder, and salt.
- In a stand mixer (or another large bowl and using a hand mixer), beat the butter until it's light yellow, smooth and creamy. This takes anywhere from 3 to 5 minutes. Don't skimp on this step!
- Add the sugar, egg, and vanilla to the creamed butter and beat together on low until incorporated.
- Slowly add the dry ingredients to the wet ingredients in the stand mixer and beat together just until combined. Be careful not to overmix.
- Turn out the dough on a lightly floured surface and roll out until about ¼" to ½" thick. It's really up to you how thick you want your cookies to be. Thinner cookies will be crispy; thicker cookies will be softer.
- Using snowflake cookie cutters, cut out cookies and place onto the prepared baking sheets.
- Bake at 350°F for 10 to 12 minutes, just until the edges of cookies start to turn a light golden brown.
- Remove the pans from the oven and allow the cookies to rest for a couple of minutes in the pan before transferring them carefully to a wire rack to cool completely.
- Once the cookies are cool to the touch, decorate with royal icing.
Notes
Nutrition
Nutrition information is automatically calculated, so should only be used as an approximation.






I love the decoration on these, especially with the sugar on top. So easy to do, too.
Really easy and delicious cookies! And I LOVE how simple but elegant the decorating is!
I cut the measurements in half to make a smaller batch and it worked perfectly!! My cookies weren’t as pretty as yours but they tasted amazing.
Great recipes, and thanks so much for the easy decorating option: that I can do! I love how the simple addition of a little shimmer-sugar gives the cookies so much dimension, too.
It was so delicious and everyone loved it! Thank you for this amazing recipe!