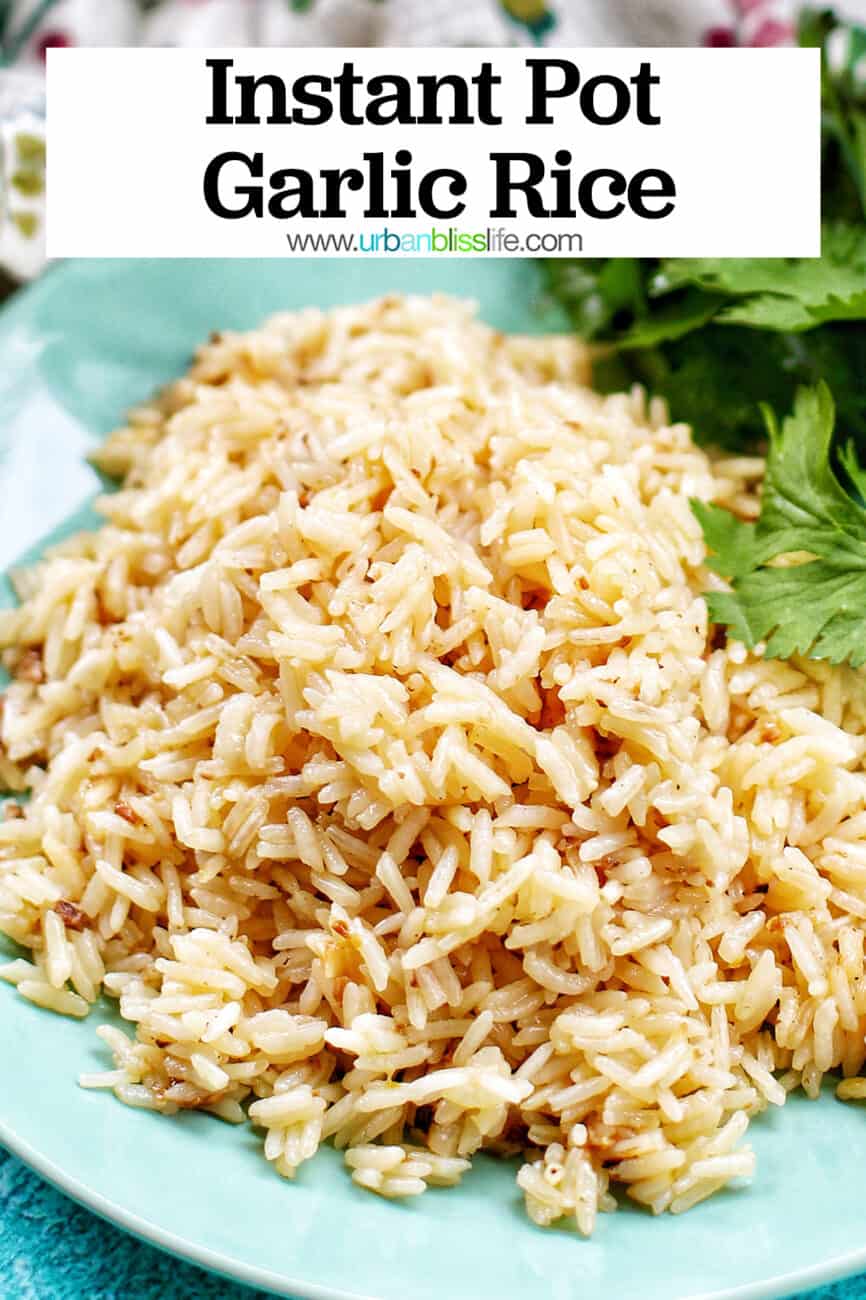
Fluffy white rice infused with aromatic garlic cooks up quickly in this Instant Pot Garlic Rice recipe. A pressure cooked version of Filipino garlic fried rice, Sinangag, this is a delicious side dish for almost any breakfast, lunch, or dinner!
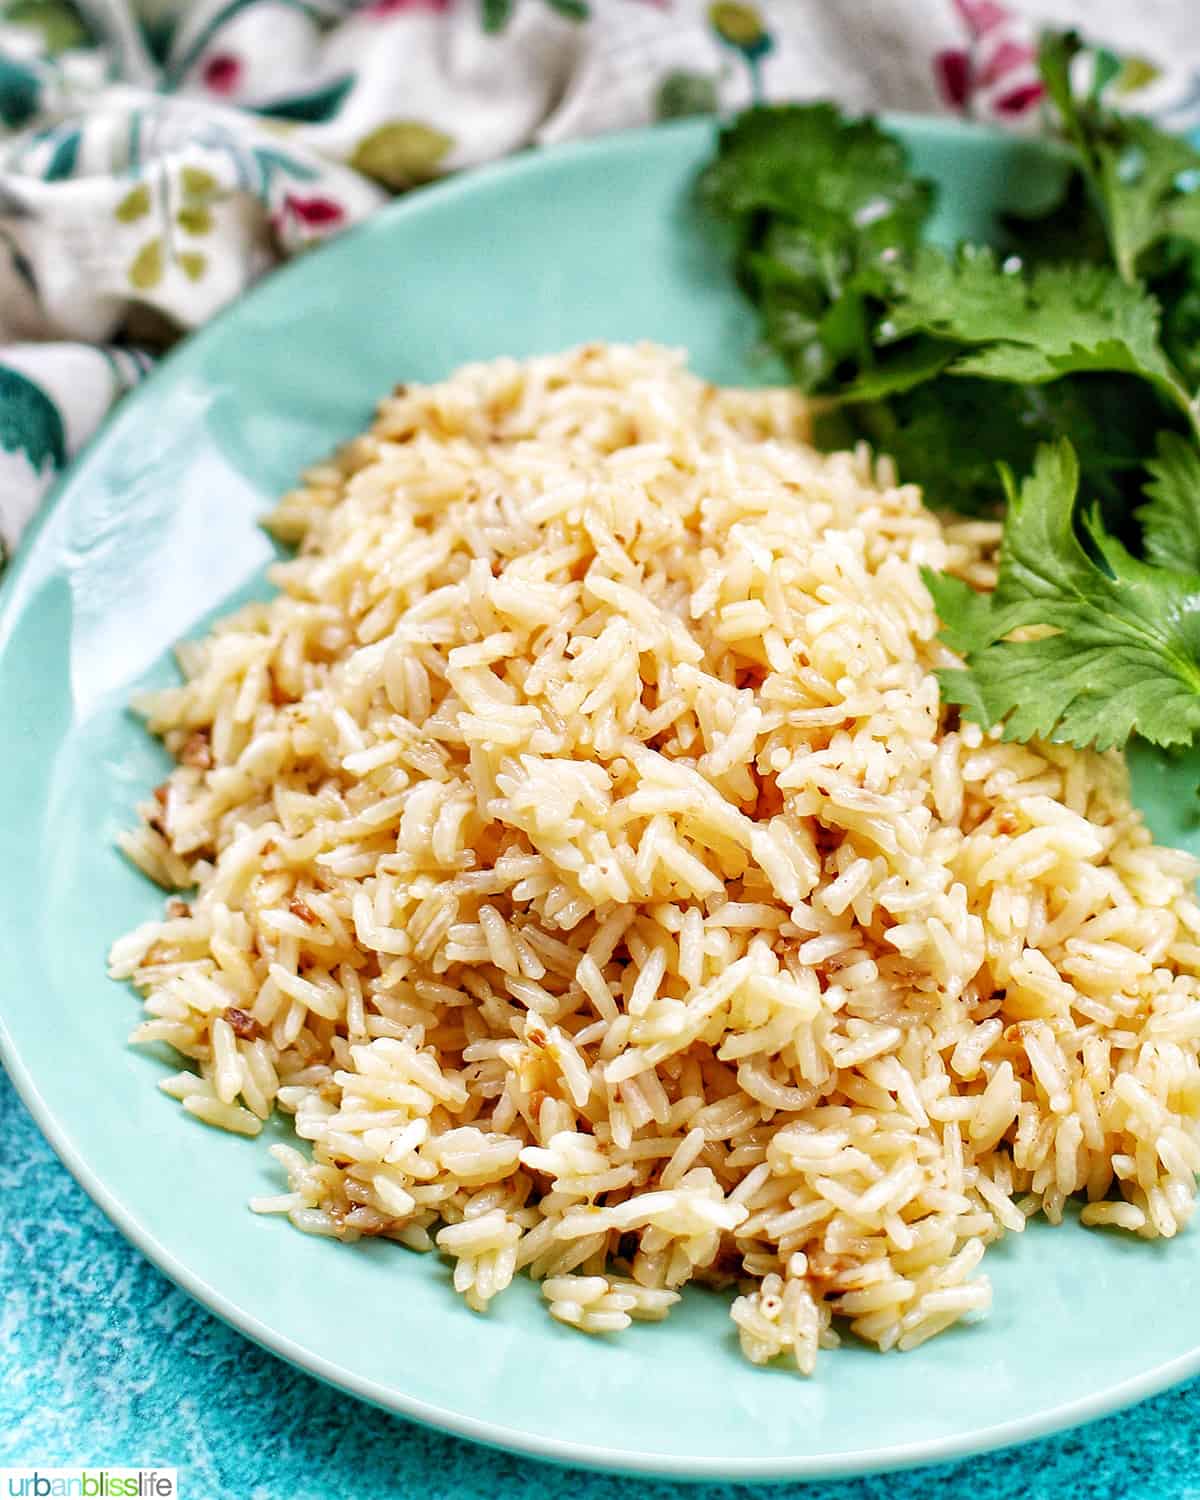
Growing up in a Filipino household, garlic rice was a regular part of our meals. Along with plain white rice, we ate Sinangag (Filipino garlic fried rice) morning, noon, and night!
For breakfast, we'd eat it with Spam and fried eggs. And some pandesal to dunk with our cocoa (and the adults, with their morning coffee).
At lunchtime, we'd have it with some pancit or lumpia.
And for dinner, we'd eat up Sinangag with pork or chicken adobo, dinuguan, or Filipino pork barbecue.
Jump to:
- 🌟 Why this recipe works
- 🍚 Key ingredients for garlic rice
- ✅ Step-by-Step Instructions:How to make garlic rice in the Instant Pot
- 🔪 Kitchen tools and equipment
- 👩🏻🍳 Garlic rice recipe FAQs
- 🍽 What to serve with garlic rice
- 🥂 Best wine pairings for garlic rice
- 🇵🇭 More Filipino recipes
- Instant Pot Garlic Rice
- Pin it:
🌟 Why this recipe works
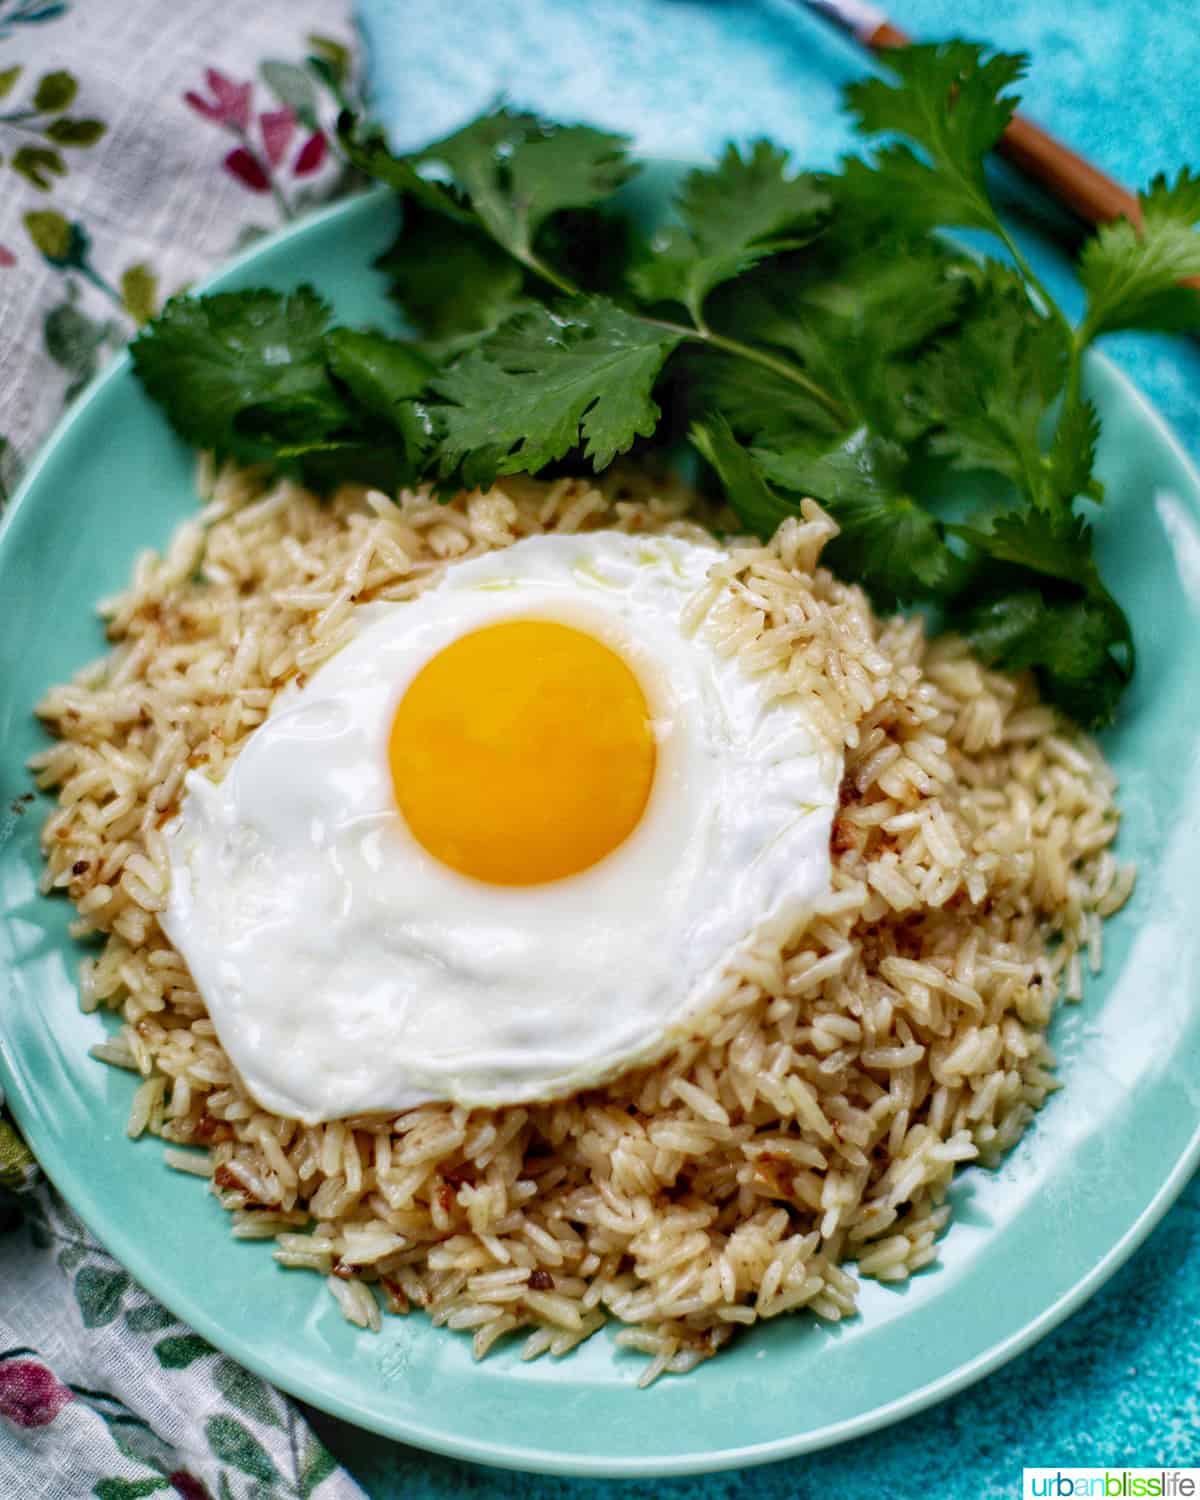
This recipe is a non-fried take on Sinangag, the Filipino garlic fried rice.
Making rice in the Instant Pot or Ninja Foodi electric pressure cooker is fast, easy and hands-off, and the rice turns out fluffy and fragrant each time.
Technically, it's not fried, so it's not technically Sinangag – but it's made with the same ingredients and tastes just like the Filipino garlic fried rice I grew up eating.
So if you are looking to make that classic, authentic Filipino recipe, but don't want to fry your rice, this Instant Pot garlic "fried" rice version is definitely one to try!
🍚 Key ingredients for garlic rice
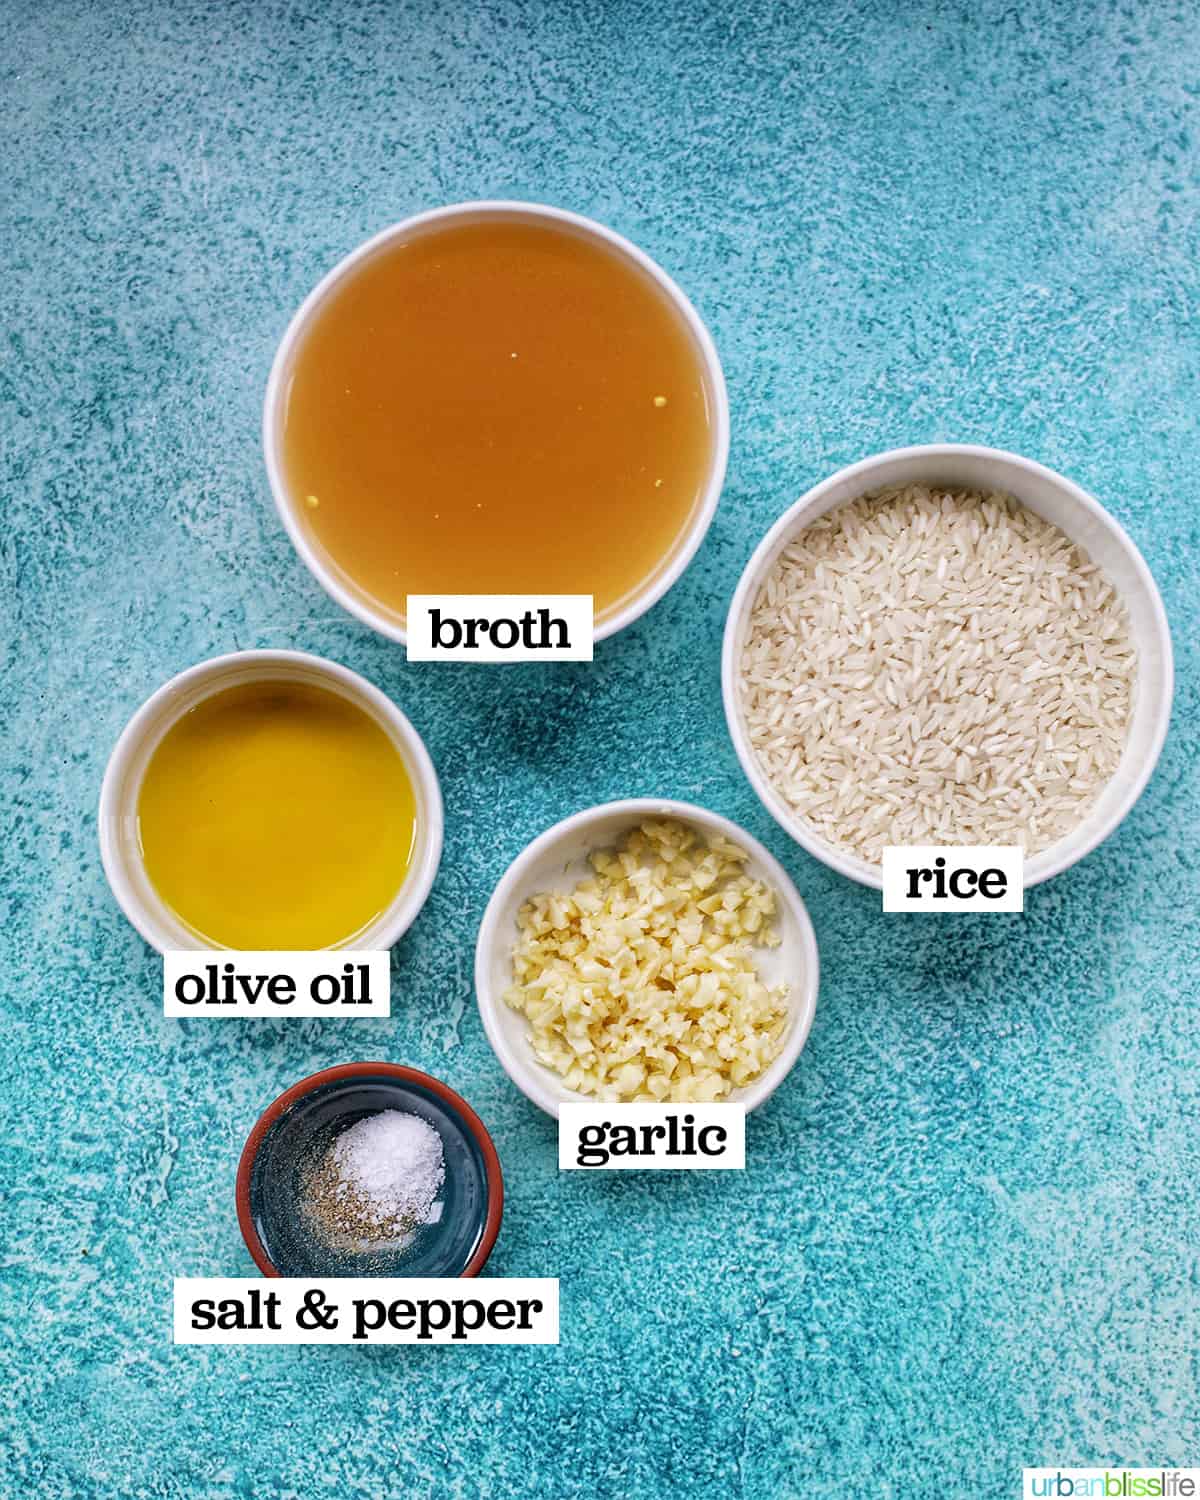
This flavorful and fragrant Filipino garlic rice can be made with just 5 ingredients!
Rice - Use either jasmine rice or long-grain white rice for this recipe.
Garlic - the name should be a big hint: there's a lot of garlic in this recipe. I make it with 6 to 8 garlic cloves, depending on how large the cloves are. If you're not feeling like using that many, you can absolutely make this dish with fewer garlic cloves.
Olive oil - Use the best tasting extra-virgin olive oil you can afford, as the taste of the olive oil you use definitely affects the final taste of the whole dish.
Broth or water - I strongly suggest you use a vegetable or chicken broth to cook the rice. I've even made this with Homemade Turkey Stock. This adds so much flavor! But, you can also use plain water instead.
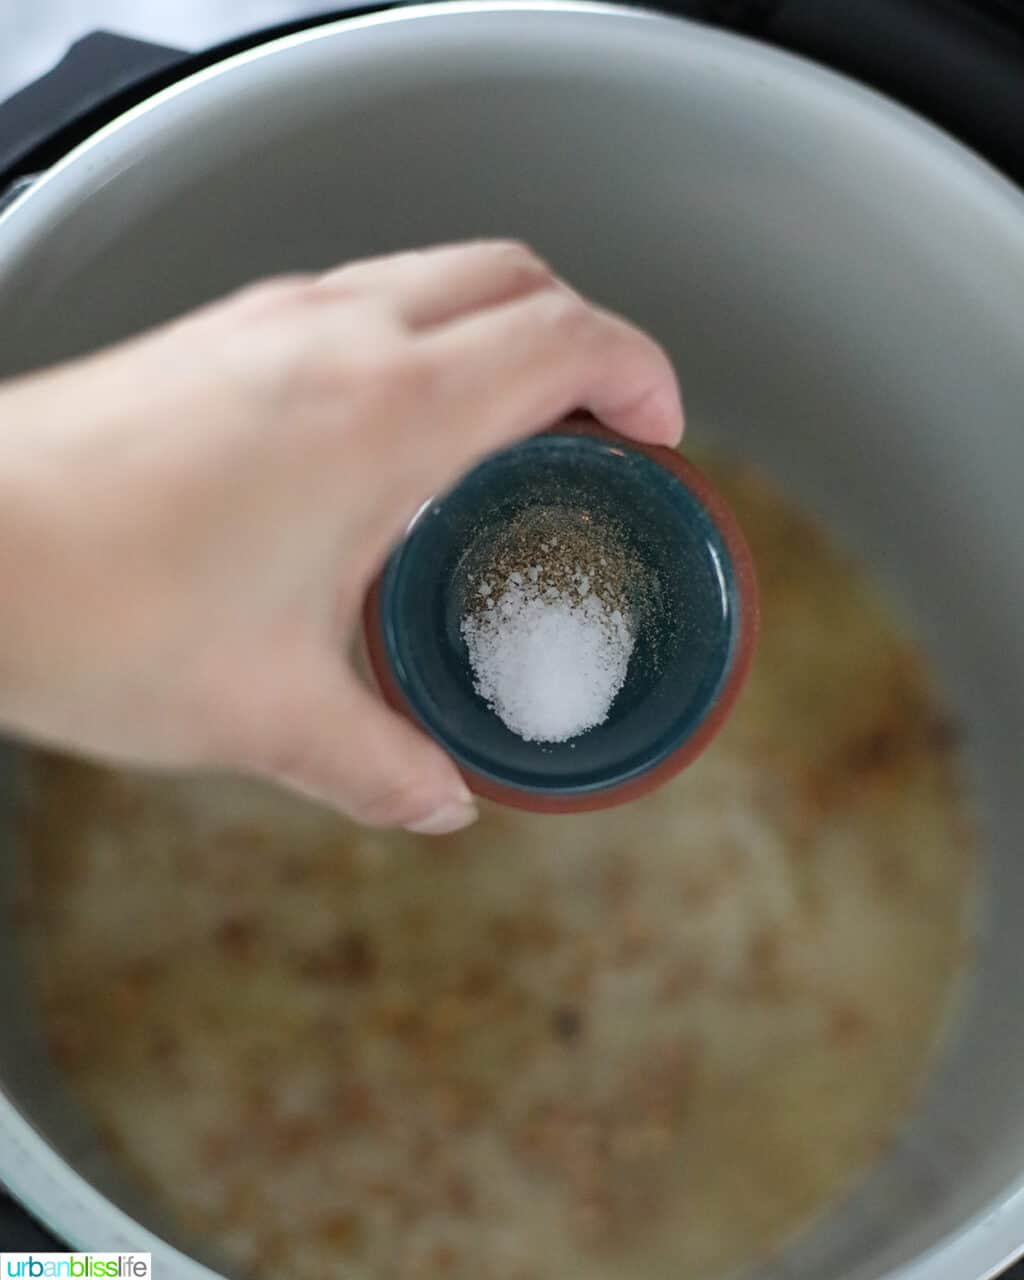
Salt and pepper - Use kosher salt and freshly ground black pepper to season the rice.
✅ Step-by-Step Instructions:
How to make garlic rice in the Instant Pot

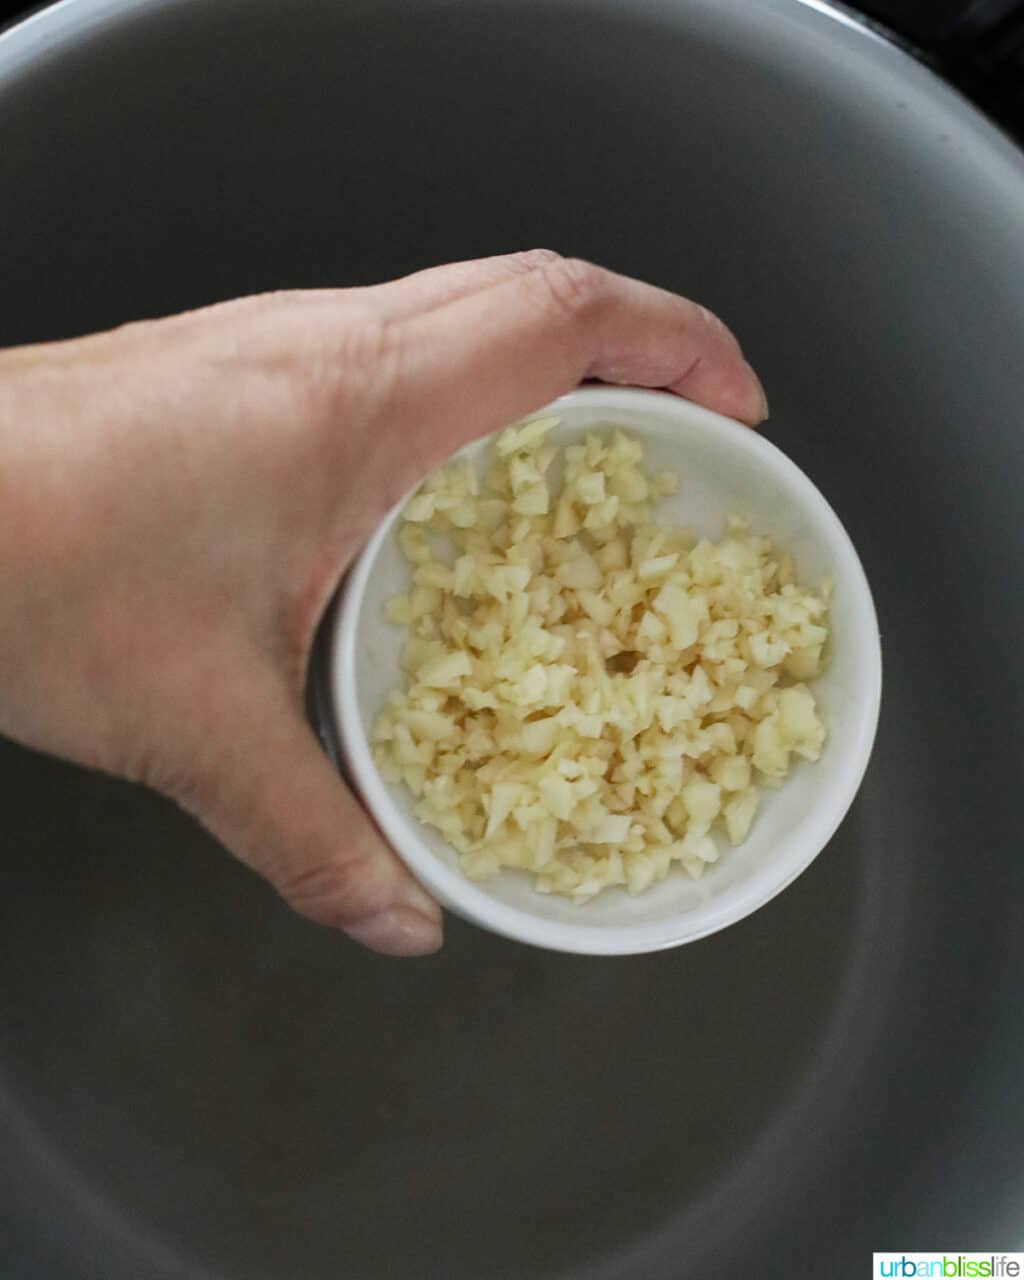
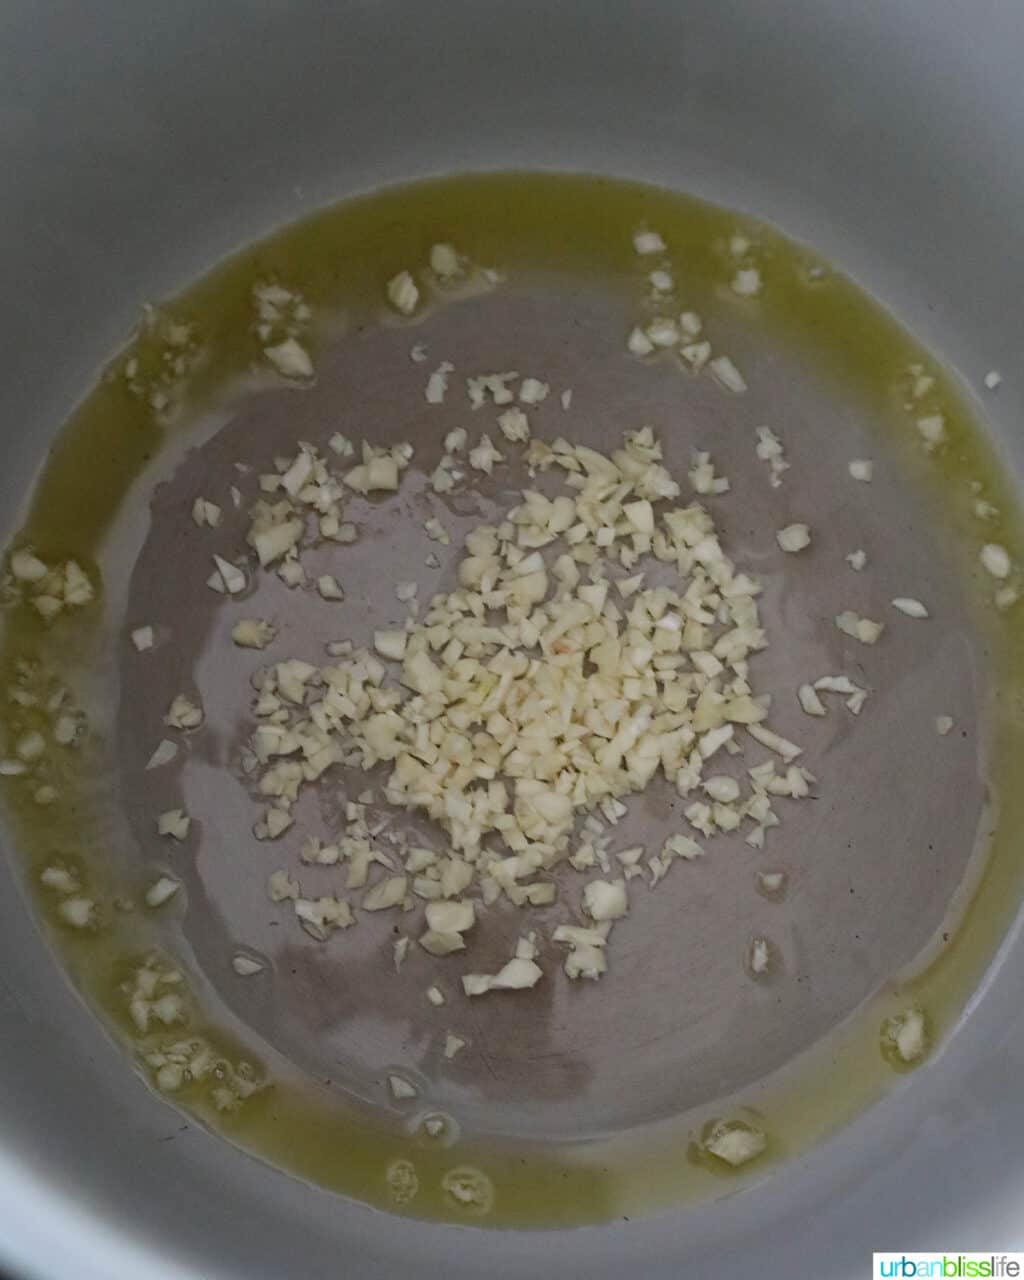
Turn your Instant Pot to SAUTE or your Ninja Foodi to SEAR/SAUTE on HI. Add the olive oil. Add the minced garlic and stir, cooking the garlic for 1 to 2 minutes, just until the garlic is soft and fragrant.
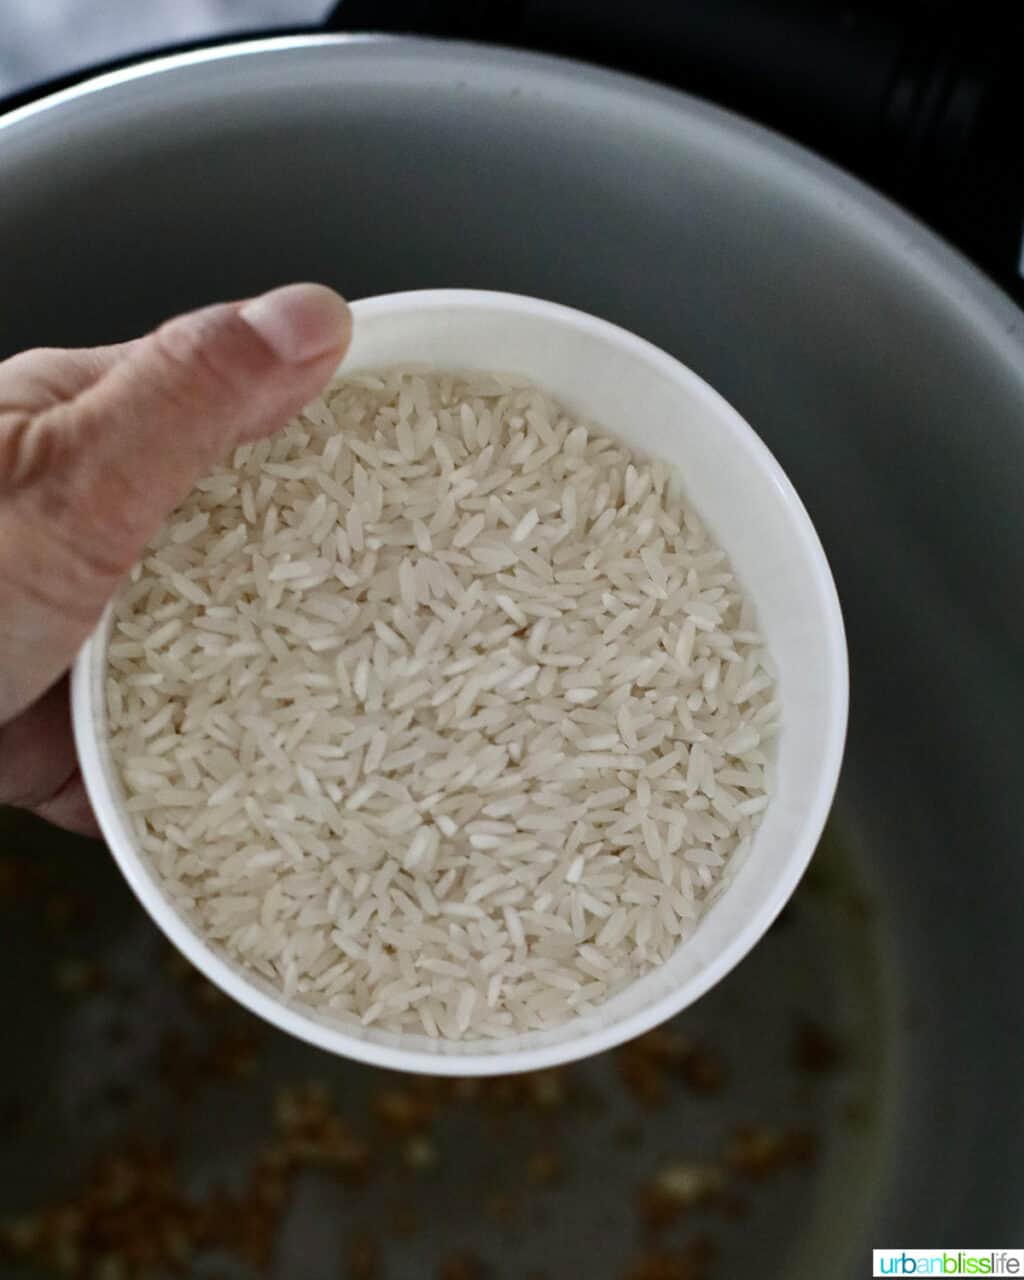
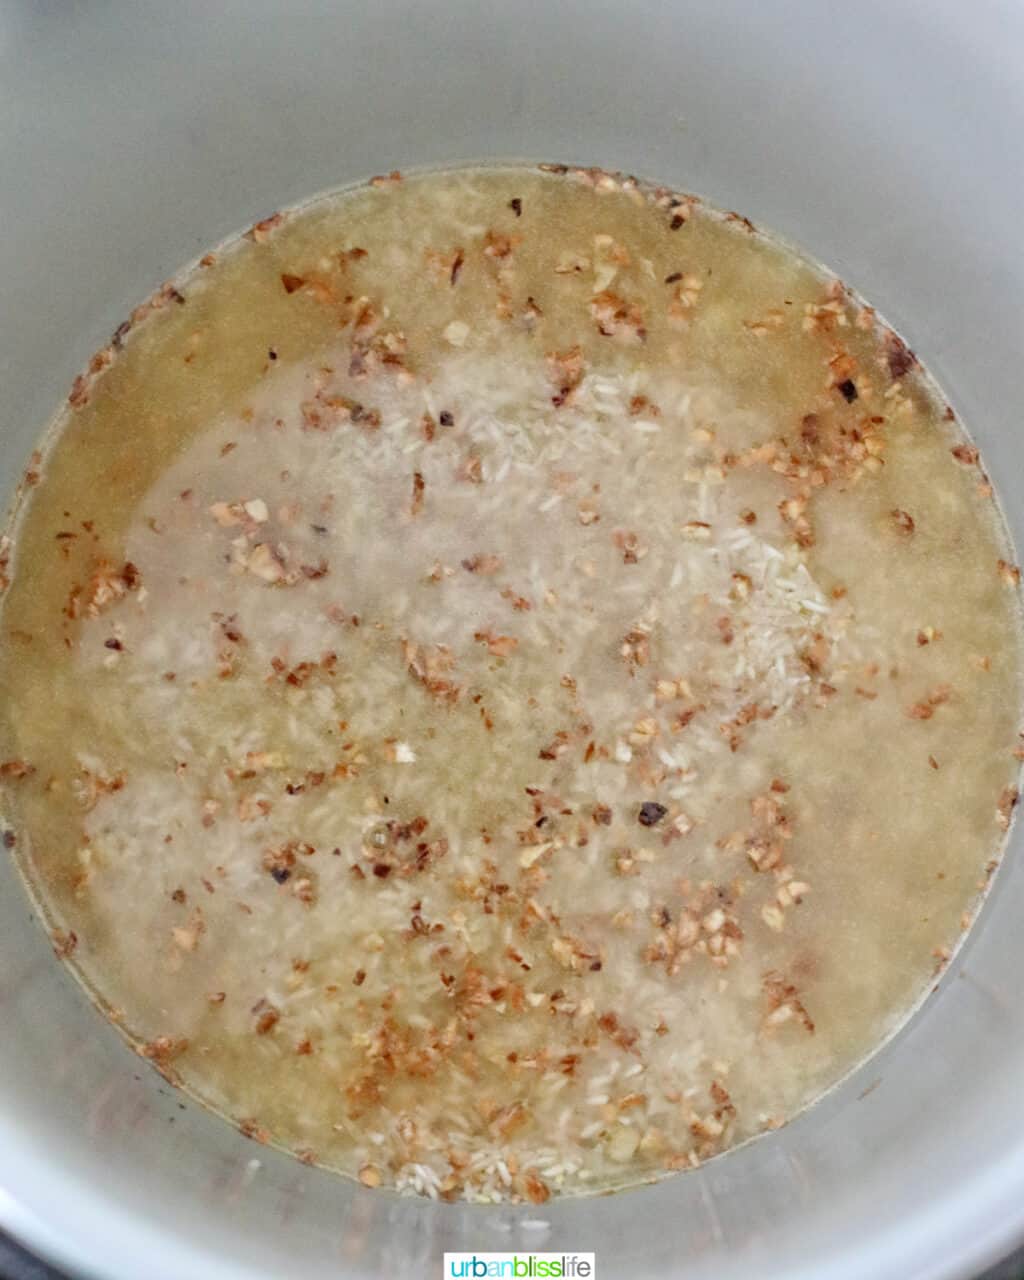
Hit CANCEL on your Instant Pot or press the START/STOP button on your Ninja Foodi to end the sauté.
Pour in the rice, then cover with the stock/broth/water. Use the wooden spoon to gently push the rice down to submerge it under the liquid.
Lock the lid onto your electric pressure cooker, making sure the valve is in SEAL mode. Then PRESSURE COOK on HI for 3 minutes. It will take a few minutes for your Instant Pot or Ninja Foodi to come to pressure, then it will start counting down. Once the pressure cooking is complete, NATURAL RELEASE for 10 minutes, then QUICK RELEASE the remaining pressure.
Once all pressure has been released and the pressure release valve pin has gone completely down, carefully turn and open the lid. Serve.
🔪 Kitchen tools and equipment
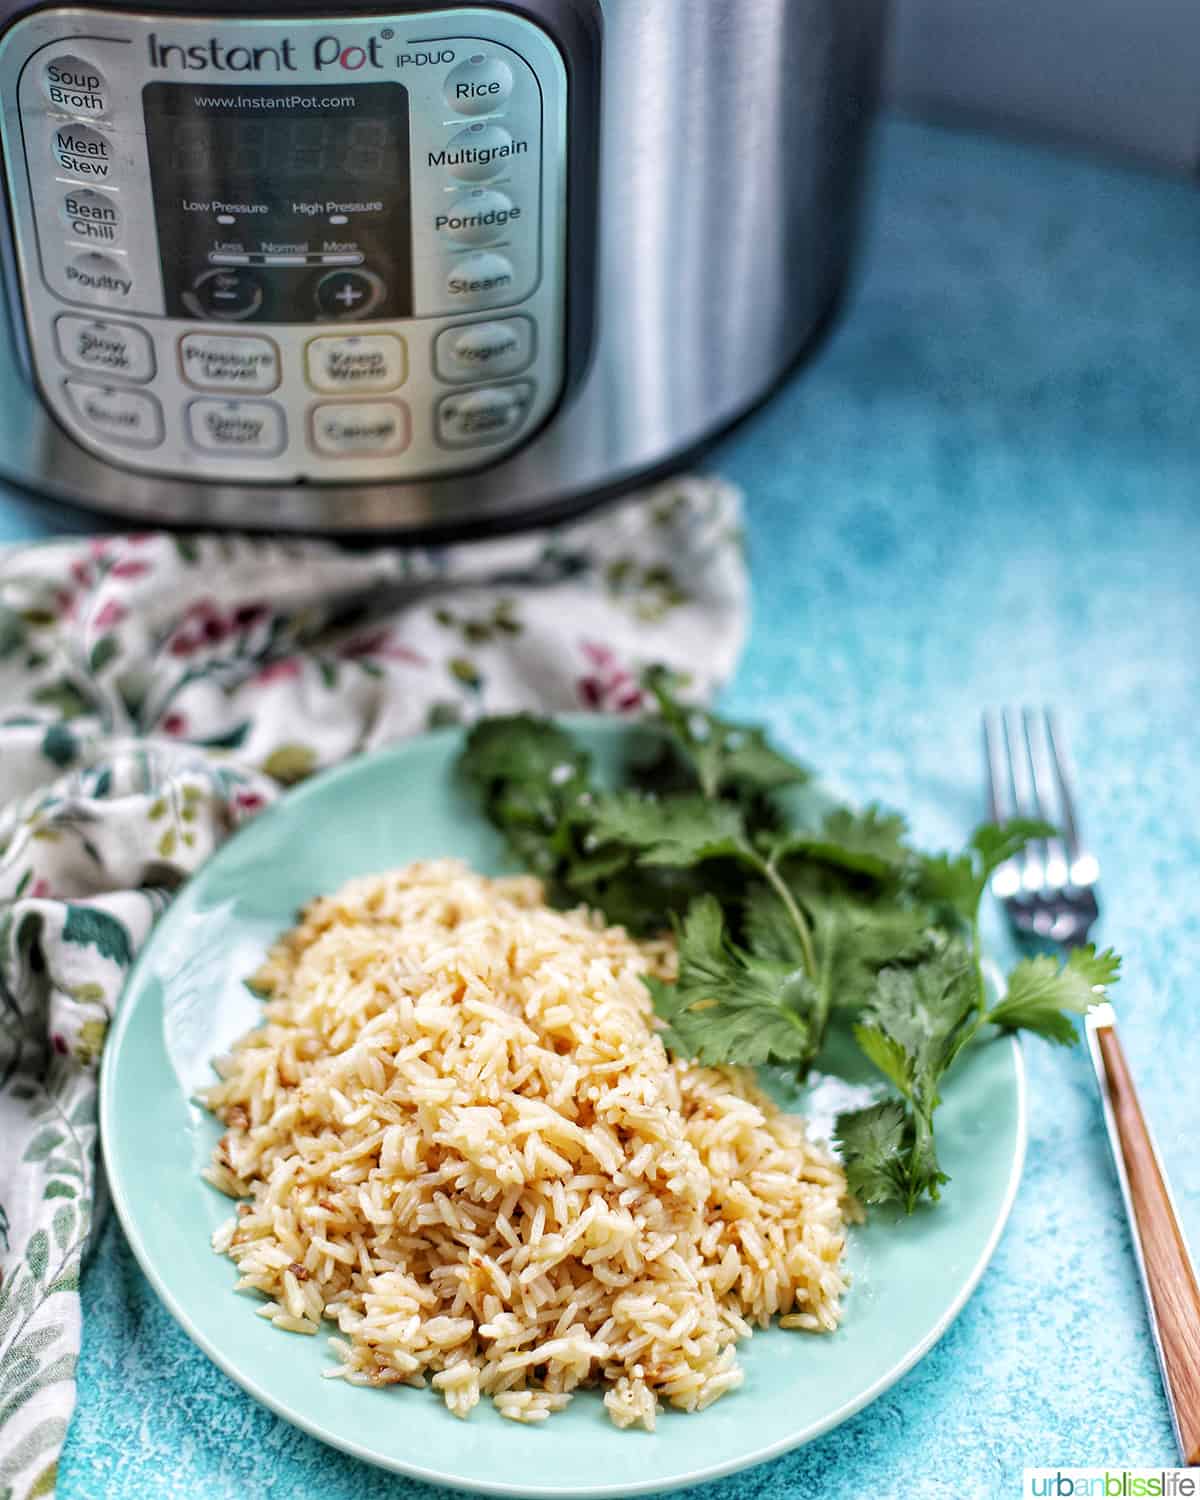
For this recipe, you just need a few basic kitchen tools:
Electric pressure cooker - For this recipe, you'll need an Instant Pot, Ninja Foodi, or other electric pressure cooker.
Spoon or spatula - wooden spoon or heatproof silicone spatula to stir the ingredients together.
Cutting board and knife - You'll need a sturdy cutting board and sharp knife to chop the garlic.
👩🏻🍳 Garlic rice recipe FAQs
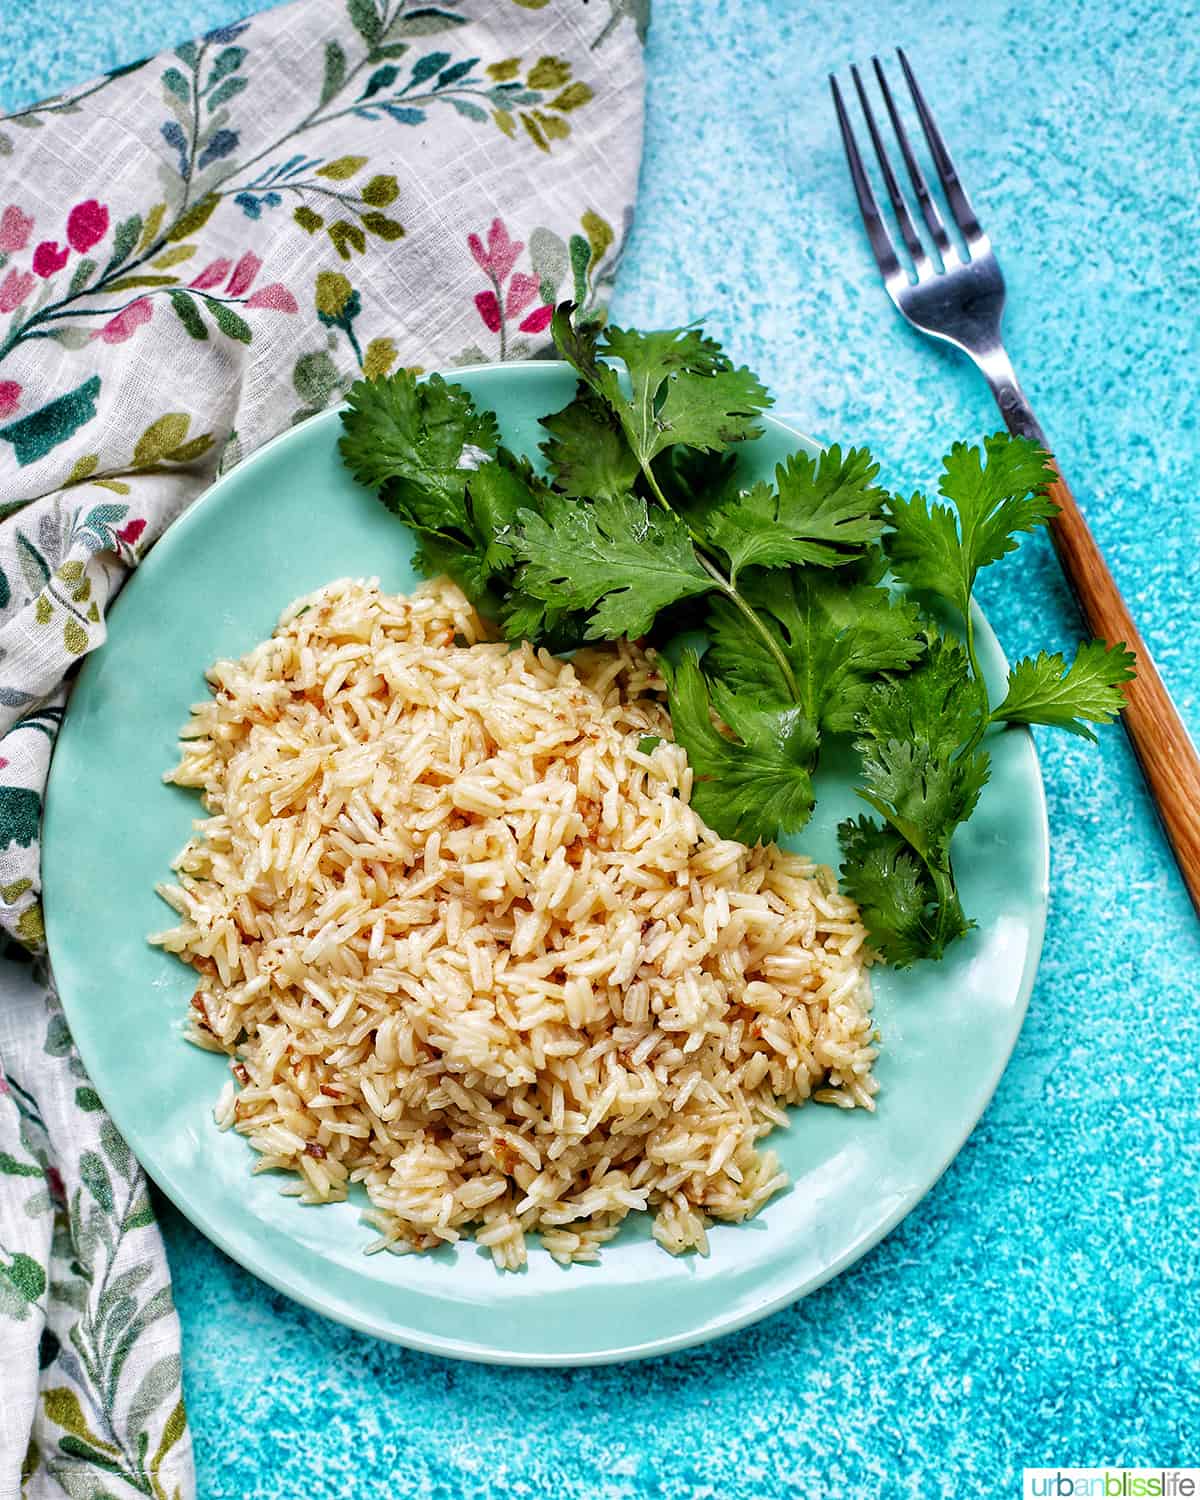
Because this rice is pressure cooked and not fried, it's healthier than the traditional Filipino fried rice. Garlic itself has many health benefits. It reportedly has anti-inflammatory properties, can help fight bacteria, and helps lower blood pressure and manage high cholesterol, among other benefits.
Store in an airtight container in the refrigerator for up to 4 days.
🍽 What to serve with garlic rice

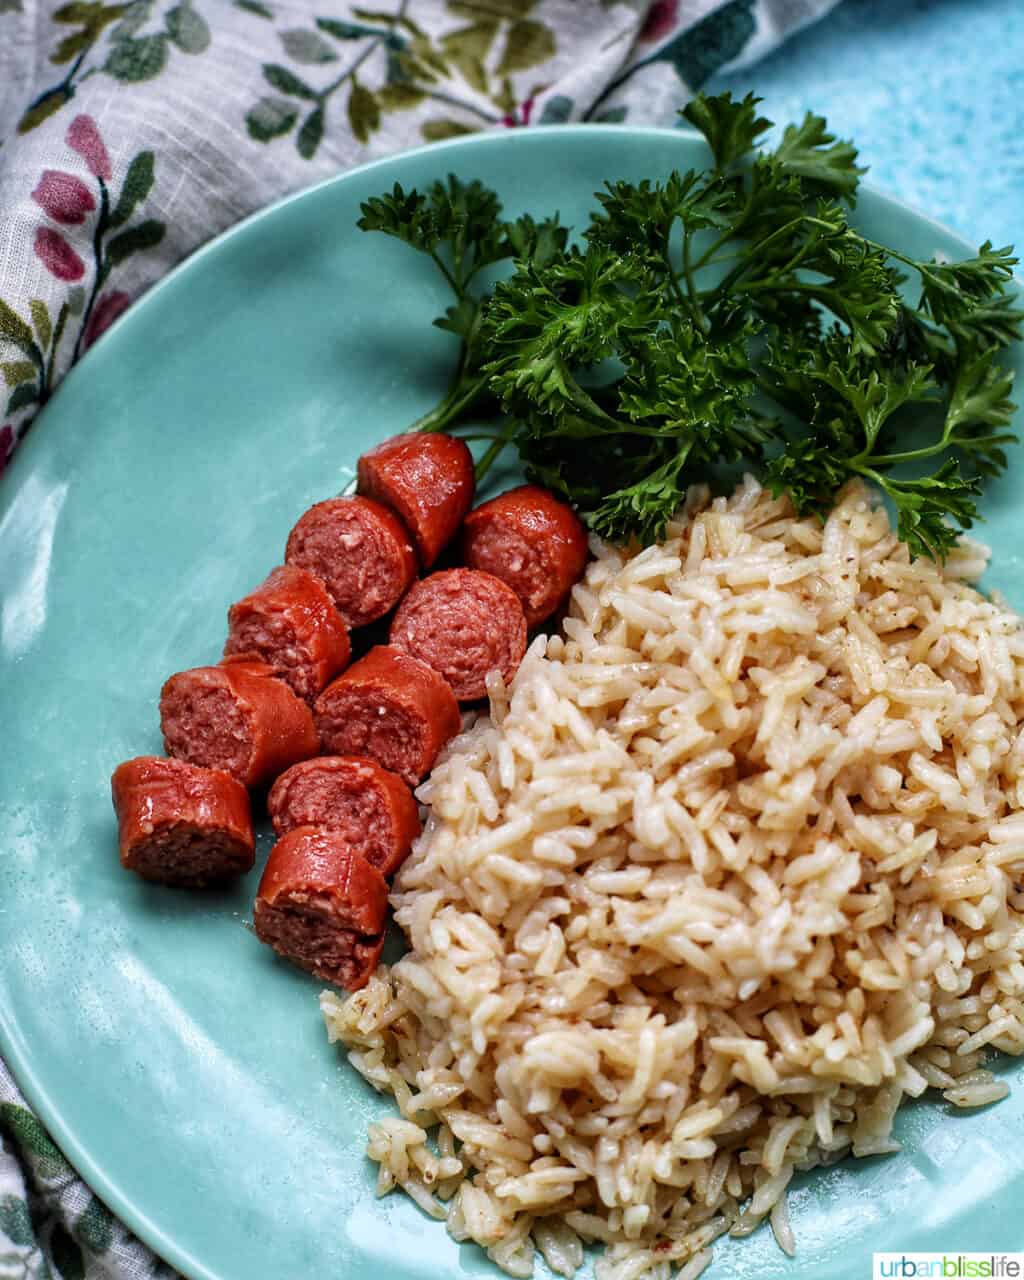
In my family, we would eat garlic fried rice for breakfast, lunch, and dinner. This Instant Pot garlic rice is a delicious side dish for almost any meal you can imagine!
In addition to classic Filipino recipes that I've mentioned above and below, you could also use this rice for Spam Musubi with Egg. Or, serve this garlic rice with:
- Hot dogs or Spam. Don't knock it till you've tried it!
- Slow Cooker Mongolian Beef
- Grilled Honey Garlic Chicken Skewers
- Thai Peanut Chicken Curry
- Instant Pot Vegan African Peanut Stew
- Soy Garlic Butter Chicken Bites
- Prosciutto-Wrapped Halibut
🥂 Best wine pairings for garlic rice

While much depends on the main course you decide to serve with this side dish there's nothing wrong with enjoying it on its own with a glass of wine.
The strong garlic presence can stand up to either a light and bright red wine, or a crisp white wine. I love a good Grüner Veltliner any day, but it's a hit with garlic dishes.
If you're in the mood for a red wine, you're in luck! Garlic rice pairs with a variety of reds, such as Syrah, Grenache, or Cabernet Sauvignon.
🇵🇭 More Filipino recipes
- Pandesal (Filipino rolls)
- Pancit Bihon
- Lumpia (Filipino spring rolls)
- Filipino Pork BBQ Skewers
- Instant Pot Filipino Chicken Adobo
- Filipino Macaroni Salad
For more, you can buy my Filipino cookbook: Modern Filipino Cooking, my 55-page e-Book with authentic Filipino recipes that I've adapted for today's modern kitchen!
Did you make this recipe? Don't forget to leave a 5-Star 🌟🌟🌟🌟🌟 rating in the recipe card, and if you really loved it, please leave a comment further down on the page. Thank you!

Instant Pot Garlic Rice
Ingredients
- 2 Tablespoons olive oil
- 6-8 garlic cloves, minced
- 1 cup white rice
- 1 cup broth, stock, or water
- ½ teaspoon kosher salt
- ¼ teaspoon ground black pepper
Instructions
- Turn your Instant Pot to SAUTE or your Ninja Foodi to SEAR/SAUTE on HI. Add the olive oil. Add the minced garlic and stir, cooking the garlic for 1 to 2 minutes, just until the garlic is soft and fragrant.
- Hit CANCEL on your Instant Pot or press the START/STOP button on your Ninja Foodi to end the sauté.
- Pour in the rice, then cover with the stock/broth/water. Use the wooden spoon to gently push the rice down to submerge it under the liquid.
- Lock the lid onto your electric pressure cooker, making sure the valve is in SEAL mode. Then PRESSURE COOK on HI for 3 minutes. It will take a few minutes for your Instant Pot or Ninja Foodi to come to pressure, then it will start counting down. Once the pressure cooking is complete, NATURAL RELEASE for 10 minutes, then QUICK RELEASE the remaining pressure.
- Once all pressure has been released and the pressure release valve pin has gone completely down, carefully turn and open the lid. Serve.
Video
Notes
Nutrition
Nutrition information is a general estimate. Actual nutrition details may vary depending on the exact foods & brands you use to make this recipe. It does not take into account any substitutions, toppings, or optional ingredients.
Pin it:


Sherry says
Very good. Wasn't sure which variety of write rice you used but I used long grain white and found it could have used another minute in the instant pot or maybe a full 15min natural release. It was slightly under cooked but tasty. Will make again.
Angela says
The Instant Pot is a game changer for rice. There is great flavor in this garlic rice. My family loved it.
Natalie says
My son loves fluffy rice. I will give your recipe a try. Thank you for all the tips and tricks shared.
Sarah James says
I like how you've used the Instant Pot to cook your garlic rice, so much healthier for you. Looking forward to trying your recipe, thanks for sharing.
Vanessa says
Well, I love rice and I LOVE garlic. Ha ha, this recipe is just another fabulous excuse for my garlic addiction. Love it!