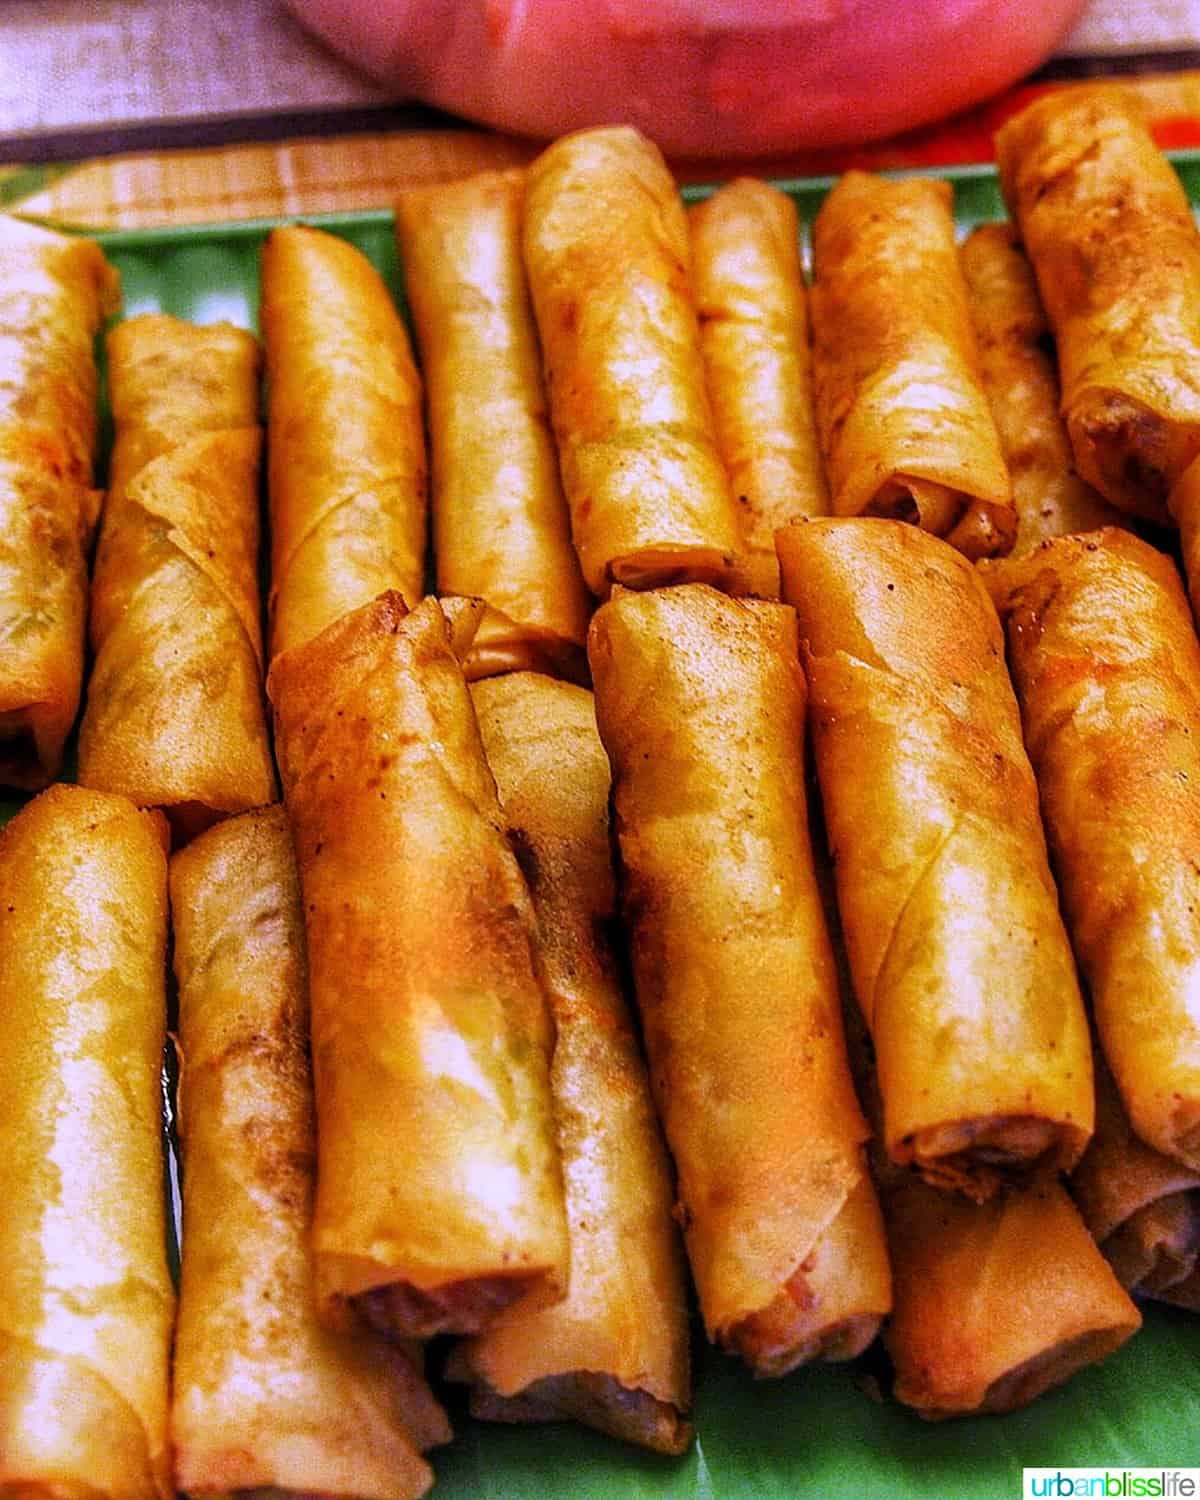
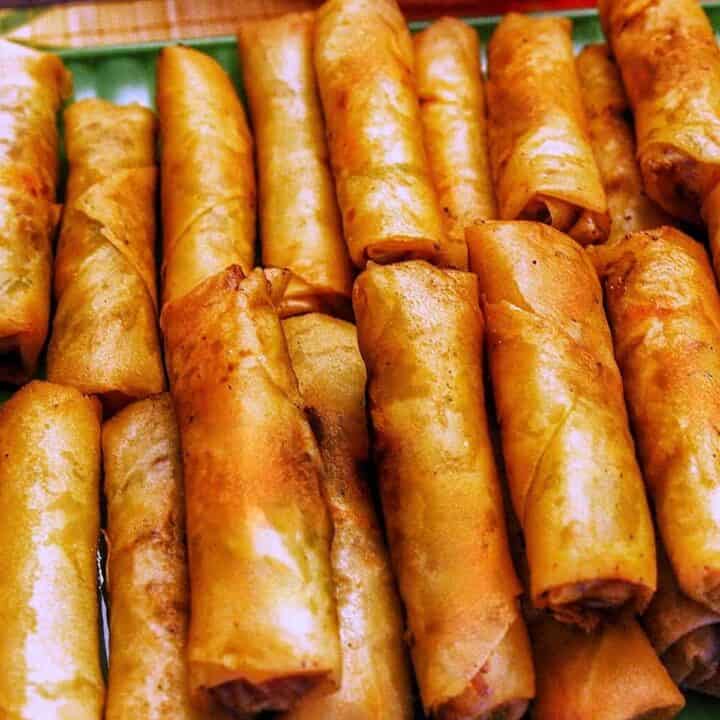
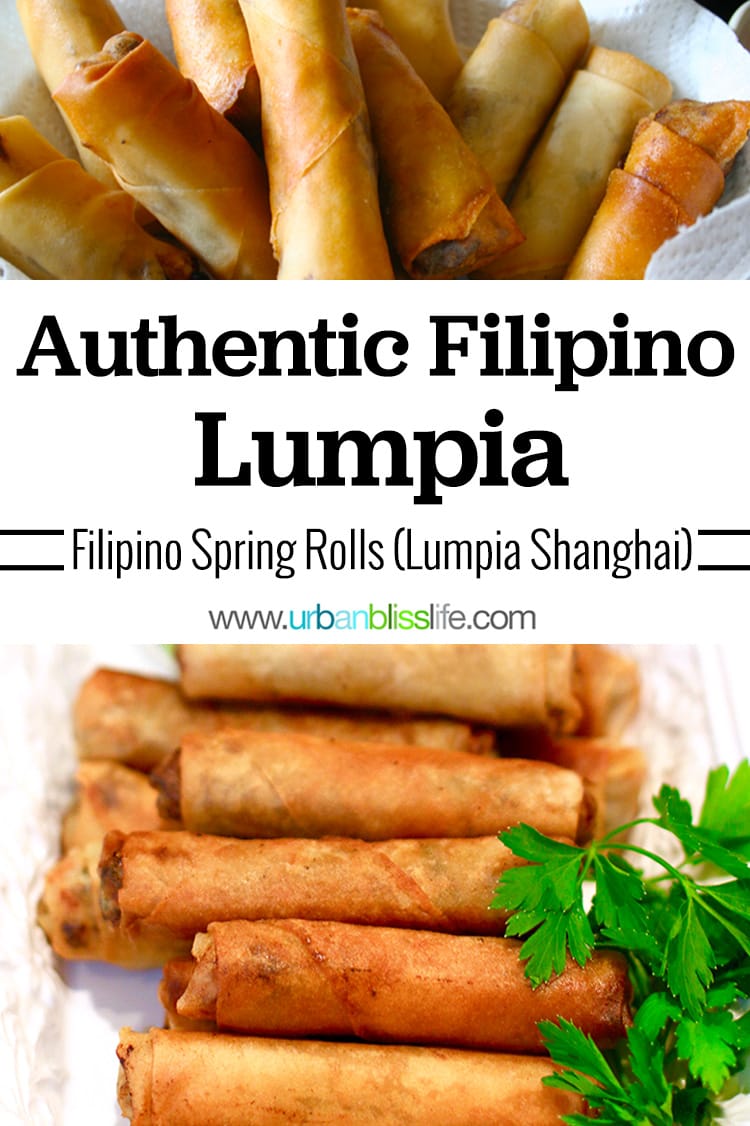
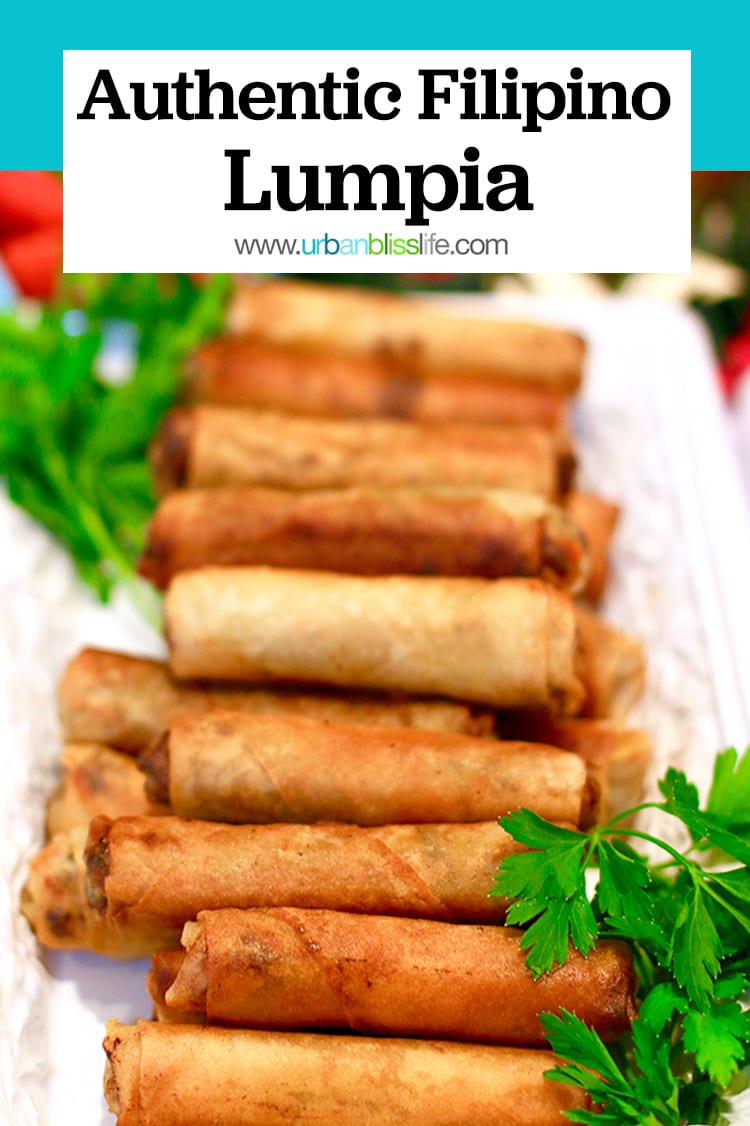
Filipino Lumpia are crispy, delicious Filipino egg rolls that are perfect to serve at parties. They also freeze well and are perfect to make for snacks, lunch, dinner, or for last minute guests!
This post was originally published on November 8, 2013. It was updated on November 27, 2021 and in July 2023 with new photos, updated step-by-step instructions, helpful answers to frequently asked questions, and updated recipe.
Jump to:
- 🍽️ What is lumpia?
- ❤️ Why you’ll love this lumpia recipe
- 🥕 Ingredient notes
- ✅ Step-by-step instructions
- Make the filling
- Assemble the lumpia
- 🔥 Frying fresh lumpia
- Cooking tips to make the best lumpia
- Freezing lumpia and cooking frozen lumpia
- What to serve with lumpia
- Kitchen tools and equipment
- 🍷 Wine pairings for Filipino food
- 👩🏻🍳 Recipe FAQs
- More Filipino recipes
- Lumpia (Filipino spring rolls)
Growing up in a Filipino family, food was a huge part of my life. I gained my passion for cooking from watching my Lola — my great-grandmother, who lived with us — make magic in the kitchen morning, noon, and night.
My parents entertained A LOT. We were constantly going to relatives’ houses. Family and friends were always in and out of our own home. The Pancit Bihon, Filipino Adobo, and Filipino Pork BBQ were always flowing.
But the one single food that you could always, ALWAYS find at all of our homes: Lumpia.
🍽️ What is lumpia?
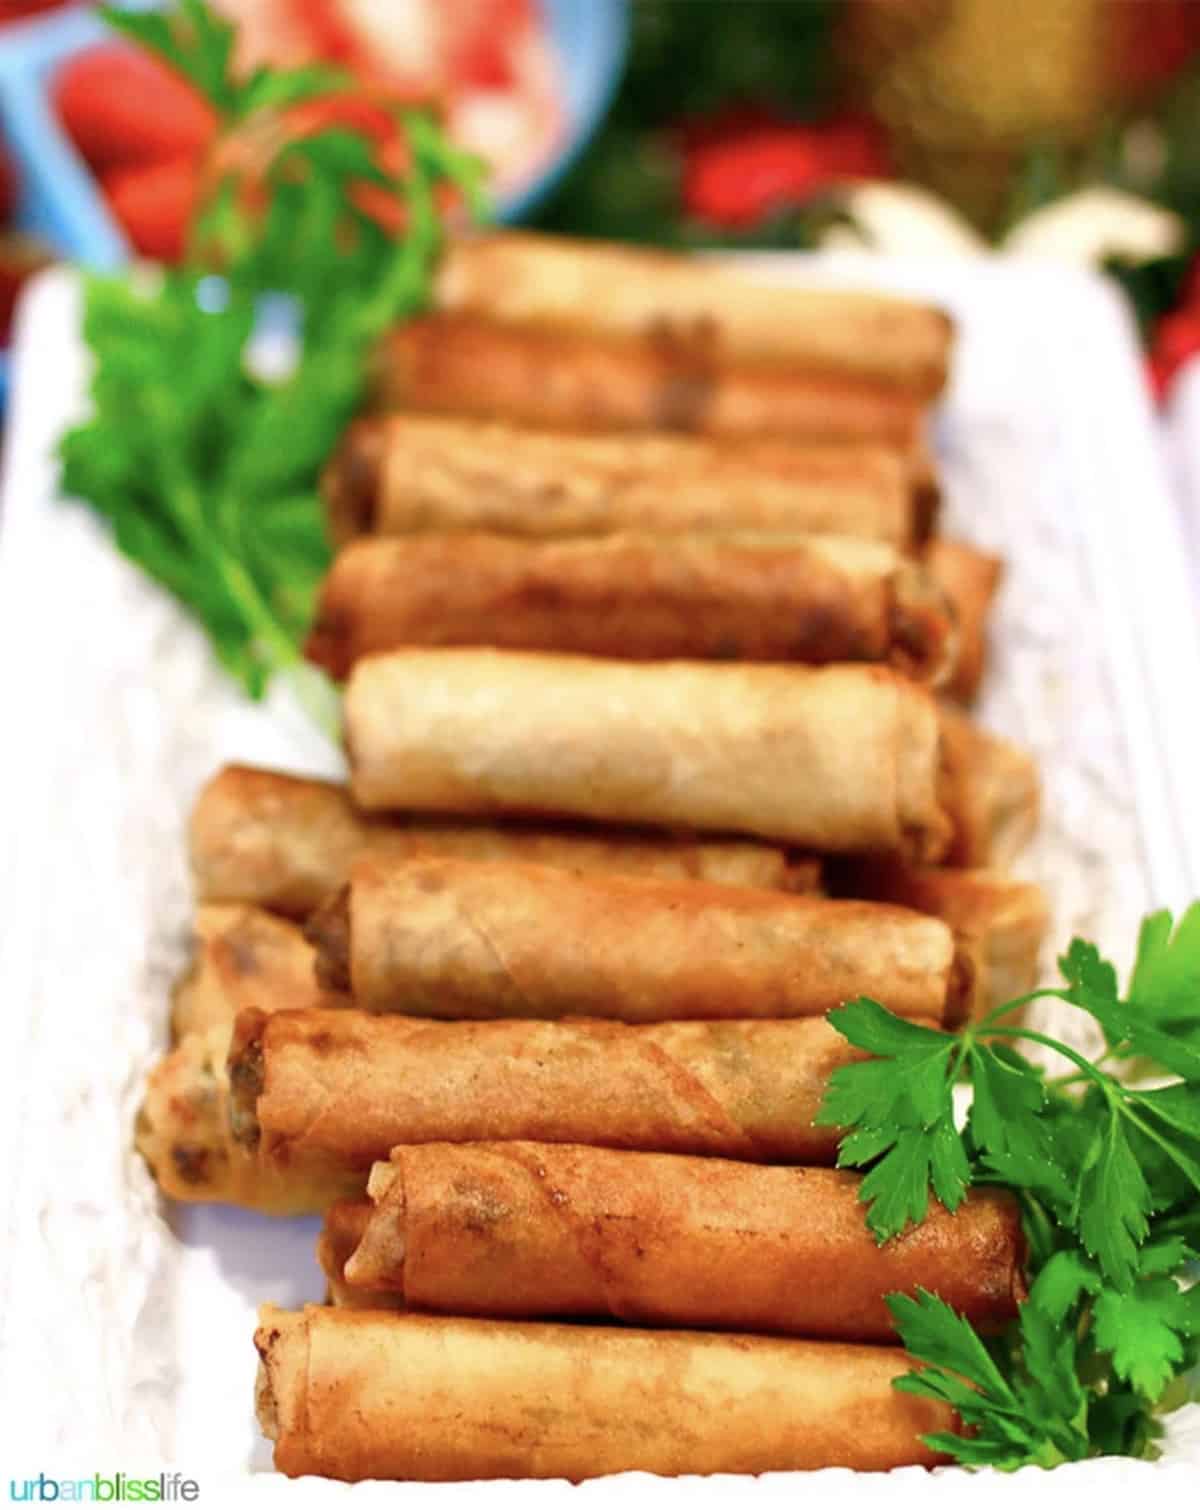
Lumpia is a Filipino egg roll (or Filipino spring roll, if you prefer to make it without the meat). This popular Filipino food is filled with a mixture of ground meat (usually beef, pork, and/or shrimp) and tons of chopped vegetables. Then the lumpia are wrapped using paper-thin lumpia wrappers.
Anyone who has eaten lumpia before LOVES it. And if you haven’t yet, I’m here to share the best lumpia recipe, packed with Filipino flavors!
❤️ Why you’ll love this lumpia recipe
This authentic Filipino lumpia recipe is my twist on the recipe that has been passed down to me from my Lola and my mom. I hope you’ll love it as much as we do!
- This is a great make-ahead recipe. You can prep all of the ingredients and assemble the lumpia in one day, then freeze until you’re ready to eat.
- Lumpia is packed with vegetables. It’s also easy to substitute your fave veggies.
- You can use this same recipe for beef, pork, ground chicken, ground turkey, minced shrimp, or vegetarian lumpia.
- This lumpia tastes amazing! The outside is crispy and crunchy, and the filling is bursting with big flavors.
🥕 Ingredient notes
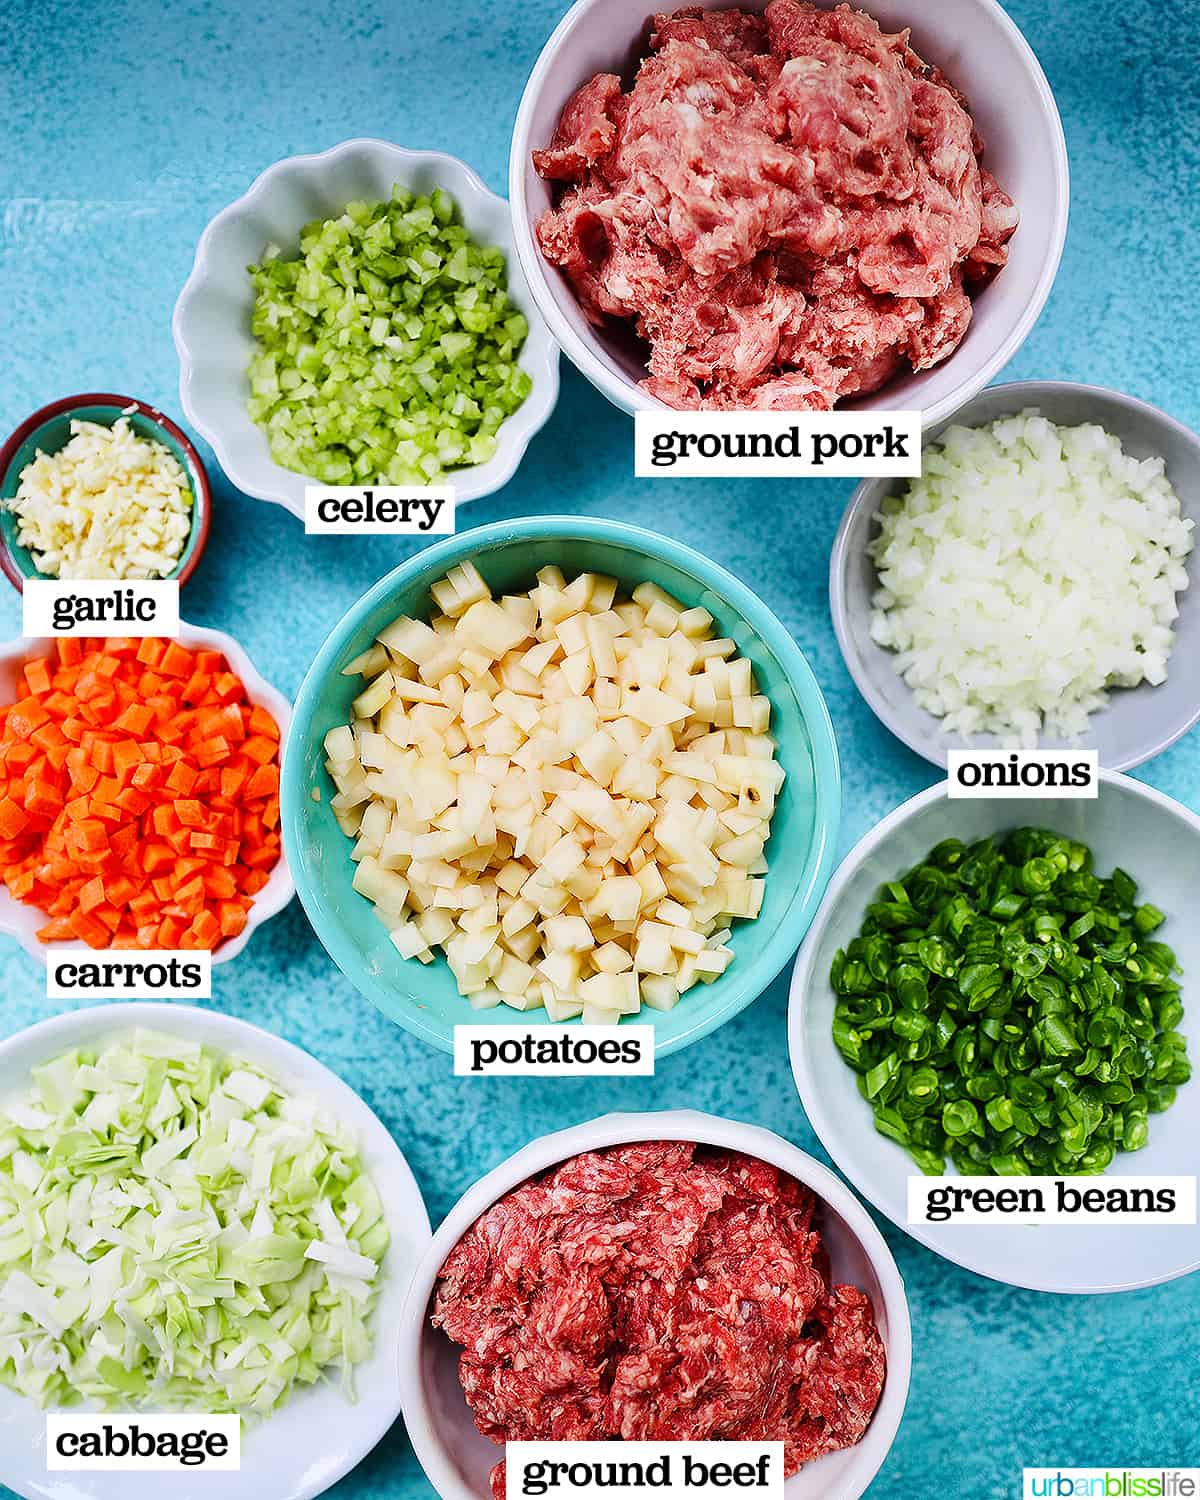
- Ground meat – The best lumpia recipes call for a mix of ground or chopped meats. I find the combination of ground beef and ground pork to be the most delicious.
- Onions and garlic – Use yellow or white onions, diced finely. The recipe calls for 5 cloves of garlic, minced, but you can adjust this amount to your personal taste preference.
- Soy sauce – (not pictured) this adds some liquid and deep flavor to the meat as it cooks. Gluten free substitute: use coconut aminos instead of soy sauce.
- Chicken broth – (not pictured) this adds flavor and moisture to the filling ingredients as they cook.
- Potatoes – Peel and dice potatoes into very small cubes, about the same size as the carrots. This helps them cook evenly.
- Carrots – Peel and chop the carrots into very small cubes, about the same size as the potatoes.
- Green beans – You’re going to slice the green beans on the bias, creating diagonal cuts.
- Cabbage – I use green cabbage, chopped very finely. But you can use green or purple cabbage, or a combination of both.
- Celery – Dice the celery into very small pieces, just a little bigger than the finely diced onions.
- Egg (not pictured) – you’ll also need one egg + 1 teaspoon of water to make an egg wash. This will help seal the lumpia.
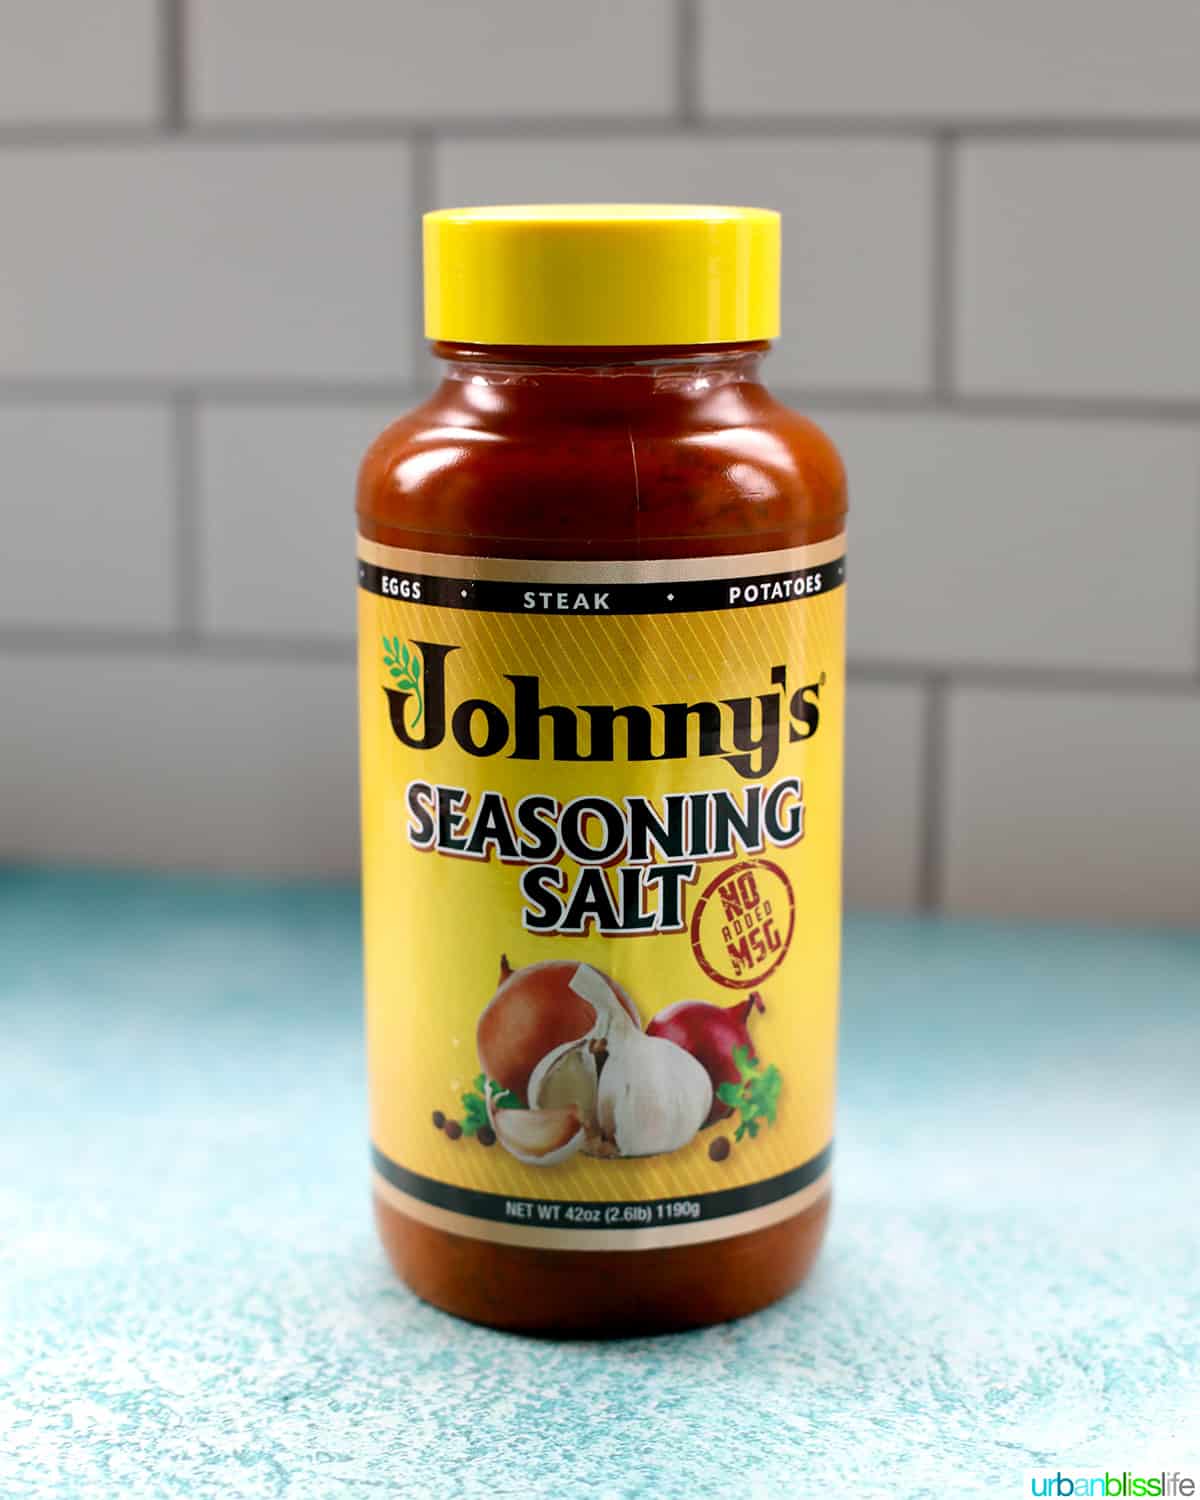
Seasoning – Johnny’s Seasoning Salt is a MUST for our family’s lumpia recipe. I buy the ginormous 42-ounce container at Costco. You only need 3 teaspoons for this recipe, but this is a versatile seasoning you can use on chicken, pork, beef, seafood, and veggies.
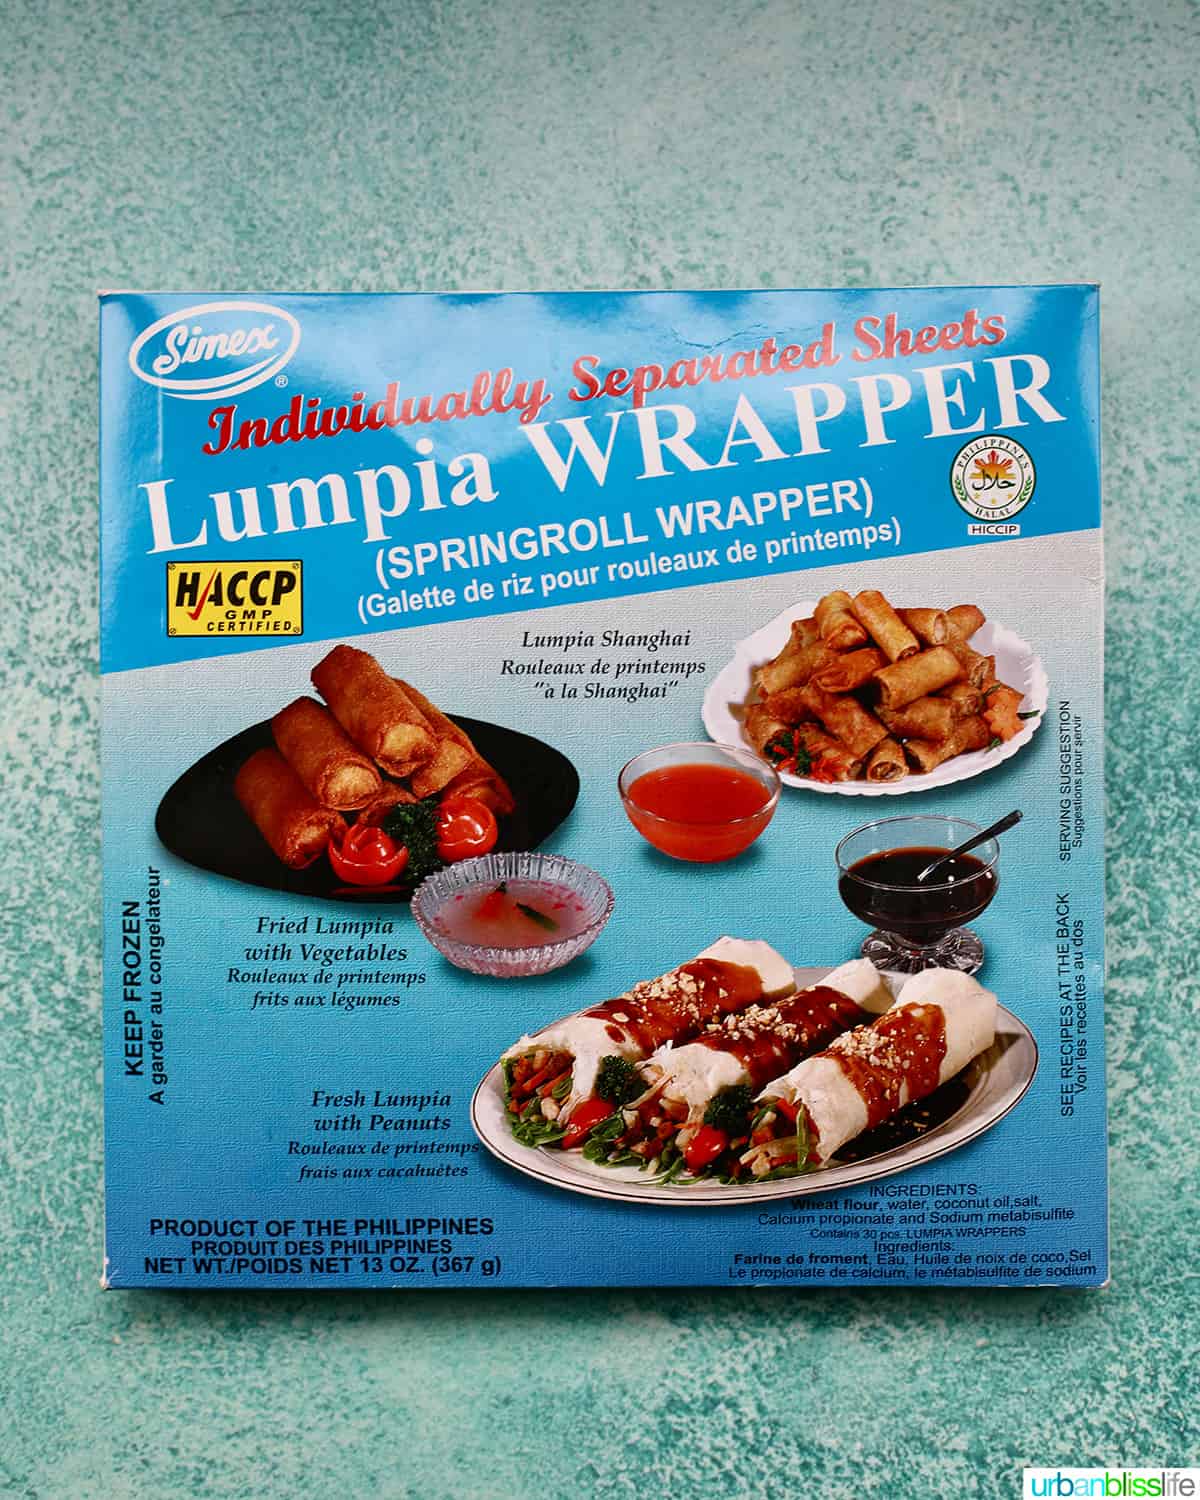
Lumpia wrappers – It’s important to use lumpia wrappers like the one pictured above. This kind is great because they have separating sheets between each wrapper, making it easier to separate without breaking. Lumpia wrappers break easily, so handle gently with care!
Gluten free option: You can use lettuce leaves to make lettuce wraps with this lumpia filling.
If you can’t find the exact Lumpia wrappers like this, then these spring roll wrappers are a good substitute. These particular wrappers are super thin, just like lumpia wrappers.
✅ Step-by-step instructions
I’ve got a step-by-step cooking guide to making Filipino lumpia from scratch. Be sure to read through these steps before you start cooking, then print out the recipe card below with full ingredient measurements and instructions.
Make the filling
You start by chopping the vegetables: garlic, onions, potatoes, carrots, celery, green beans, cabbage.
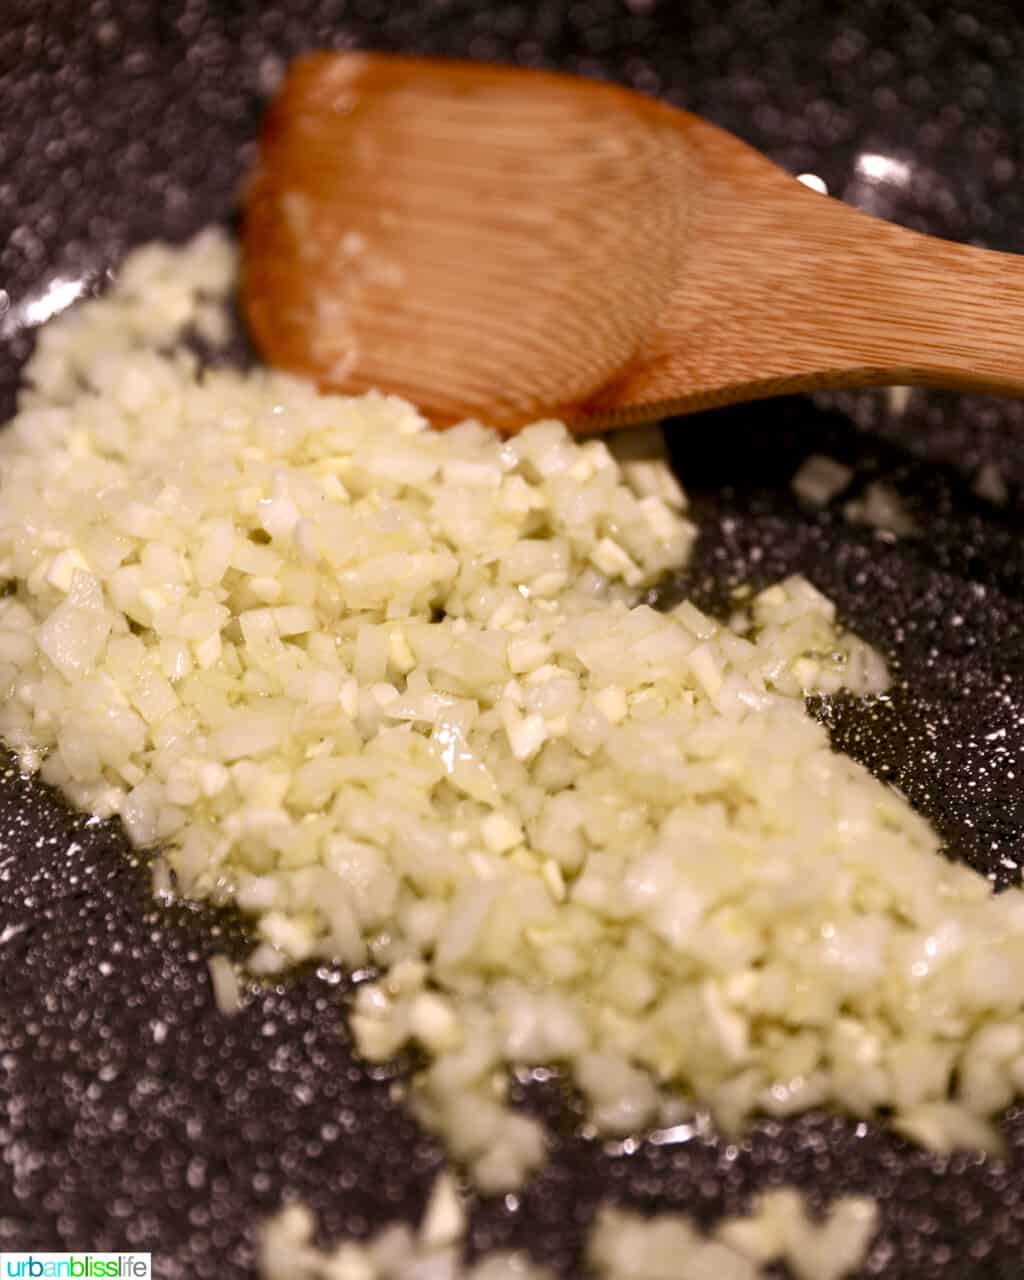
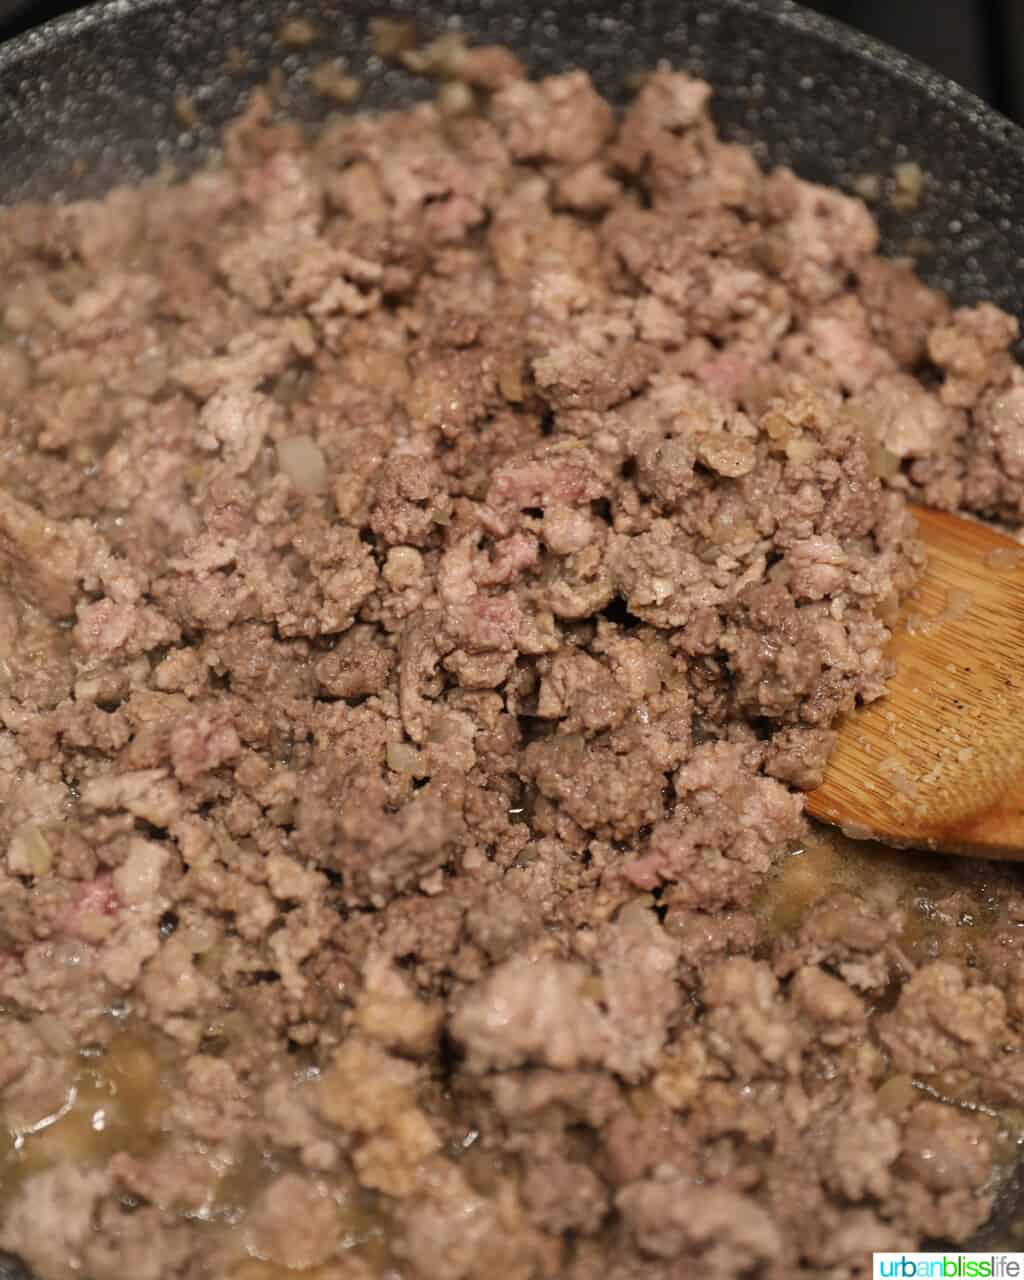
Once all of the veggies are chopped and prepped, add vegetable oil or olive oil to a large stockpot or large skillet and heat over medium to medium-high heat. When the oil is hot, add the garlic and onions and sauté 2 to 3 minutes, just until the onions and garlic are soft and translucent.
Once the garlic and onions are translucent, add the ground beef, ground pork, salt, black pepper, soy sauce, and sauté until the beef is browned.
Drain the excess oil from the pan, add chicken broth and bring to boil. Add the potatoes and carrots, Johnny’s Seasoning Salt, and simmer for 5-10 minutes.
Then, add the green beans, cabbage, and celery and simmer for another 5 minutes. The vegetables should be slightly crisp.
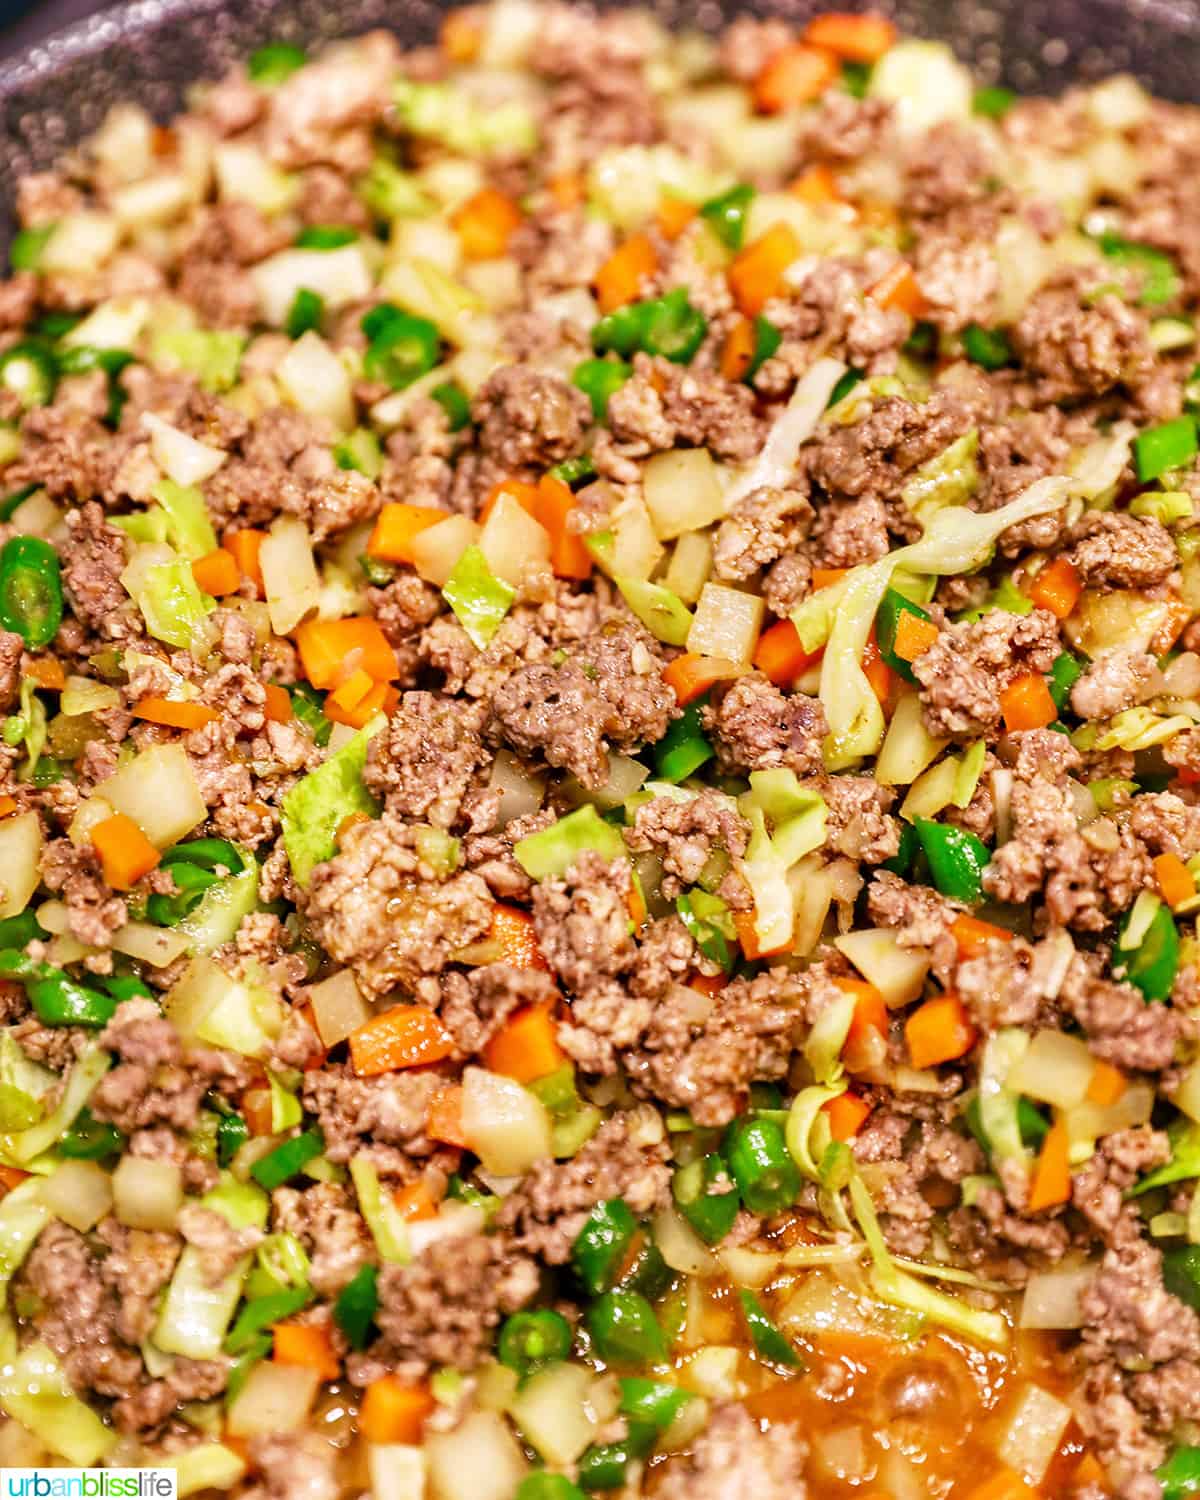
Drain excess fats and liquid mixture, which you could do by pouring the pot over a strainer in the sink.
Allow the mixture to cool to near-room temperature.
Assemble the lumpia
Now it’s time to assemble these beautiful Filipino spring rolls.
Separate individual sheets of Lumpia wrappers very carefully, so as not to tear them. While working with one sheet, you can cover the others with a damp paper towel to prevent them from drying out and becoming brittle.
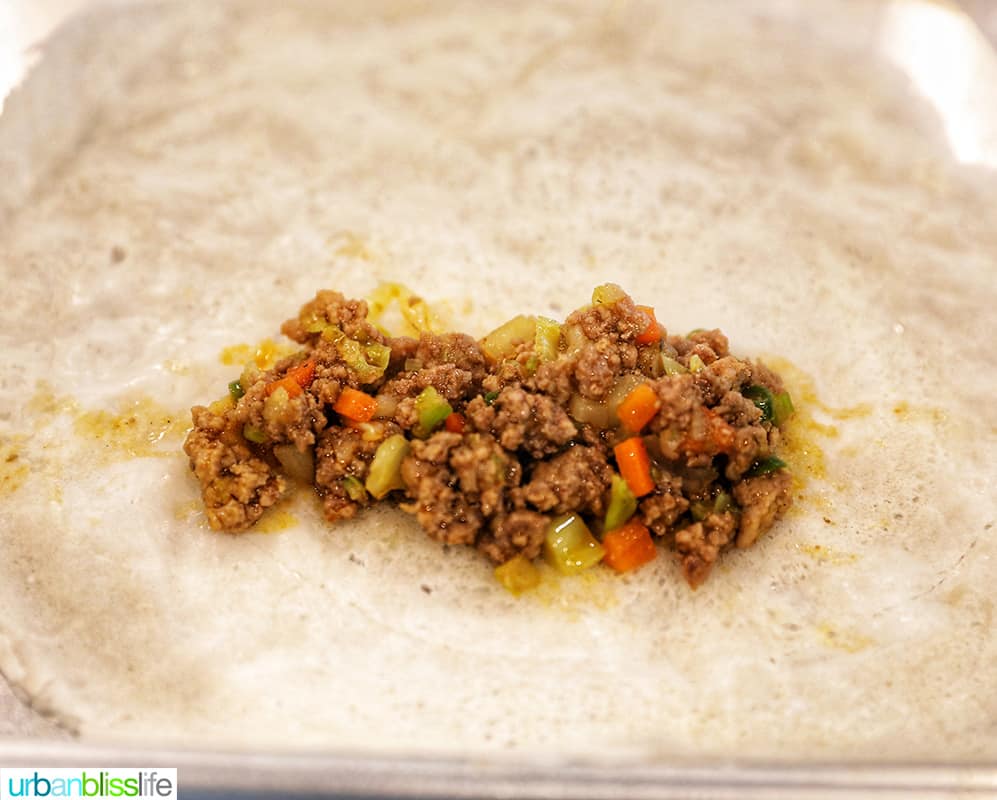
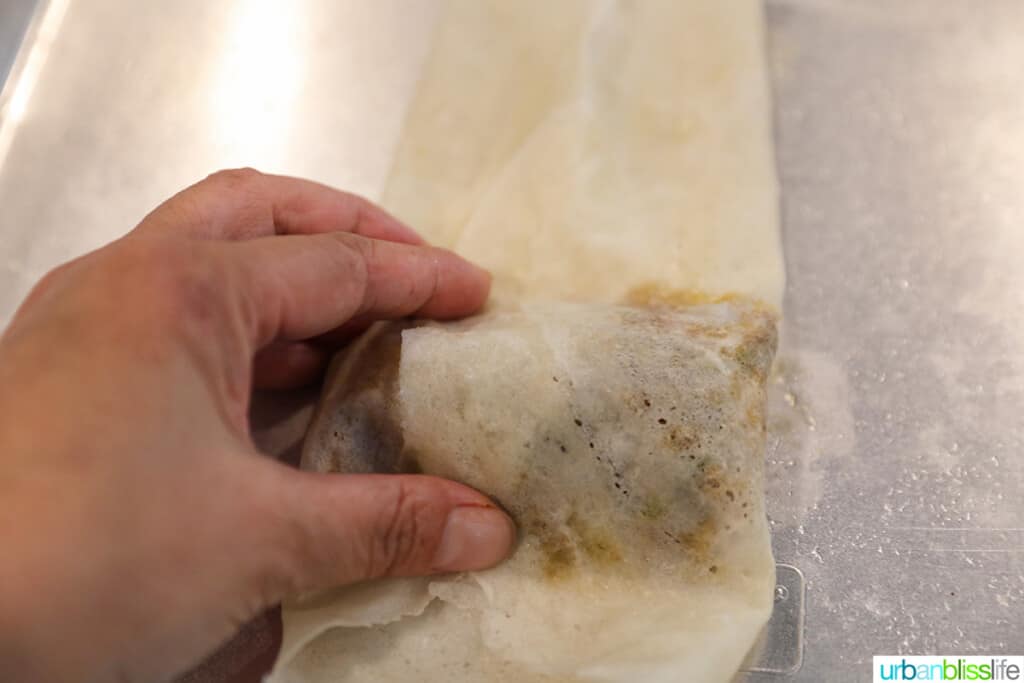
Place 1 heaping tablespoonful of the filling diagonally near one corner of the wrapper, leaving a 1.5 inch edge of space at both ends. If you find that the lumpia can use more filling, go ahead and add more to each lumpia. Just be careful not to overfill the lumpia. Too much filling can cause the wrappers to tear before or during frying.
Fold the corner along the length of the filling over the filling, tuck in both ends so that it almost looks like an envelope, and roll neatly and tight. Moisten the other side of the wrapper with water to seal the edge.
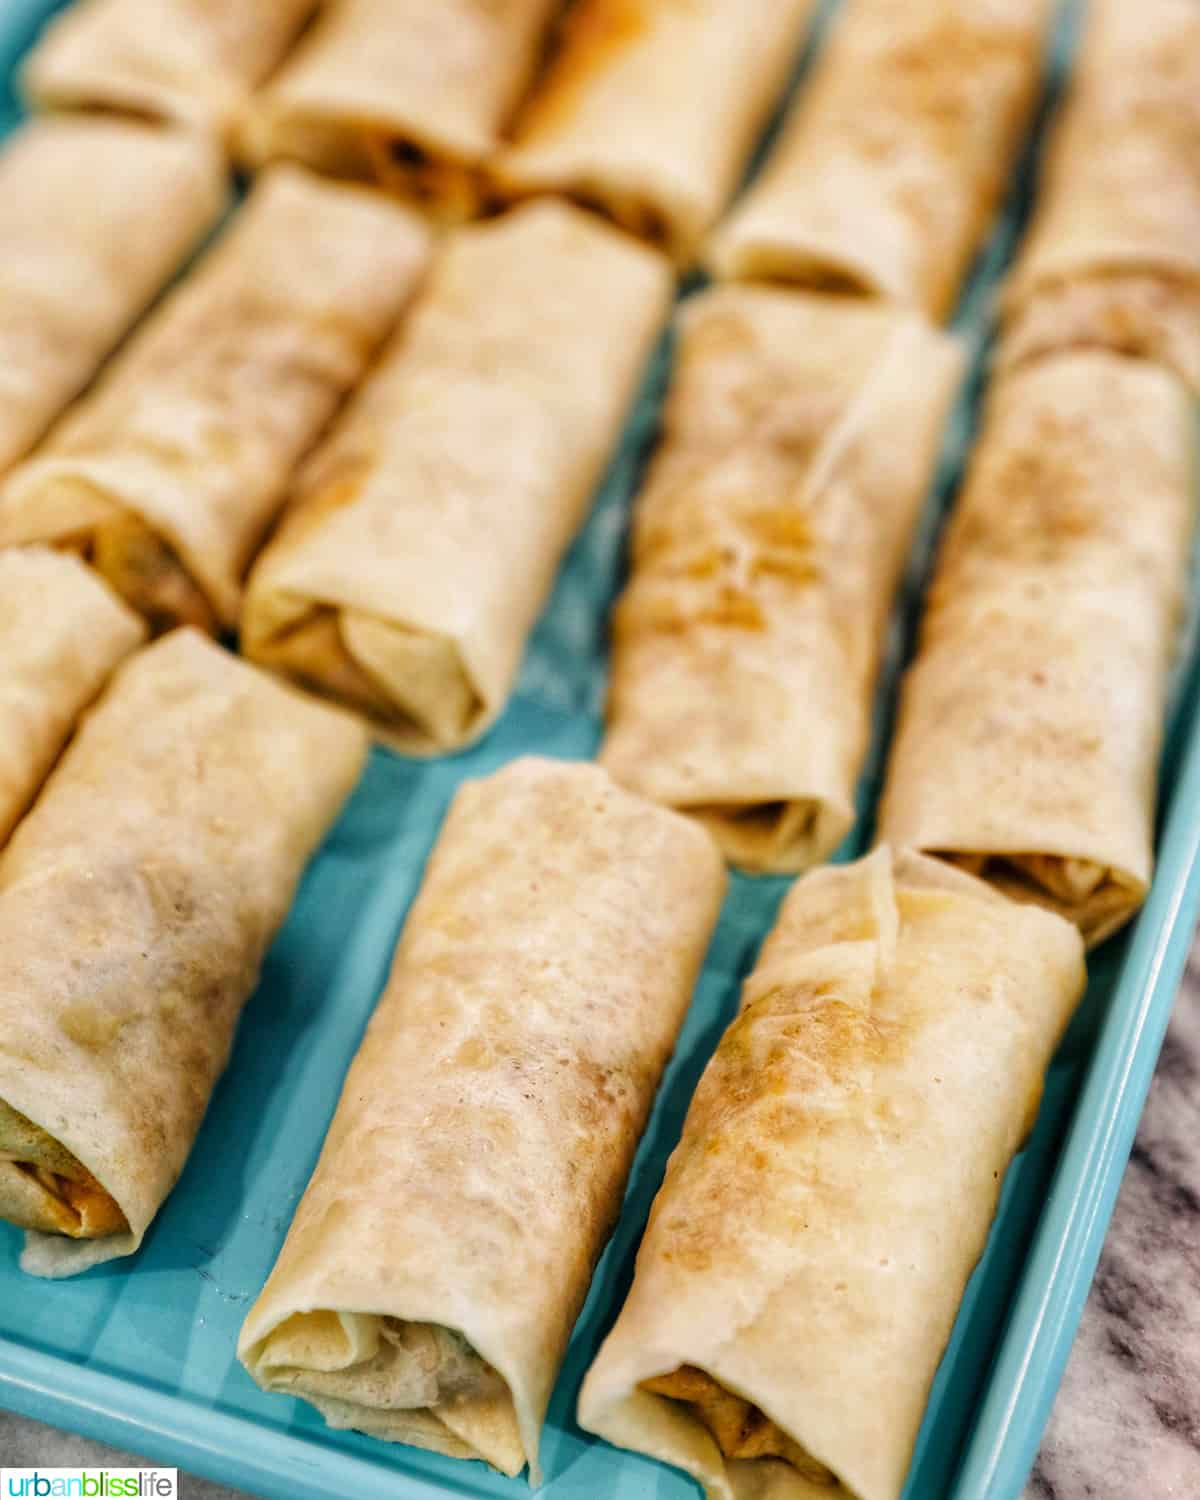
The egg rolls can be fried immediately or frozen for later use (see Frying Tips below).
If frying them immediately, cover them with plastic wrap or a moist towel to keep the wrappers from drying out while you are frying the rest.
🔥 Frying fresh lumpia
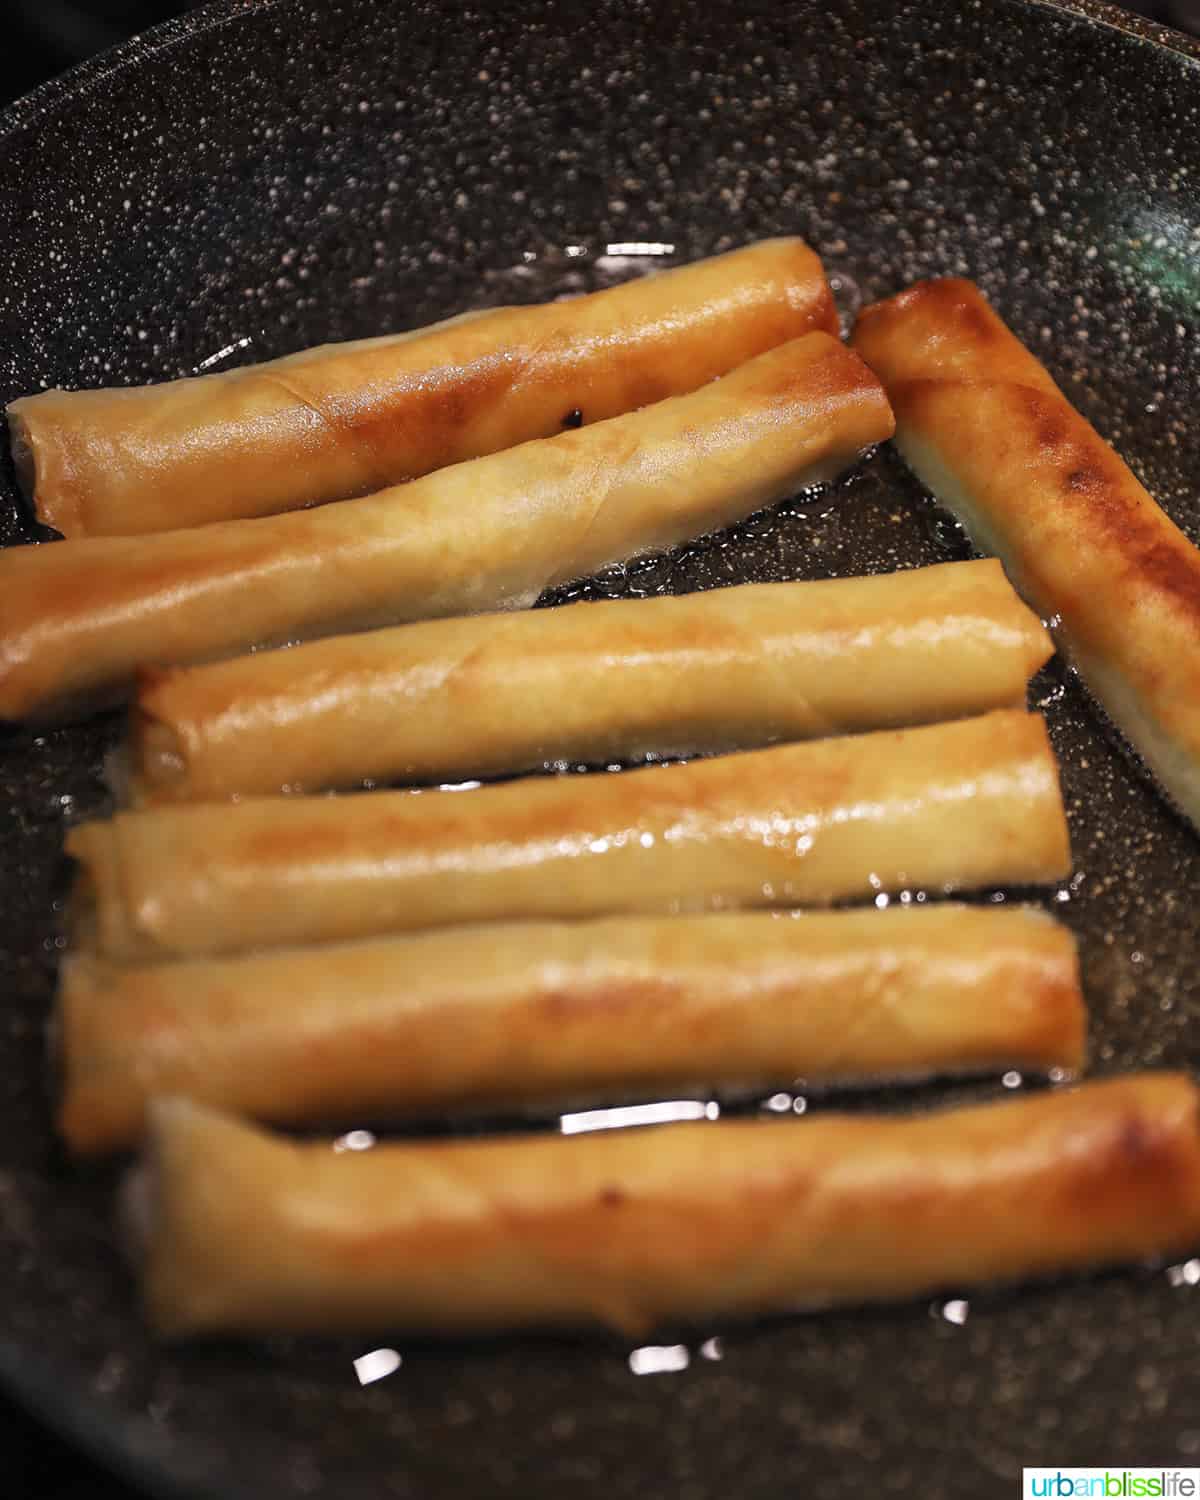
Heat a skillet over medium heat, add vegetable oil to about 1 inch depth, and heat for 5 minutes. Fry the egg rolls in the hot oil for 3-4 minutes on each side, or until all sides are golden brown and they have a crispy wrapper.
You will need to work in batches so as not to crowd the pan. Once golden brown all around (a few lighter patches of wrapper are fine), use tongs to transfer the lumpia to a wire rack placed over a baking sheet. This will help the lumpia drain and retain its crispiness.
Enjoy immediately.
Cooking tips to make the best lumpia
- For the best lumpia, use the specific Lumpia Wrappers pictured above in the post. Or, use these specific spring roll wrappers. These spring roll wrappers are thinner and are part of what make these egg rolls super crispy and tasty.
- Do not try to use traditional egg roll wrappers. They are usually too thick for lumpia and will result in a totally different taste and texture.
- You can keep the lumpia wrappers moist and pliable during assembly by storing them in a plastic bag, or under moist towel.
- Make sure you chop all of the vegetables up the same size so they cook evenly.
- Be sure to wrap the lumpia wrappers tightly around the filling. If you roll them too loosely, they won’t cook the same way.
- If your wrapper has a small tear in it, place that end closer to you. As you roll the lumpia, the tear will be more likely to be wrapped inside and not exposed.
- Allowing fried lumpia to drain excess oil on a wire rack placed over a baking sheet helps it retain its crispiness. You could transfer to a paper towel, but that tends to cause the lumpia to be soggy and not as crispy.
Freezing lumpia and cooking frozen lumpia
Yes, you can freeze lumpia! Most Filipinos have at least one bag of frozen lumpia in the freezer at all times. You can assemble a huge batch of lumpia. Then freeze them, uncooked.
Uncooked lumpia that is frozen will keep in tightly sealed freezer bags or an airtight container for up to three months.
When you are ready to cook the lumpia rolls: take the frozen lumpia out of the freezer and fry them right away. You do NOT need to thaw frozen lumpia before frying.
In fact, it’s so much better when you fry lumpia frozen straight from the freezer. They are crispier and the flavor is locked in. SO GOOD!
What to serve with lumpia
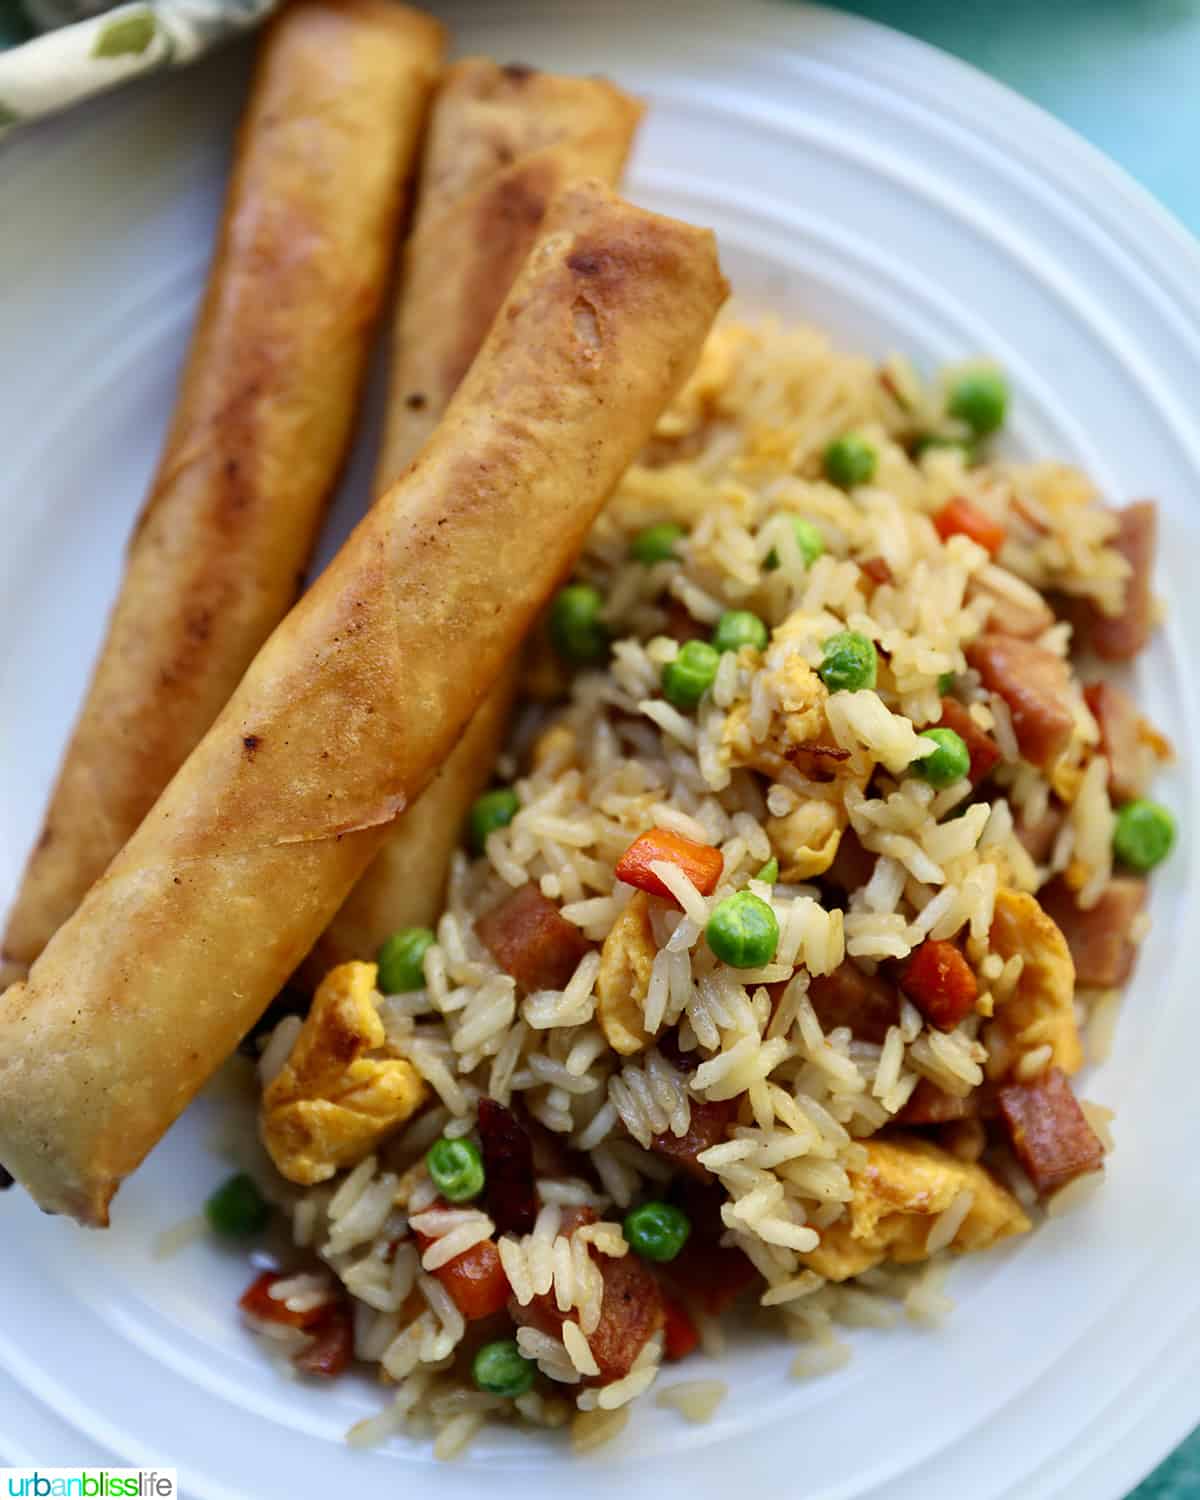
We love eating lumpia with everything. Not only do they make the perfect appetizer, they really go with almost every kind of Asian-inspired meal imaginable! Most of the time, my family enjoys it simply with some rice and an easy cucumber salad.
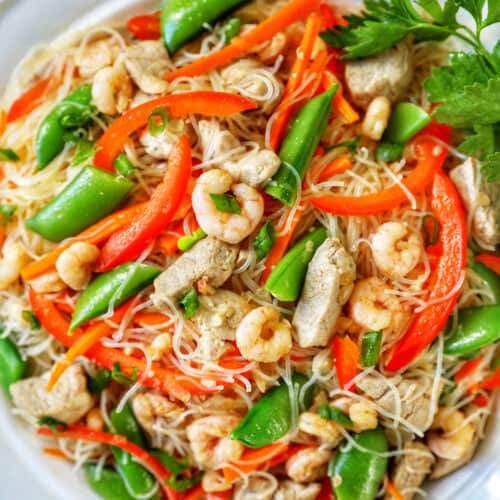
If you want to serve an authentic Filipino meal, you can serve lumpia shanghai rolls as a side dish to go with Filipino Adobo Chicken, Filipino Pancit Bihon, or Filipino Fried Rice. And don’t forget the Filipino Macaroni Salad!
Lumpia would also be an excellent side dish to easy, unfussy Homemade Ramen Noodles.
As far as dipping sauces go, we always enjoy lumpia with sweet chili sauce. You can make your own Sweet Chili Sauce, or enjoy lumpia with my favorite store-bought sweet chili sauce. You could also serve this with banana ketchup or teriyaki sauce.
Kitchen tools and equipment
To make lumpia, you’ll need:
- Cutting board and knife – much of the time spent making lumpia is spent chopping the vegetables for the lumpia filling. Use a sturdy cutting board and a very sharp knife to make the task easier and faster.
- Large stockpot or skillet – I’ve made this lumpia recipe using a large stockpot or Dutch oven, and I’ve also made it using a large skillet. Both work. If you’re using a large skillet, make sure it has high sides to help contain the ingredients while cooking.
- Strainer – use a strainer or collander to strain out the excess liquid once the filling ingredients have cooked through.
- Wire rack and baking sheet – use a wire rack fit over a baking sheet to drain excess oil from the fried lumpia.
- Tongs – a great pair of long tongs are necessary to flip the lumpia while cooking.
🍷 Wine pairings for Filipino food
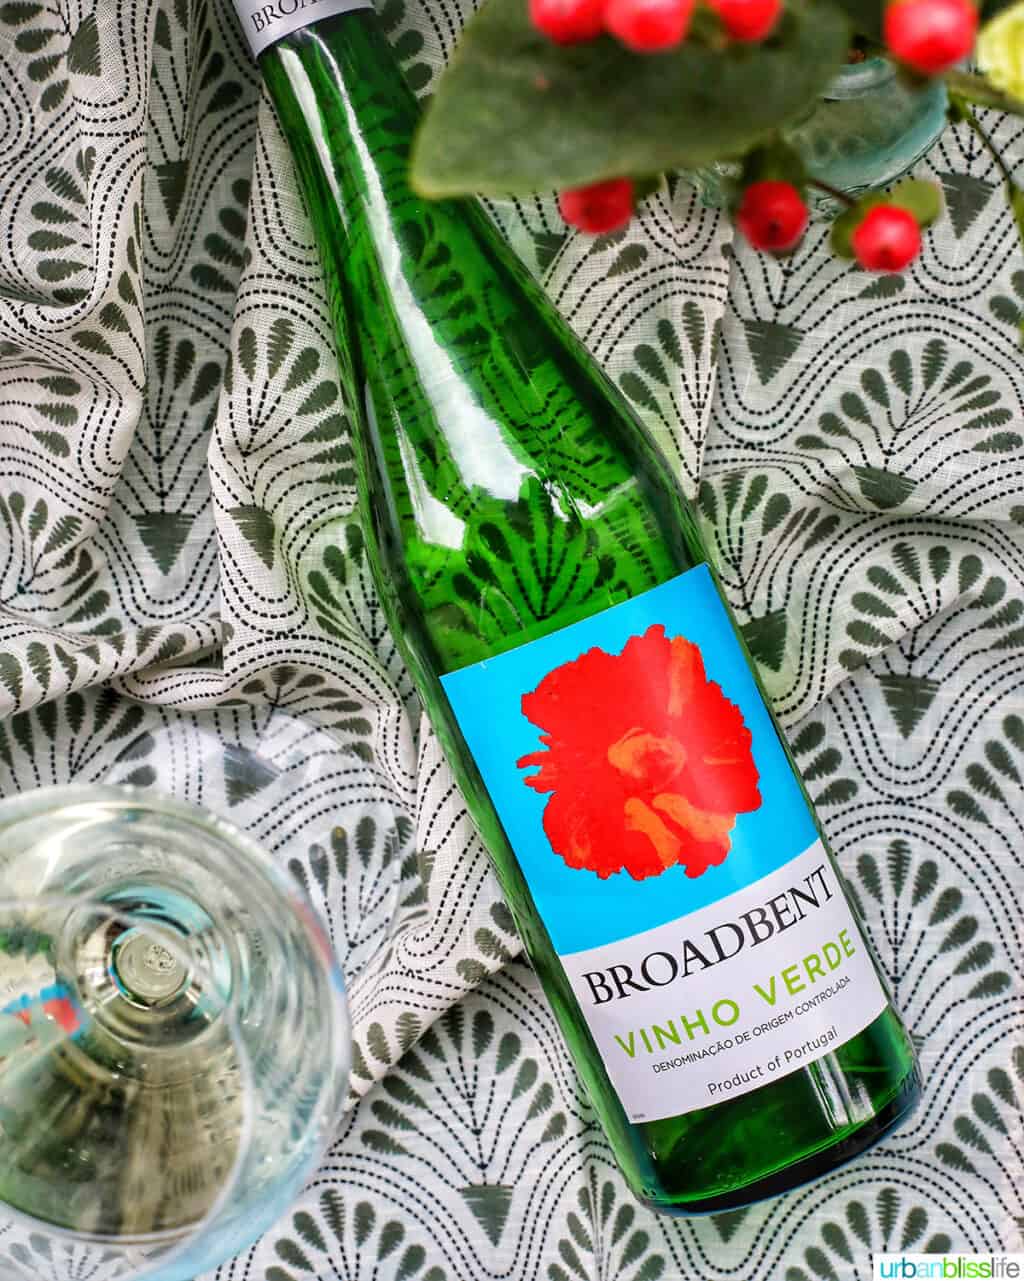
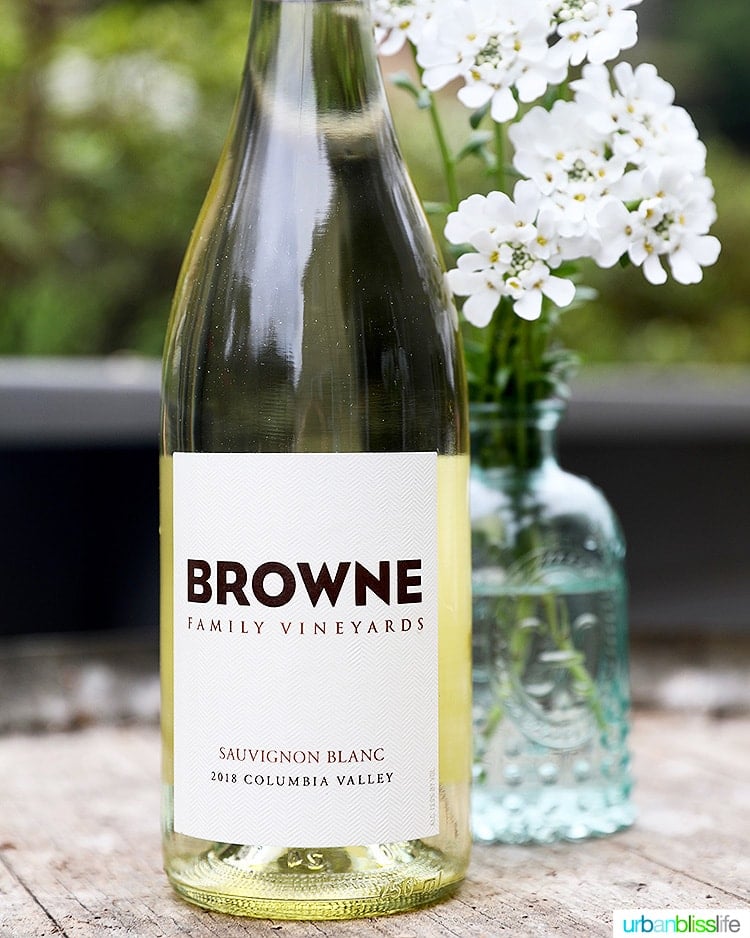
Choose a light, bright white wine that can cut through the richness of lumpia and complement the Asian flavors of the dish.
Pair lumpia with either a Vinho Verde from Portugal or a Sauvignon Blanc. Both of these light, refreshing white wines have notes of green apple, lime, and passionfruit that complement the Filipino spices well.
👩🏻🍳 Recipe FAQs
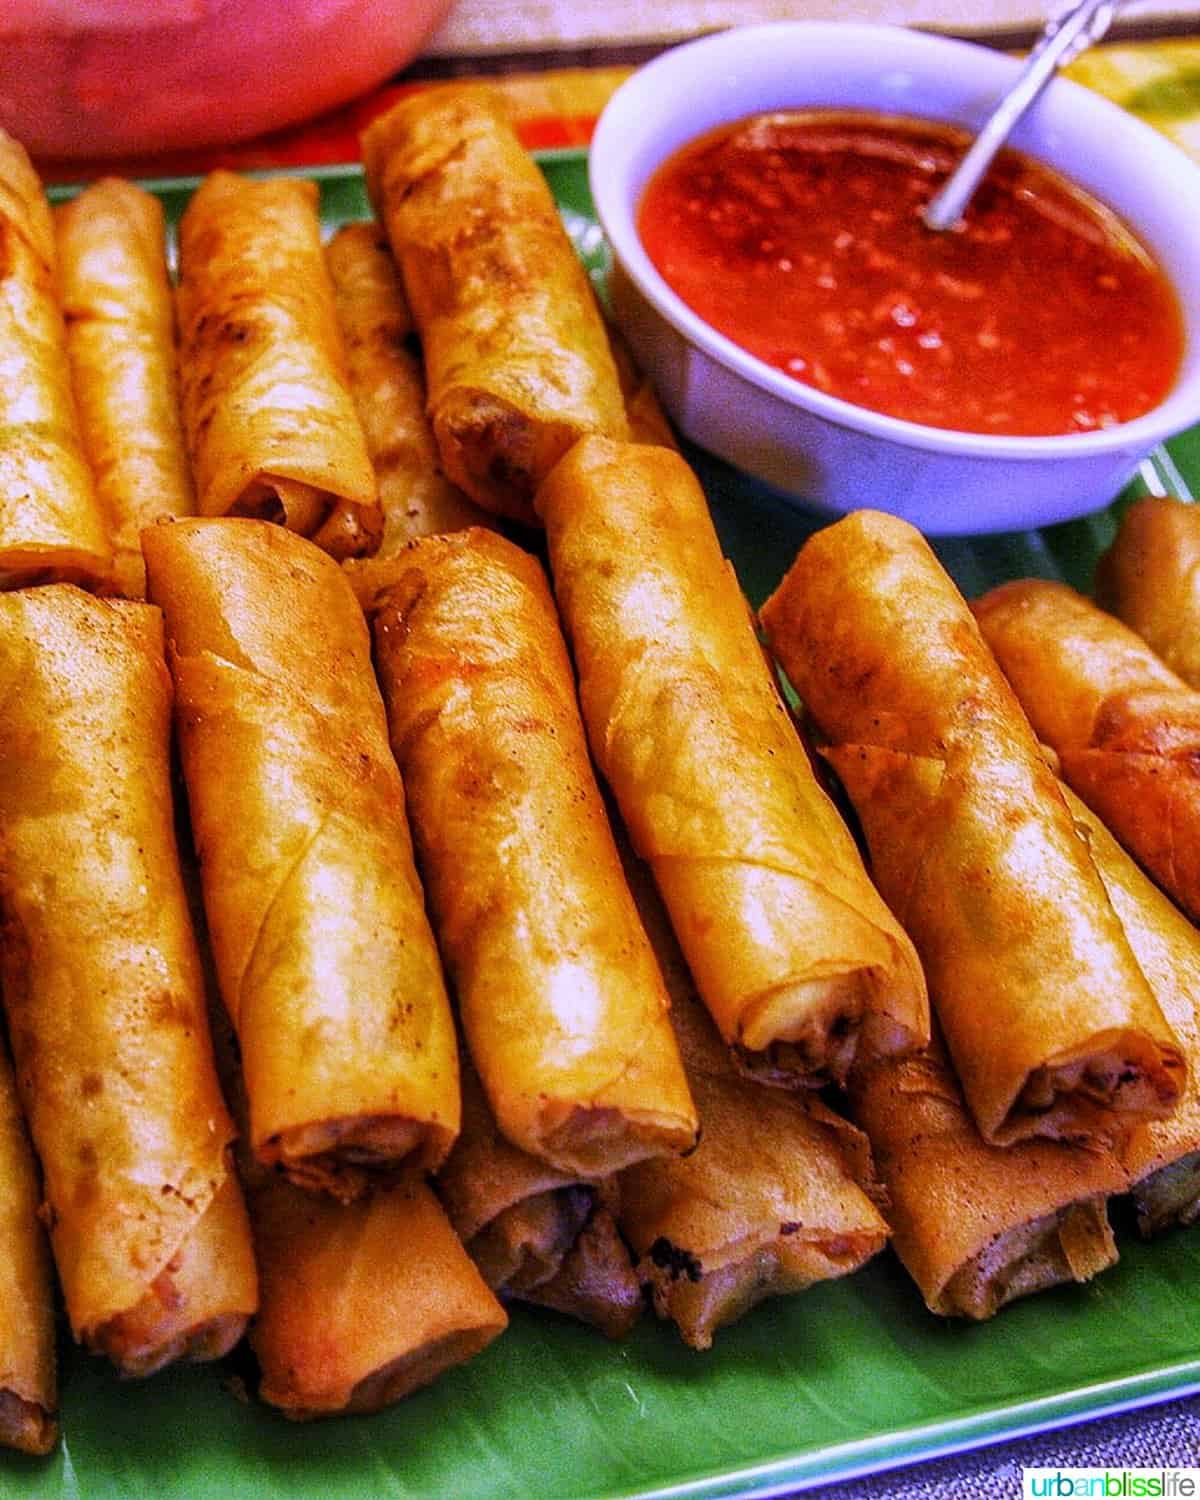
The main difference between Filipino lumpia and Chinese egg rolls are the wrappers. Lumpia is made with paper-thin wrappers consisting of just flour, water, and salt. The thinness of the wrappers result in lumpia’s signature super crispy crunchy texture when fried.
Lumpia are Filipino egg rolls. Throughout Filipino cuisine, you’ll find influence of Chinese and Spanish settlers. It’s said that Chinese immigrants from the Fujian region of China brought over egg rolls with them to the Philippines between 900-1565 AD. Filipinos put the local spin on this dish and lumpia has been a popular Filipino food ever since!
Yes! Lumpia wrappers are thinner than egg roll wrappers. This helps them fry up beautifully and give you that classic lumpia crunch when you bite into them.
These terms are often used interchangeably, but technically they are different types of lumpia. Typically, thinner, meatier rolls are known as Lumpiang Shanghai, or Lumpia Shanghai. Whereas the fatter rolls are referred to as Lumpia.
As I tell my kids, “just because you can, doesn’t mean you should!” We love our air fryer and use it for many foods – but not lumpia. You can air fry lumpia, but the texture and taste are nothing close to fried lumpia. That said, I do recommend using the air fryer to reheat fully cooked lumpia leftovers that you’ve refrigerated.
More Filipino recipes
I love sharing recipes from my Filipino heritage with you! You’ll find a lot of Filipino recipes on the blog.
Did you make this recipe? Don’t forget to leave a 5-Star 🌟🌟🌟🌟🌟 rating in the recipe card, and if you really loved it, please leave a comment further down on the page. Thank you!
Lumpia (Filipino spring rolls)
Equipment
- large pot or Dutch Oven
Ingredients
- 2 Tablespoons vegetable oil or olive oil
- 5 garlic cloves, minced, minced
- ½ cup finely diced yellow onions, chopped
- 1 pound ground beef
- 1 pound ground pork
- 1 teaspoon kosher salt
- ½ teaspoon ground black pepper
- 1 Tablespoon soy sauce
- 1 can (14.5 ounce) chicken broth , (about 2 cups)
- 1 large Russet potato, peeled and finely diced
- 1 cup finely diced carrots
- 3 teaspoons Johnny's Seasoning Salt
- 1 cup thinly sliced green beans
- 1 cup finely chopped green cabbage
- ½ cup celery
- 35-45 frozen Lumpia wrappers
Instructions
Cook the lumpia filling
- Add oil to a skillet and heat over medium heat. Once the oil is hot, sauté the garlic and onions, stirring constantly for 2 to 3 minutes, just until the onions are translucent. Add the ground beef and ground pork, salt, pepper, soy sauce, and sauté until the beef is browned.
- Drain the excess oil from the pan, add chicken broth and bring to boil. Add the potatoes and carrots, sprinkle in the Johnny's Seasoning Salt, and simmer for 5-10 minutes.
- Add the green beans, cabbage, and celery and simmer for another 5 minutes. The vegetables should be slightly crisp. Remove the pan from heat and drain excess fats and liquid mixture. Allow the mixture to cool at room temperature.
Assemble the lumpia
- Separate the individual sheets of wrappers, being careful not to tear them.
- Place 1 heaping tablespoonful of the filling diagonally near one corner of the wrapper, leaving a 1.5 inch edge of space at both ends. Fold the side along the length of the filling over the filling, tuck in both ends, and roll neatly and tight. Moisten the other side of the wrapper with water to seal the edge.
Fry or freeze the lumpia
- The egg rolls can be fried immediately, or frozen for later use. If frying lumpia immediately: cover them with plastic wrap or a moist towel to keep the wrappers from drying out. Heat a skillet over medium heat, add vegetable oil to about 1 inch depth, and heat for 5-10 minutes. Fry the egg rolls for 3-4 minutes on each side, or until all sides are golden brown. Place on a wire rack over a baking sheet to allow excess oil to drip off.
- If freezing lumpia: place them in a freezer-safe resealable bag, putting plastic wrap or parchment paper between layers. Store lumpia in the freezer for up to 2 months. Do not thaw the frozen egg rolls before frying them. Just separate them and fry them while still frozen.
Video
Notes
Nutrition
Nutrition information is automatically calculated, so should only be used as an approximation.



are the potatoes cooked before adding in?
the finely diced raw potatoes are cooked with the other veggies. See Step #2 in the recipe card.
I’m so grateful that I came across this recipe in my Google search. Not only were they delicious and the recipe perfectly written, it was written by an old friend of mine Marlynn who I worked with years ago at Plum District. Of course she created something this great because everything she touched turned to gold. I’m saving this one. TY! Hope you are well my friend.
Oh my gosh, Michelle! It’s so great to hear from you! I am so glad you found this recipe and loved it. It’s the one passed on to me from my mom and great-grandmother, with some minor modern tweaks :) So glad you enjoyed it! Hope you are well! ❤️
Delicious! Just made for the 2nd time!
So glad you love it!
These egg rolls look fantastic Thanks for sharing the recipe.
Such a great recipe, and so easy to follow. Looking forward to trying these this weekend!
I had never heard of lumpia so I am glad I found this recipe. I can’t wait to try them out for my guests next weekend.
This looks absolutely delicious – I am planning to make some for our next picnic!
Delicious yet simple recipe that the whole family loved. Can’t wait to make it again!
We used to make our lumpia without potatoes and beef.
We used pork ground and fresh shrimp.
We shredded our other veggies
Very fine.
It was wonderful seeing your recipe that was not just meat.
The beauty was always making Pansit along with the lumpia.
We used brown sugar and soy sauce with garlic , water, and flour to make our sauce.
Do you have a Siopo recipe also?
Interested in your filling.
Thanks!
Rachelle
Thanks for your comment, Rachel! We also almost always enjoy lumpia with pancit – either pancit bihon or canton, and both of those pancit recipes are on the blog too! :) I don’t currently have a siopao recipe on the blog.
Is there anyway to prolong the crispness?
So loving all the ono(Delicious) Filipino yummy recipes keep up the good work. Will b you cab fan from From the ALOHA State.
* OKlahoma
My first experience with the heavenly taste of a lumpia was during a food day in elementary school. One bite of the lumpia and the rest is history! I admit, while living in SF,CA I had all the opportunities to learn from Filipino friends how to make amazing lumpias; sadly, I never took advantage of those opportunities :(
Finding a Filipino restaurant is not an easy task; therefore, I have ventured to research and learn how to make my own!
I look forward to trying your recipe soon! Thank you for sharing!
I still remember making these with my mom when I was little. I would always break the wrap during assembly. lol
Pinning this so I could surprise the relatives on our next potluck! A great post indeed. :)