
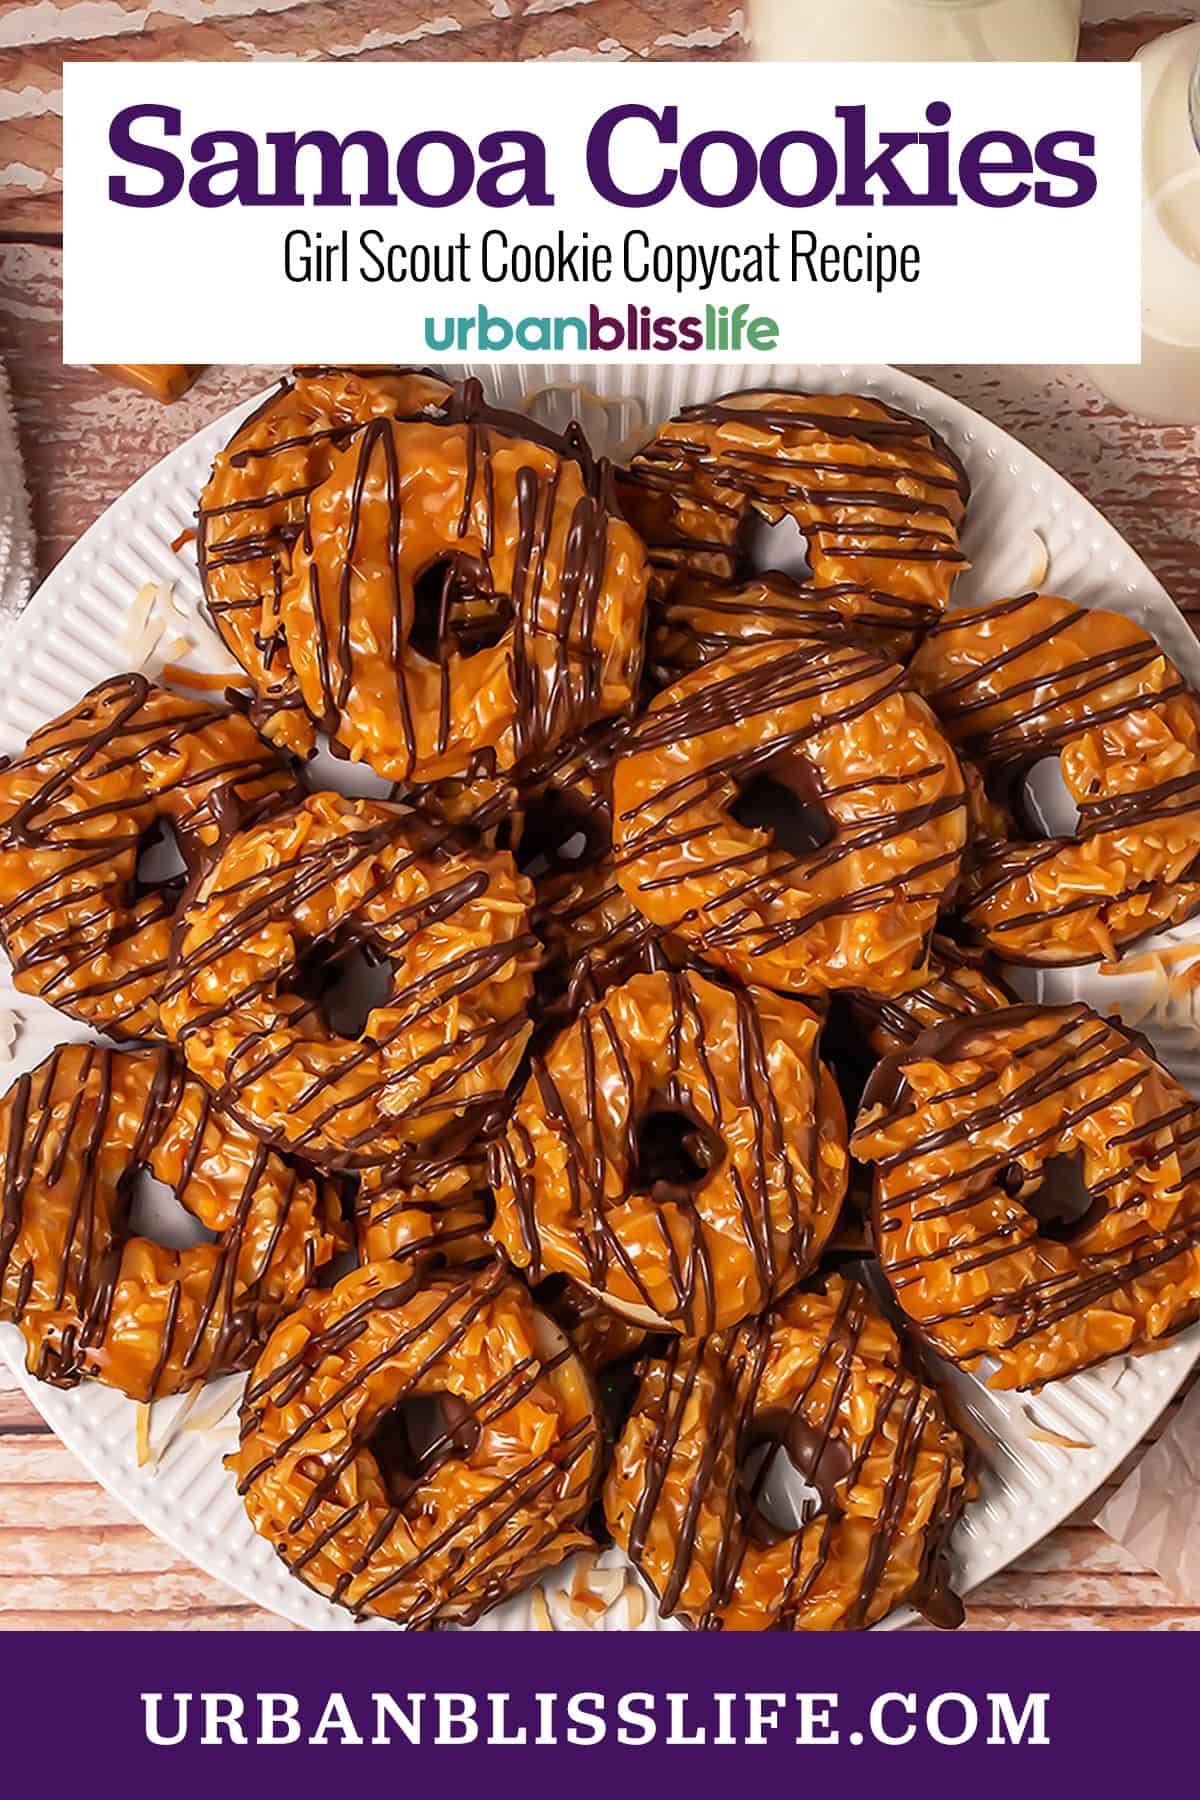
Craving Samoa Cookies without waiting for Girl Scout cookie season? This homemade version delivers crisp shortbread, gooey caramel, and toasted coconut with bakery-level results at home!
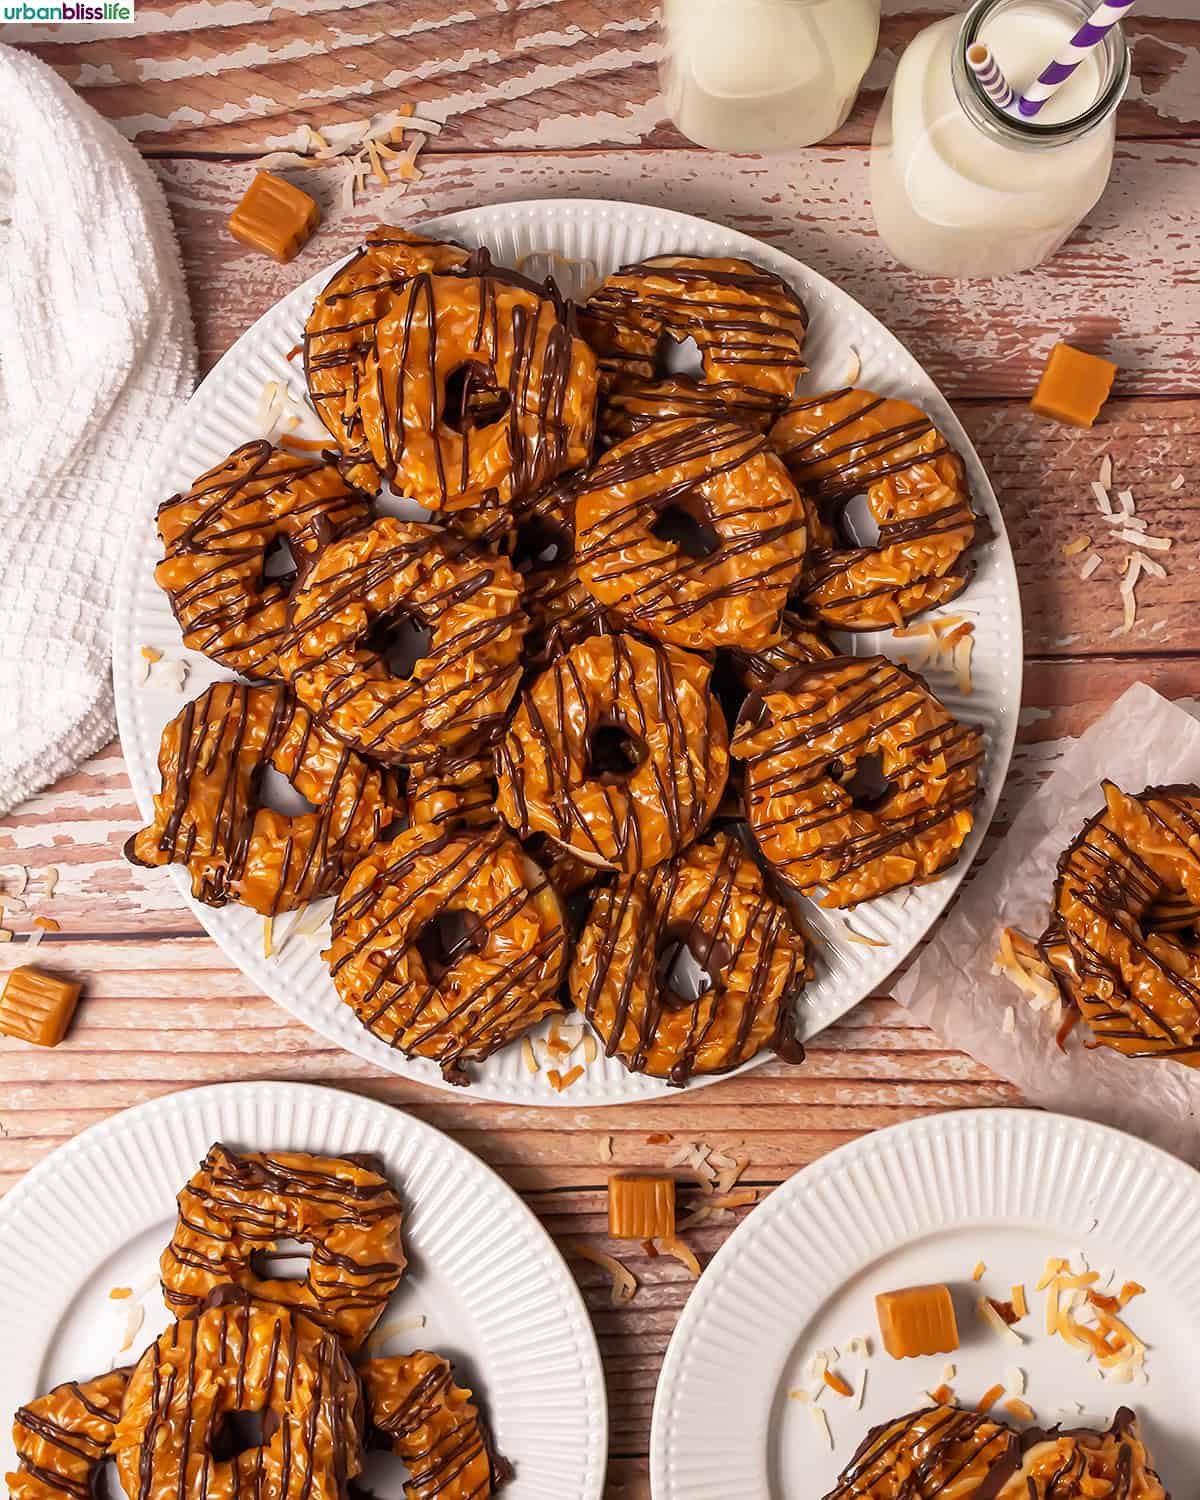
As a former Girl Scout, Samoa cookies were my absolute favorite Girl Scout cookies!
If you like them too, then this copycat Girl Scout Samoa cookies recipe is going to bring home all of those warm, nostalgic cookie memories.
I started making these Samoa cookies because the boxes disappear way too fast in our house. Also, because who can wait for Girl Scout cookie season every year? Not me! So I took matters into my own kitchen.
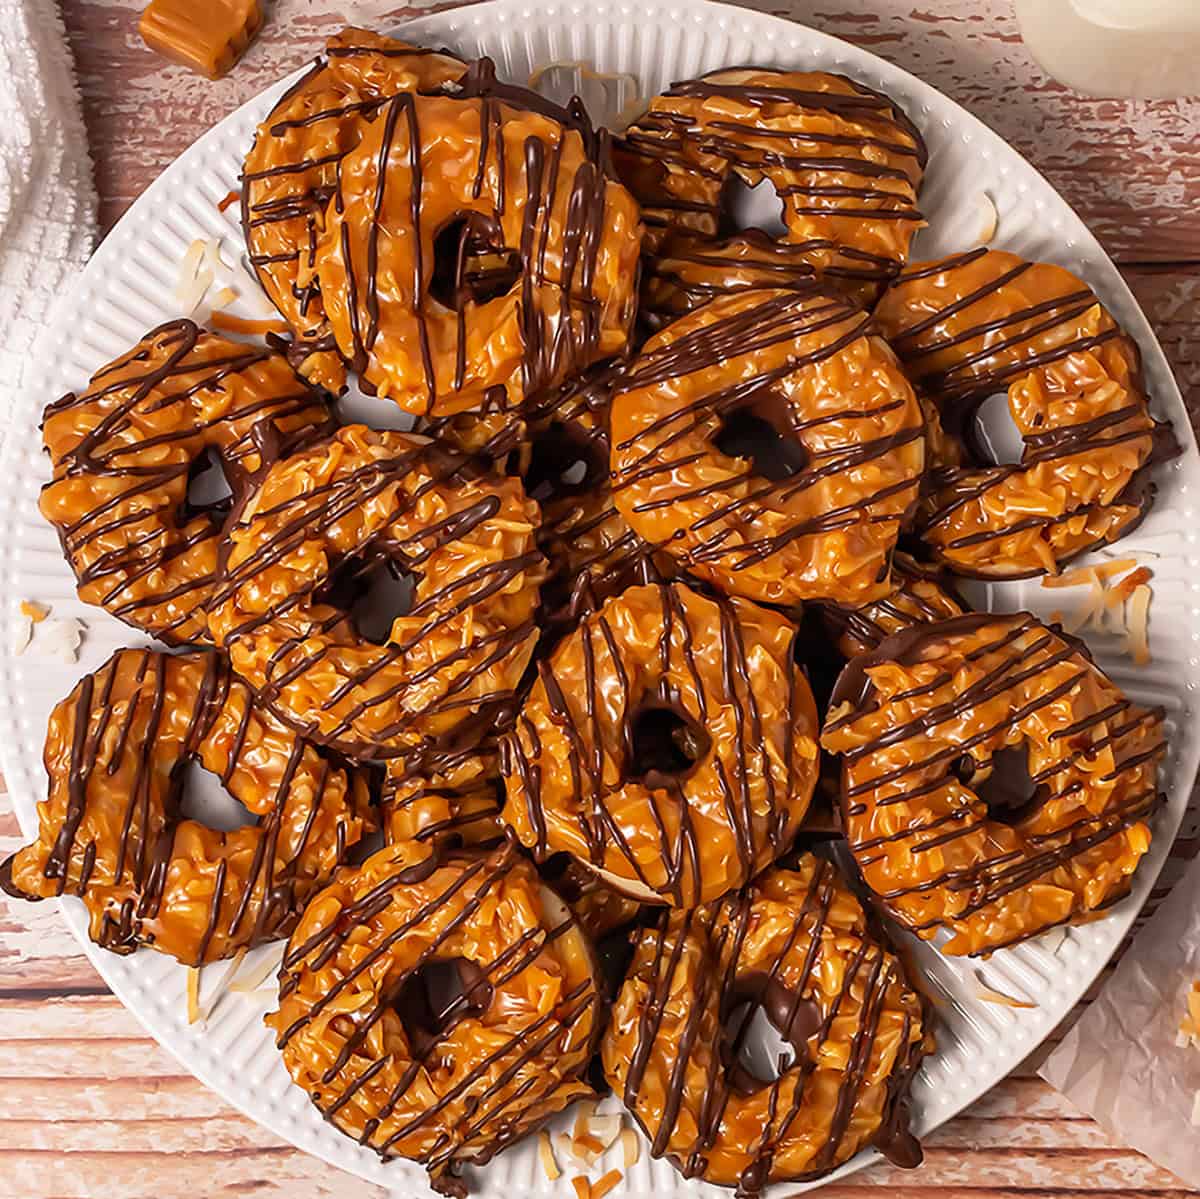
My homemade Samoa cookie recipe brings together that classic combo of buttery shortbread, toasted coconut, chewy caramel, and drizzled chocolate.
The hardest part for me is waiting for these cookies to cool and set. Sometimes I love them straight off the cooling rack, slightly messy and still warm. YUM.
I also like knowing exactly what goes into them. And, if you love them as much as I do, you can make a double batch!
Table of Contents
About Samoa Cookies
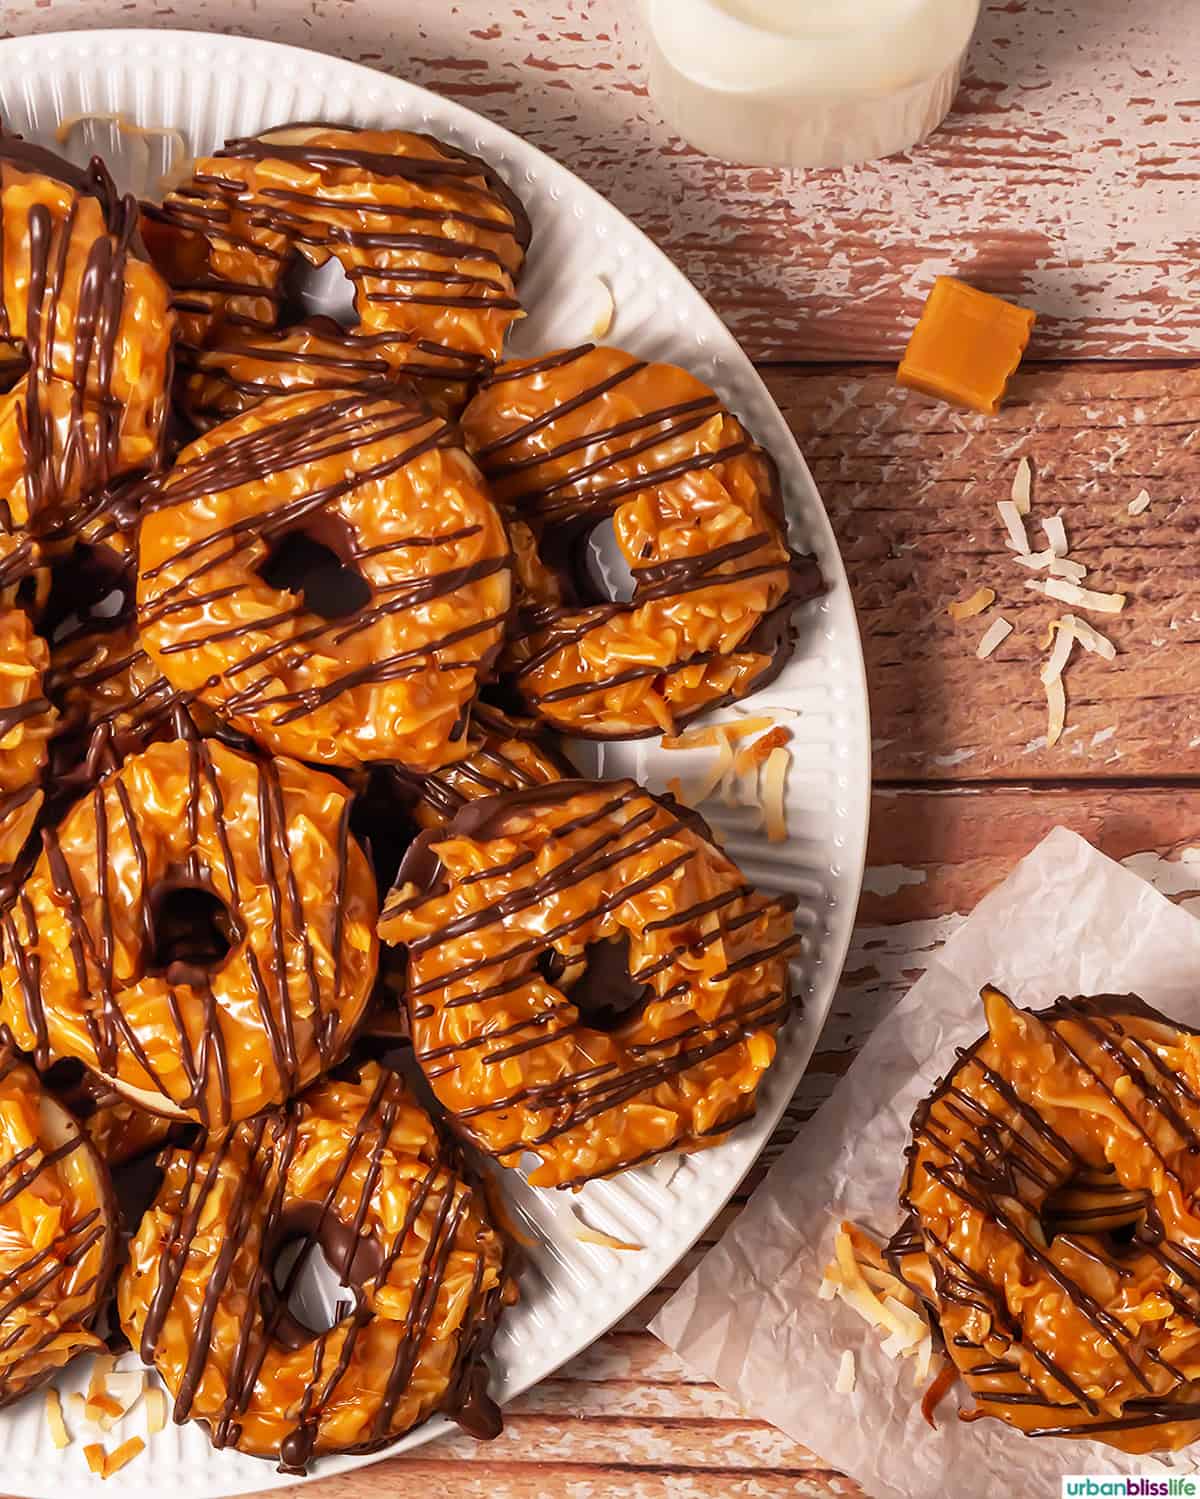
Samoa cookies became famous through Girl Scout cookie sales in the United States, first appearing nationally in the 1970s.
Their mix of coconut, caramel, and chocolate quickly made them a top seller. Depending on the region, they are also known as Caramel deLites, but the devotion to these tasty treats is universal.
Why you’ll love this family favorite recipe!
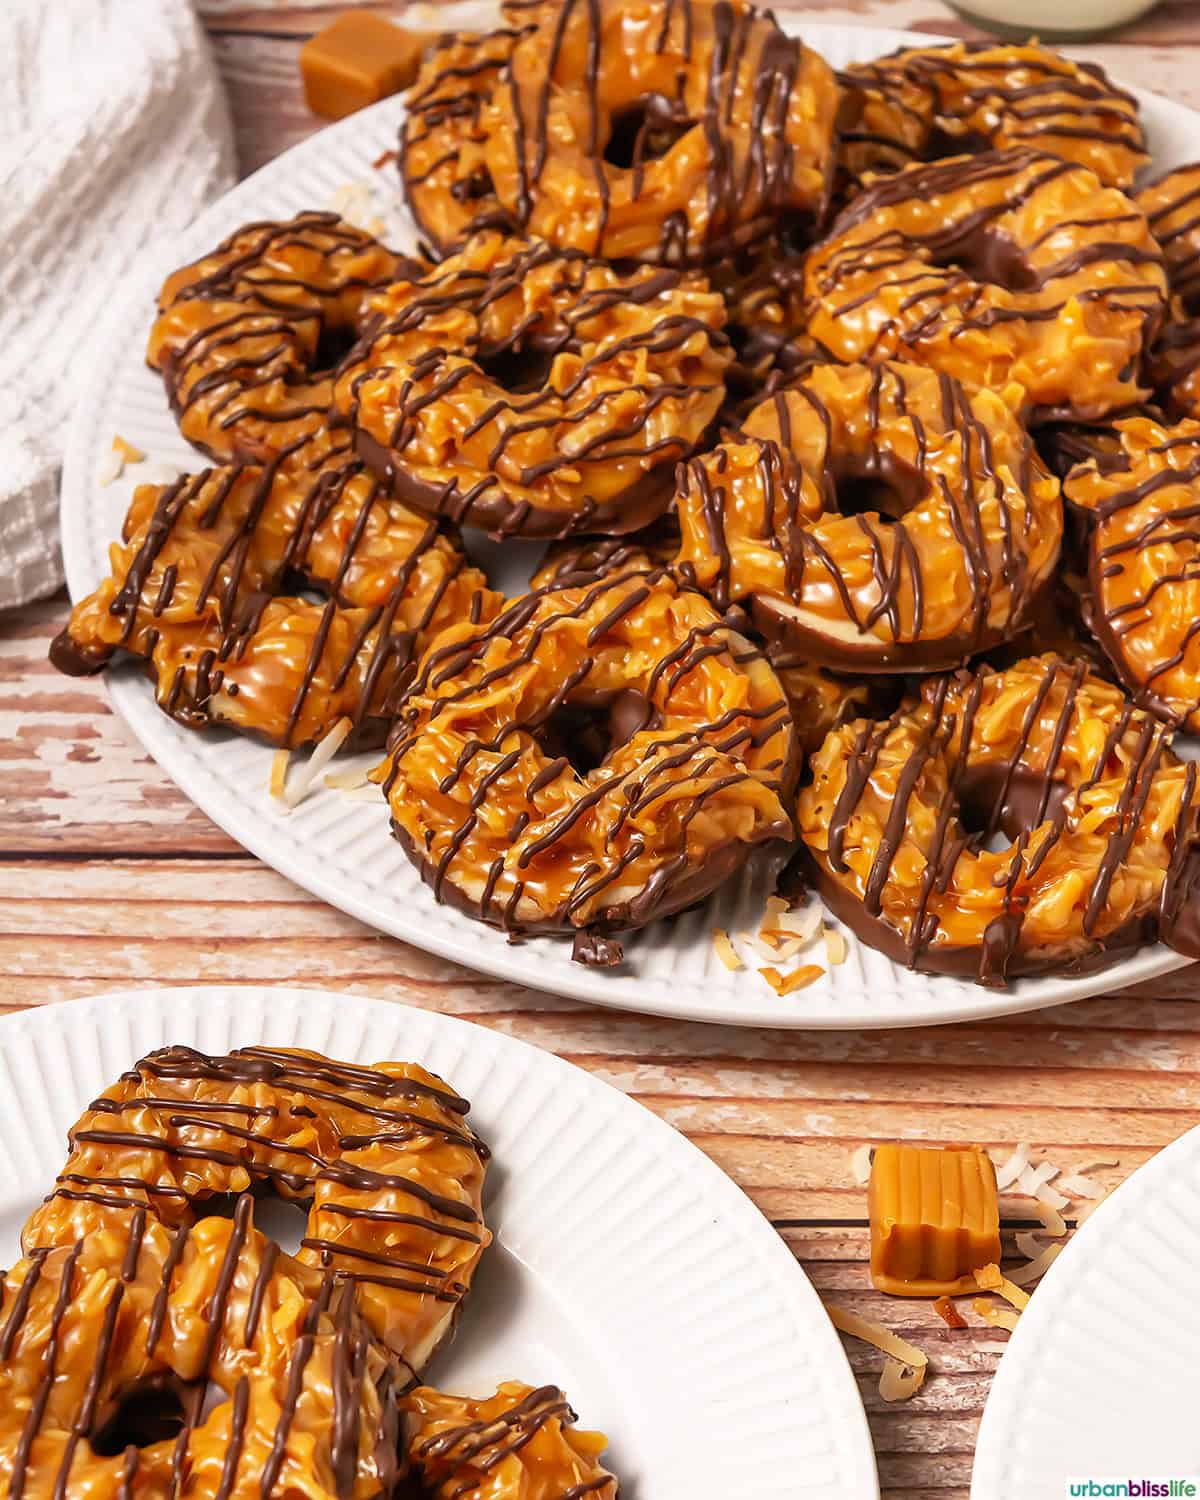

- The freshness of homemade Samoa Cookies makes every bite richer and more aromatic.
- Making these cookies at home gives you more control and lets you add more (or less) caramel or chocolate if you want.
- You get big nostalgia moments with each bite.
- These are freezer friendly, so you have delicious cookies ready whenever you want!
Ingredient notes
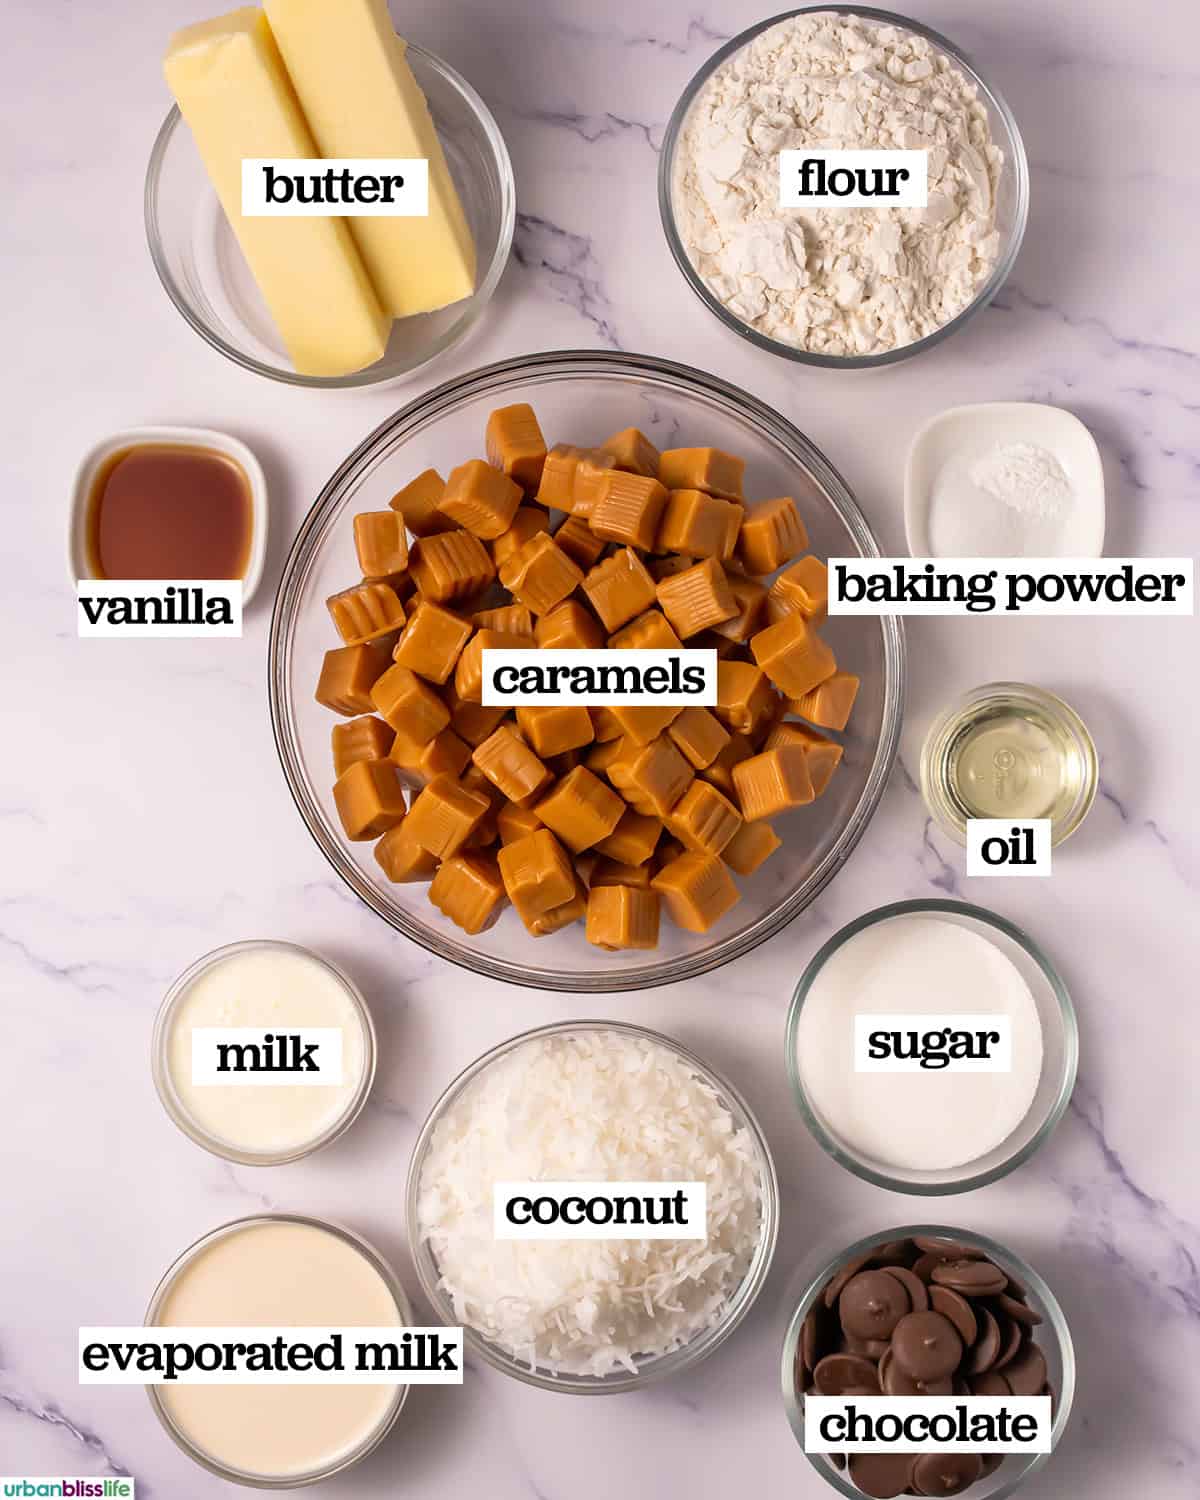
A few notes about the ingredients you’ll need to make these Samoa cookies:
- Butter – Since it’s the star of the cookie base, you’ll want to use a high quality unsalted butter.
- Sugar – Granulated sweetens the dough and helps create crisp edges. Coconut sugar can be used for a deeper flavor.
- All-purpose flour – gives the cookies structure and a tender bite. A gluten-free cup-for-cup blend also works well here.
- Shredded coconut – Unsweetened coconut keeps them from being overly sweet, and adds chew and a toasted aroma that defines Samoa cookies.
- Caramel candies – Creates the gooey layer that holds everything together. Homemade caramel works best, but you can also use store-bought jarred caramel sauce to save time. Just be sure if you do that, you use a thick, high quality caramel sauce.
- Chocolate – Melted dark chocolate finishes the cookies with balance and slight bitterness. You can use semi-sweet chocolate if you prefer.
Step-by-step instructions
There are quite a few steps to make these Girl Scout Samoa cookies, so I’m including some step-by-step photos here.
You’ll find the full list of ingredients along with measurements, and more detailed instructions in the printable recipe card at the bottom of this post.
Make and bake the shortbread cookie base
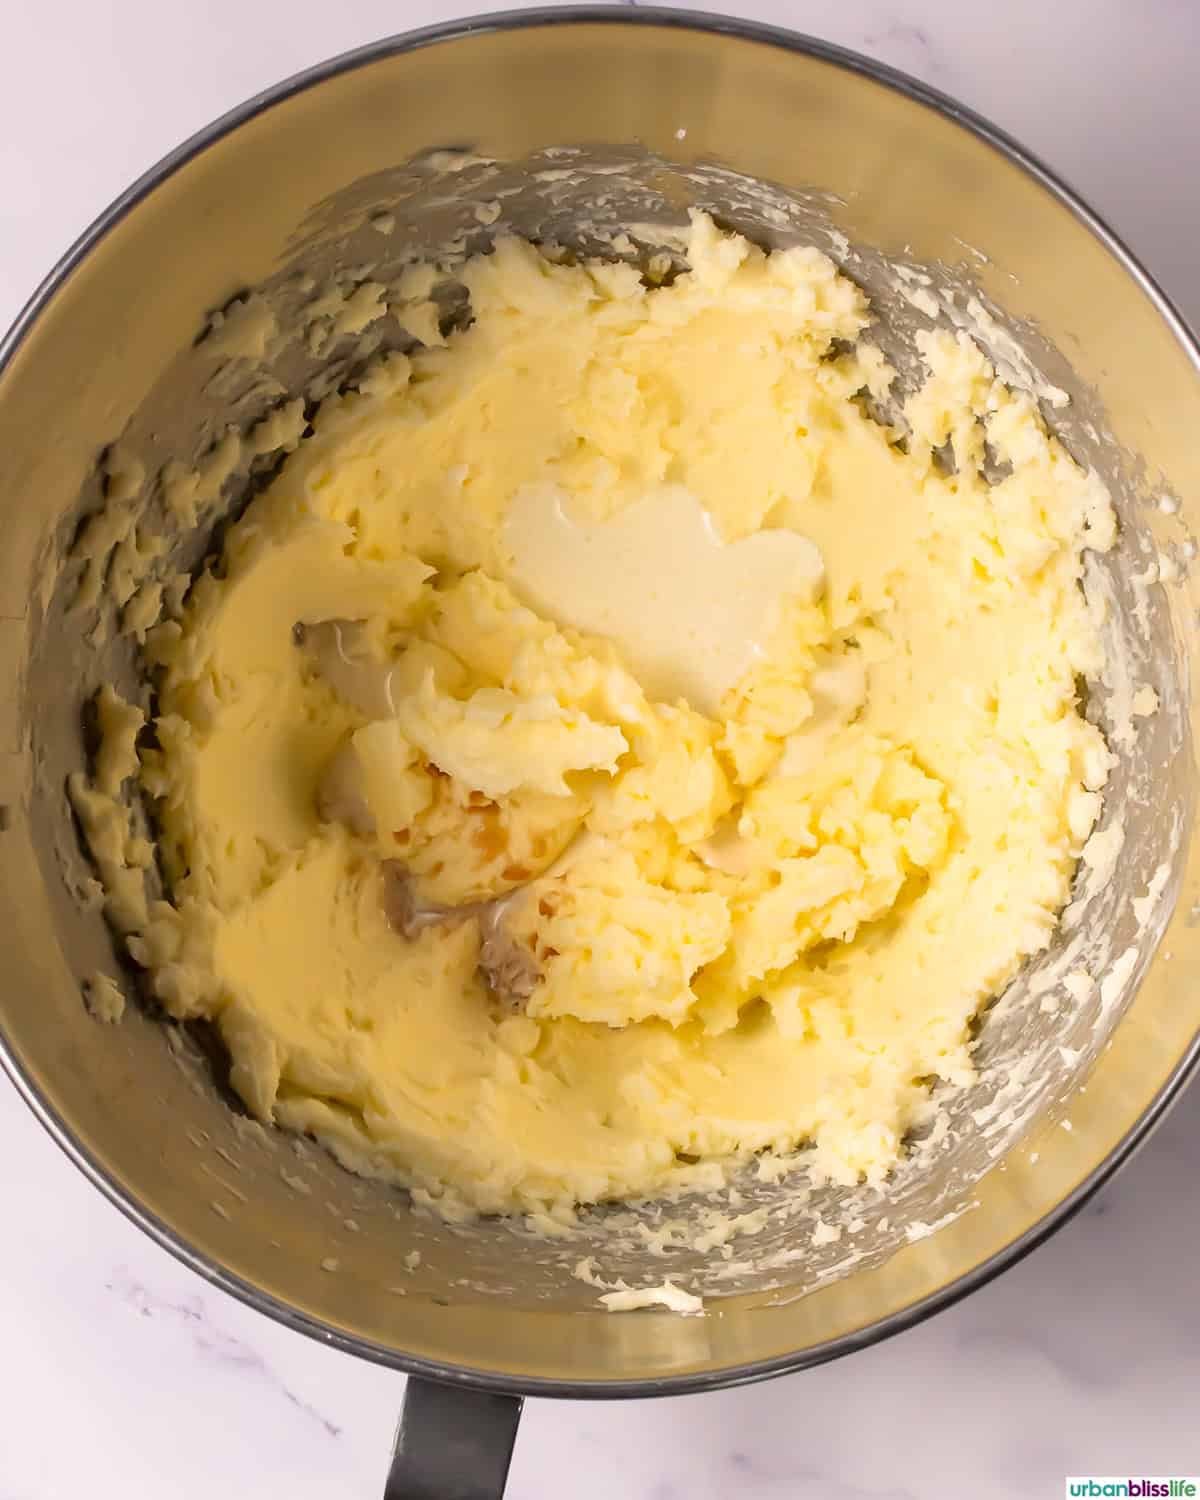
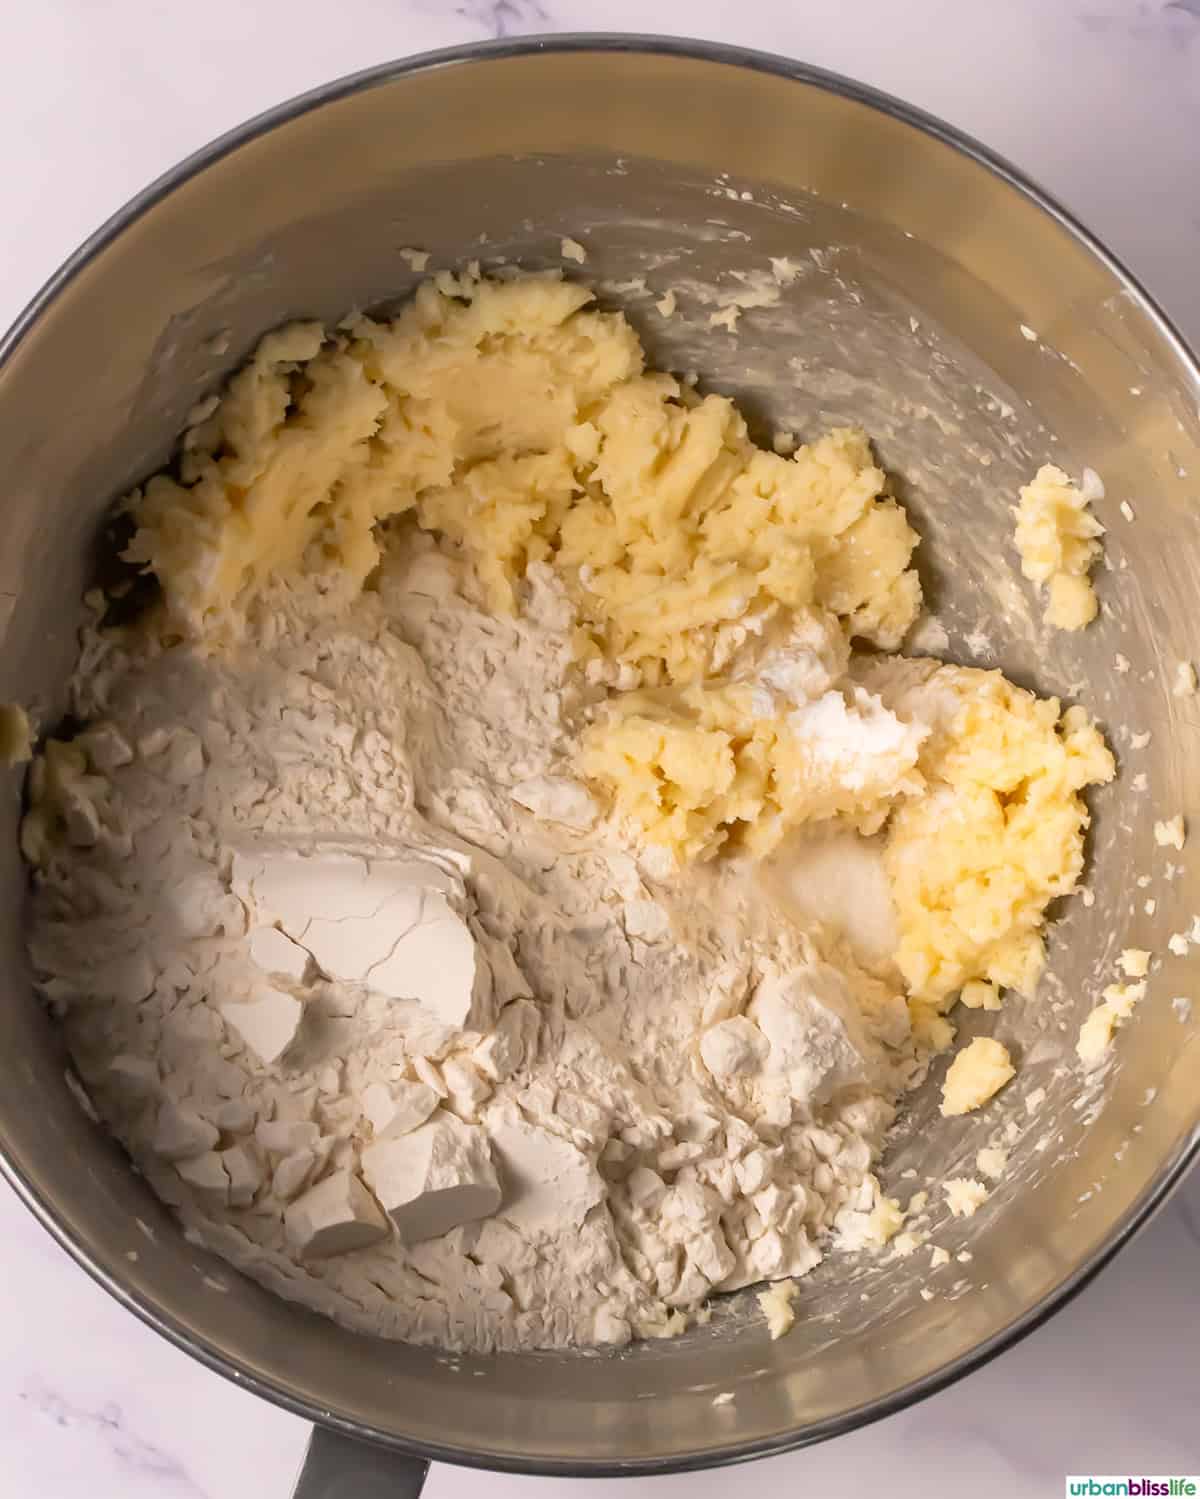
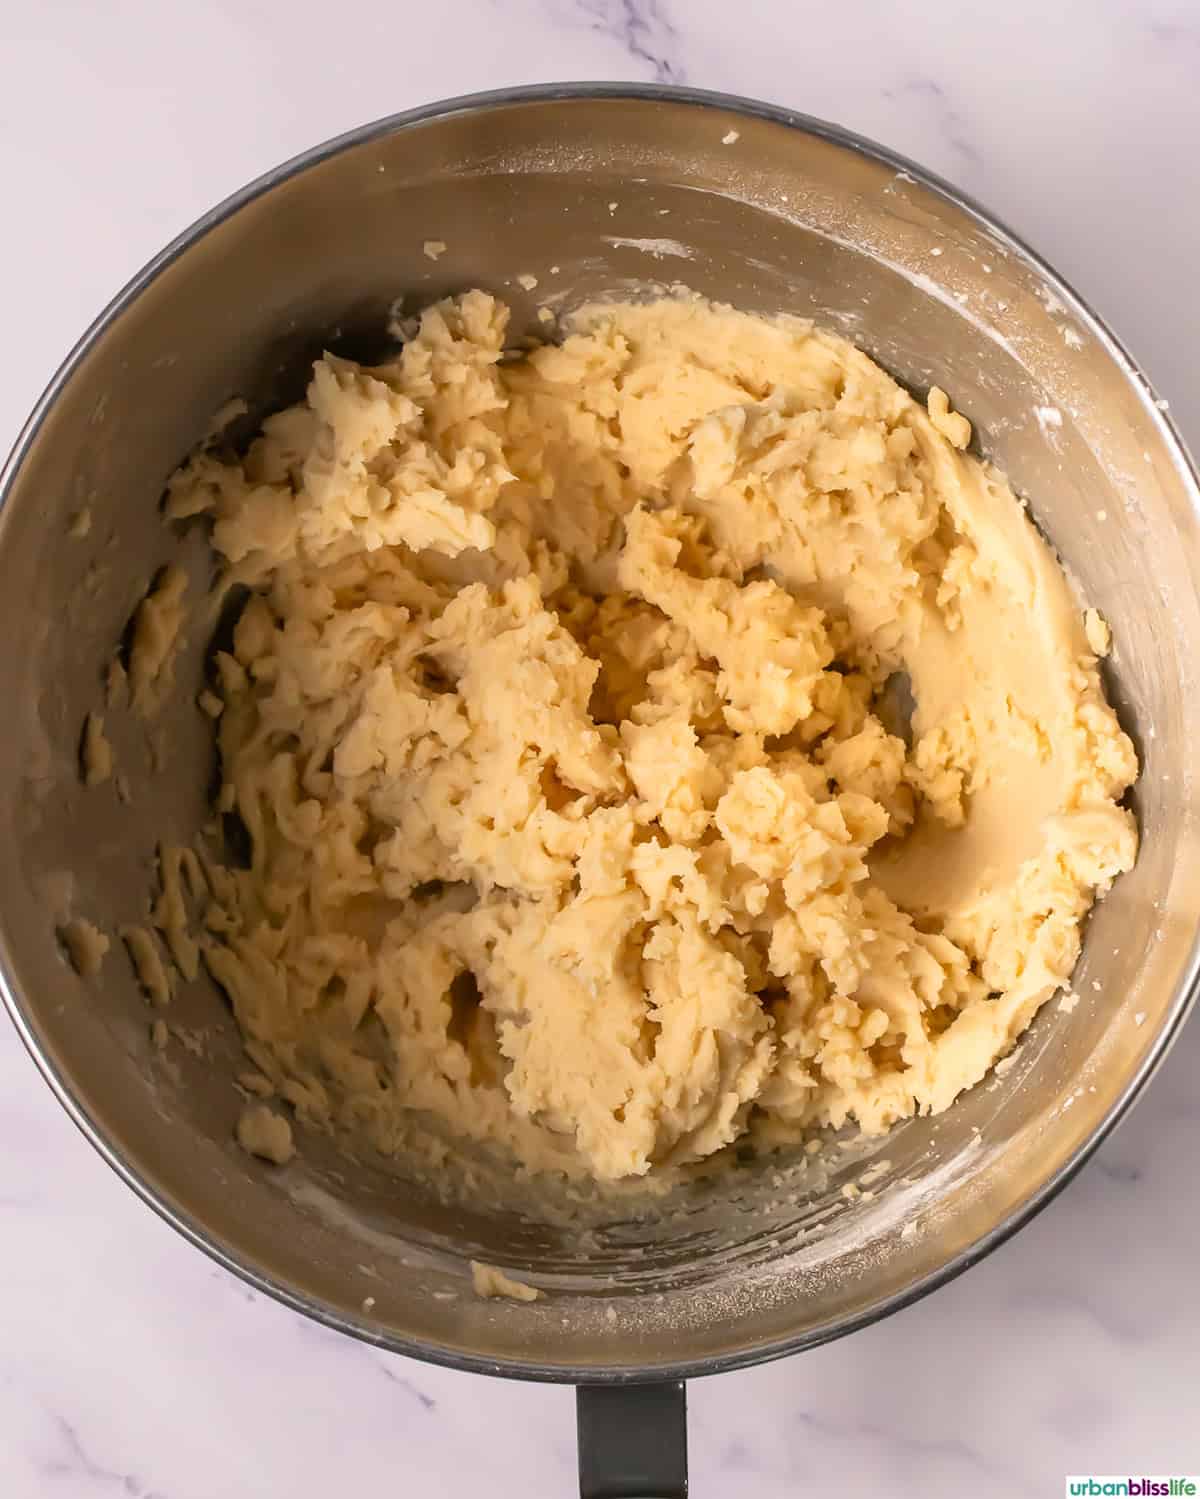
- Make the dough for the simple buttery shortbread cookie base.
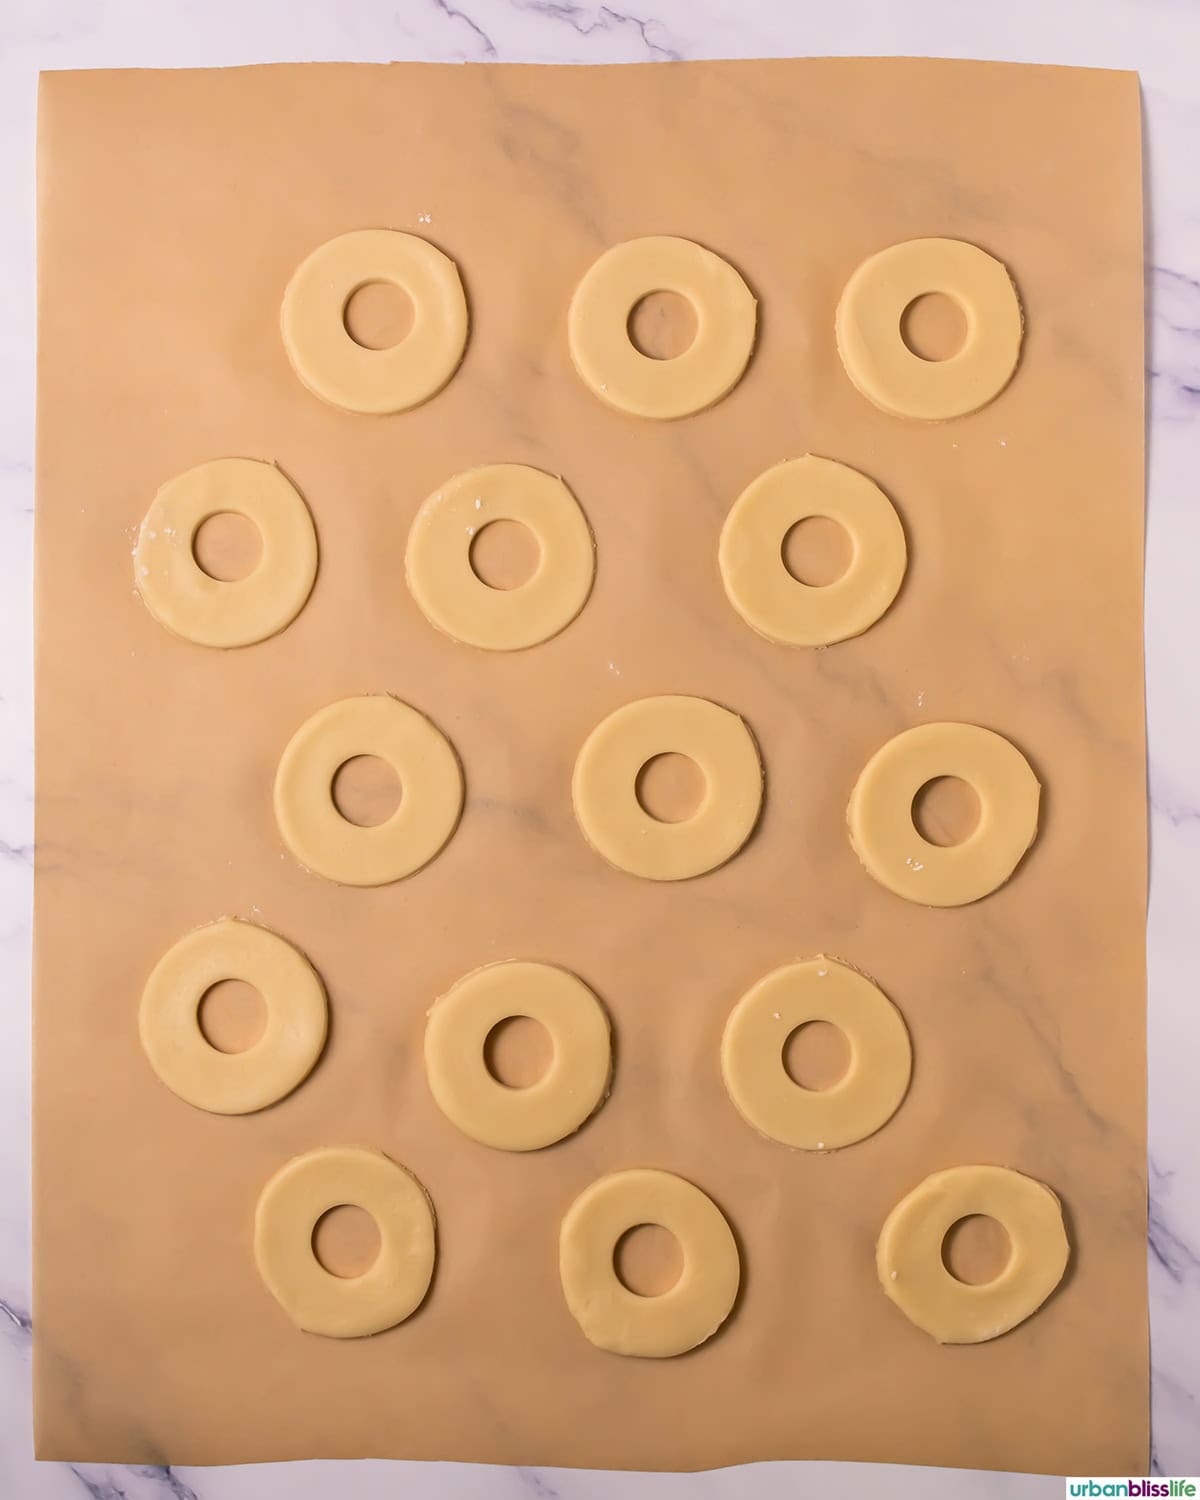
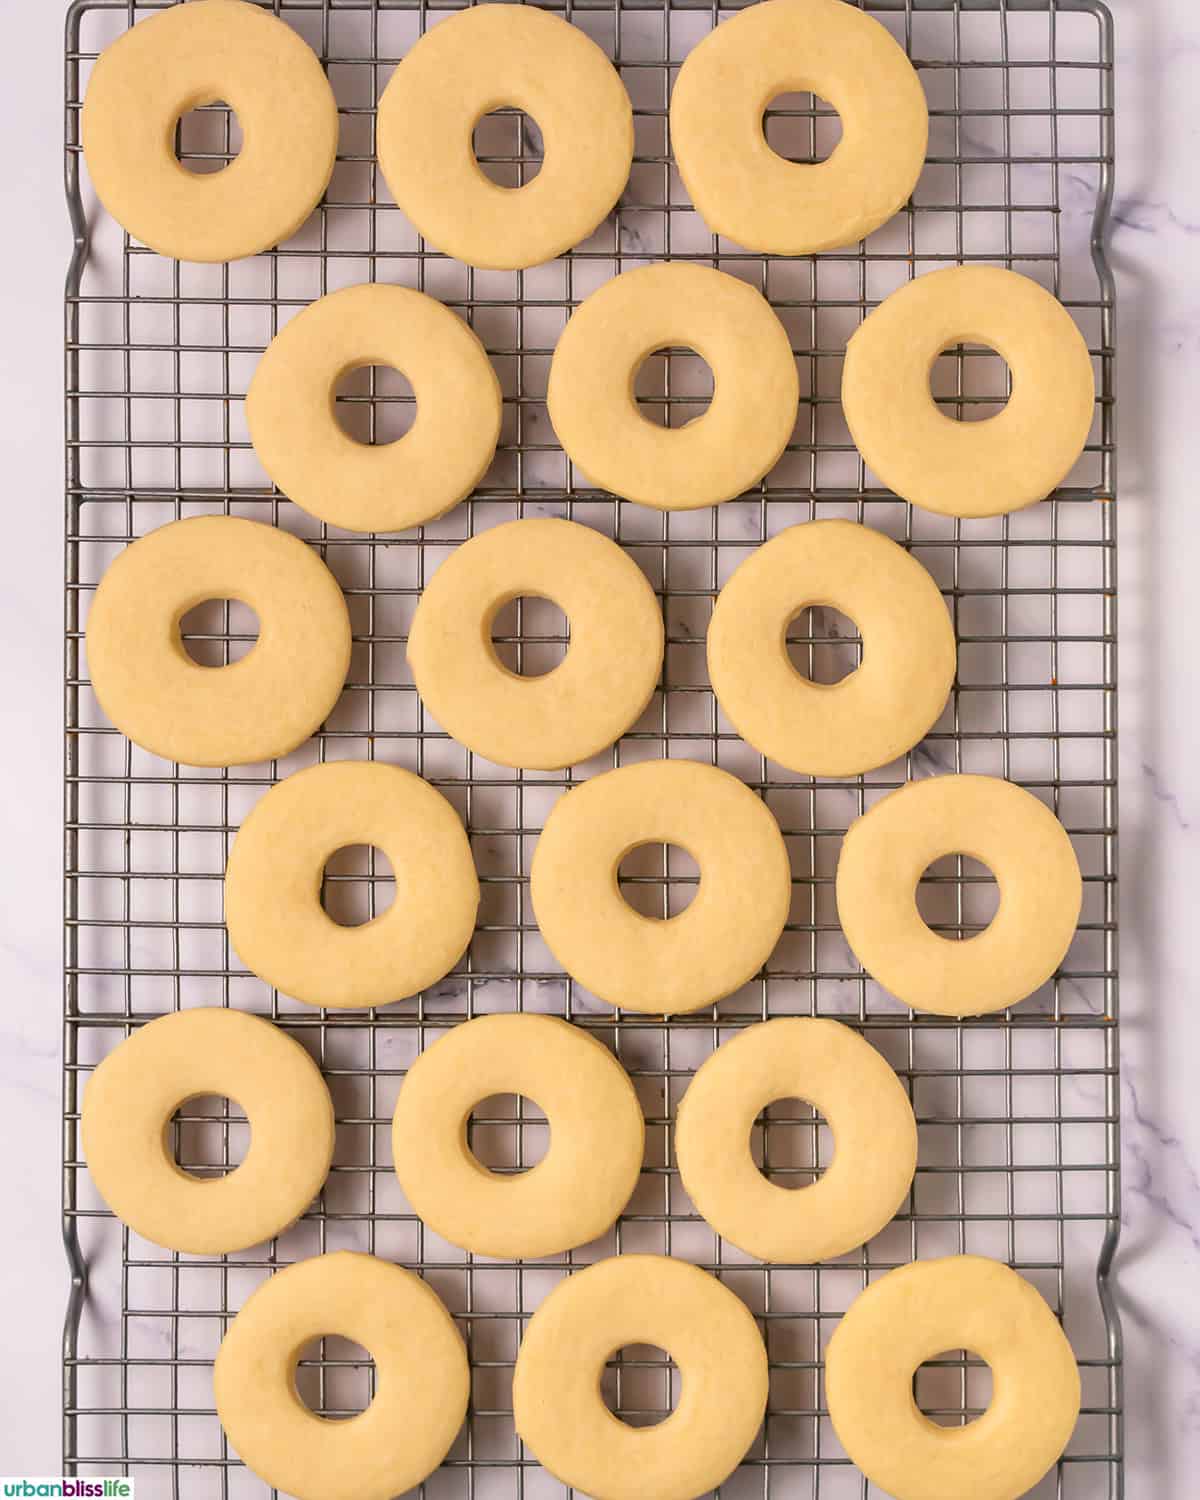
- Roll out the cookie dough, cut circles then cut out center circles in each, freeze. then bake and cool
Make the toppings and assemble
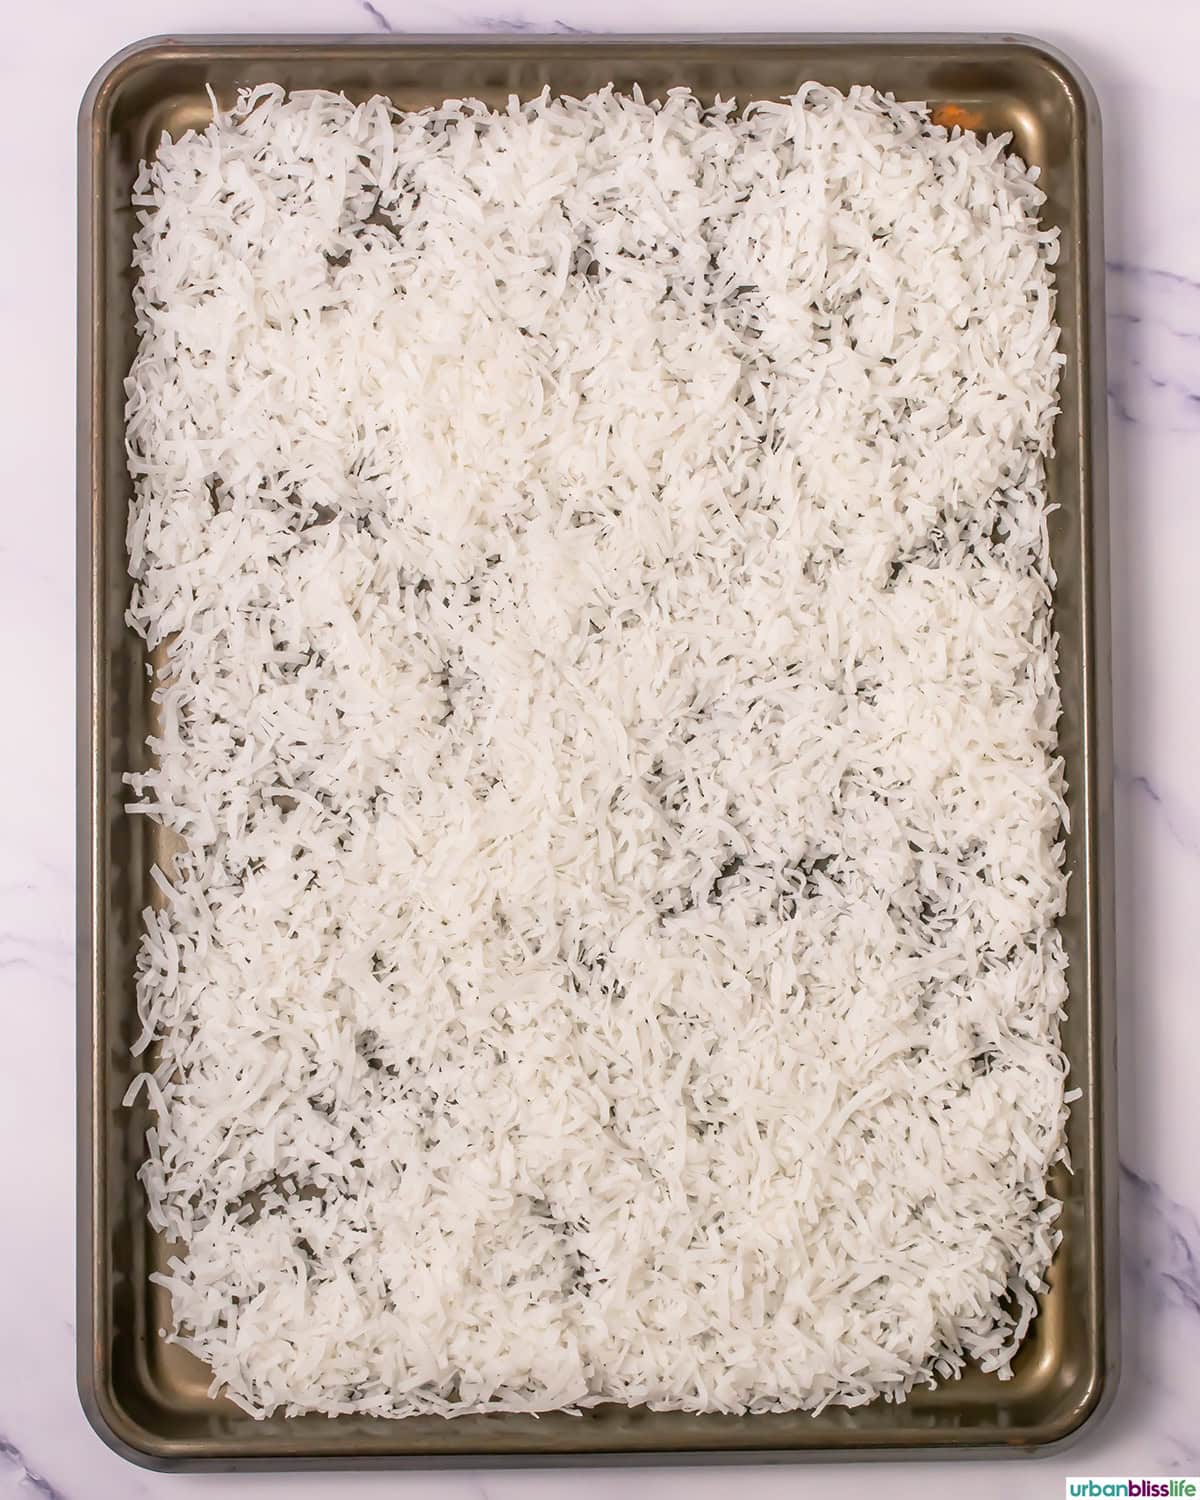
While the shortbread cookie bases are baking:
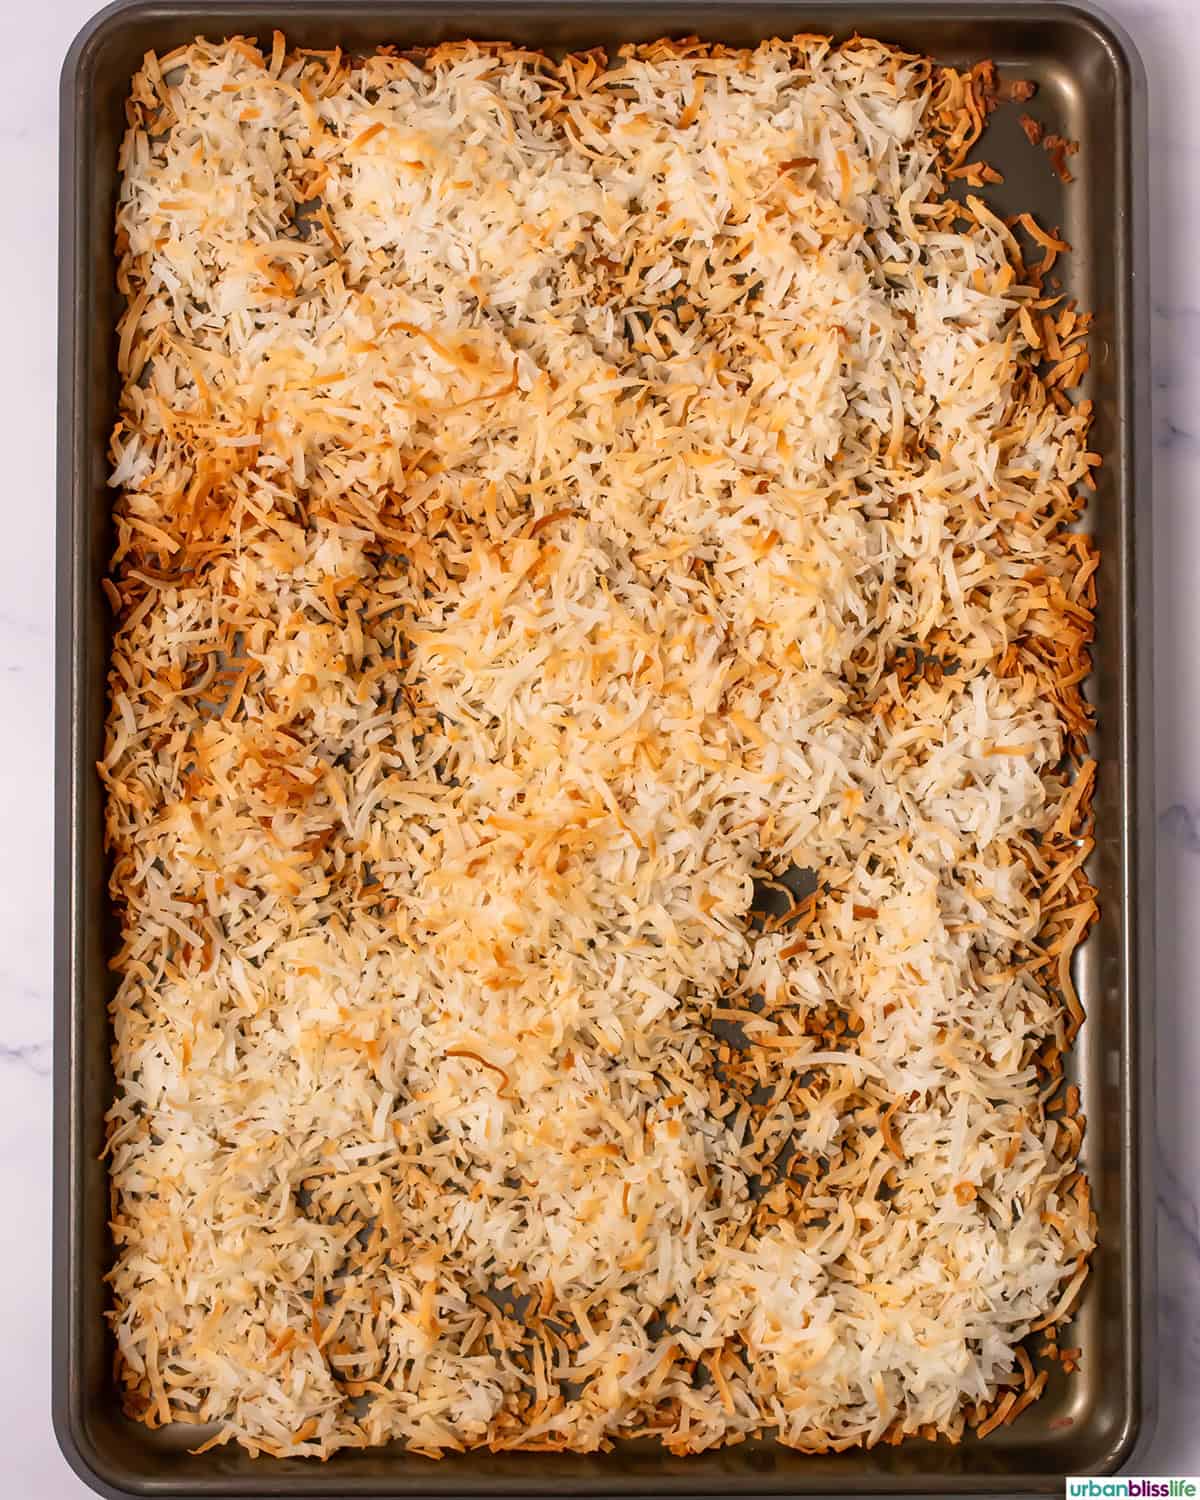
- Toast the shredded coconut.
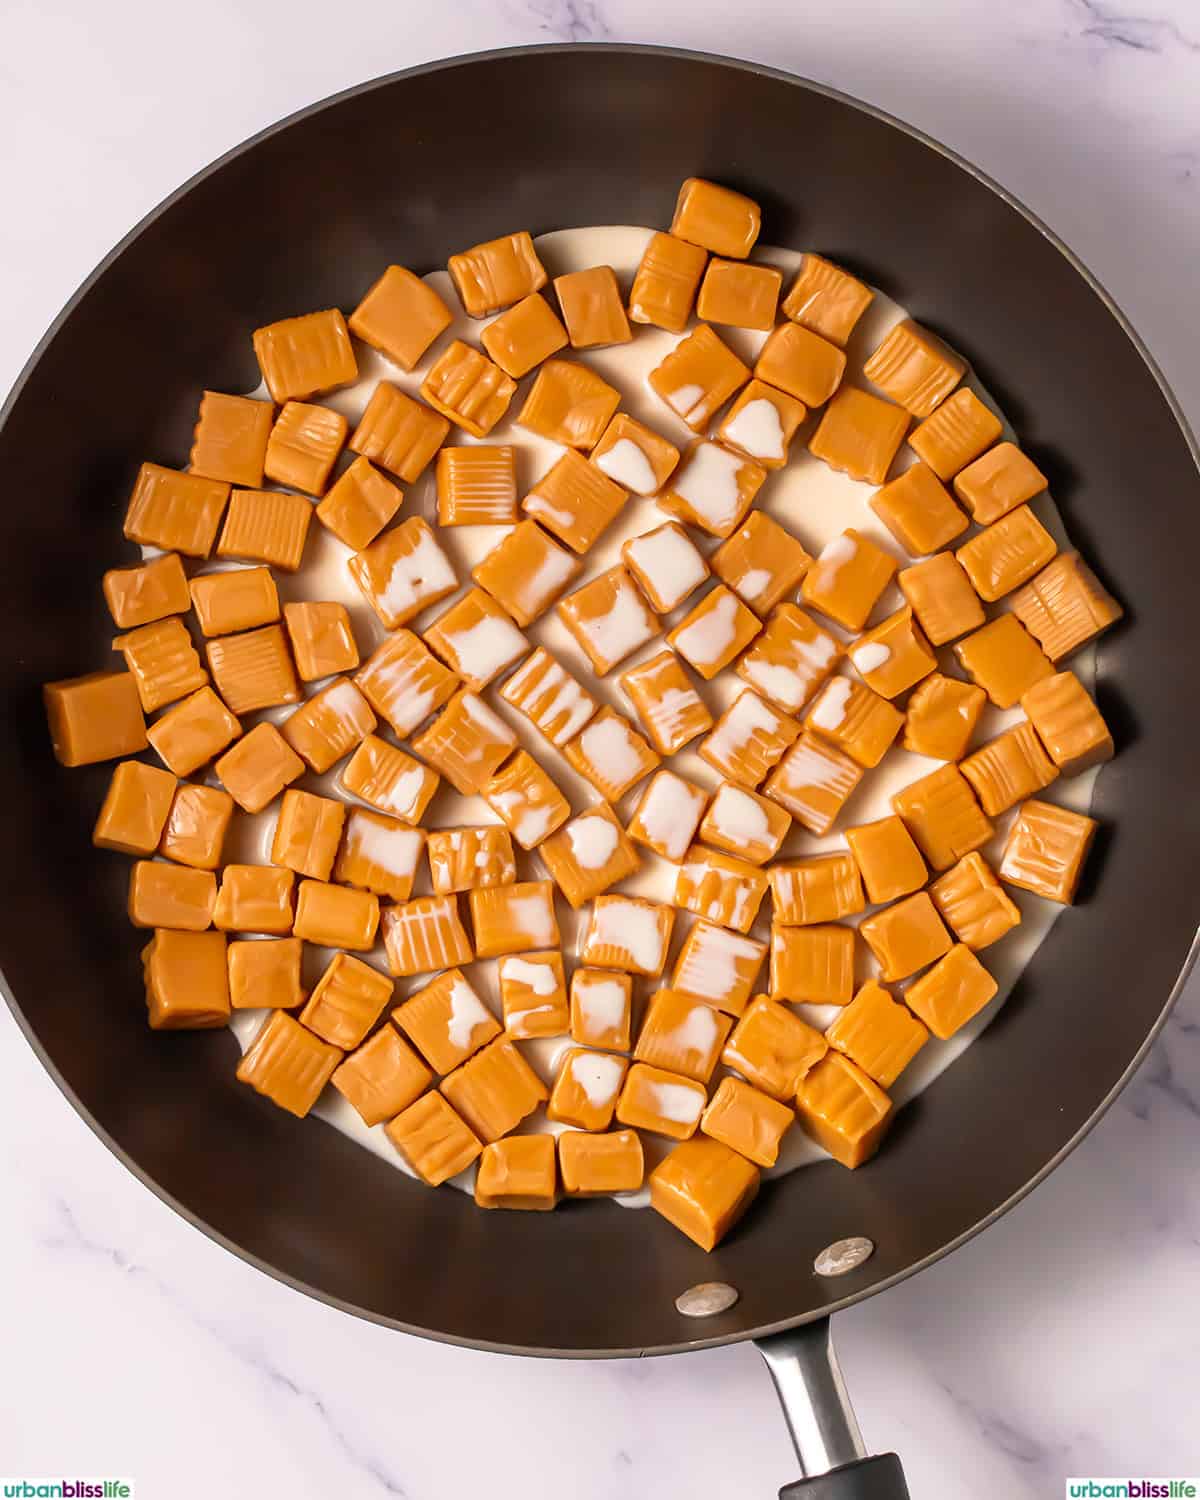
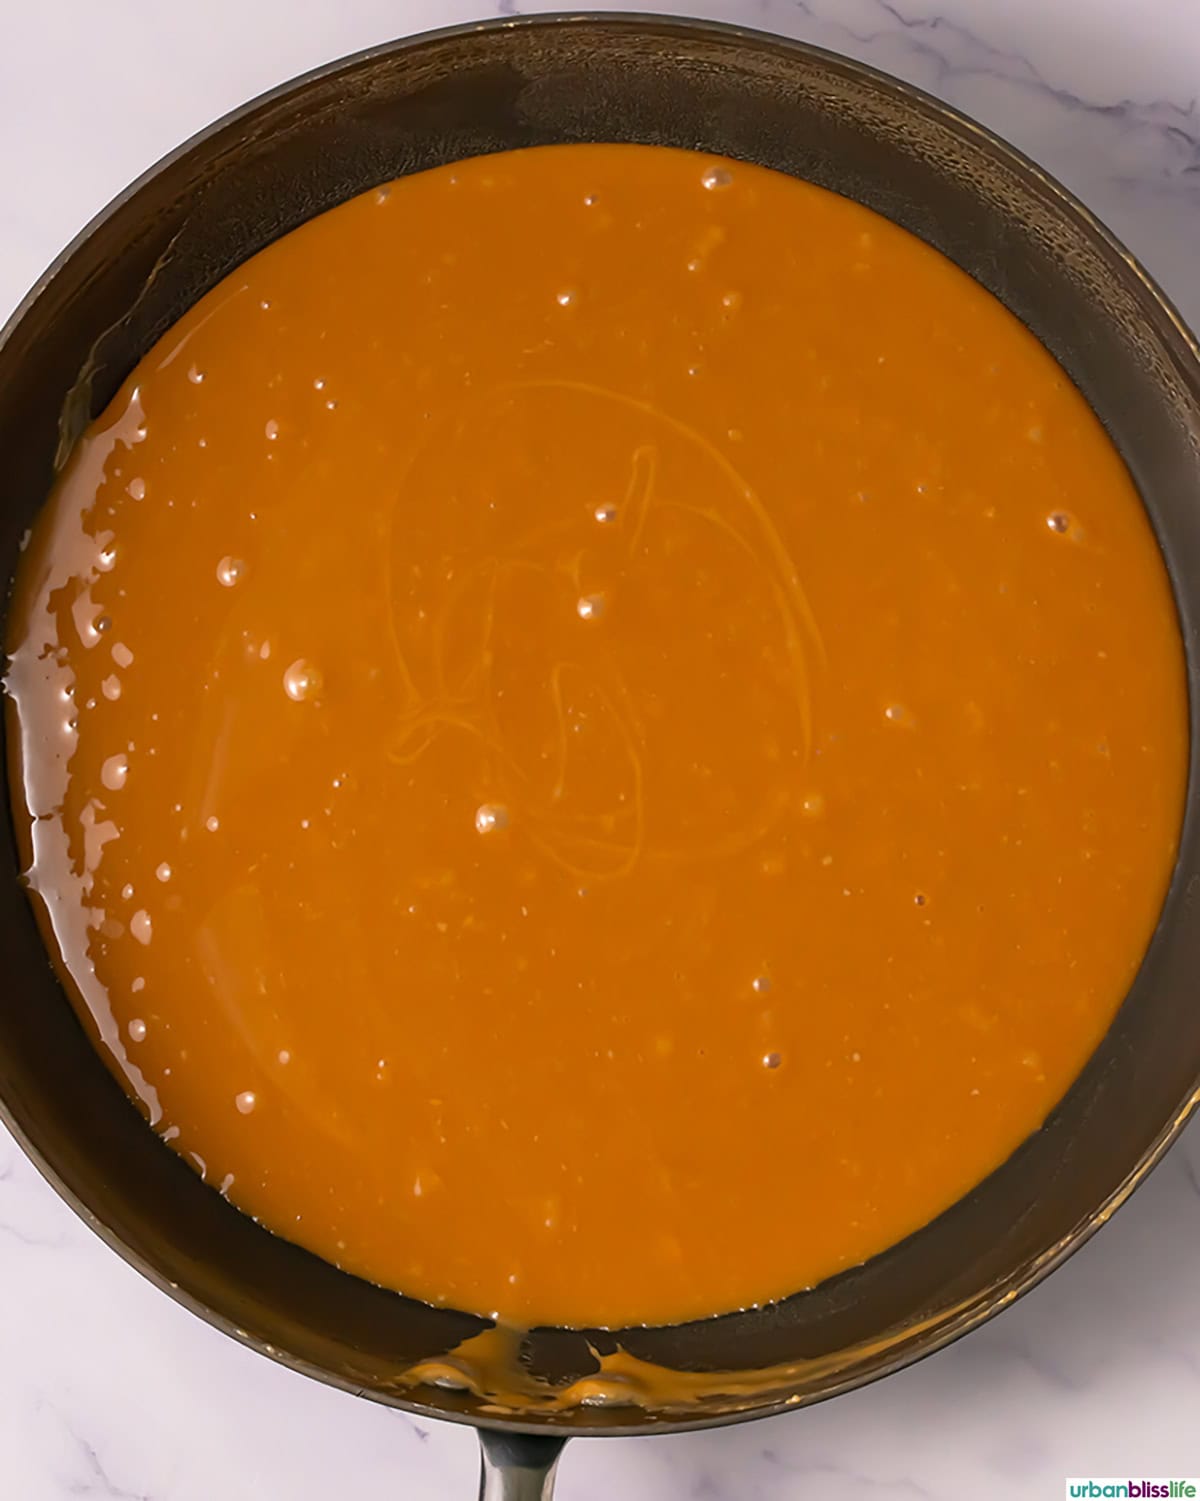
- Melt the candy caramels.
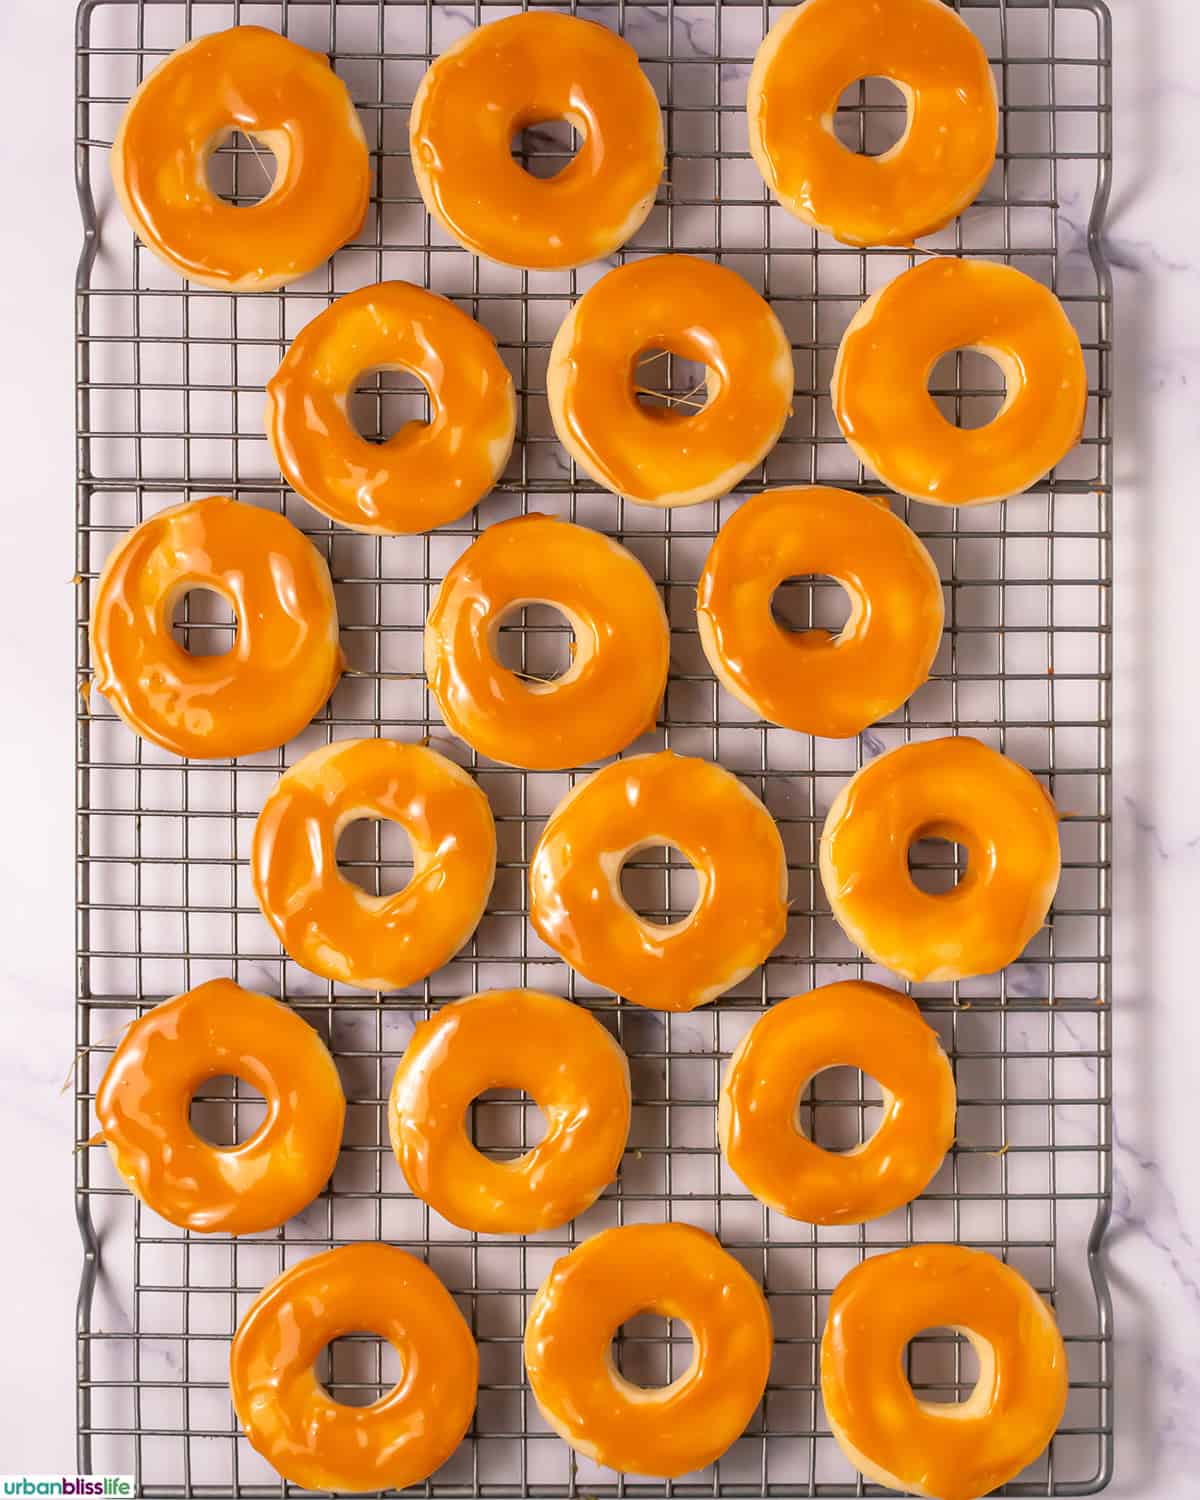
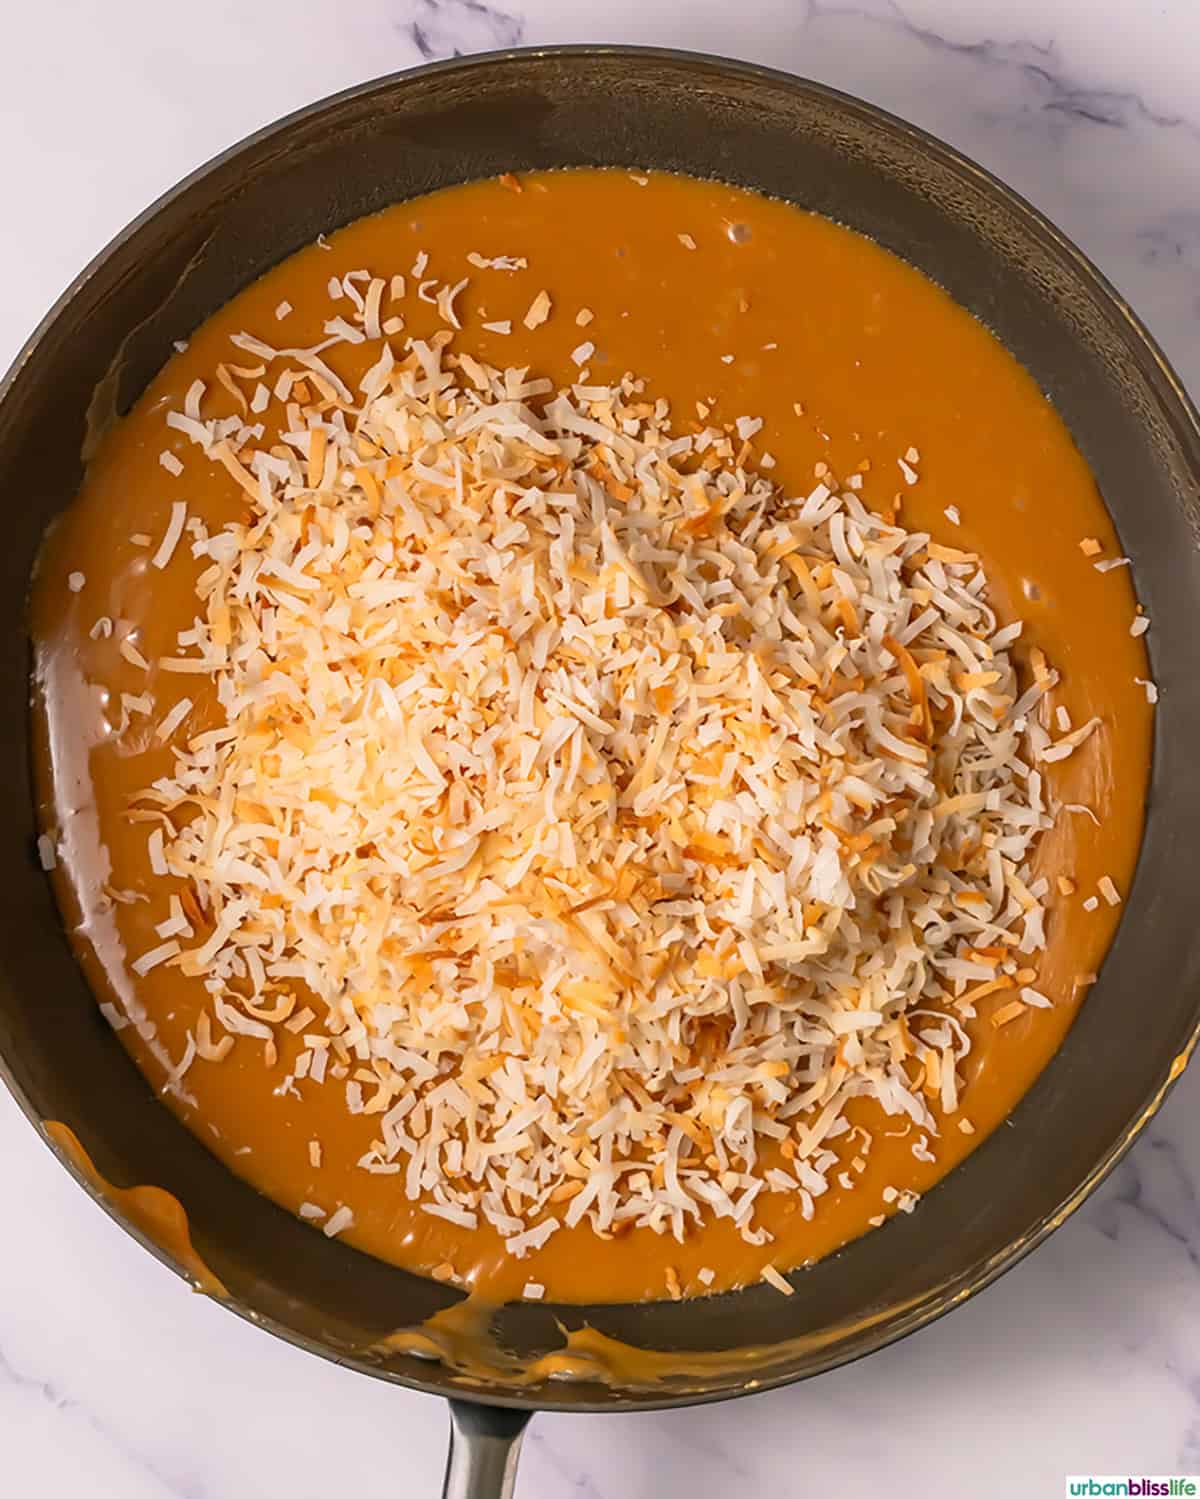
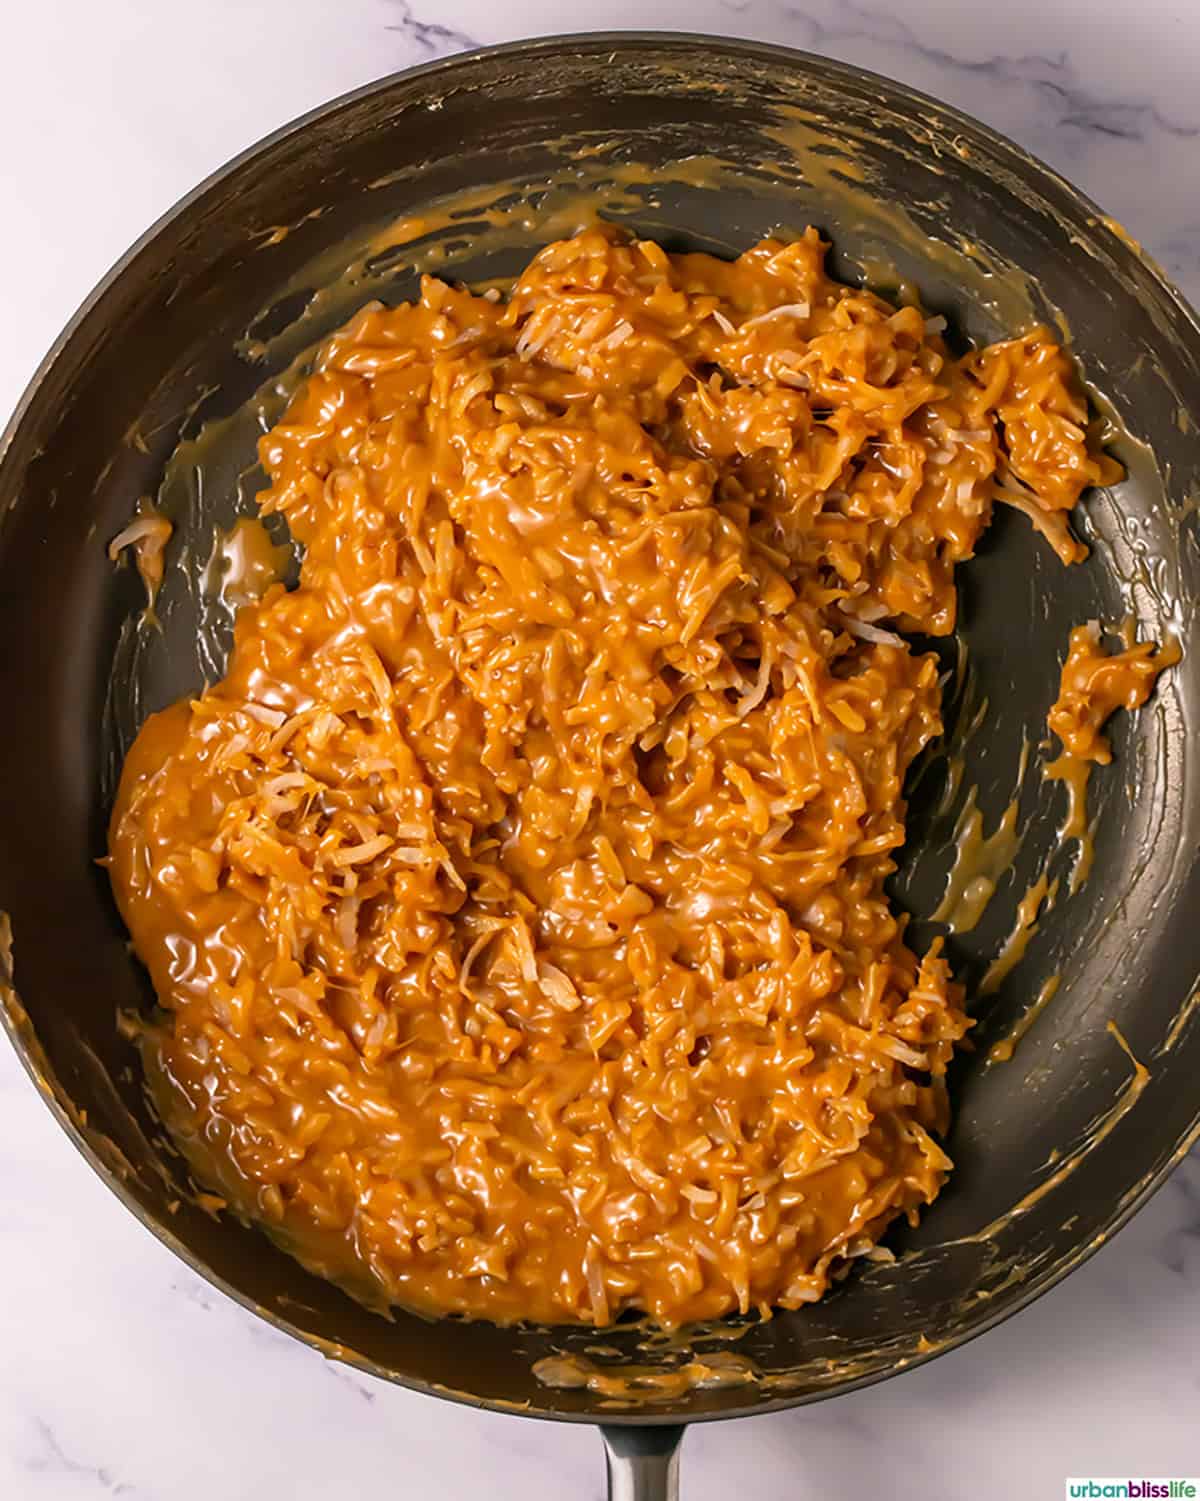
- Spread a layer of caramel over the top of each cooled cookie.
- Add the toasted coconut to the remaining caramel. Stir until well combined.
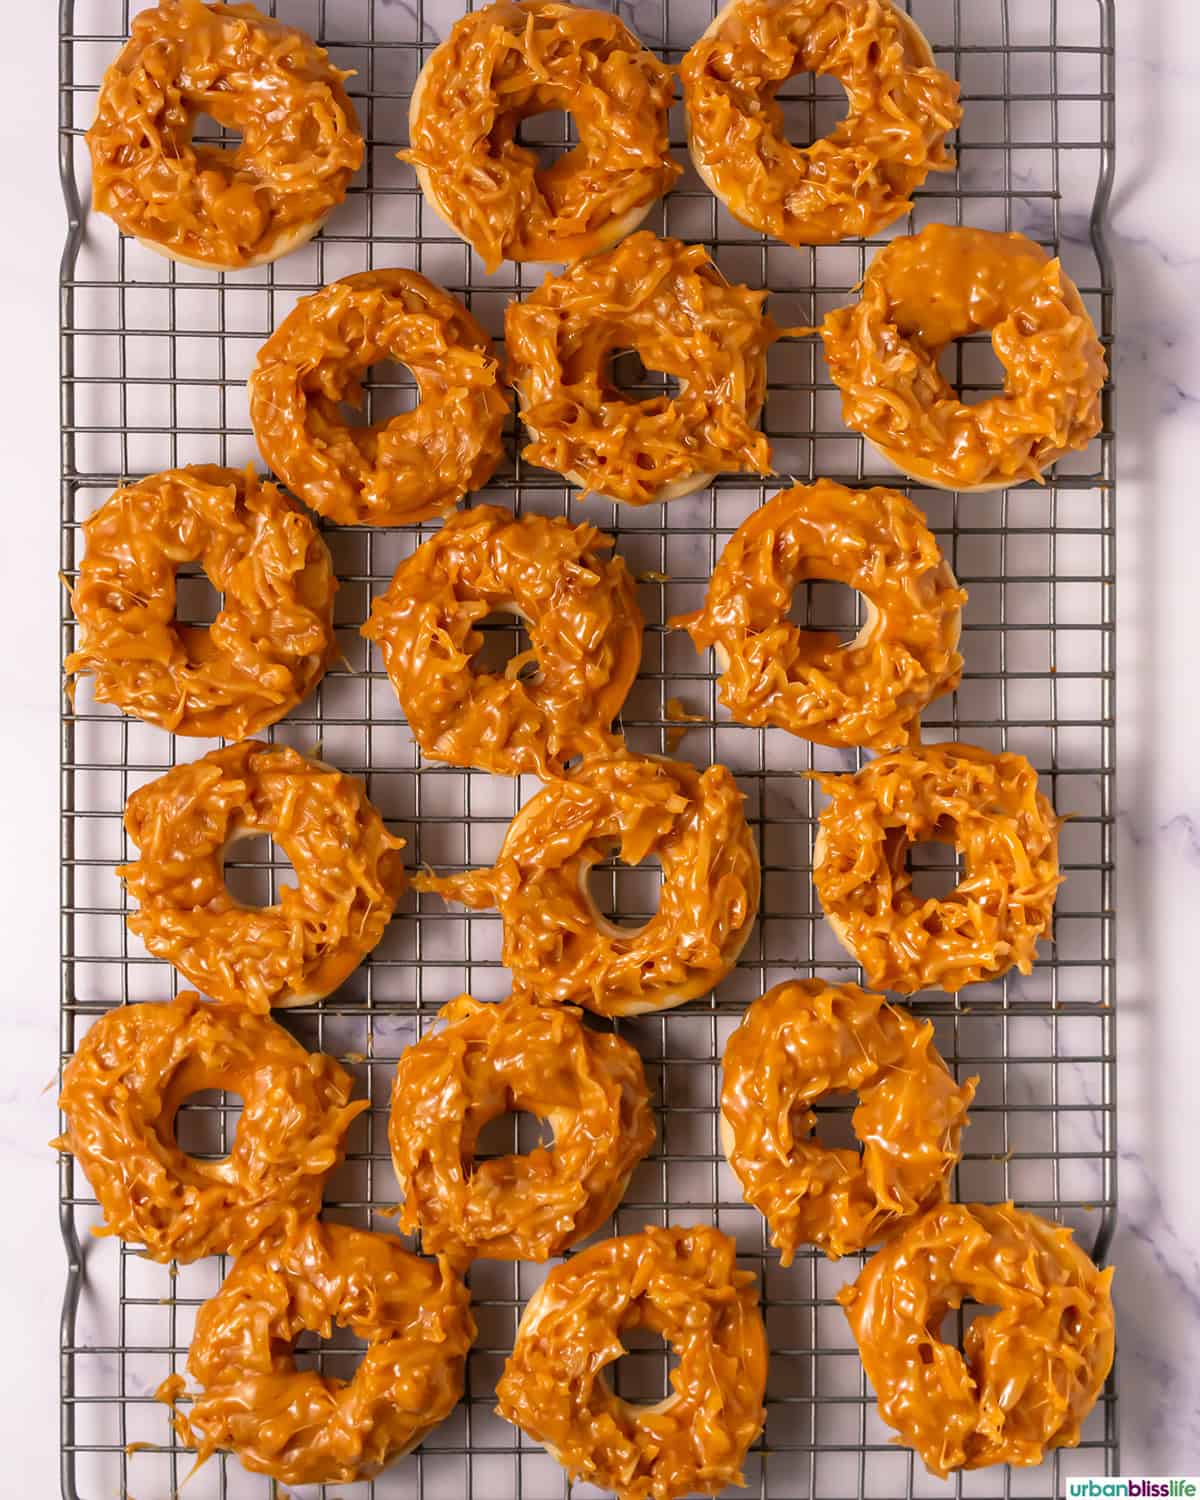
- Top each cookie base with the toasted shredded caramel coated coconut.
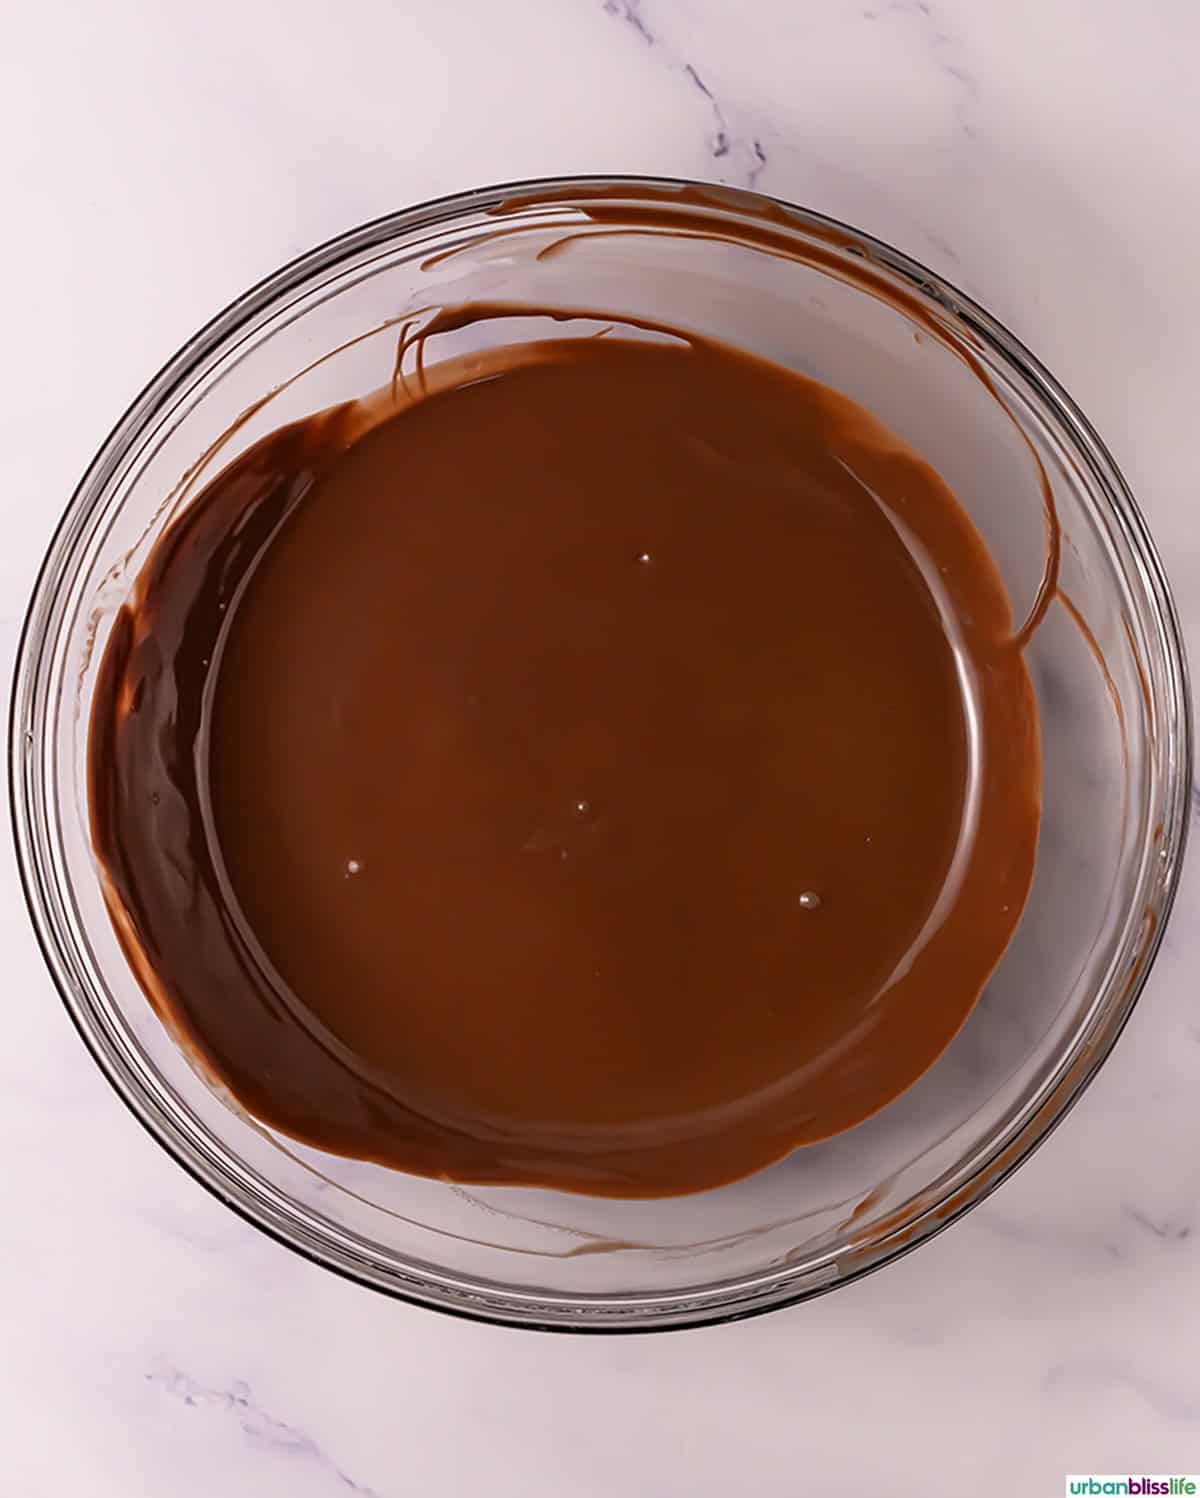
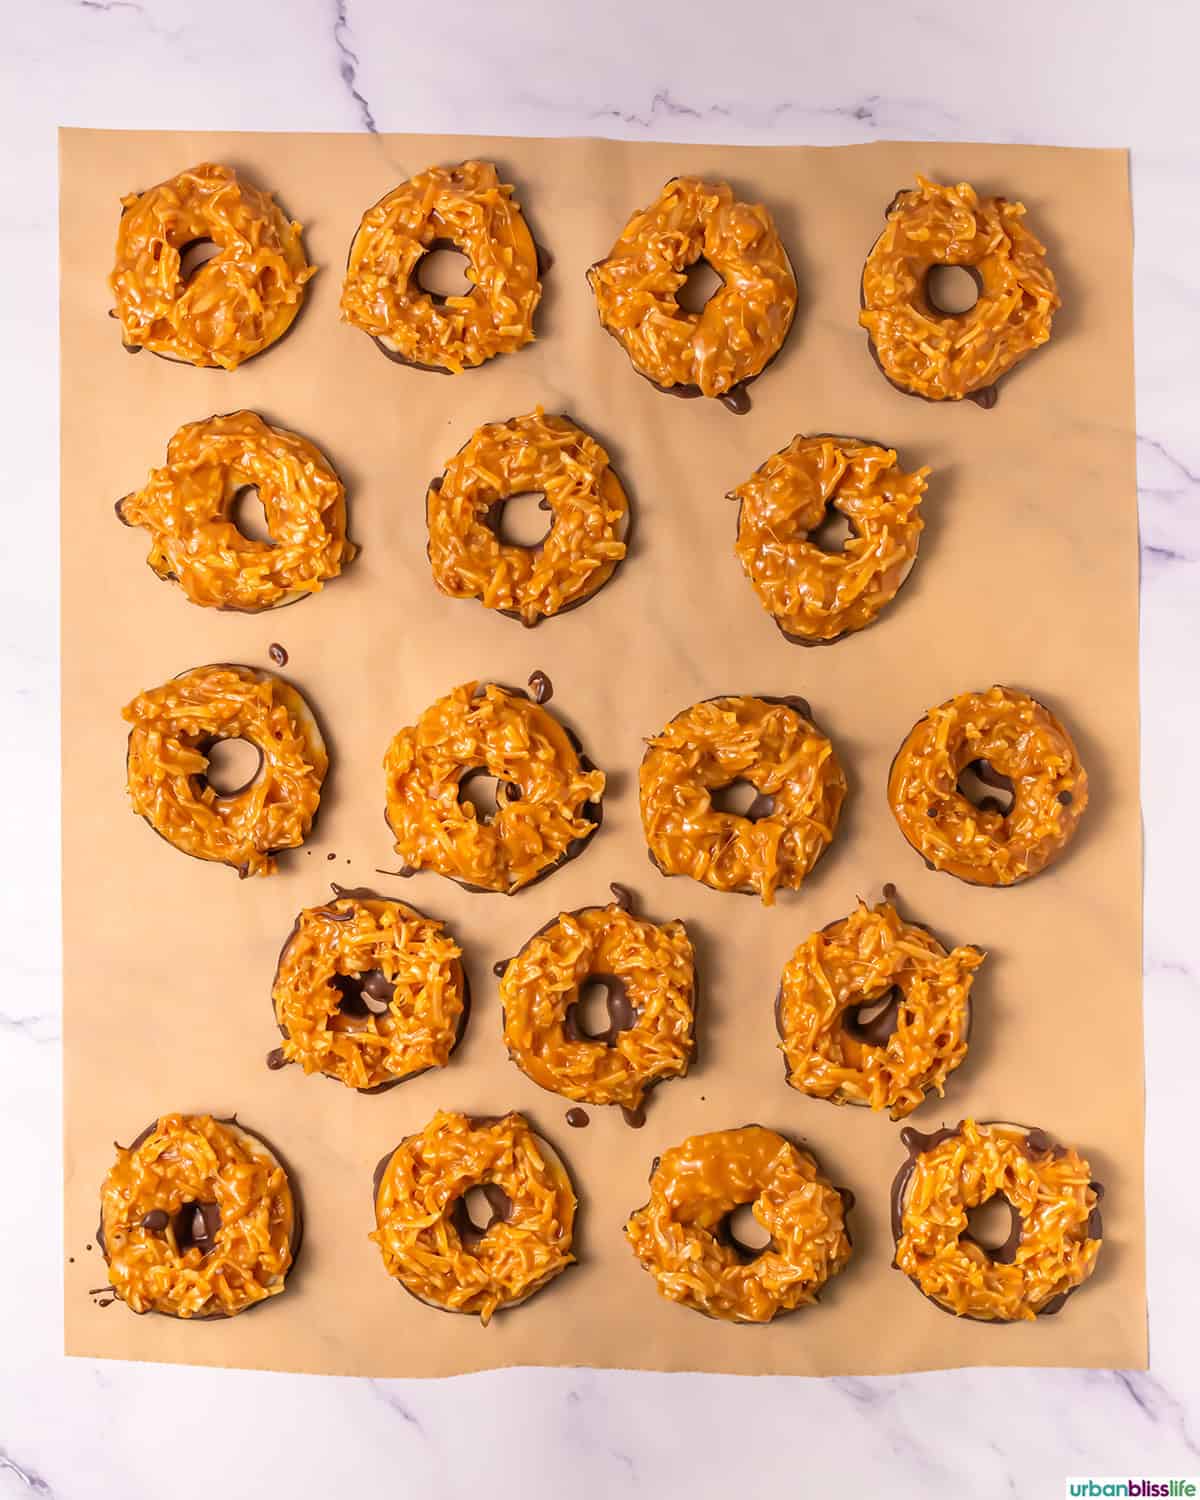
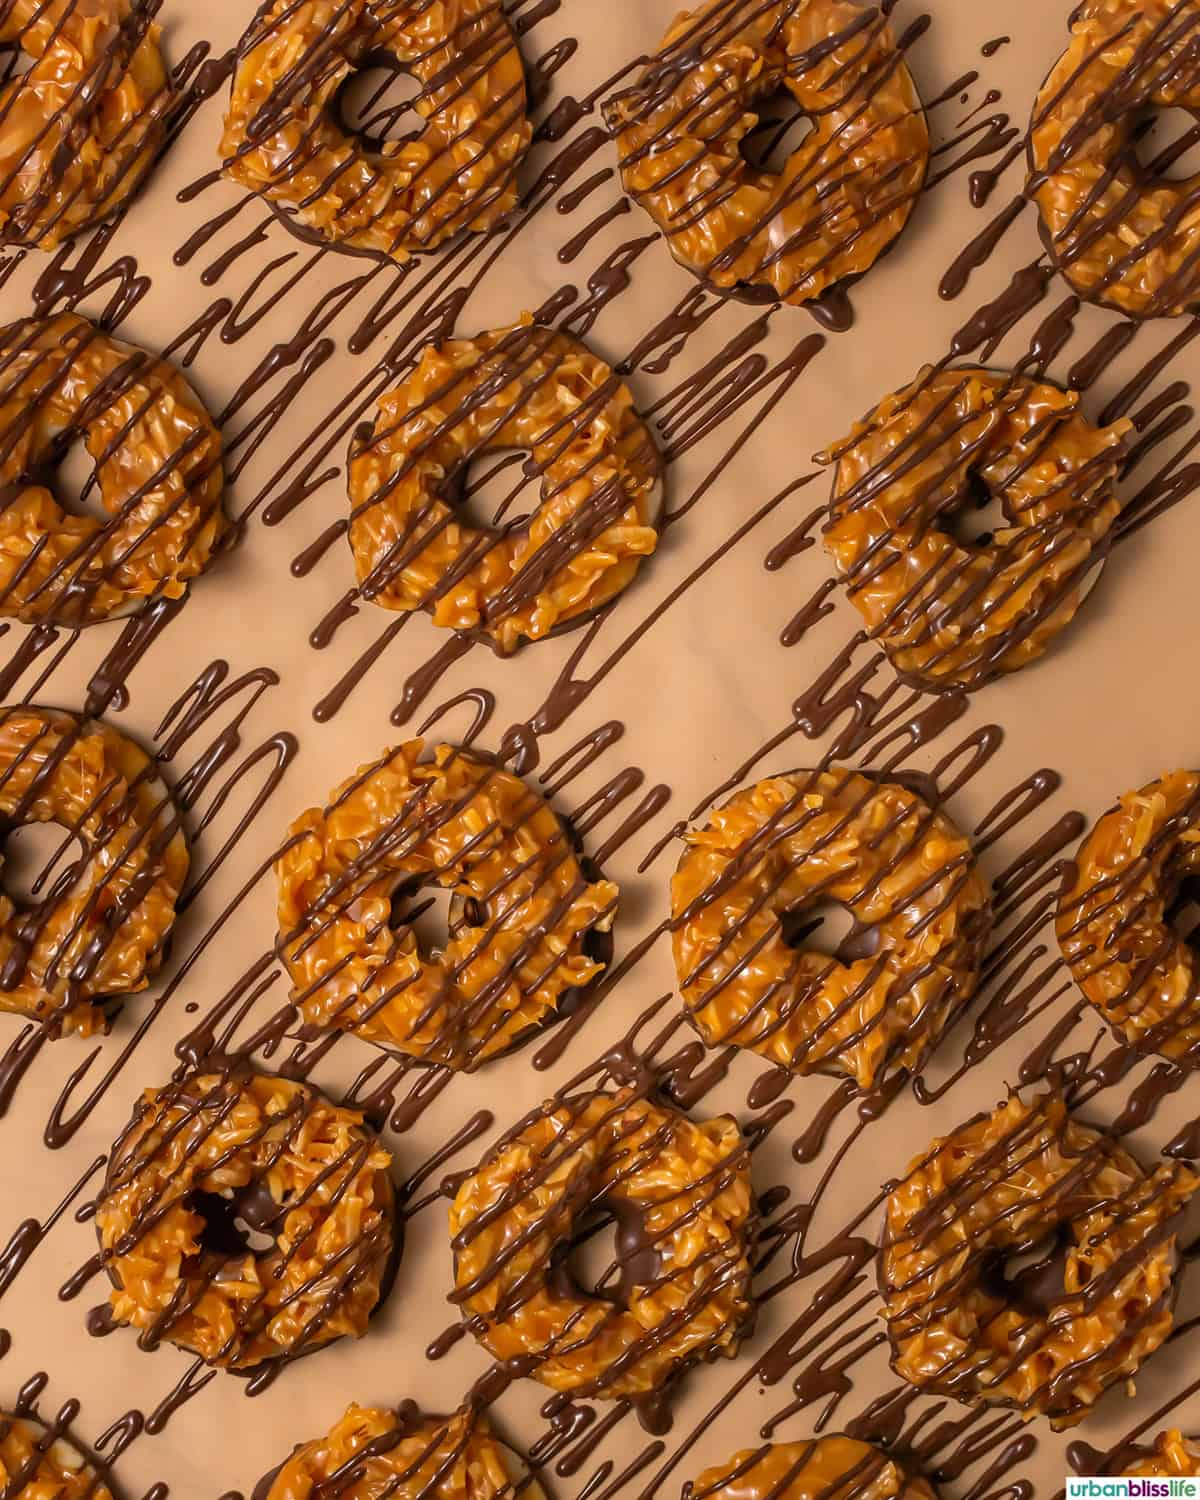
- Melt the chocolate and vegetable oil and whisk until smooth.
- Dip the bottoms of the cookies in the melted chocolate and place on a piece of parchment to set.
- Drizzle chocolate over the tops of each cookie and allow to set.
Marlynn’s Tip
Recipe Tip
The caramel hardens quickly, so you’ll need to work quickly when placing the caramel-coated coconut over each cookie.
Recipe FAQs
Yes. They keep well for several days and freeze beautifully.
It may have cooked too long. Gently rewarm it with a splash of cream.
Yes. Choose a thick, high-quality sauce for best results.
Store cookies in an airtight container at room temperature for up to 5-7 days.
Serving suggestions
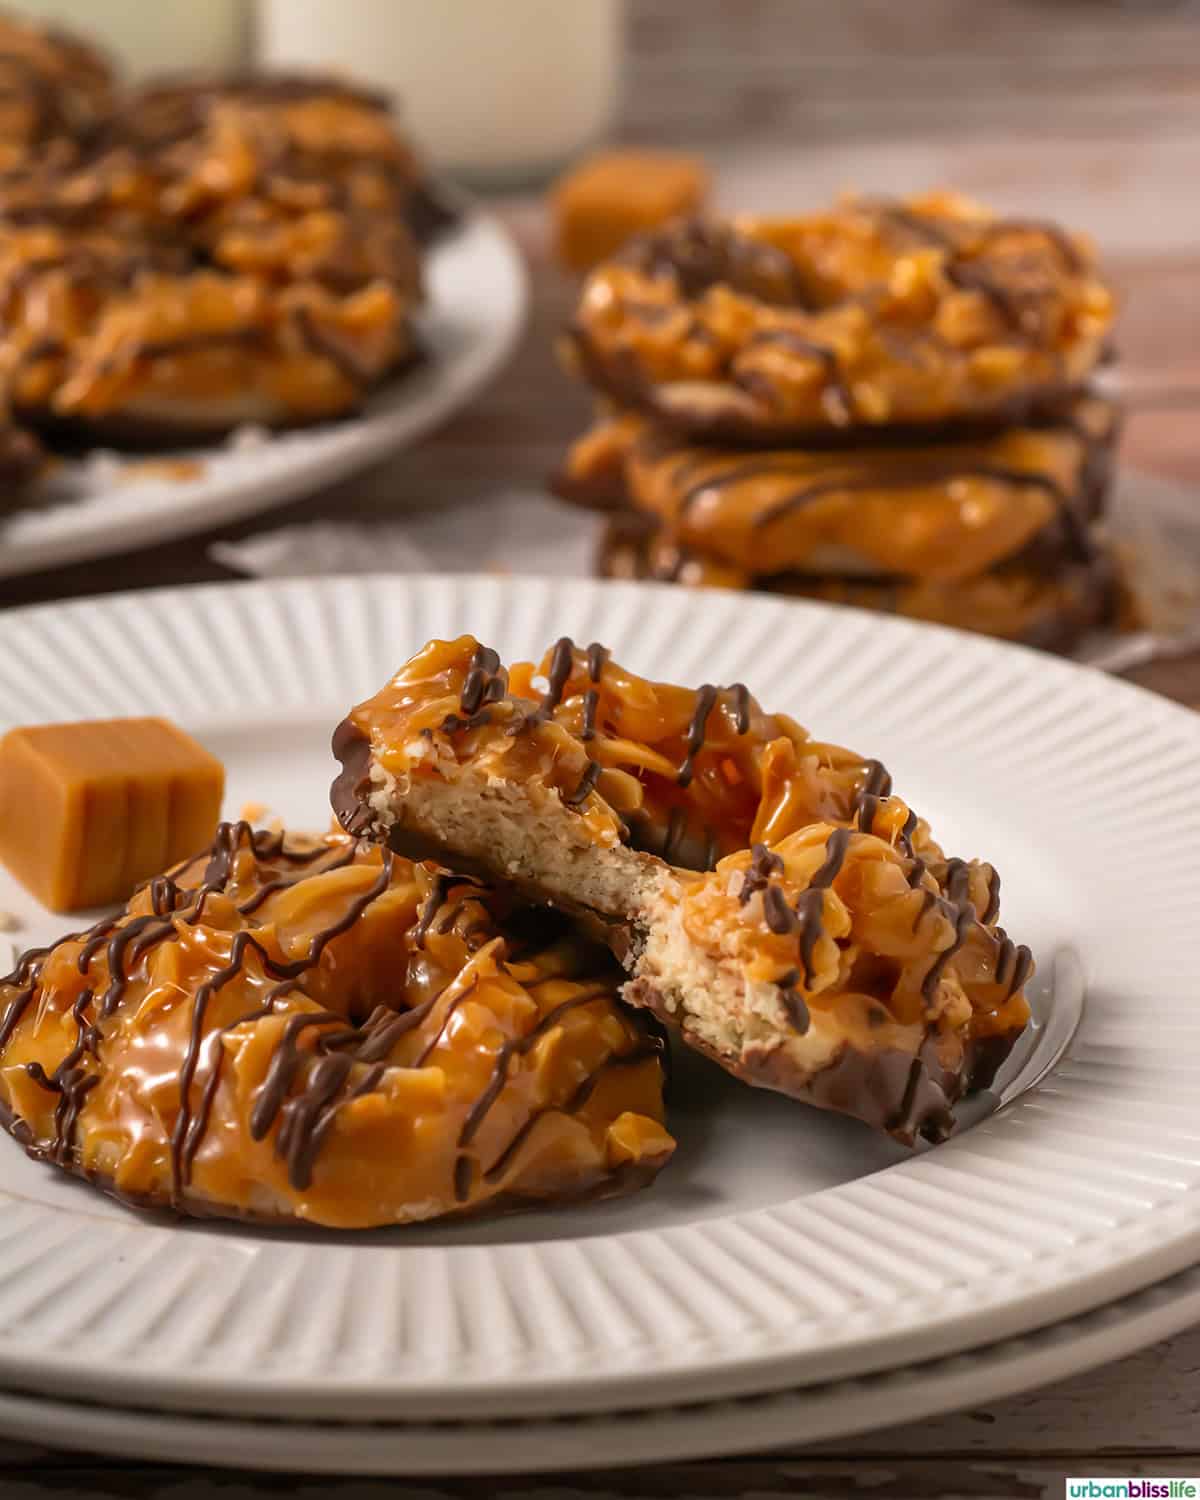
Serve these cookies with a tall glass of milk, glasses of Girl Scout Thin Mint Milkshakes, or dunk into your afternoon coffee. They’re also always appreciated when tucked into lunchboxes or arranged on a dessert board for gatherings.
Pair them with fresh berries to cut the sweetness or alongside vanilla ice cream for an easy plated dessert.
They also shine next to mint brownies, chocolate-dipped peppermint shortbread, or a simple fruit tart.

🍷 🥂 Wine pairings
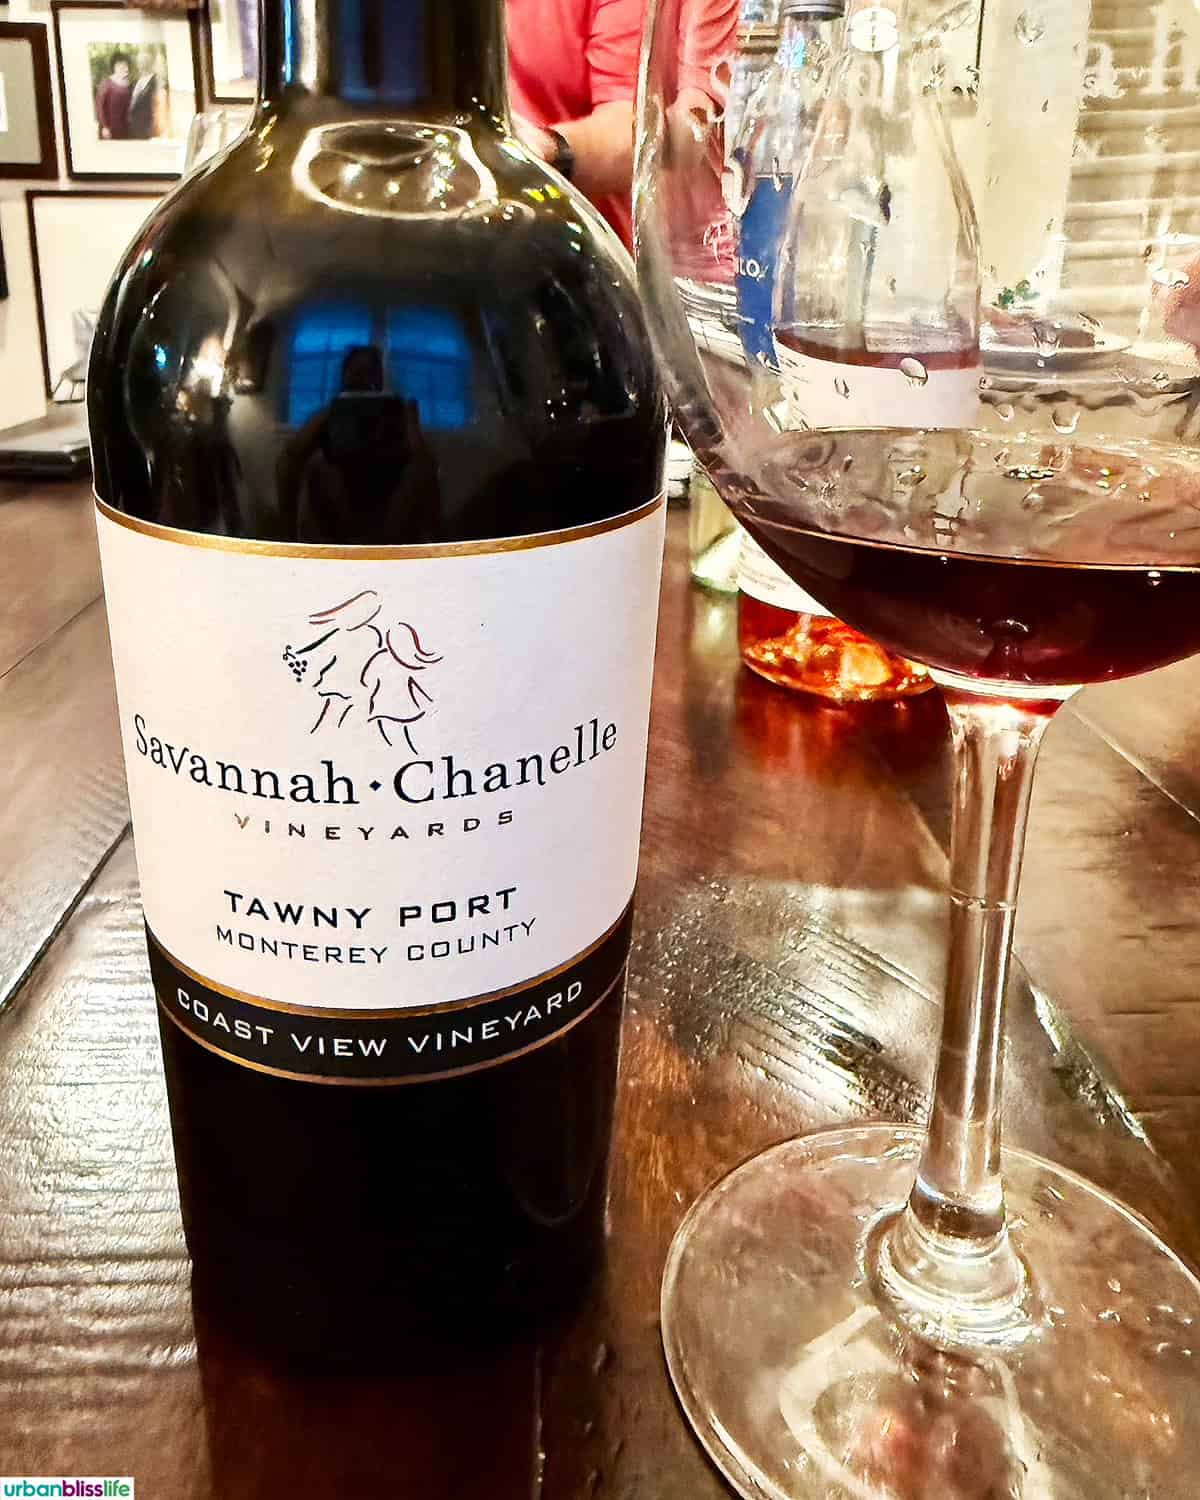
You bet we’re sharing a Girl Scout cookie wine pairing suggestion! If you’re 21+ and going to indulge in these Samoa cookies, pair them with a tawny port. Port highlights the caramel and coconut with warmth and depth.
Also, a lightly sweet Lambrusco adds freshness and keeps the pairing playful without feeling heavy.
More cookie recipes
Dessert Recipes
Sugar Cookie Confetti Cake

Dessert Recipes
Chocolate Rugelach
Cookie Recipes
Pumpkin White Chocolate Chip Cookies
Cookie Recipes
Cookies and Cream Protein Powder Cookies
Did you make this recipe? Don’t forget to leave a 5-Star 🌟🌟🌟🌟🌟 rating in the recipe card, and if you really loved it, please leave a comment further down on the page. Thank you!
Samoa Cookies (Copycat Recipe)
Equipment
- 2-3 Baking Sheets
- Mixing Bowls
Ingredients
For the cookies
- 1 cup unsalted butter, softened
- ½ cup sugar
- 1 teaspoon vanilla
- 2 Tablespoon milk
- 2 ½ cup flour
- ½ teaspoon baking powder
- 1 teaspoon salt
For the topping
- 1 – 14 oz bag coconut flakes
- 30 oz soft caramels, unwrapped
- ½ cup evaporated milk
- 1 cup dark chocolate melting wafers
- 1 Tablespoon vegetable oil
Instructions
Make the cookies
- Preheat the oven to 350°F degrees. Line two baking sheets with parchment; set aside.
- In the bowl of a stand mixer, cream the softened butter and sugar together for about 2-3 minutes. It should be smooth and well combined.
- Add the vanilla and milk. Mix until combined.
- Add in the flour, baking powder, and salt. Mix until fully incorporated, scraping down the sides as needed.
- Transfer the dough to a lightly floured work surface. Using a rolling pin, roll the dough into a rectangle about ¼ inch thick.
- Using a round cookie cutter, cut out 2 ½ inch circles and place them onto a baking sheet. Then use a 1-inch cookie cutter to cut a smaller circle in the center of each of the larger round circles.
- Transfer the cookies to the freezer for about 10 minutes.
- Bake in the preheated oven for approximately 10 minutes, or until set. Do not overbake. Allow cookies to cool completely before assembly.
Make the topping
- Spread the shredded coconut onto a baking sheet and toast in the preheated oven for about 10 minutes, stirring several times throughout the process to prevent burning. Watch closely. Remove from the oven and allow to cool.
- Meanwhile, while the coconut is toasting, place the caramels and evaporated milk in a large pot. Heat over low heat and stir frequently for approximately 10 minutes. Caramel should be melted and smooth.
- Using a spatula or knife, spread a layer of caramel over the top of each cooled cookie.
- Add the toasted coconut to the remaining caramel. Stir until well combined.
- Allow to cool slightly. Using gloved hands, place about a tablespoon worth of the coconut caramel on top of each cookie, shaping it to the cookie. As the caramel cools, it will harden. Work quickly to finish the remaining cookies.
- Melt the chocolate and vegetable oil in the microwave in 30-second increments, whisking in between, until smooth.
- Dip the bottoms of the cookies in the melted chocolate and place on a piece of parchment to set.
- Transfer the rest of the melted chocolate to a piping bag. Drizzle the chocolate over the tops of the cookies.
Notes
Follow on Instagram