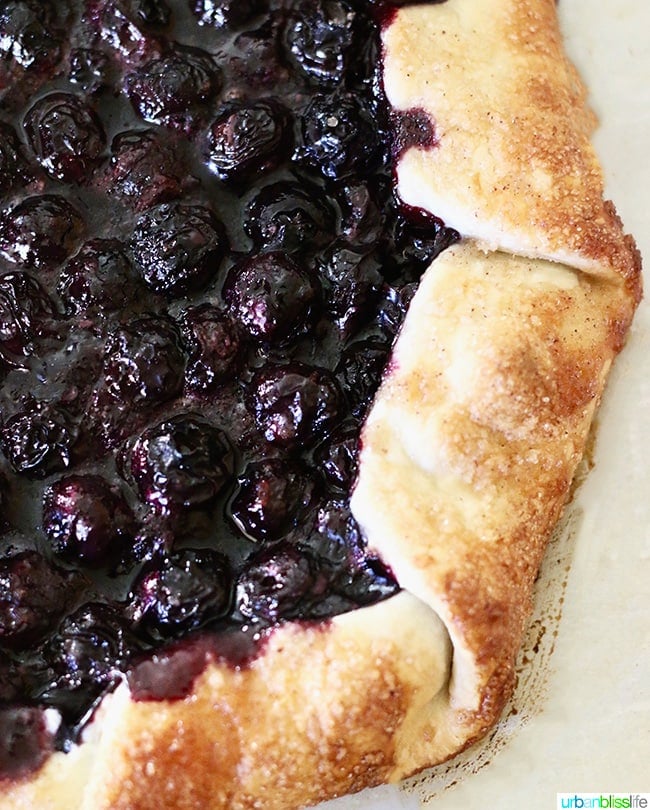
To me, blueberries are the perfect fruit: easy to grow and to pick, portable and accessible finger food, and packed with healthy nutrients and antioxidants. But they can also spoil quickly in the fridge. To help them stay fresh longer, here are my tips on how to freeze blueberries.

Each year, Mr. Bliss, the Bliss Kids and I pick several pounds of blueberries from local farms. We keep a few pints out for summer feasting (and daily snacking!) and then freeze the rest to be used in muffins, pies, cobblers, smoothies, pancakes, and more.

If you're new to the wonderful world of freezing fruit, here's a step-by-step tutorial on how to freeze blueberries. It's SUPER easy, and really, there are no hard and fast rules. These are merely some steps that help ensure you don't get mushy fruit after thawing, or hard-to-separate frozen clusters. These steps help my family and I achieve lots of happy little archives of this perfect fruit to enjoy for several months after blueberry season is long gone.
Jump to:

Step #1: To wash or not to wash?

There are two camps of thought: one camp that believes you should never wash fruit before freezing, and another that lives on the edge and believes you can throw caution to the wind and wash those berries before freezing. I am of the latter camp. We usually throw in frozen berries in various recipes at least a few times a week, so purely for convenience, I prefer to wash blueberries before we freeze them so they are ready to grab-and-go when we need them.
When washing blueberries, you can either take a handful and gently rinse them under a running faucet. Or, you can place some in a collander and gently rinse them under a running faucet. Some people think the latter will tend to bruise the berries, but I have done this method and the berries have always turned out fine.
Just don't wash berries when you're angry. Use a light tight touch. Remember these are delicate creatures who will easily squish under pressure.
Step #2: Dry the blueberries


After gently washing the blueberries, place them on layered sheets of paper towels to dry. You can also place them on a perforated baking sheet, as I did here. Allow them to air dry as much as possible. You can use a paper towel toward the end to very gently tap the tops to absorb some of the water.
Step #3: Freeze the blueberries, Round 1

After the blueberries have dried, place them in a single layer onto baking sheets or any other flat sheets that will lay flat inside your freezer. You can use wax paper on top of the baking sheets if you'd like and place the blueberries on top of the wax paper, or you can place them directly onto the baking sheets. I like to use wax paper because it makes it easier for me to gather the blueberries and place them in a freezer bag once frozen.
Step #3: Freeze the blueberries, Round 2
After the blueberries are frozen, taken them out of the freezer, place them into Ziplock bags, and then... freeze them again. What the what?! Yeah, I know, it sounds weird at first -- but by first freezing them in a single layer, the blueberries will not really stick to each other in the final frozen bag. The single layer step will also prevent those darn annoying frozen clusters of berries once frozen in the Ziplock bags. Trust me: it makes taking just the right amount that you need per recipe out so much easier when the time comes.
Step #4: Enjoy blueberries year-round!

Frozen blueberries will last for several months if kept frozen in well-sealed freezer bags. I LOVE how one afternoon's work can turn into berry deliciousness that my family can enjoy all year long. If you're looking for some blueberry recipes to get you started, try this super fast and easy 3-Minute Microwave Blueberry Crisp.
More Blueberry Recipes You'll Love
 Blueberry Galette: An Easy Summer Dessert
 Dairy Free Blueberry Muffins with Lemon
 Pie-Making Party: Pies in a jar recipes
I intend to try to substitute blueberries for the raspberries in this Raspberry Sherbet recipe. I think it will be just as delicious, but if you try it, let me know how it goes!


Leave a Reply