This freezer apple pie filling recipe was first published in 2013. It was updated with new photos and slightly updated recipe October 2020.
This Freezer Apple Pie Filling recipe is simple and stocks your freezer with ready-to-bake apple pie filling!
It’s apple season and that means APPLE PIE season!
And apple crisps and apple crumbles and apple muffins and, well, everything apple!
One of the make-ahead recipes I’ve been making in big batches is Freezer Apple Pie Filling.
I first published this recipe back in 2013. Even though I’ve been making it every fall, I thought it was time to finally update this post with new photos and slightly updated recipe!
What you need to make freezer apple pie filling
First, you need some equipment:
- Cutting board
- Knife
- Dutch Oven with lid
- Measuring cups & spoons
- Mixing bowls
- Whisk
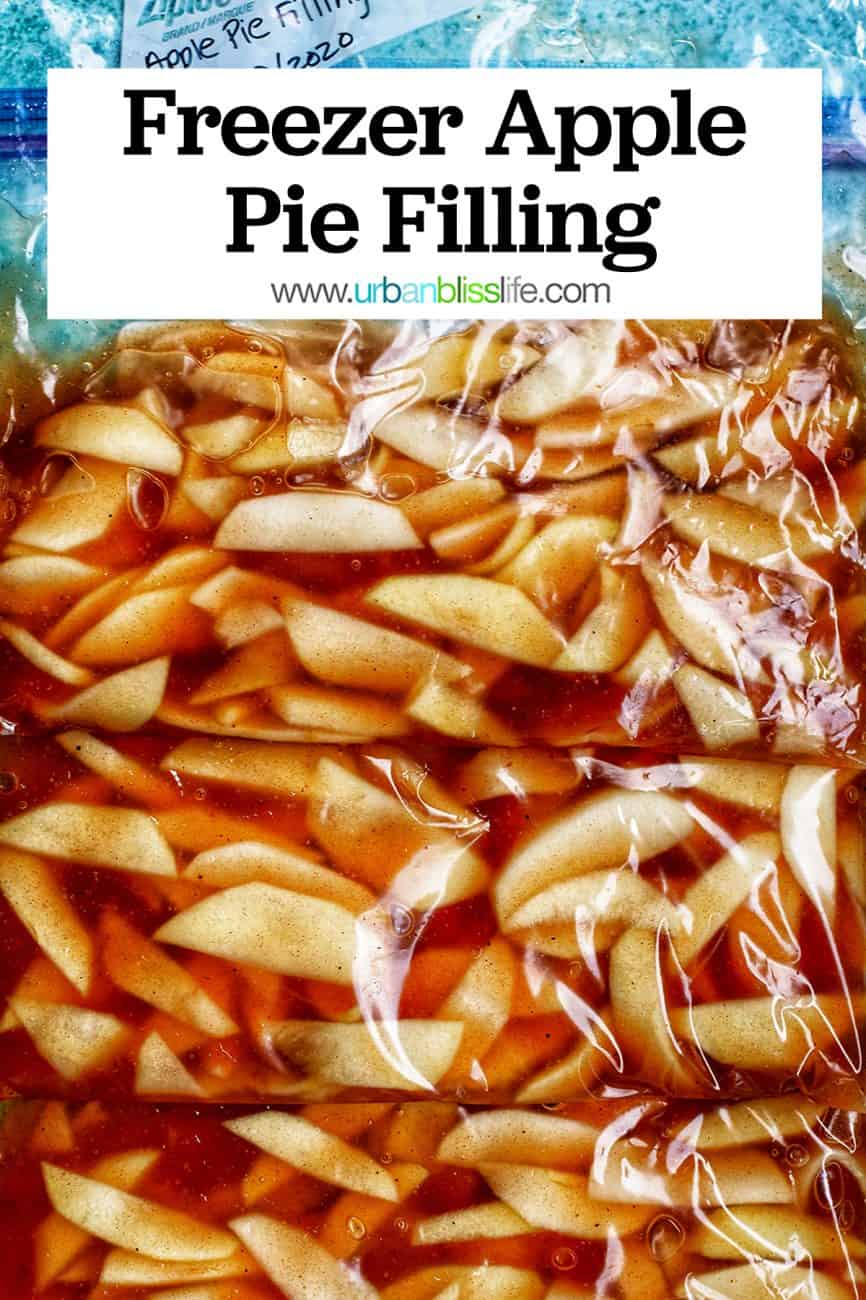
- Freezer-safe zip-lock bags – quart size should work, but I only have the larger gallon-size bags, which is what you see in these photos.
Next, gather your ingredients:
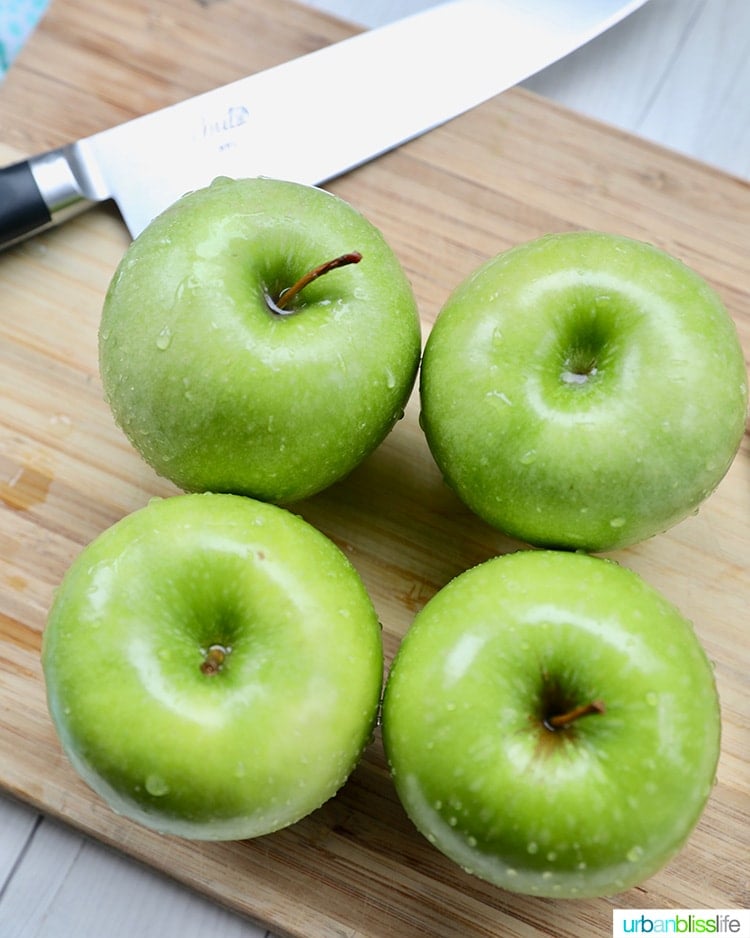
- Green apples – I prefer Granny Smith apples. They hold their shape well, and have a delicious slightly sweet, slightly tart flavor that’s perfect for baked goods.
- Lemon juice
- Granulated sugar
- Cornstarch
- Ground cinnamon
- Ground nutmeg
- Salt
How do you make freezer apple pie filling?
This next section is to help guide you as you make this recipe. Remember that exact measurements and instructions are in the recipe card below.
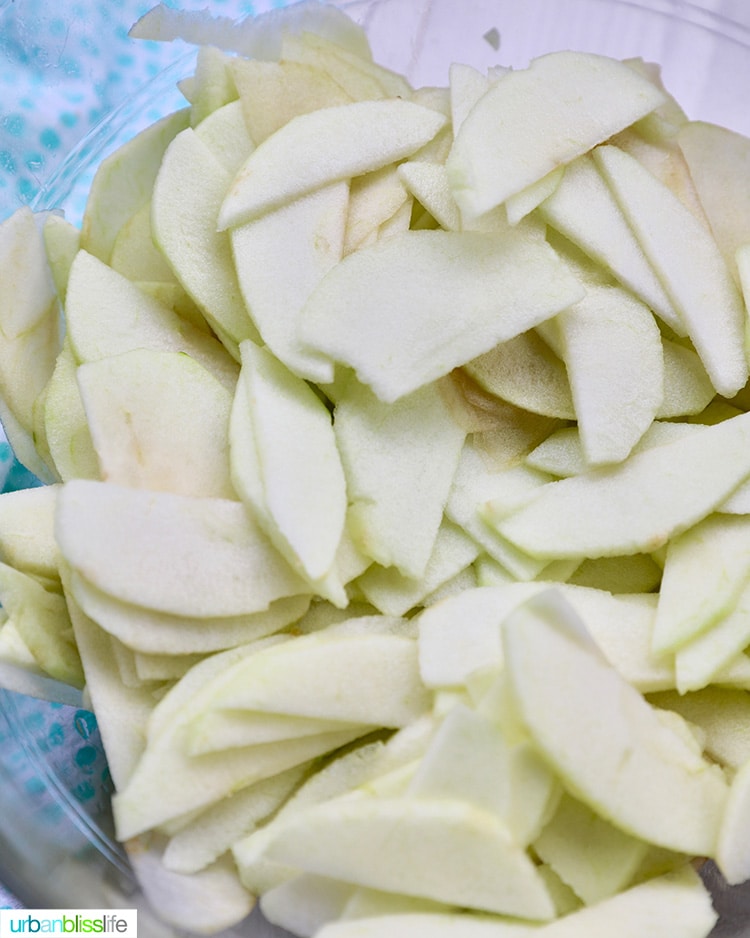
Start by peeling and slicing the apples. I prefer somewhat thin slices. Not paper thin, but not too thick either. You can also cut apples into chunks if you prefer chunks to slices in your apple pie.
Next, add the apple slices to a large mixing bowl and gently toss with lemon juice.

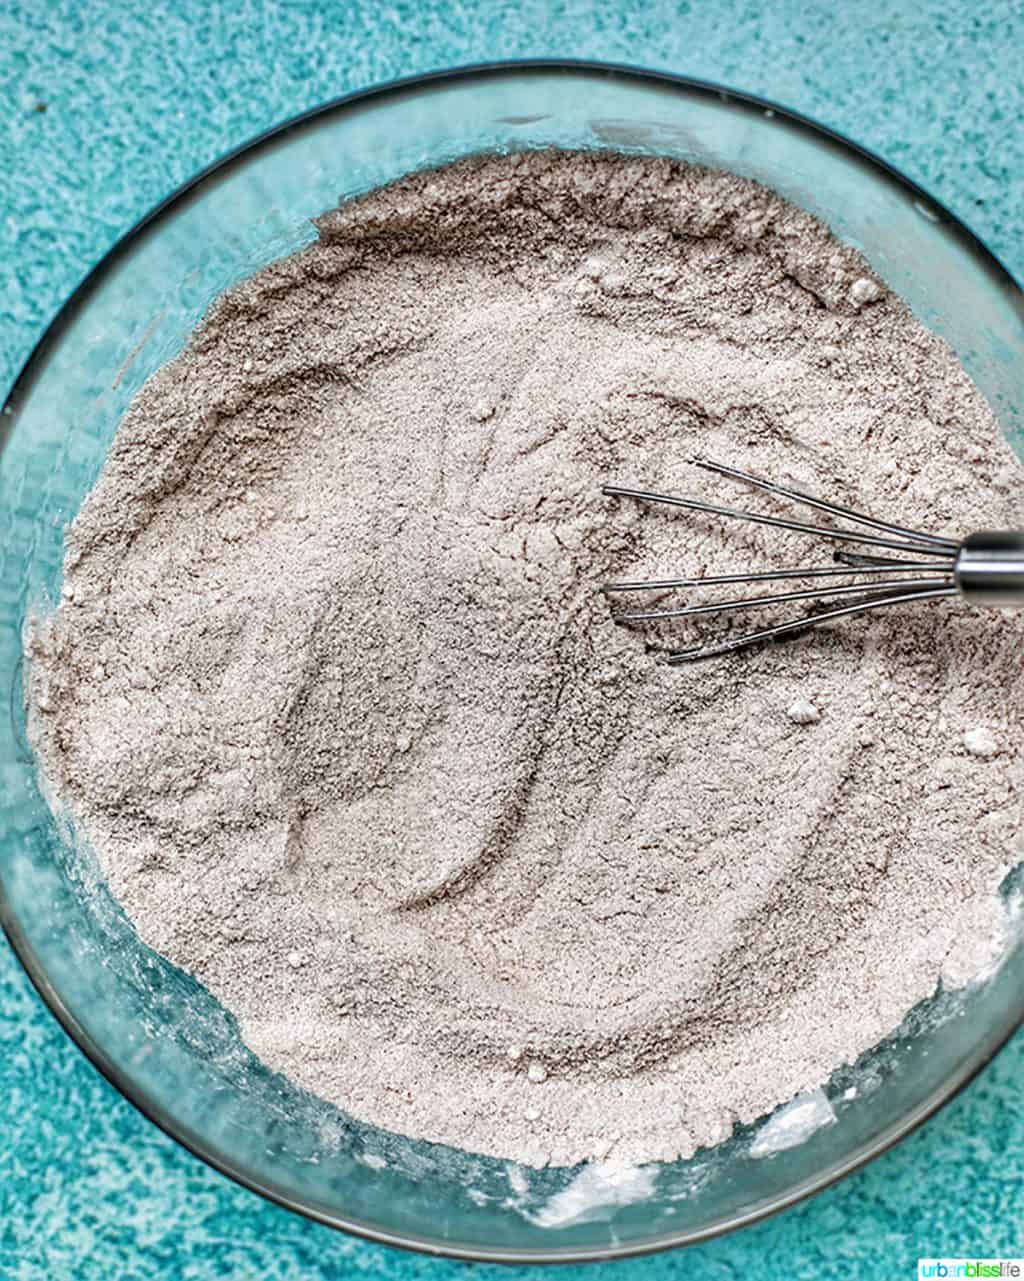
In a medium bowl, whisk together the sugar, cornstarch, cinnamon, nutmeg, and salt.
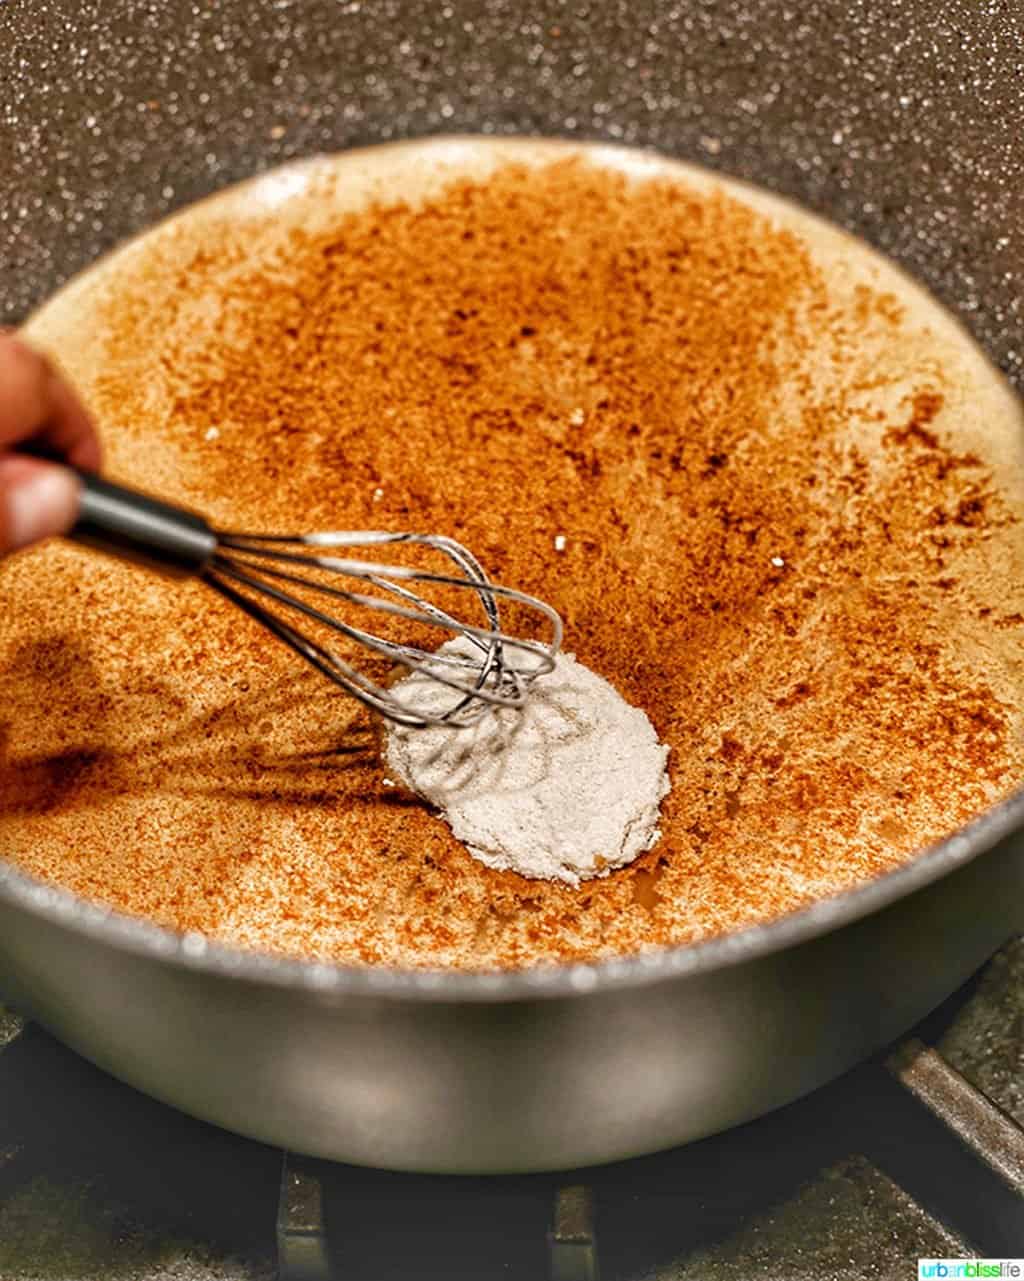
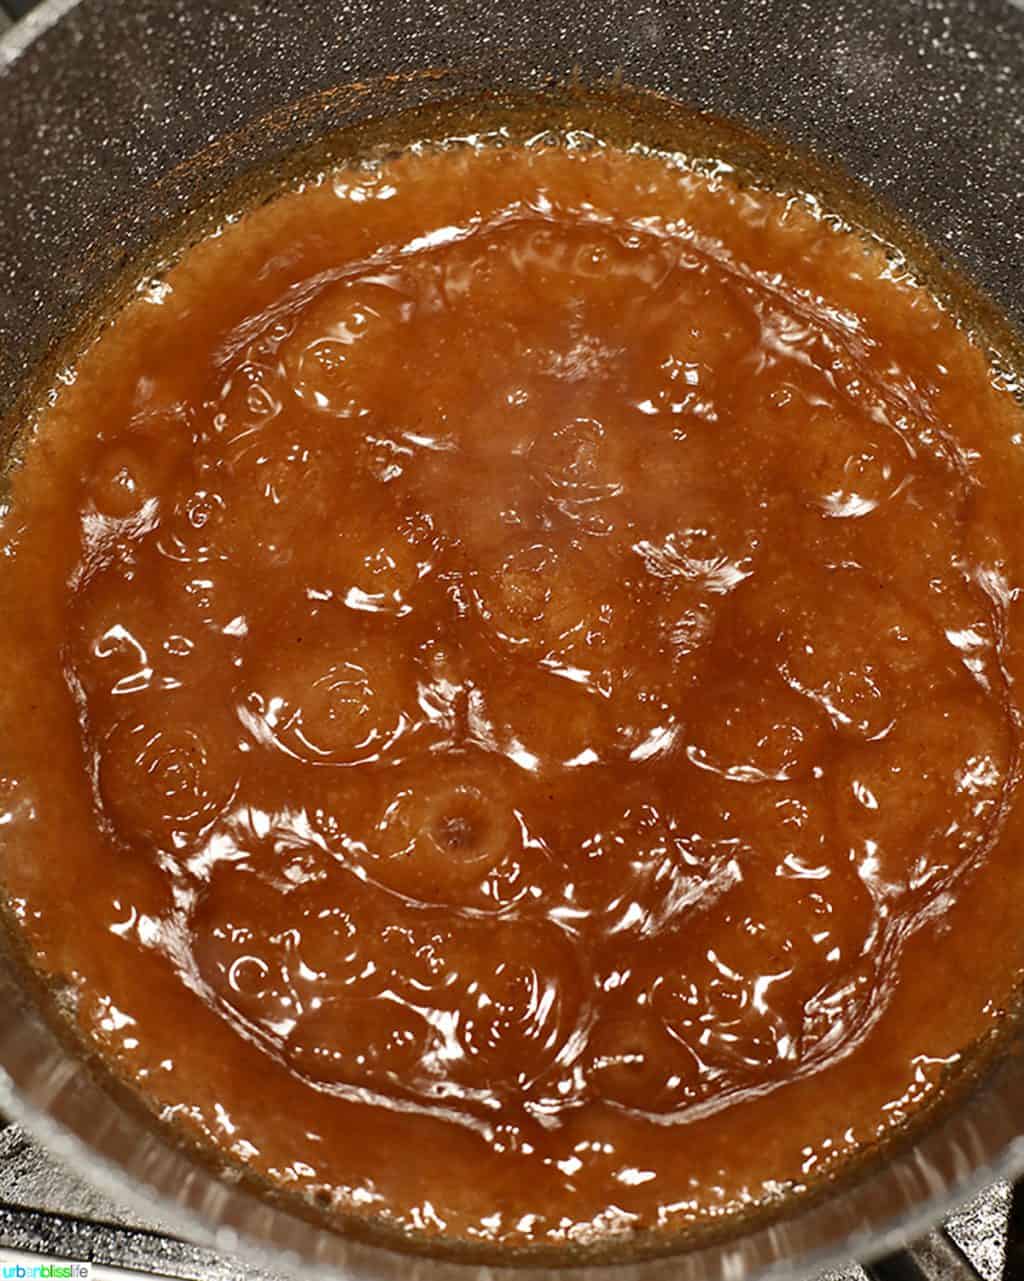
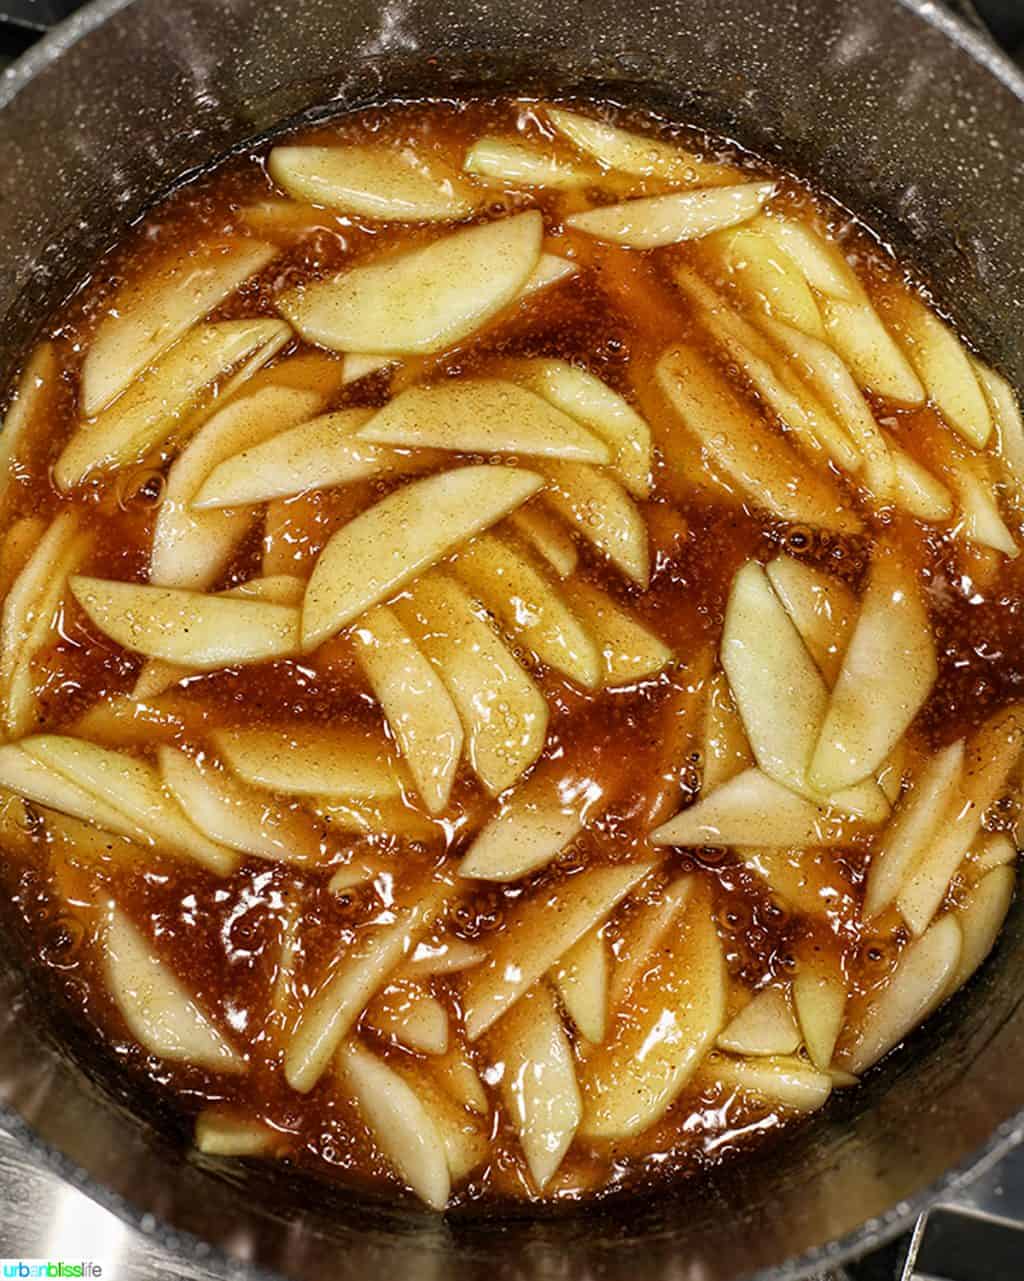
Pour water into the Dutch Oven, turn the heat to medium-high, and add the sugar & spices mixture. Gently whisk or stir as the water comes to a low boil.
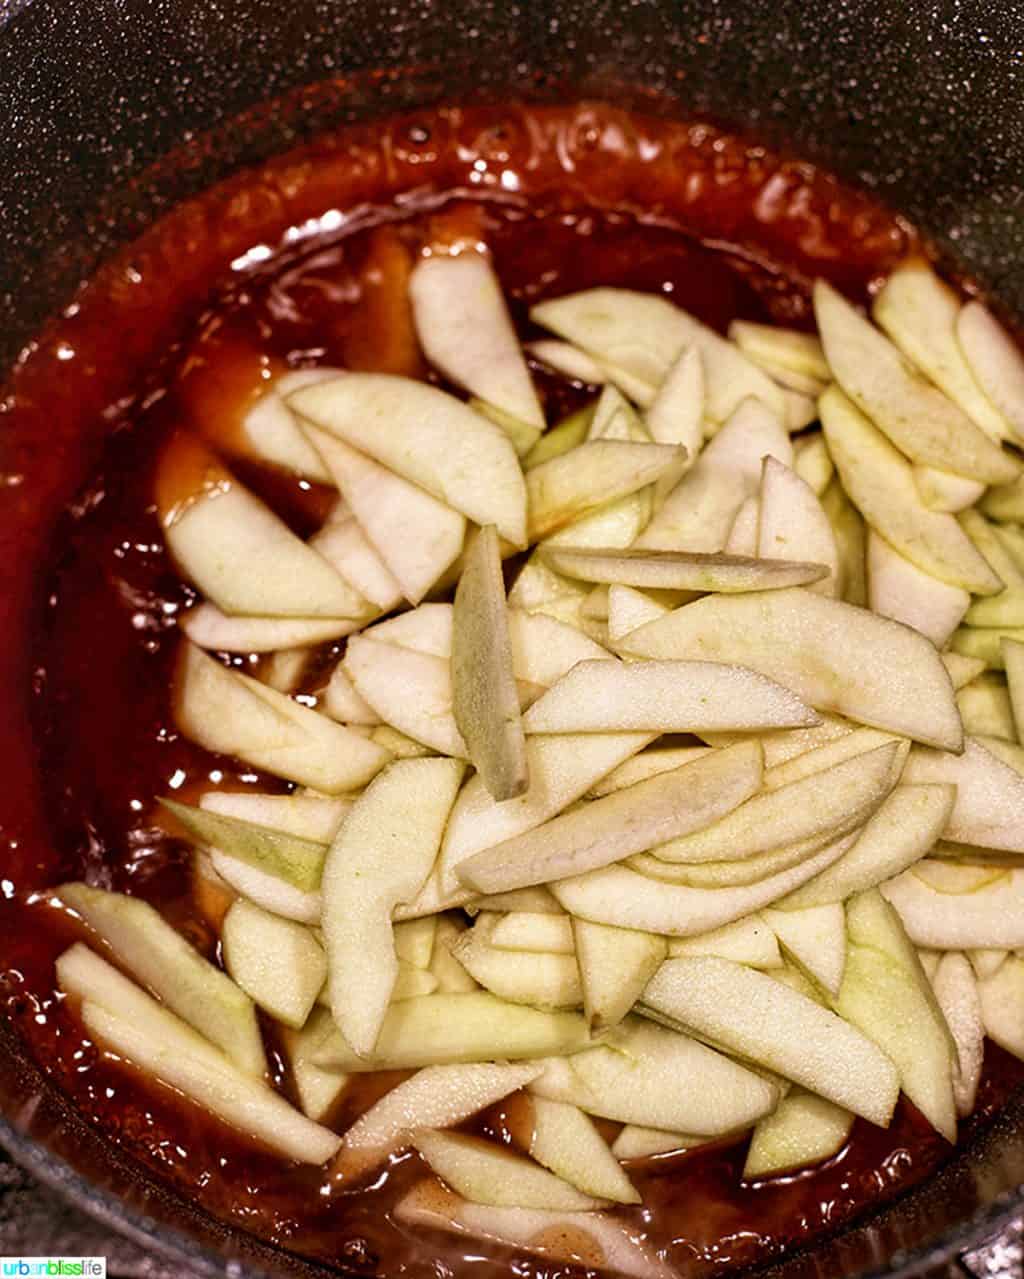
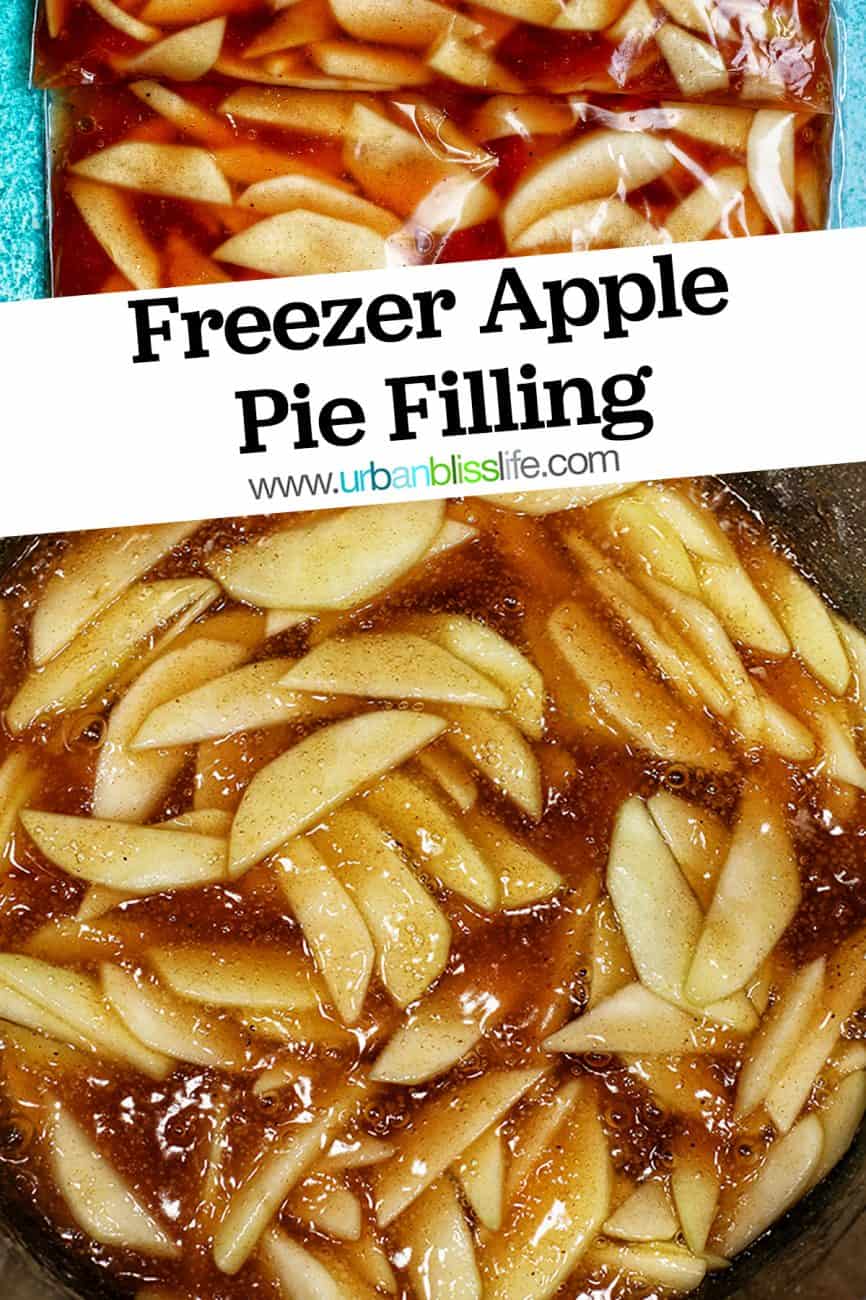
Add the apple slices to the Dutch Oven, increase heat to high, and bring to a boil. Stirring constantly, allow apples and mixture to boil for 4-6 minutes. Then lower heat, cover, and simmer for 6-8 minutes, just until the apples are softened.
Turn the heat off, uncover, and allow to cool to room temperature. This can take around 30 minutes.
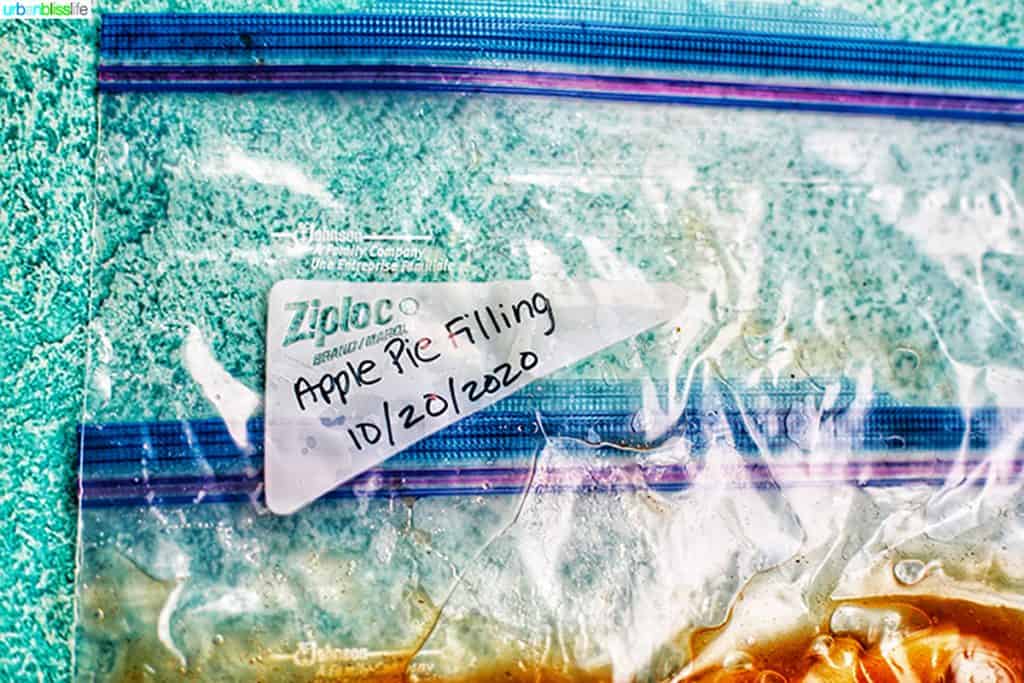
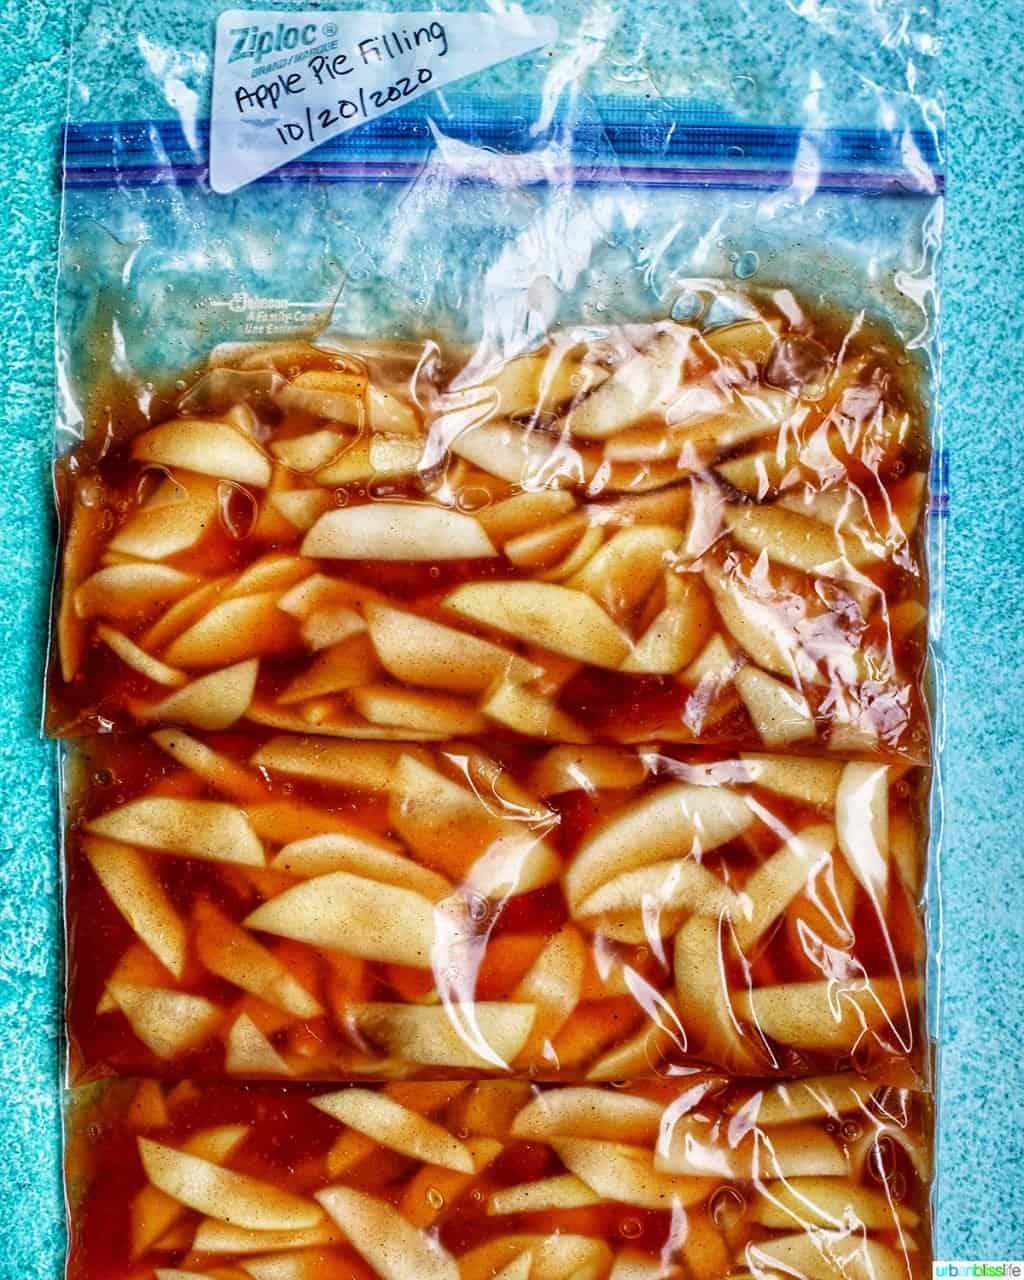
Once cool, carefully ladle even portions into prepared large ziplock freezer bags. Make sure you labeled them ahead of time!
Place into the freezer and freeze for up to 12 months.
Exact measurements of ingredients and instructions are in the printable recipe card toward the bottom of this post. Here are some helpful tips to guide you as you make this recipe.
How much does this recipe make?
Every pie recipe calls for a different amount of apple pie filling. Therefore, answering this question can be a bit tricky. In general, this recipe makes enough for approximately two standard 8″ pies. I actually get three pies out of this recipe, but I also prefer a greater crust & crumble to filling ratio (more cinnamon-y carbs for me!).
If you prefer really thick, filling-heavy pies, you can easily double or even triple the recipe to make more.
More Fall Dessert Recipes
 Apple Pie Bars
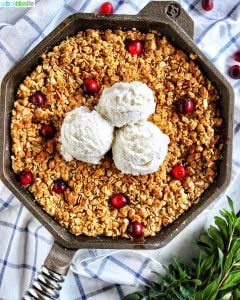
 Skillet Apple Cranberry Crisp
 Best Fall Dessert Recipes
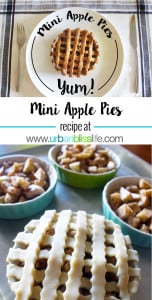
 Adorable Mini Apple Pies
- Pear Tartlets


Freezer Apple Pie Filling

Equipment
Ingredients
- 4 cups water
- 8 cups thinly sliced apples
- 3 tablespoons lemon juice
- 1½ cups granulated sugar
- ¾ cup cornstarch
- 2 teaspoons ground cinnamon
- ¼ teaspoon ground nutmeg
- ½ teaspoon kosher salt
Instructions
- Start by peeling and slicing the apples. I prefer somewhat thin slices. Not paper thin, but not too thick either. You can also cut apples into chunks if you prefer chunks to slices in your apple pie.
- Next, add the apple slices to a large mixing bowl and gently toss with lemon juice.
- In a medium bowl, whisk together the sugar, cornstarch, cinnamon, nutmeg, and salt.
- Pour water into the Dutch Oven, turn the heat to medium-high, and add the sugar & spices mixture. Gently whisk or stir as the water comes to a low boil.
- Add the apple slices to the Dutch Oven, increase heat to high, and bring to a boil. Stirring constantly, allow apples and mixture to boil for 4-6 minutes. Then lower heat, cover, and simmer for 6-8 minutes, just until the apples are softened.
- Turn the heat off, uncover, and allow to cool to room temperature. This can take around 30 minutes.
- Once cool, carefully ladle even portions into prepared large ziplock freezer bags. Make sure you labeled them ahead of time!
Notes
Nutrition
Nutrition information is automatically calculated, so should only be used as an approximation.
PIN IT:


I have made this 2x now! Easiest recipe I’ve come across and it tastes so good. Homestly I didn’t look hard.. I have never made apple pie filling, but have so many apples from my grandparents apple trees and I didn’t want them to go to waste. So thank you for sharing and creating this recipe!
So happy to hear you loved it, Tawnya! Thanks for sharing!
I made the recipe and have frozen a few bags. I thawed a bag out today and used a premade pie shells. I don’t know the proper time to cook for. I baked the one pie shell, cooled and then added the thawed pie filling to the shell. I then put the 2nd pie shell (thawed) on top but when I baked the pie for 60min at 350° the top shell was doughy and didn’t seem right. Any tips? I can’t make pie crust for the life of me so need premade shells.
When you are going to finish making the pie, with the frozen filling that’s been in the freezer, do you defrost the filling first or do you put it in the pre-baked pie crust first and then cook it . . . for how long, & at what temperature?
This would be great information to add to your recipe. Thanks!
p.s. the filling tastes great!
Hi Louise, thank you for your comment! We’re actually in the process of updating this particular recipe with that info :) In the meantime, after you take the filling out of the freezer, you’ll want to defrost it first, and then bake it according to your apple pie recipe. This recipe is just for the freezer apple pie filling, which you can use in almost any other apple pie recipe. Glad you like the filling!
lots of apples mean lots of pie filling (I’ve tripled it!)and I prefer freezing! Thank you for an easy recipe! I also used less sugar and taste is is still great!
That’s awesome, JRB! Thanks for trying the recipe, and enjoy your apple pies!