Did you grow up with an Advent calendar in your house? I don't ever remember having one as a kid, but my mother in law always sends a card that is an advent calendar to each of my kids every Christmas. They love the anticipation and the act of a new discovery each day that an Advent calendar brings, so a few years ago I started making our own DIY Advent calendars.
This year, since we've decided to go with the same color scheme as last year's holiday season (silver, gold, white), I am re-using the same Advent calendar I made last year.
And, be sure to scroll down to the bottom of this post for a chance to win some goodies from Franz Bakery in the spirit of giving!
Advent Calendar
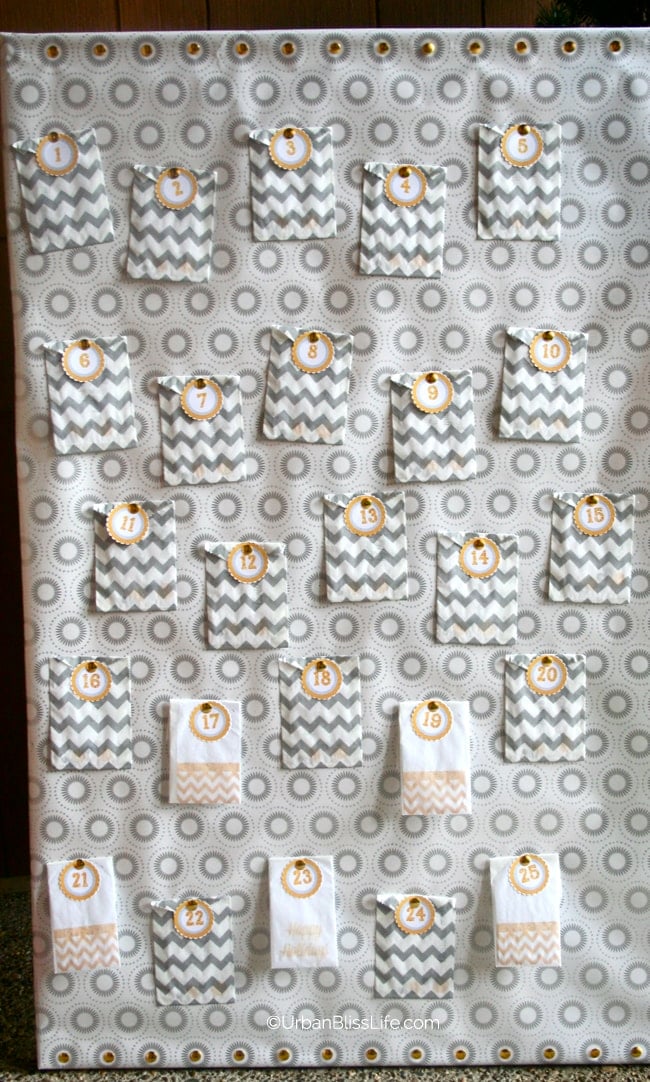
There are so many different kinds of Advent calendars out there: boxes, stringed cards, tubes . . . they come in all shapes, sizes, and colors. Some people like to fill containers with little toys, others with candy, but I prefer activity cards.
The DIY Advent Calendar Printable PDF file that I've created includes the numbers for each day, plus several activity cards to place in envelopes. Activities are Christmas and general giving type of activities, such as "Write a nice note to your teacher" and "sing Christmas songs." They are all meant to be activities that families can do together to help foster the spirit of the season. I've also included some blank activity cards so you could write your own.
Making this DIY Advent Calendar is super simple and fast, and you can make it using materials that you already have on hand.
Materials
- Large canvas (at least 18 x 24 is ideal) or corkboard
- Wrapping paper
- Gold or silver thumbtacks
-Mini 3" x 5" silver or gold envelopes or favor bags (similar to these chevron favor bags, but you'd want a smaller size)
- Download & print the DIY Advent Calendar Printable PDF
Step-by-Step Instructions
1. Wrap the wrapping paper or fabric around the canvas or corkboard.
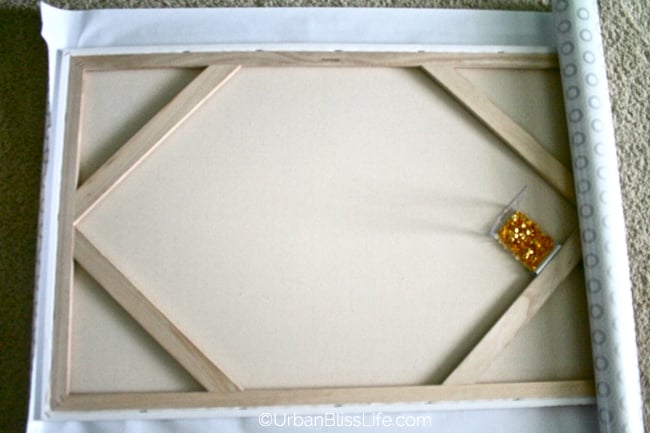
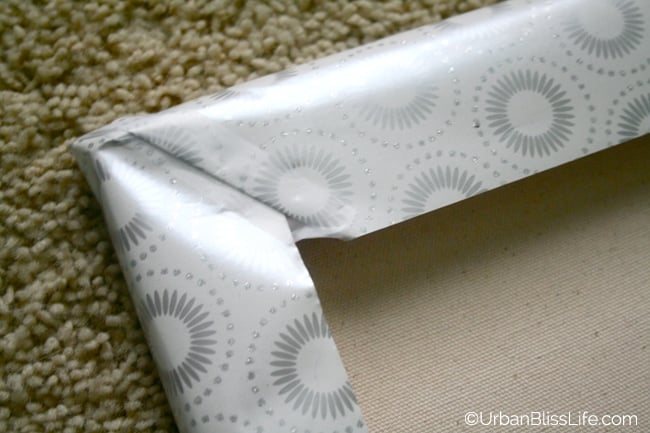
2. Adhere to the back using tape for wrapping paper, or tacks or even staples for fabric.
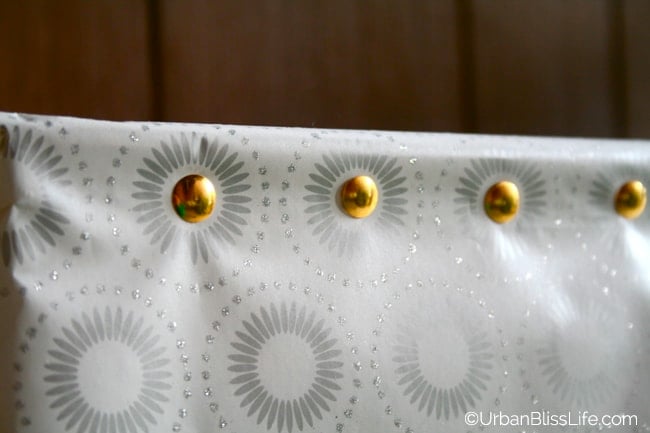
3. I chose wrapping paper that had circular patterns that I lined up so they would go along the edge of the canvas. Then I use gold thumbtacks and placed each within one of the circular patterns. This could work with snowflakes, hearts, circles. You don't have to use wrapping paper or fabric that has this type of pattern, but I like how the thumb tacks look like part of the design.
4. Print out and cut the Advent calendar numbers and activity cards. I used a scallop hole punch to give the numbers a little more flair, but you could just use a round hole punch or cut out each circle using scissors.
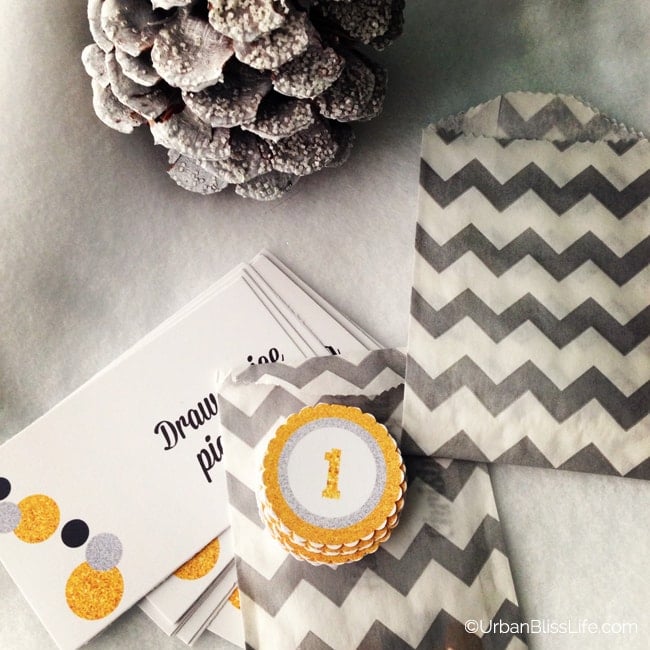
5. Place each activity card into a small envelope or treat bag. Try to find some in coordinating colors to match your wrapping paper or fabric. I used mini chevron silver treat bags.
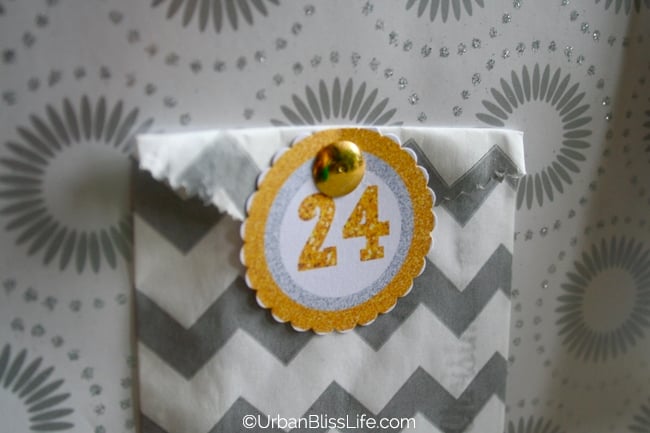
6. Then, in number order but in any sort of pattern you wish to create, tack each envelope/treat bag with activity card and number to the front of the wrapped canvas/corkboard.
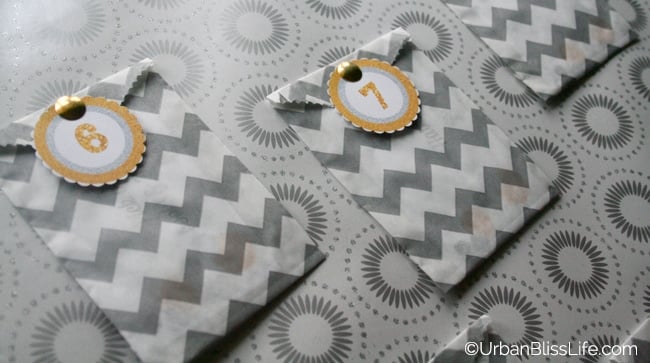
7. You can mount your new Advent calendar to the wall, or if it's large enough, as my canvas was, you can simply lean it up against a wall.

Download your free Advent Calendar numbers and activity cards here.
Does your family traditionally have an Advent calendar? What other family traditions do you have leading up to the holidays?


Dijana says
I am using this idea with my kiddos! Love it :)
kelsey says
this is seriously darling! a great easy diy
ladies in navy
Pech says
Pinning! I really like how instead of just being little trinkets or chocolate that having this bag really frees up the possibilities of all sorts of things, especially loving the idea of activities!
Rachel Lloyd says
My mom LOVES getting us our advent calendars for every christmas season. This is an awesome DIY! I'll have to forward it to her and see if we can make the switch :)