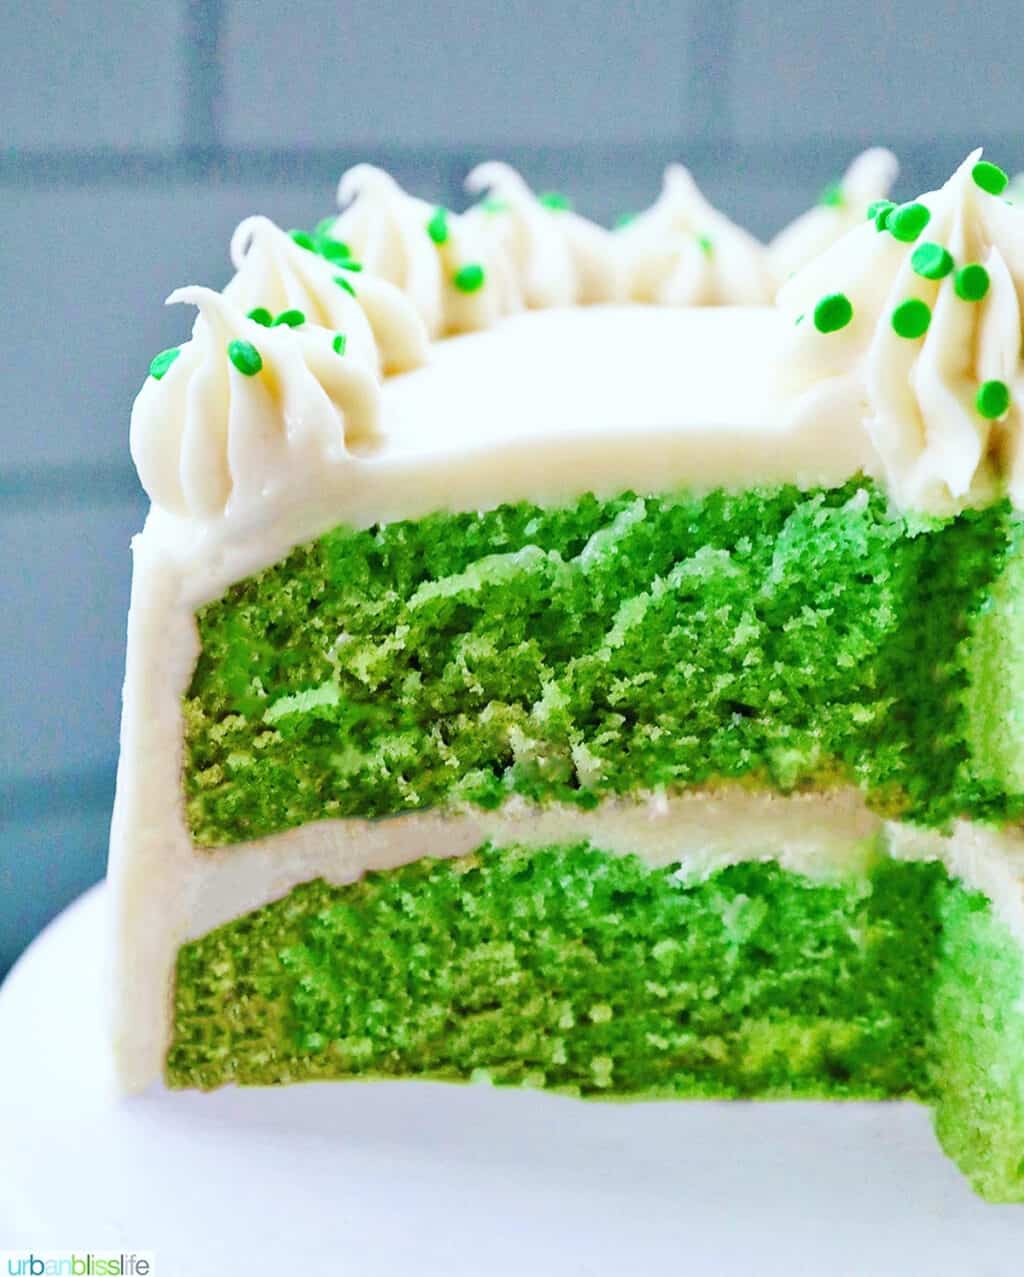
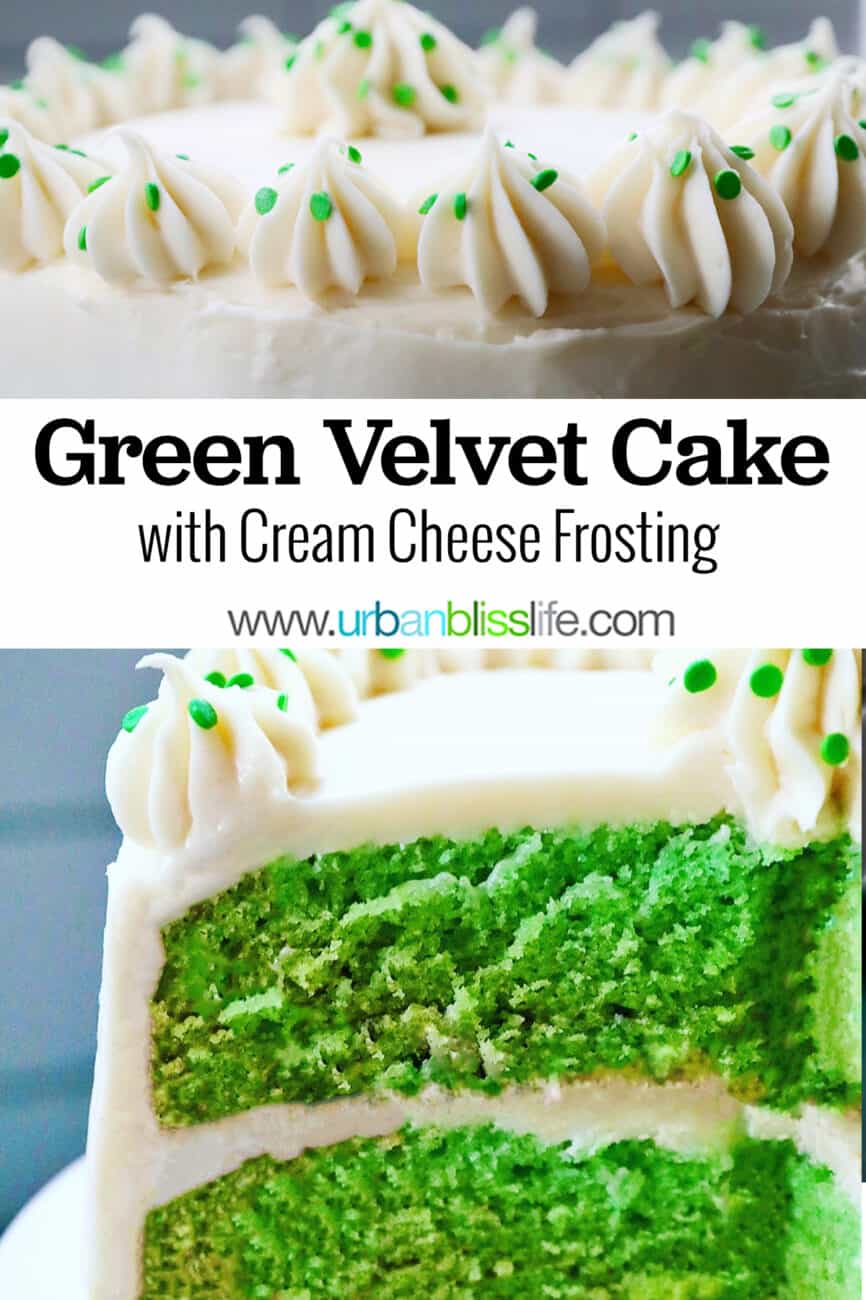
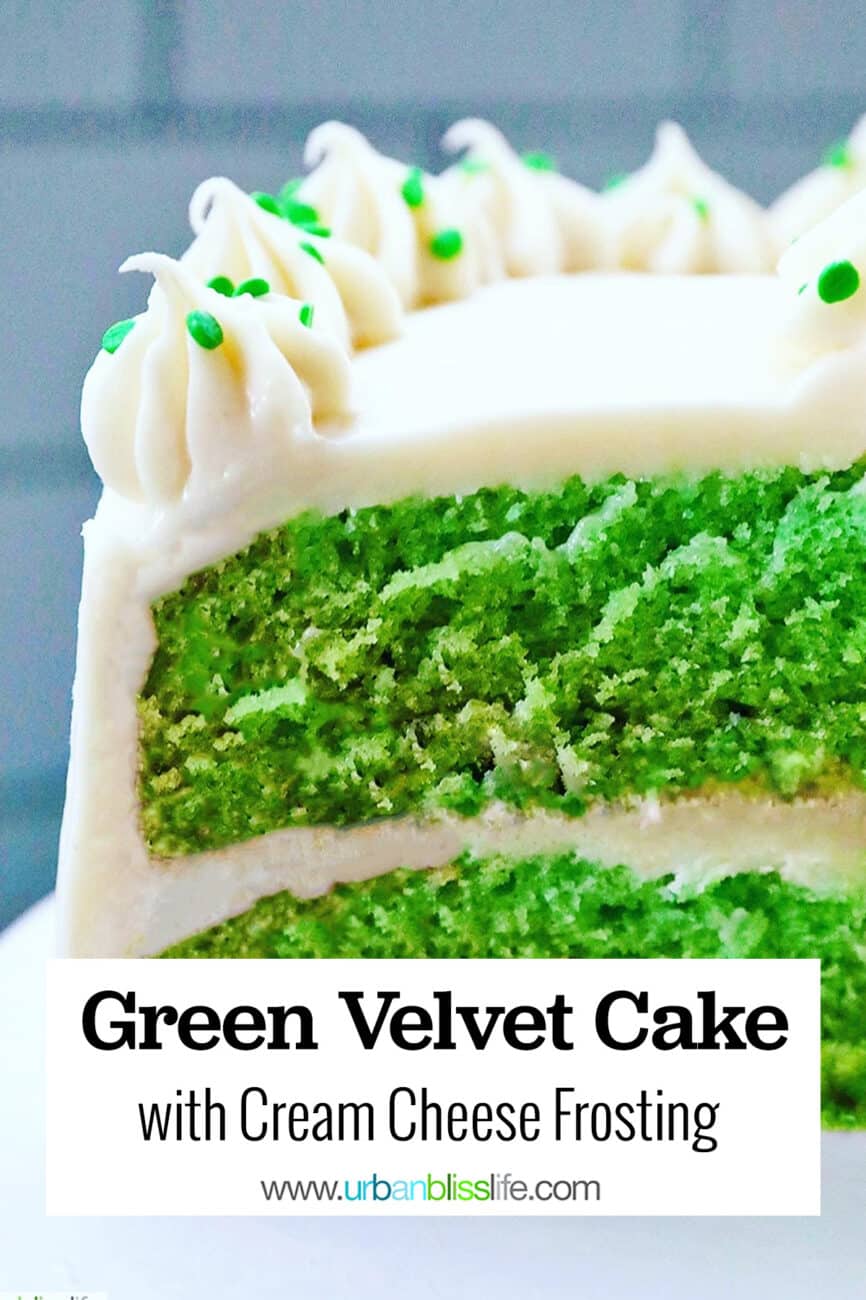
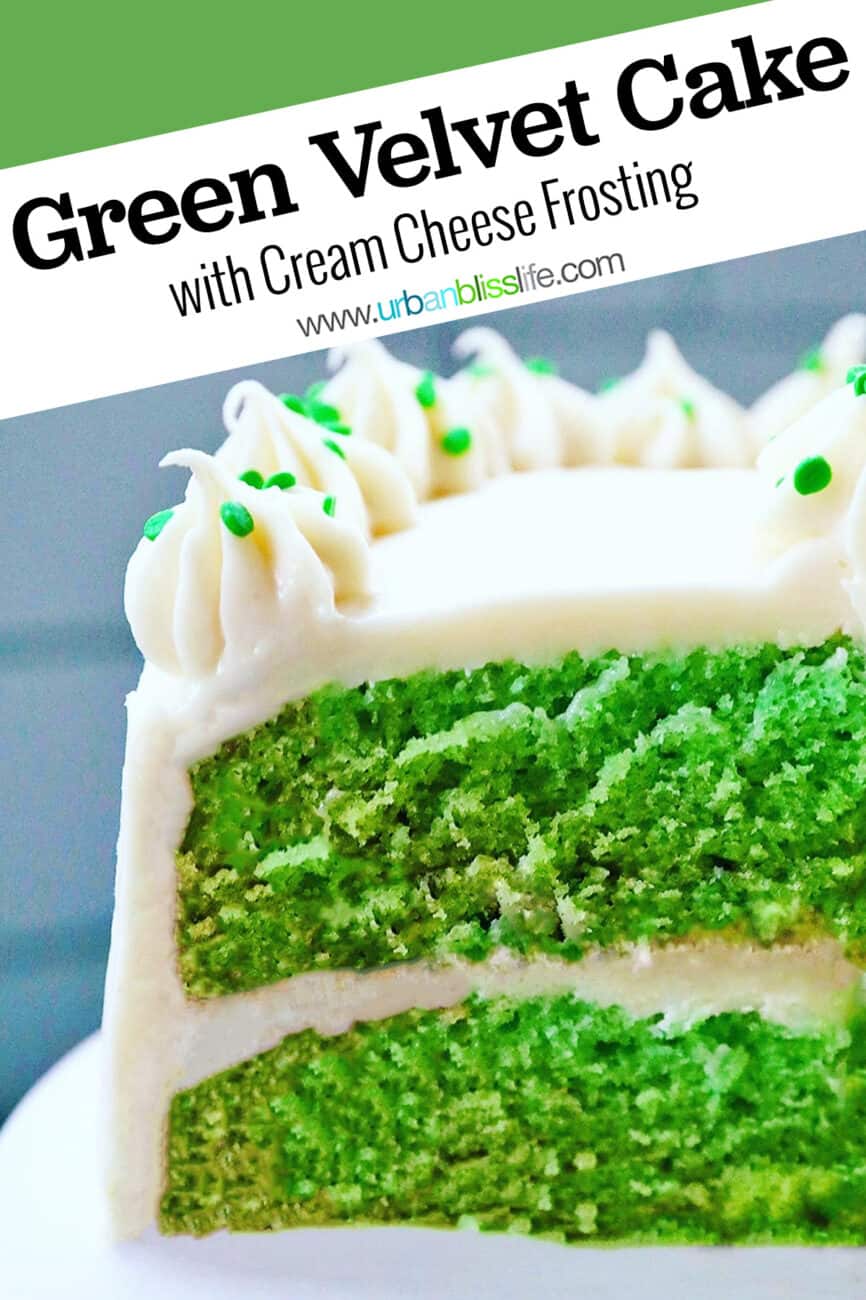
This vibrant, soft, velvety Green Velvet Cake with Cream Cheese Frosting is perfect for so many occasions! Bake this for a St. Patrick's Day cake, Christmas cake, Easter cake, or any-day-of-the-week cake!
While most of the recipes on Urban Bliss Life are fast (30 minutes or less!), easy, and delicious, there are some recipes that are well worth the longer time and effort.
Like from-scratch cake recipes. Layer cakes, in particular, are my favorite. You get more frosting surrounding and sandwiched between soft, fluffy bites of cake. So good, and definitely worth a baking therapy afternoon session!
This Green Velvet Cake is a colorful spin on the more traditional red velvet cake. It's a lovely cake that is fitting for so many occasions, and I think you'll love it!
Since this is a baking recipe, I've included highly detailed instructions and helpful tips to help you make this cake. You can use the Table of Contents links below to easily navigate to any of the sections.
Table of contents
- What is velvet cake?
- Kitchen tools and equipment
- Cake ingredients
- A word about cocoa powder
- Cream Cheese Frosting Ingredients
- Step-by-step instructions: make the velvet cake
- Step-by-step instructions: make the frosting
- Assemble the cake
- Cake Storage Tips & FAQs
- What to serve with this cake
- More dessert recipes
- Green Velvet Cake Recipe
- Baking Troubleshooting
- Pin it
What is velvet cake?
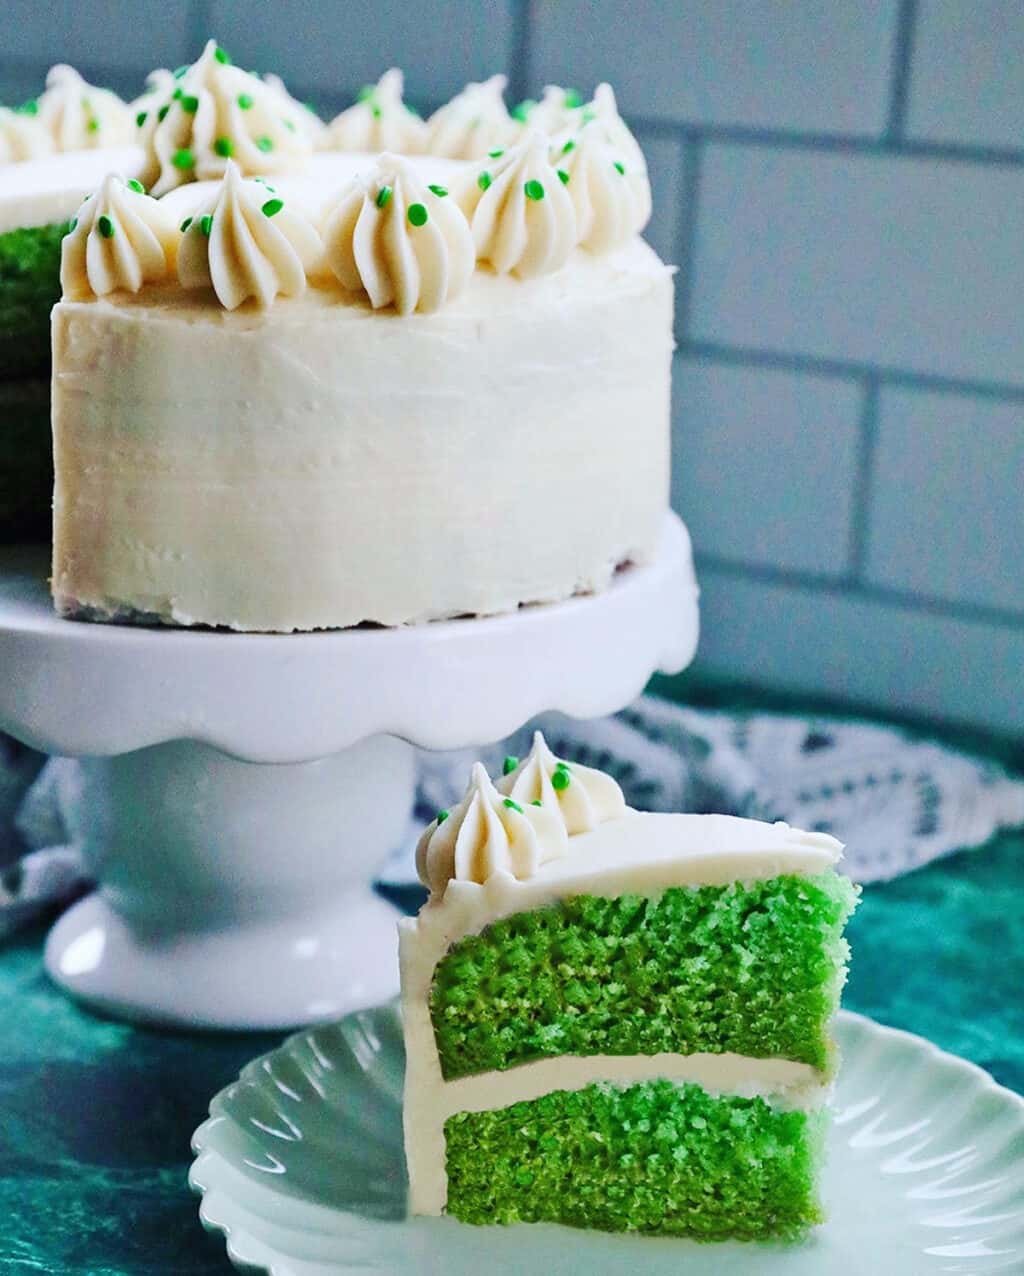
Velvet cake is said to have been invented in the United States in the early 20th century. At this time, most cakes had a hard, coarse-crumb texture. This "new" cake was softer and velvety by comparison. Hence, the name: red velvet cake.
In the 1930s, New York City famed hotel the Waldorf-Astoria started serving red velvet cake, which skyrocketed the cake's popularity.
Of course, the difference with this velvet cake recipe is the color. We subbed a bright green food coloring for the classic red food coloring.
And, after much recipe testing, we opted to leave the cocoa powder out of this recipe. More on that in the cake recipe FAQs below!
Kitchen tools and equipment
Okay, so let's gather our gear to make this beautiful green velvet cake!
For the cake recipe, you'll need:
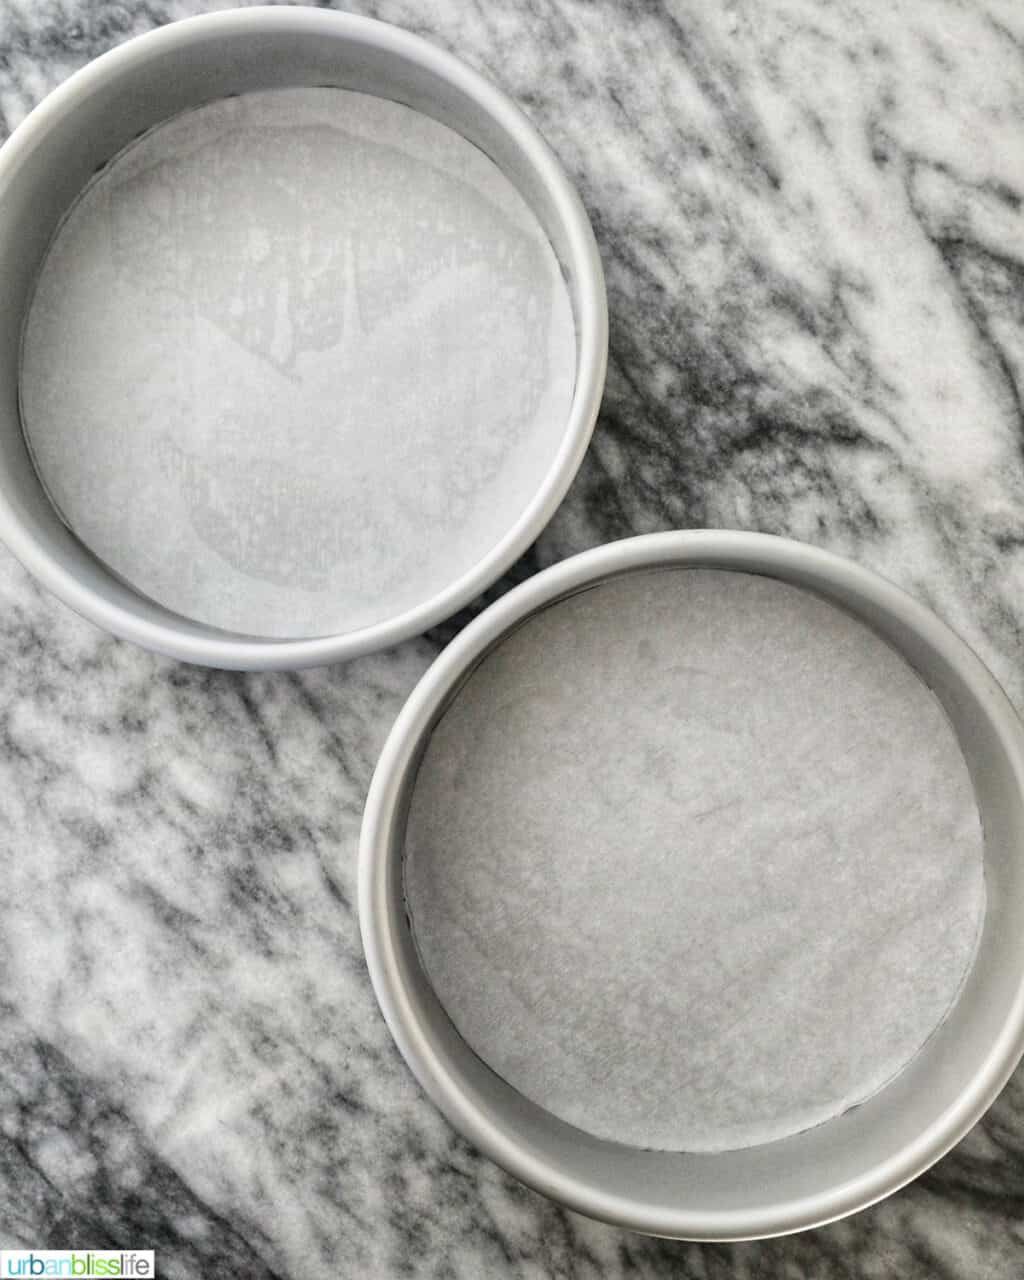
Cake pans - Use two 8-inch round cake pans for the best results. I advise against using 9-inch pans because the layers will be thin, but if all you have are 9-inch round cake pans, then go for it. Just be aware that your cake layers will be thinner.
Parchment paper - You'll need parchment paper to line the bottom of the cake pans. This helps keep the cakes from sticking to the pans as they bake.
Mixing bowls - Grab a couple of large mixing bowls: one for the dry ingredients and one for the wet ingredients.
Whisk - Use a sturdy whisk, like this OXO whisk. It's my absolute favorite whisk to use when baking!
Spatula - You'll also want to have a silicone spatula handy. This helps you scrap the sides of the bowl to ensure you get all of the batter into the pans.
For frosting the cake, these kitchen tools will come in handy:
Cake turntable - Optional, but a cake turntable really makes frosting cakes a breeze!
Offset spatula - Use an offset spatula to frost cooled cakes.
Serrated knife - A serrated knife is the best tool to slice cakes in half. In this recipe, you'll use it to slice off the edges of the cake if you only want the green color showing.
Bench scraper - These handy bench scrapers help you smooth out the frosting on the sides and top of the cake.
Cake ingredients
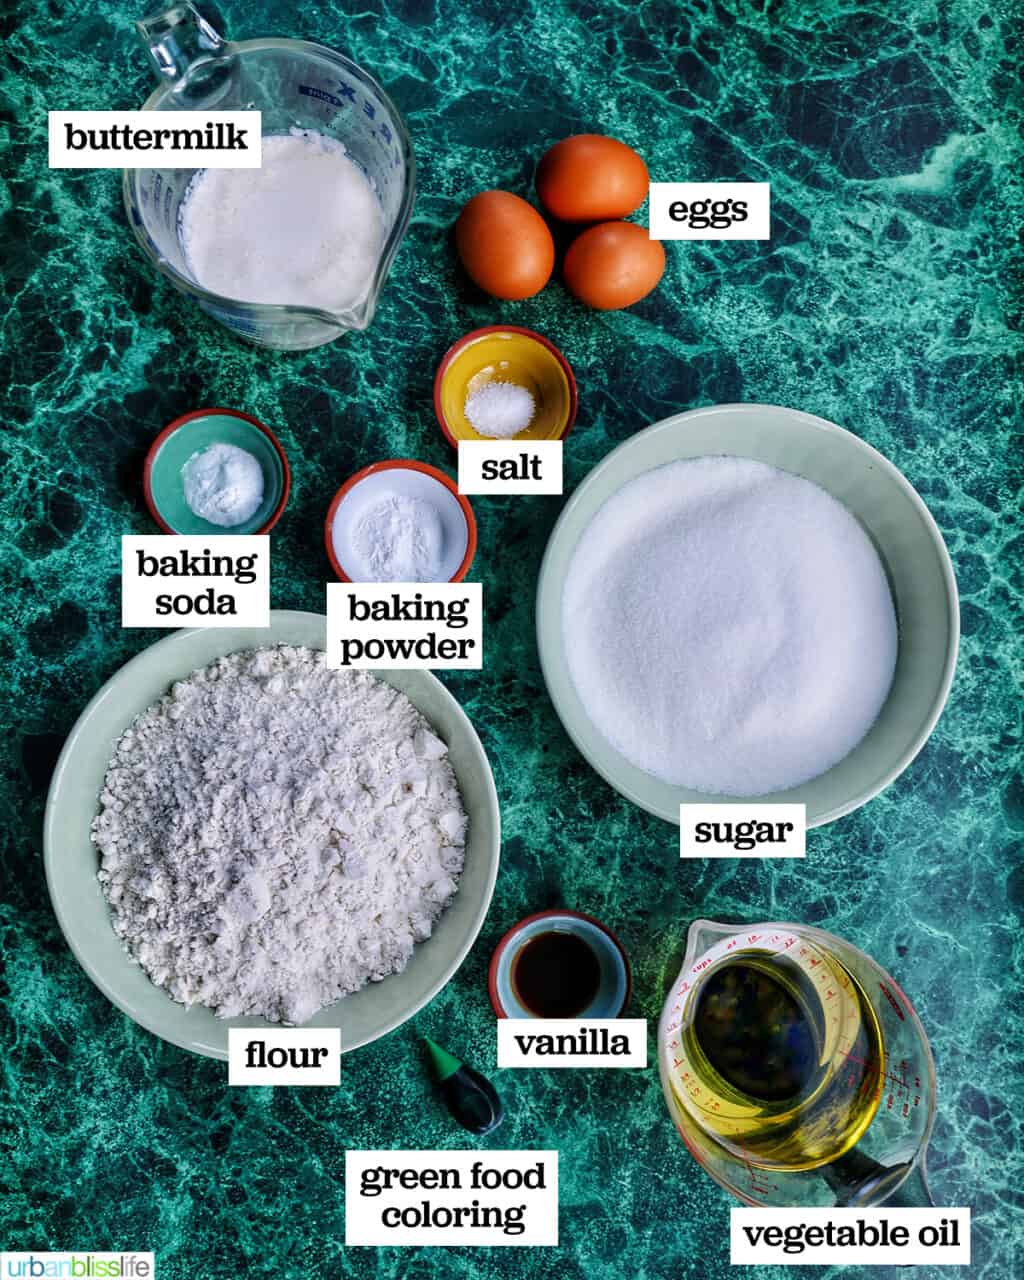
Flour - I use all-purpose flour to make this cake.
Baking soda & baking powder - make sure your baking soda and baking powder are fresh! Older leavening agents may cause the cakes to fall flat or not have the same softer, fluffier texture.
Salt - I use kosher salt in my baking. If you are using table salt, be sure to adjust your amount of salt accordingly. One teaspoon of table salt is equal to about 1.25 teaspoons of kosher salt.
Sugar - You'll need granulated sugar for this cake recipe.
Eggs - Be sure to take the large eggs out of the refrigerator about 30 minutes before you start making the cake. This way, they will be at room temperature and will mix seamlessly into the batter.
Buttermilk - If you don't have buttermilk: pour 1 cup of whole milk or 2% milk into a bowl or measuring cup with spout. Add 1 tablespoon of lemon juice. Allow to sit for 5 minutes, then stir.
Vegetable oil- Cakes that use vegetable oil as opposed to butter then to be lighter and fluffier, and that's the texture we want for this green velvet cake.
Vanilla - Vanilla extract adds that lovely classic bakery scent and flavor to cakes!
Green food coloring - You're going to want to start by using 10 drops of green food coloring in the batter. After mixing, add more drops in small increments until you get the green color you desire. Keep in mind, the color will change slightly as it bakes.
A word about cocoa powder
Traditional red velvet cake contains cocoa powder. Many green velvet cake recipes also call for cocoa powder.
However, after several rounds of recipe testing, we've decided NOT to use cocoa powder in this recipe. The color never turned into a rich green like it does in the Food Network photos, but rather it always turned into a brownish army green when we added cocoa powder, even just a small amount. It also made the cake a little chalkier in taste and texture.
But when we left out the cocoa powder, the cake was AMAZING. A brighter green and softer texture. So: no cocoa powder in our cake.
If you want to add some cocoa powder to make the recipe more traditional, you are welcome to do so and try it out for yourself!
Cream Cheese Frosting Ingredients
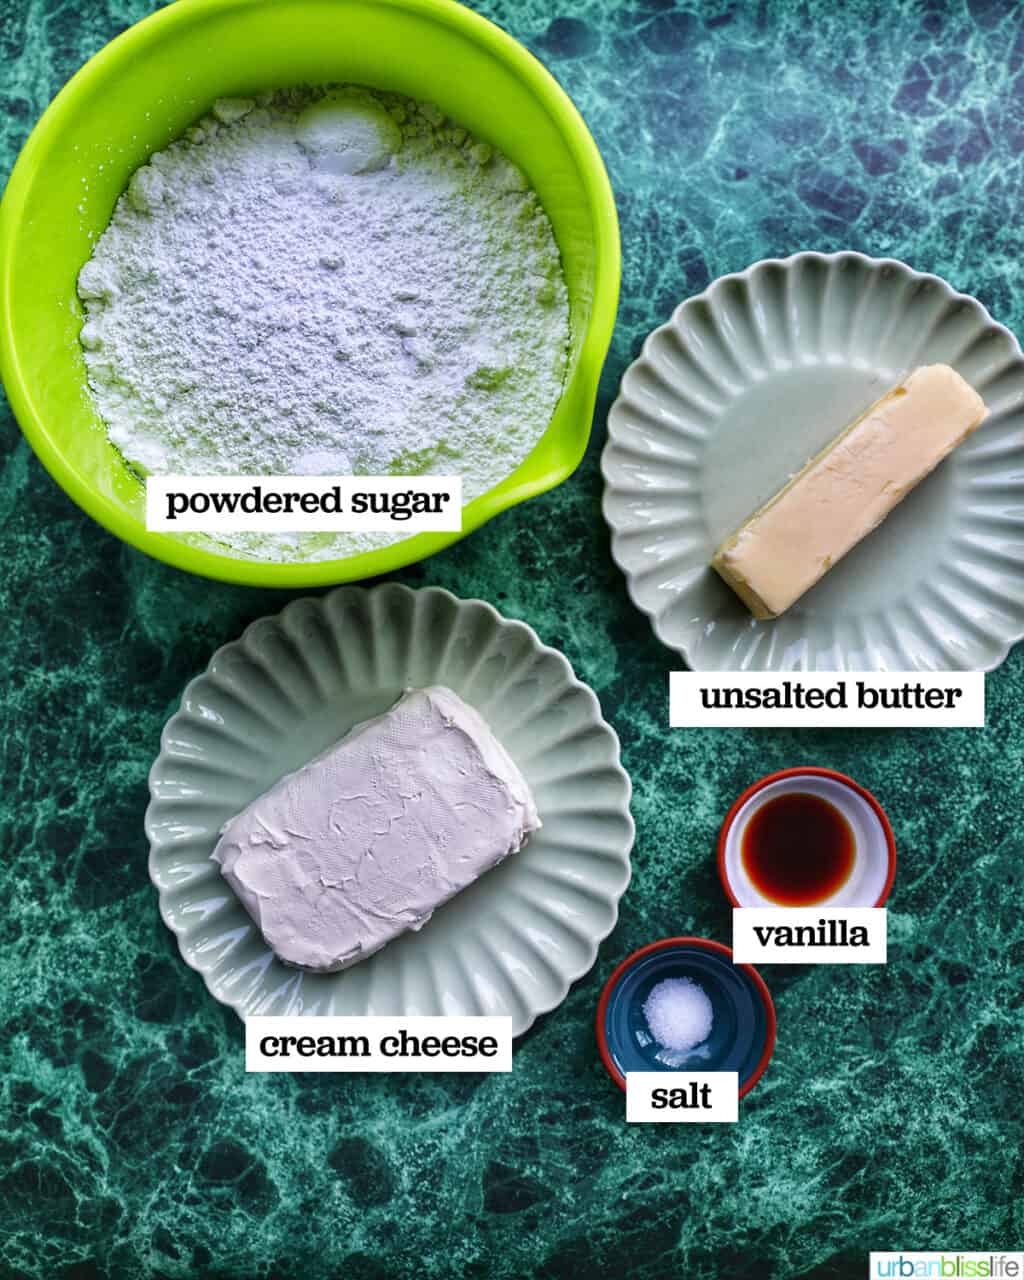
To make the cream cheese frosting, you'll need:
- Cream cheese - softened at room temperature
- Butter - unsalted butter, also softened at room temperature
- Powdered sugar
- Salt
- Vanilla
Step-by-step instructions: make the velvet cake
Exact measurements of ingredients and instructions are in the printable recipe card toward the bottom of this post. Here are some helpful tips to guide you as you make this recipe.
Preheat oven to 350°F.
Line two 8-inch cake pans with parchment paper and set aside.
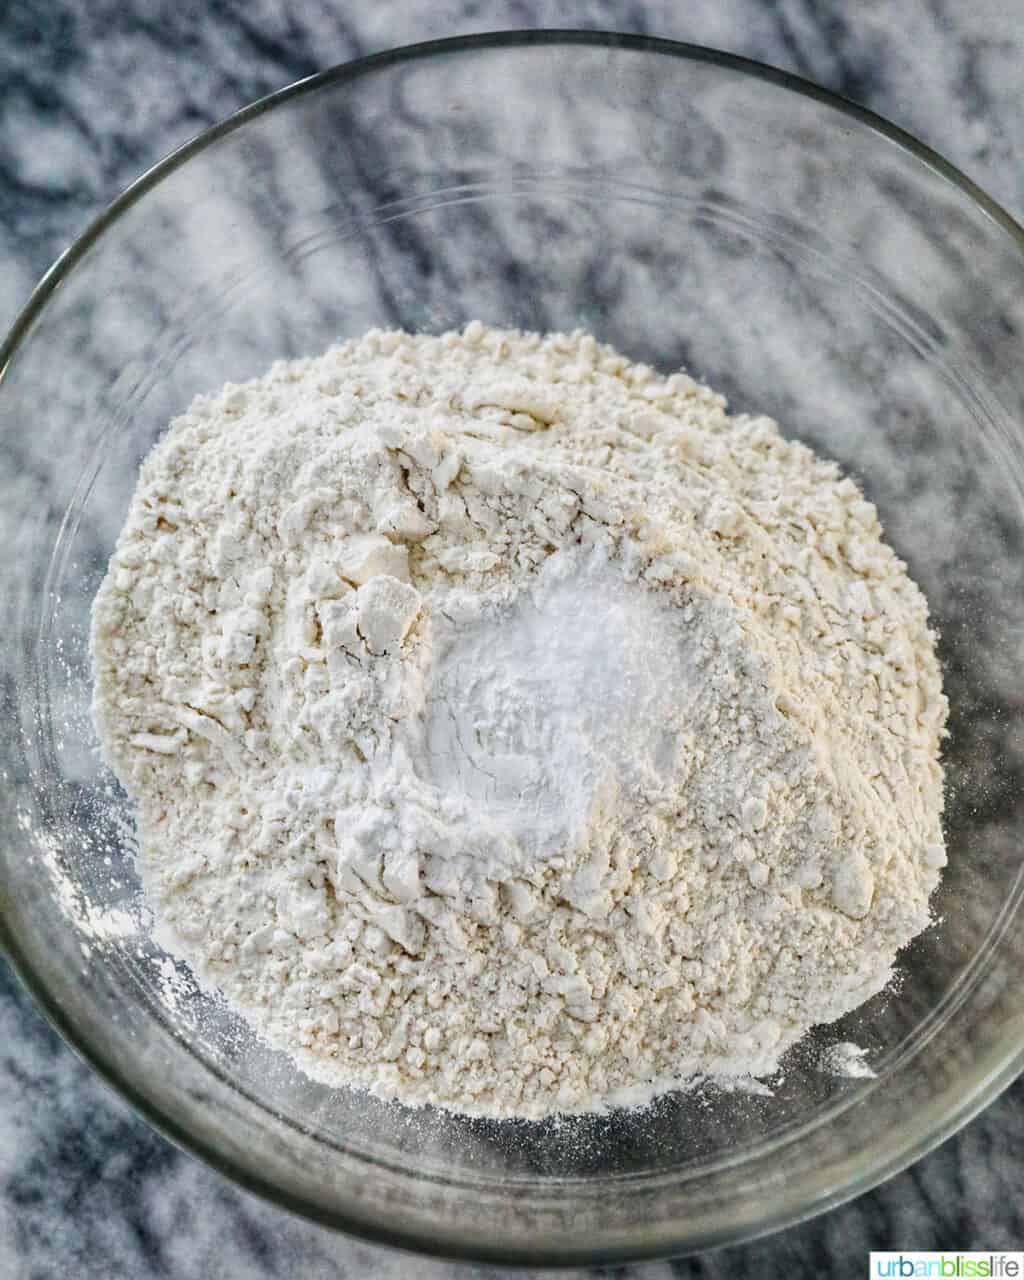
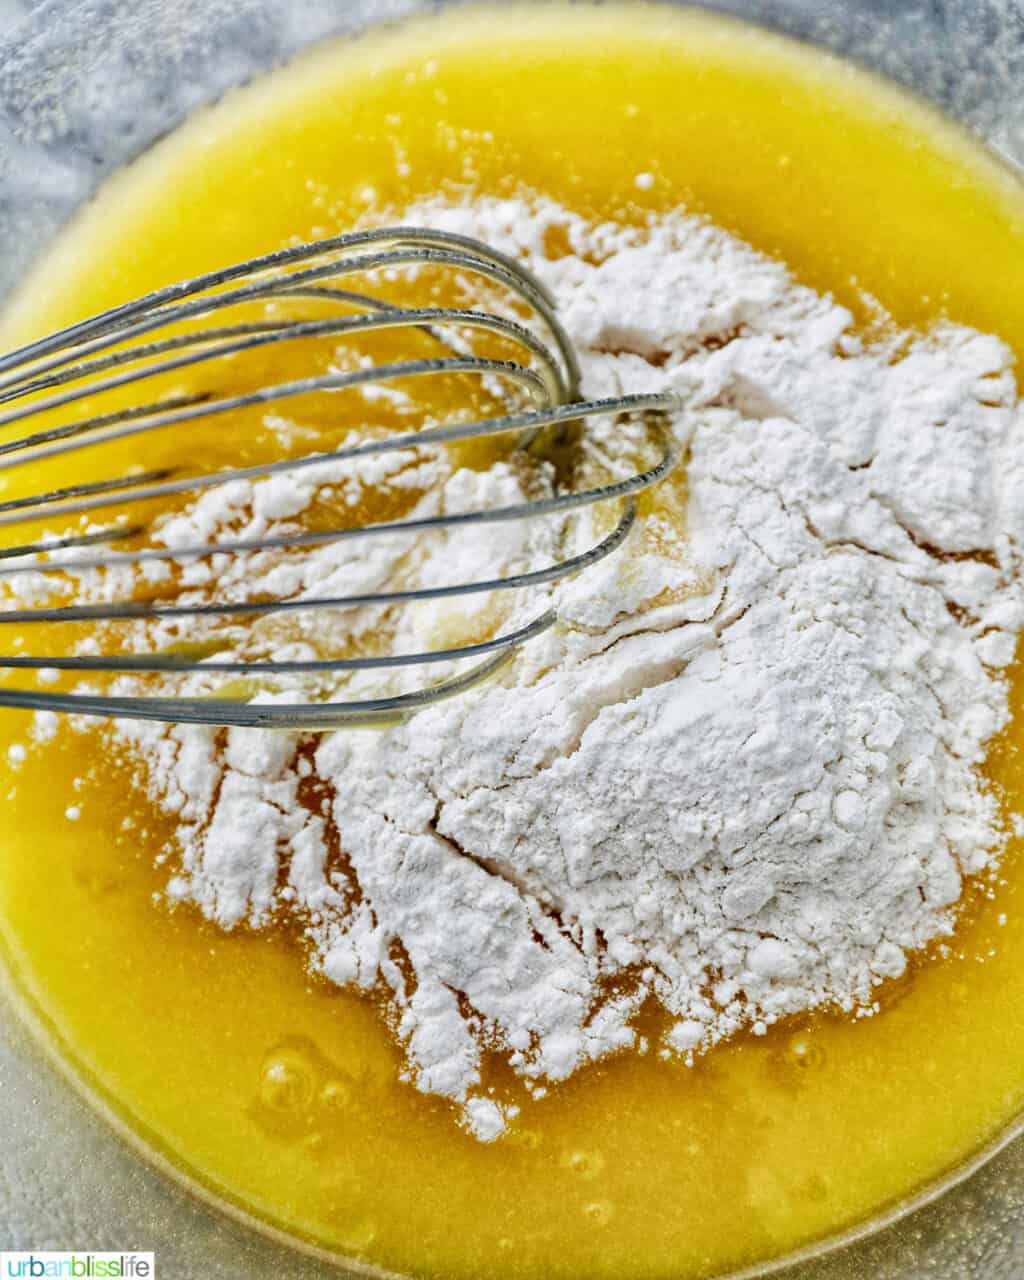
In a large bowl, whisk together flour, baking soda, baking powder, and salt.
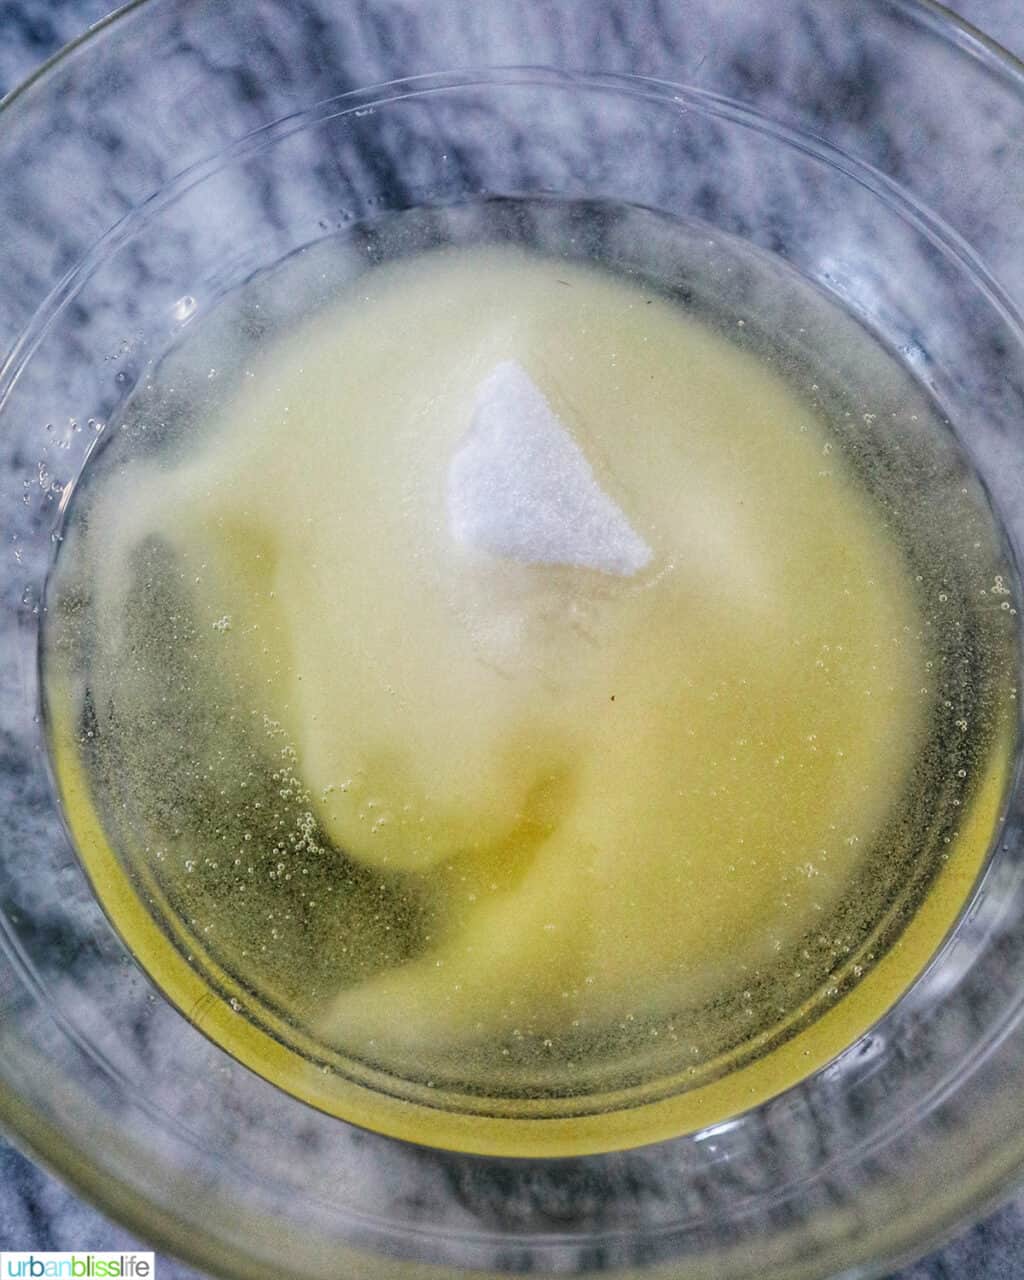
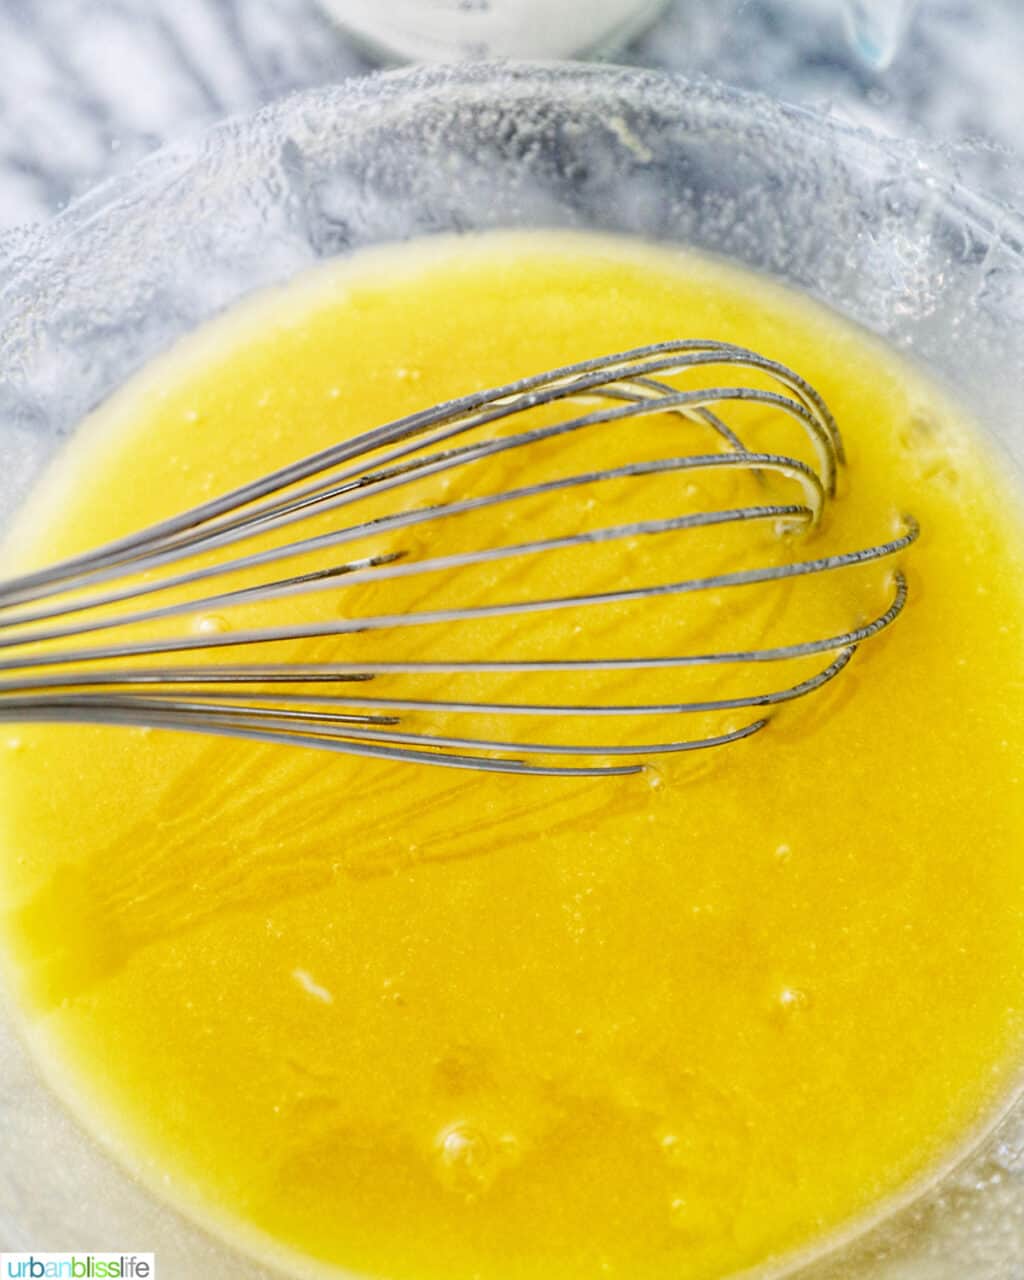
In a separate large bowl, whisk together the sugar and vegetable oil until combined.
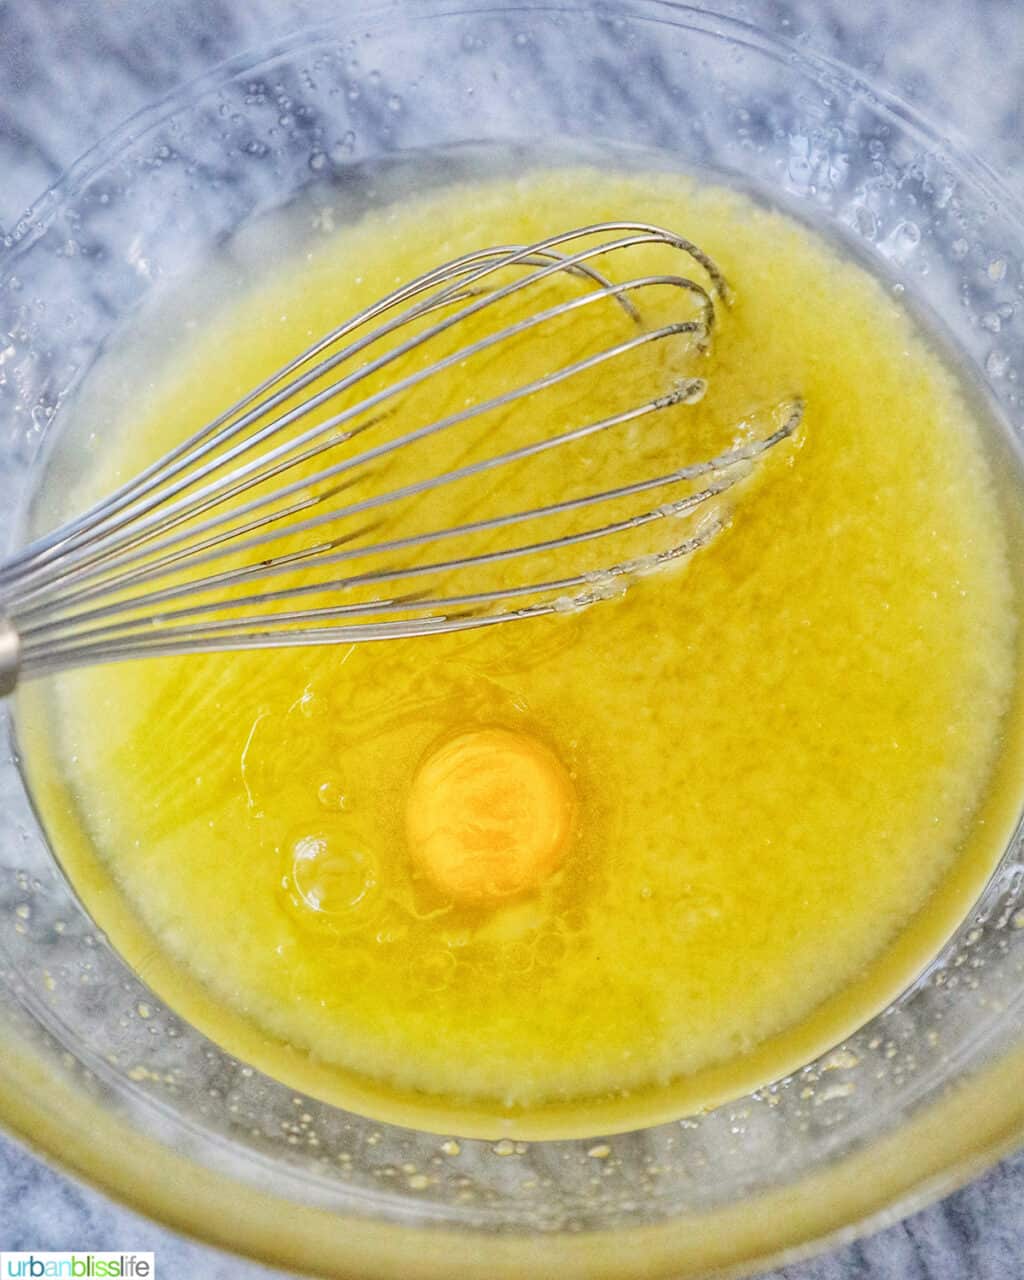
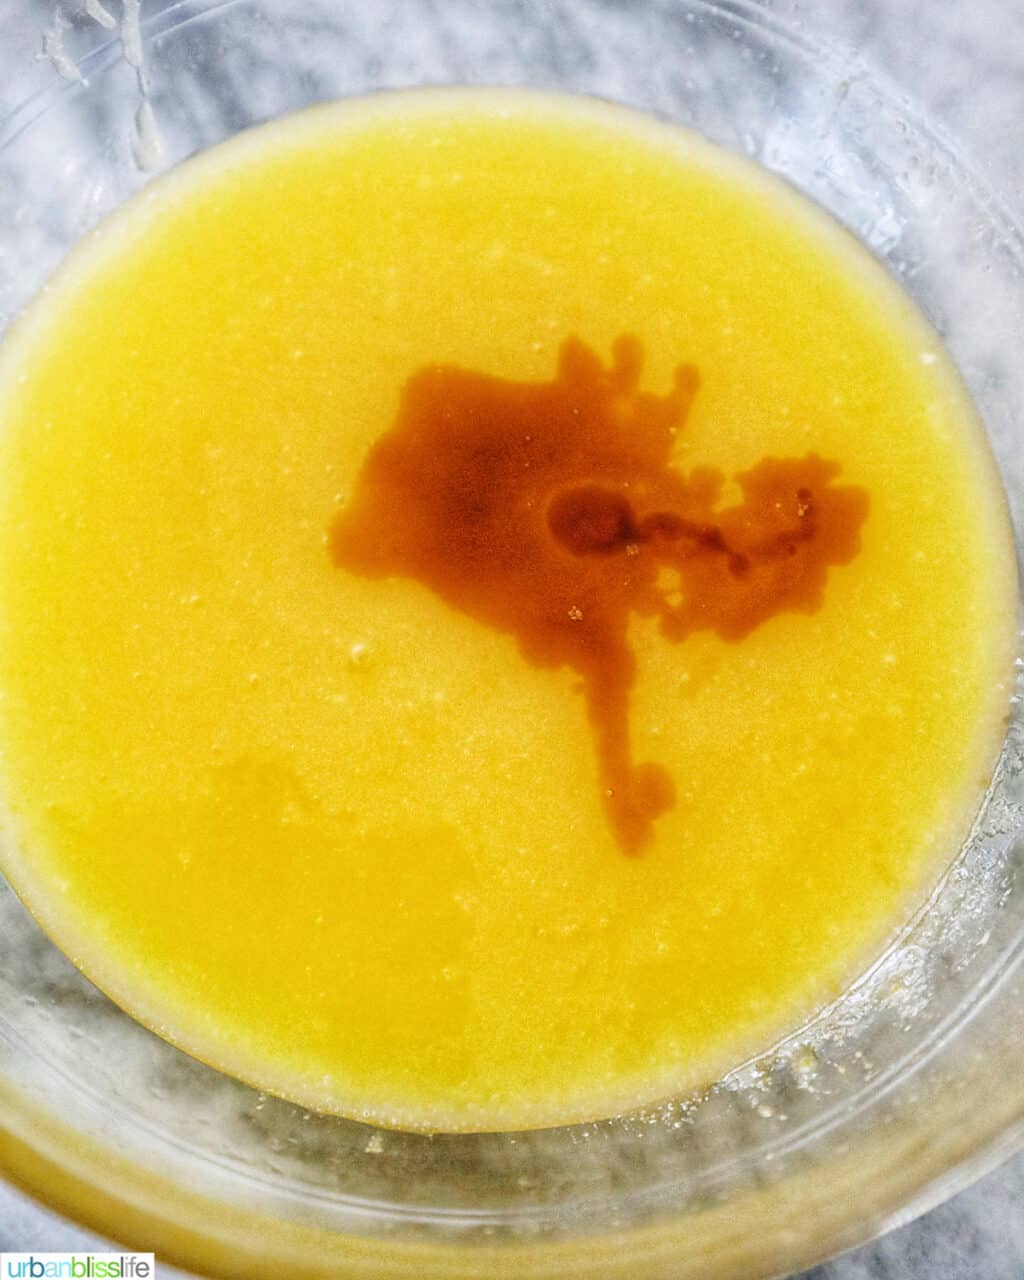
Then whisk in the eggs, one at a time, until combined. Whisk in the vanilla.
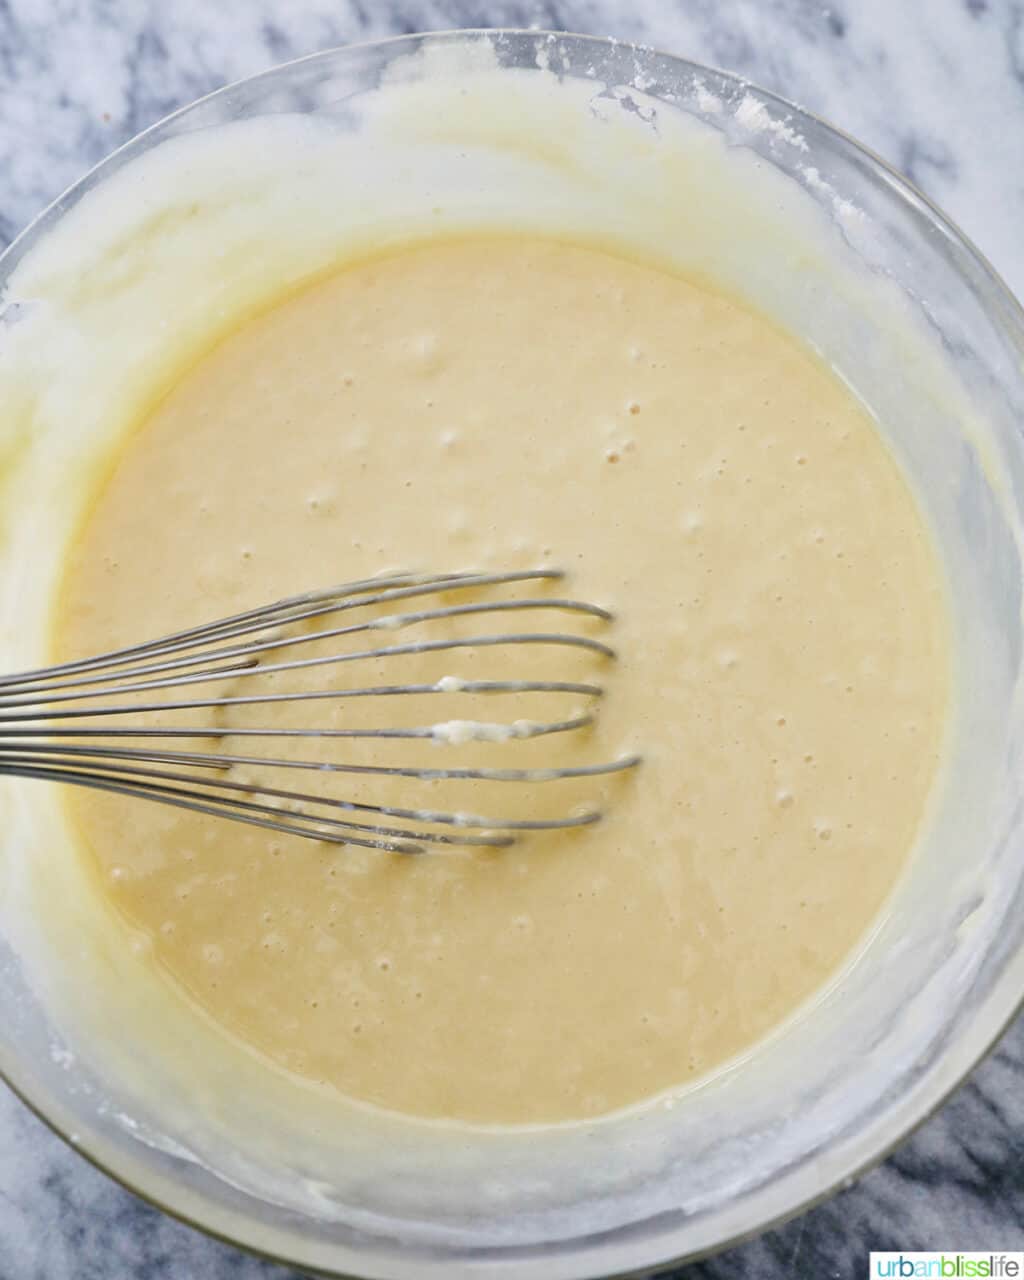
Slowly whisk in ⅓ of the flour mixture then ⅓ of the buttermilk until combined.
Then repeat twice, alternating the flour mixture and the buttermilk mixture, until everything is combined.
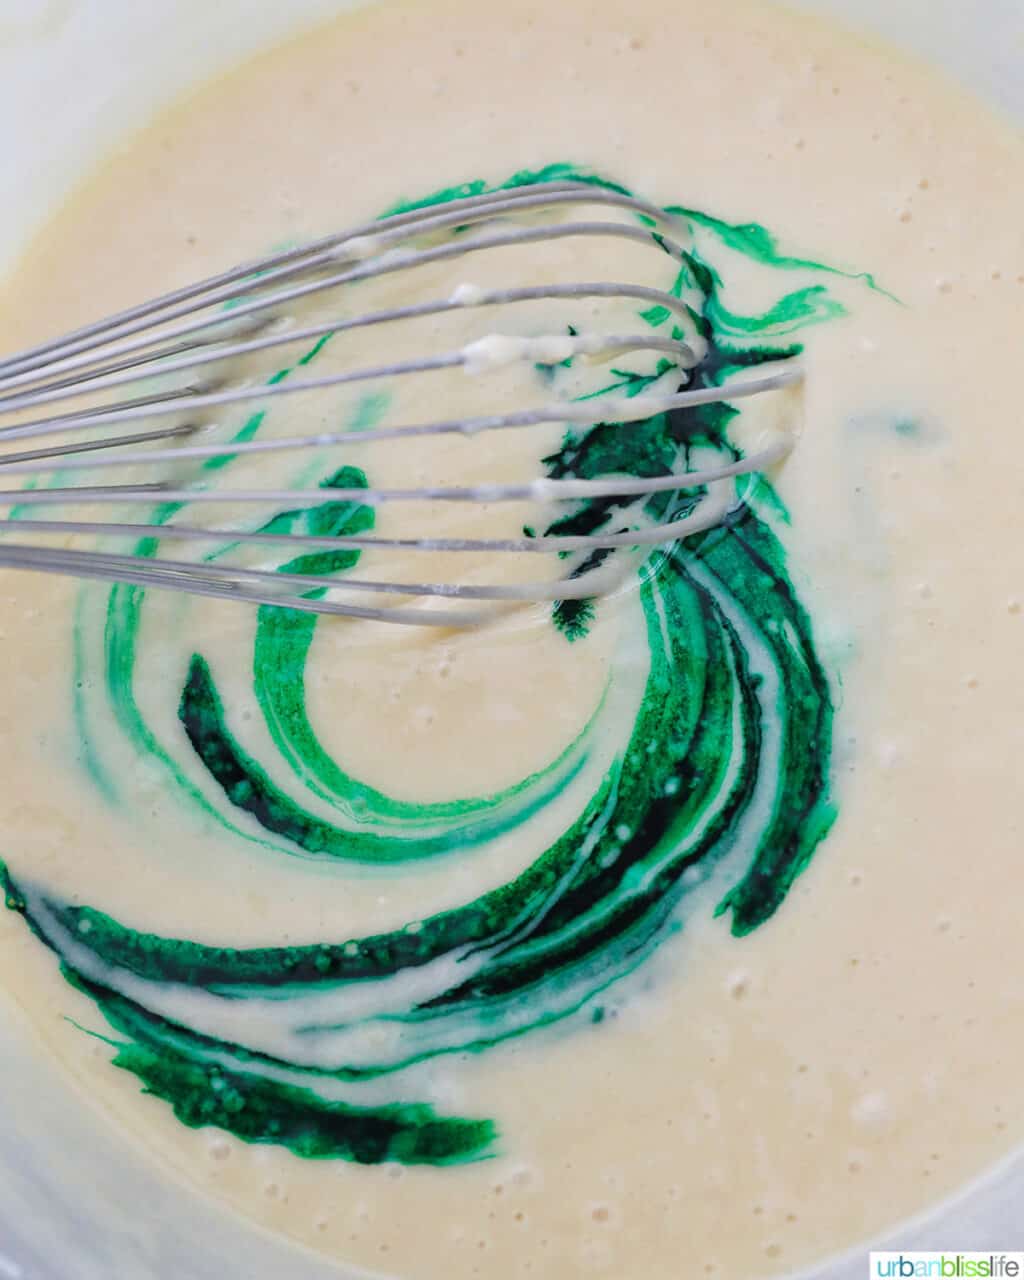
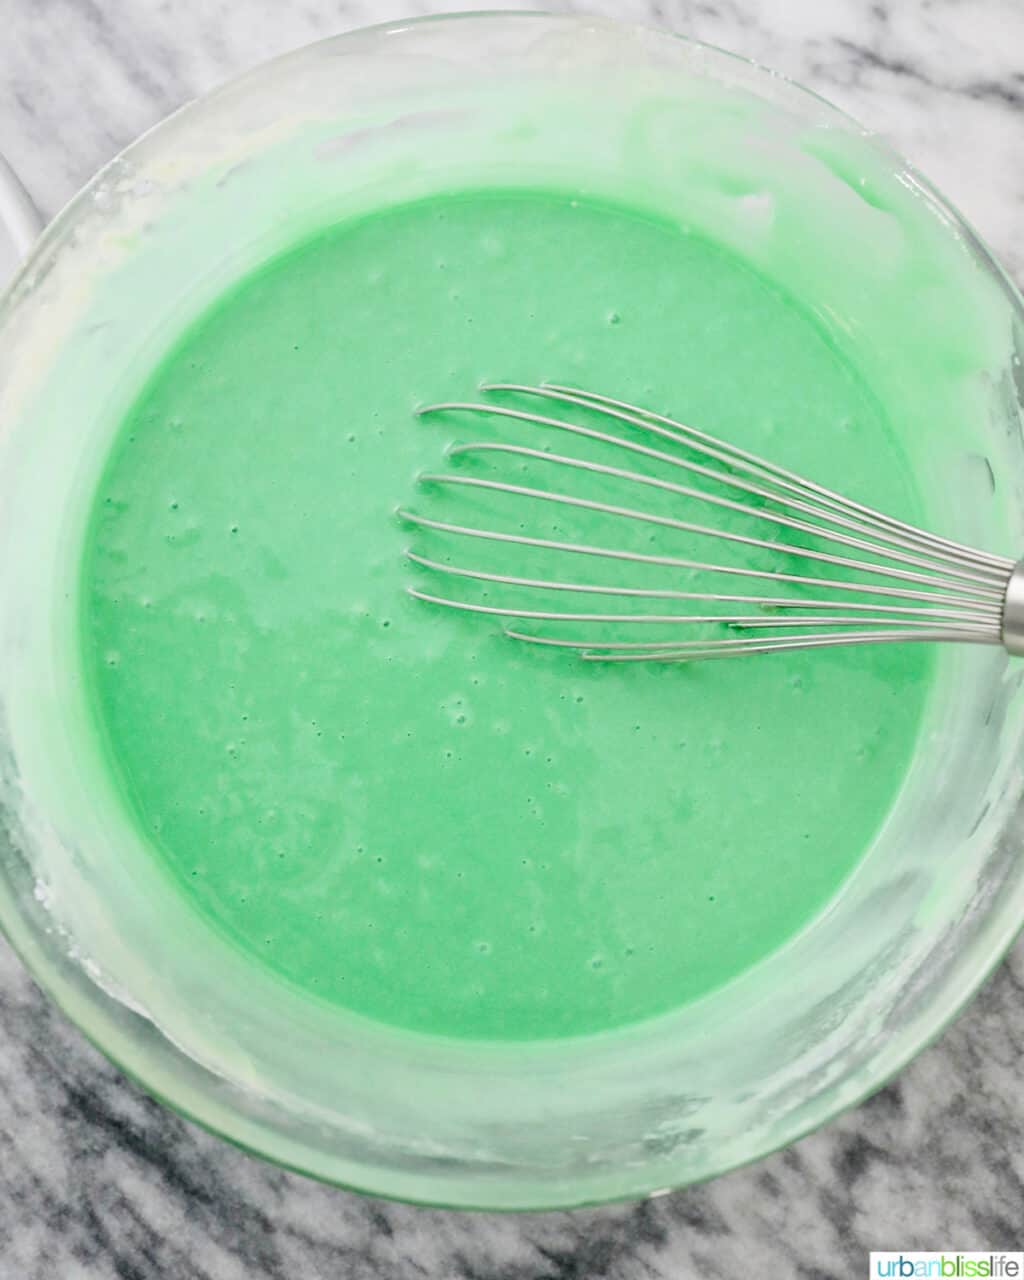
Then whisk in the green food coloring. Start by adding about 10 drops, whisking, then adding more as needed until the color reaches the color of green you like. For me, that's usually between 20 and 30 drops.
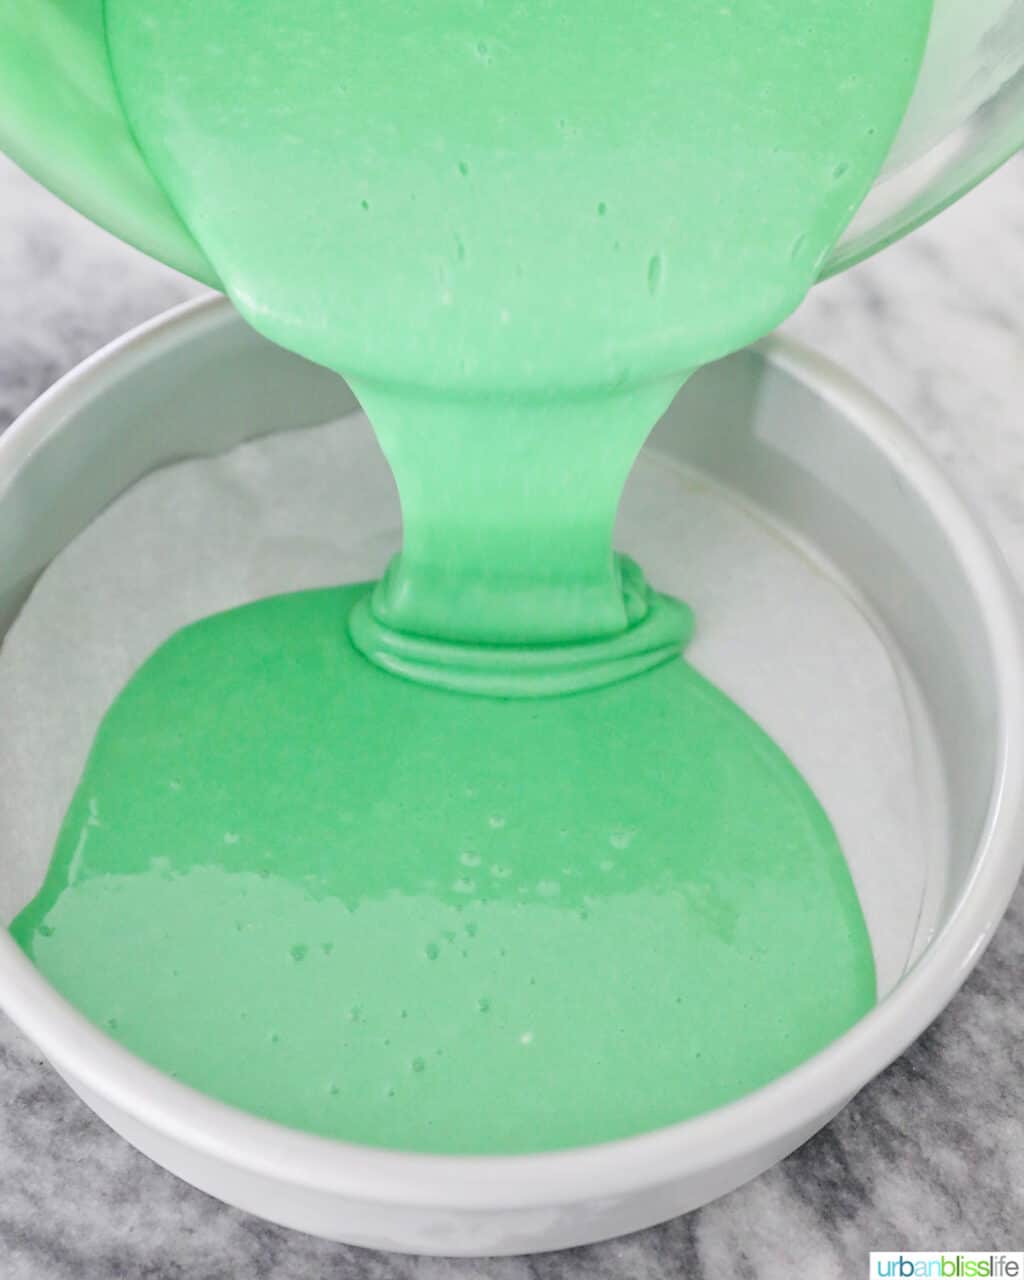
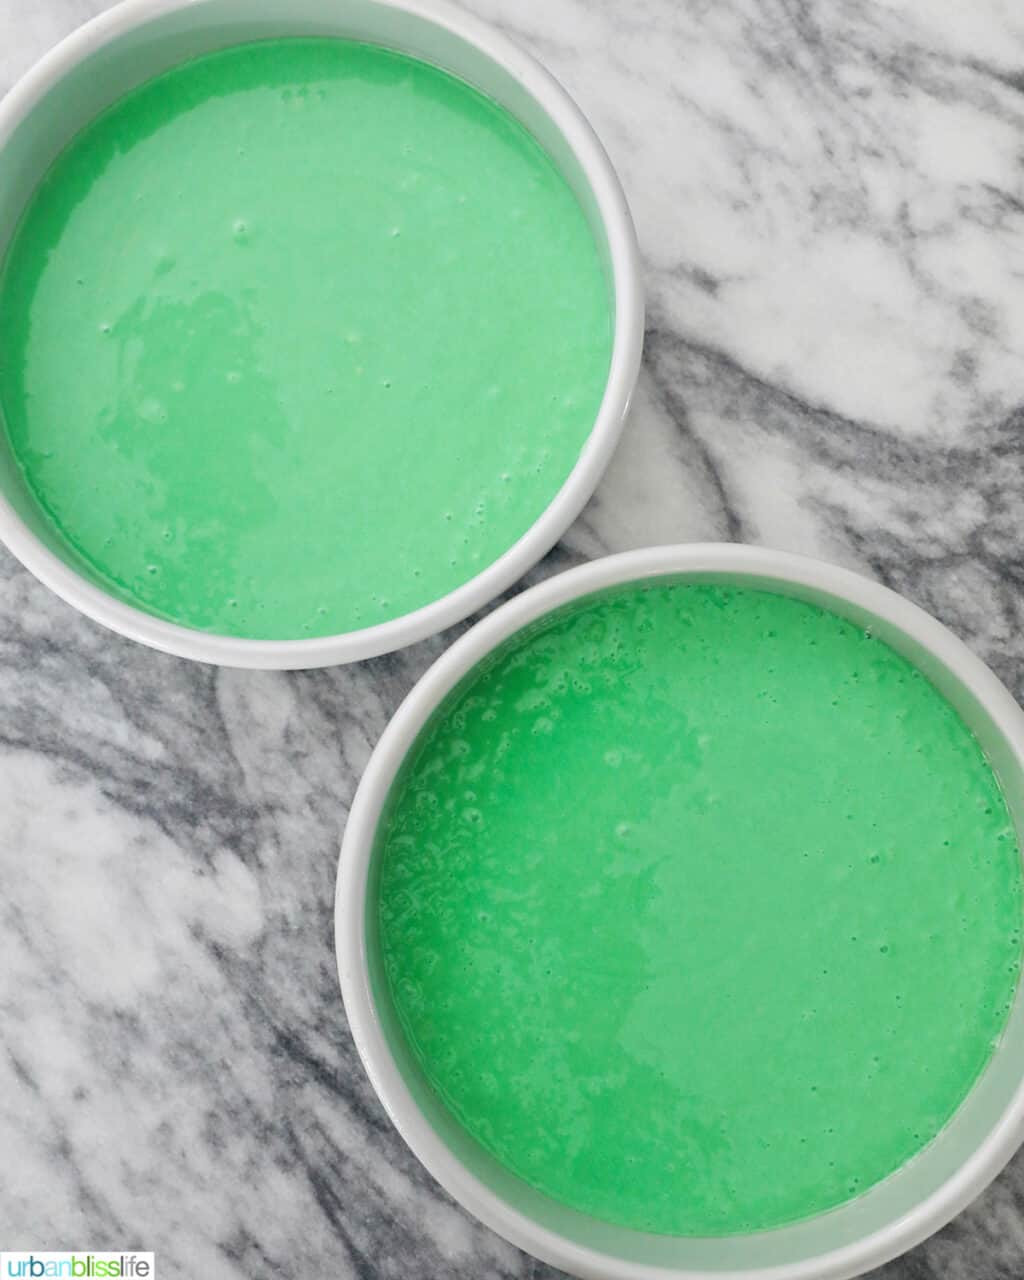
Pour the batter evenly between the two prepared cake pans.
Bake at 350°F for 30 to 40 minutes, until a toothpick inserted into the center of the cakes comes out clean.
While the cakes are baking, make the frosting.
Step-by-step instructions: make the frosting
This recipe uses my Best Cream Cheese Frosting recipe.
For your convenience, I've included the basic ingredients and directions in this post. If you want more detailed information and frosting tips, please visit the separate Best Cream Cheese Frosting recipe.
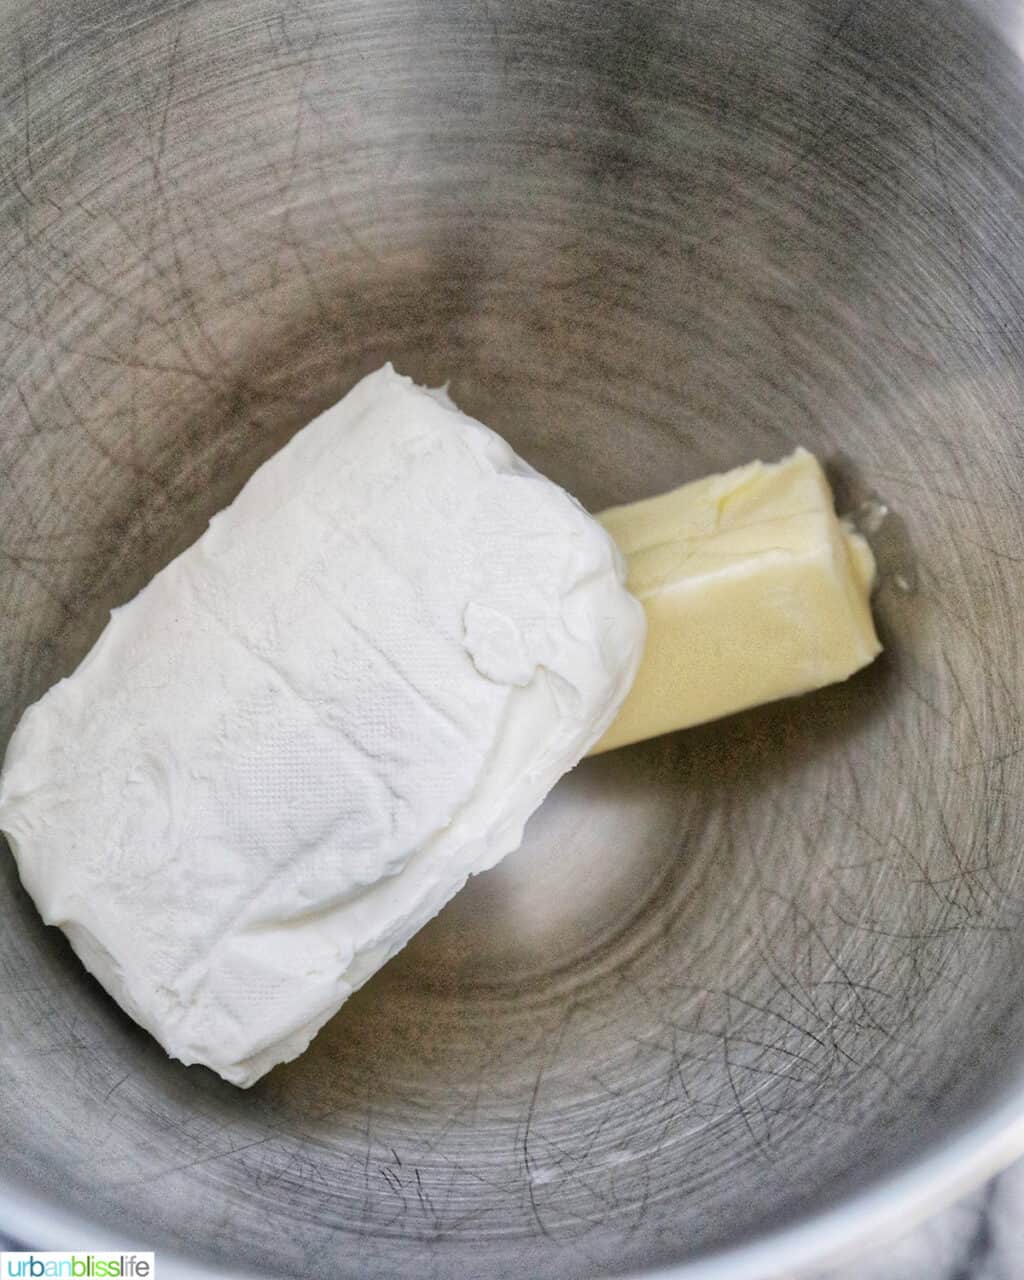
First: make sure your butter and cream cheese are softened at room temperature.
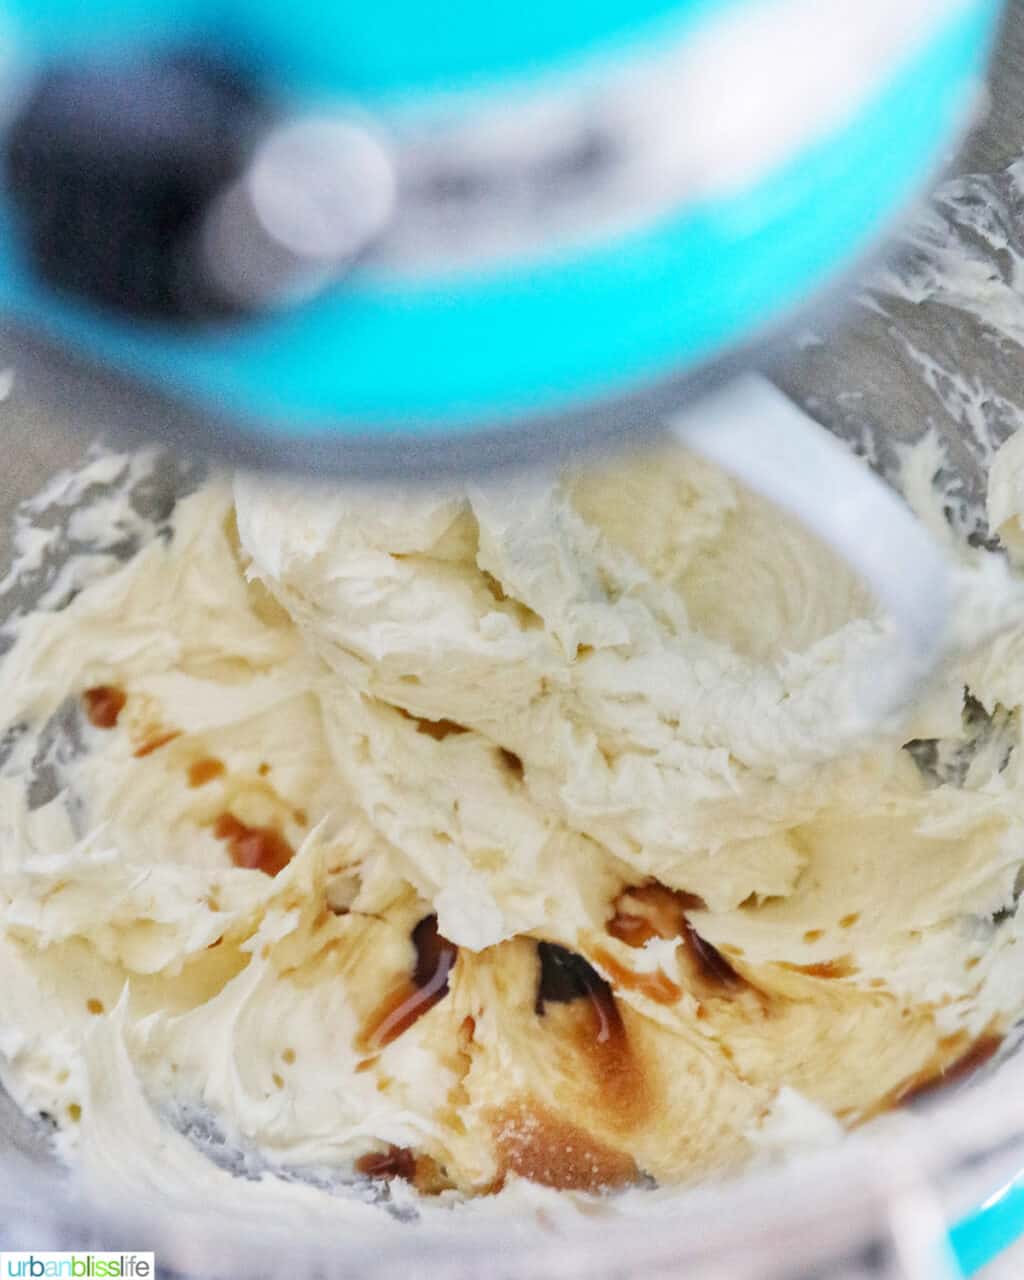
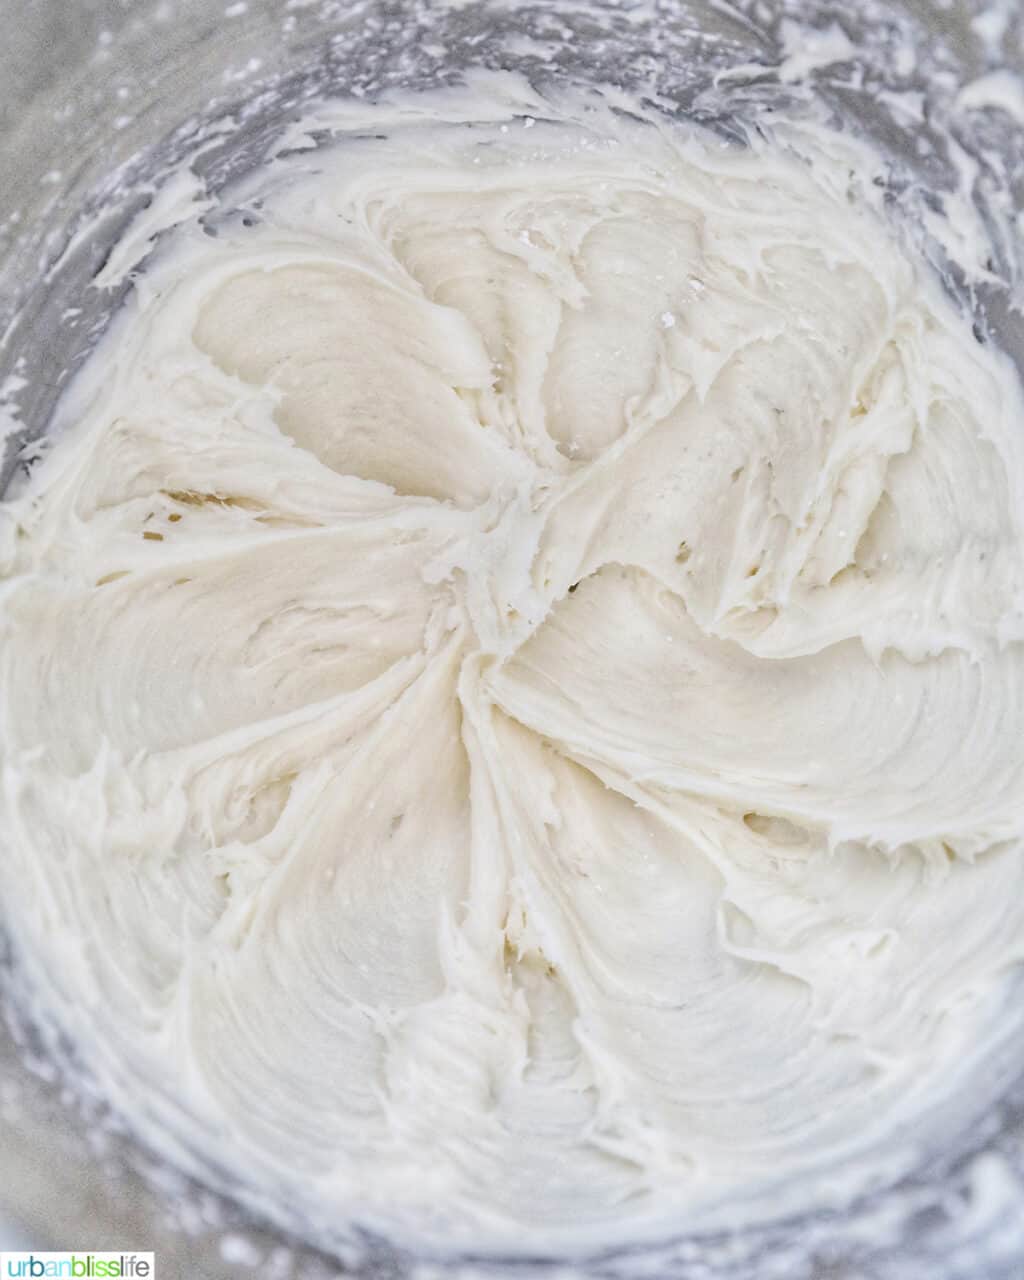
In a stand mixer, cream together the butter and cream cheese until light yellow and fluffy. Scrape down the sides as needed in between mixing.
Add the vanilla and salt; mix.
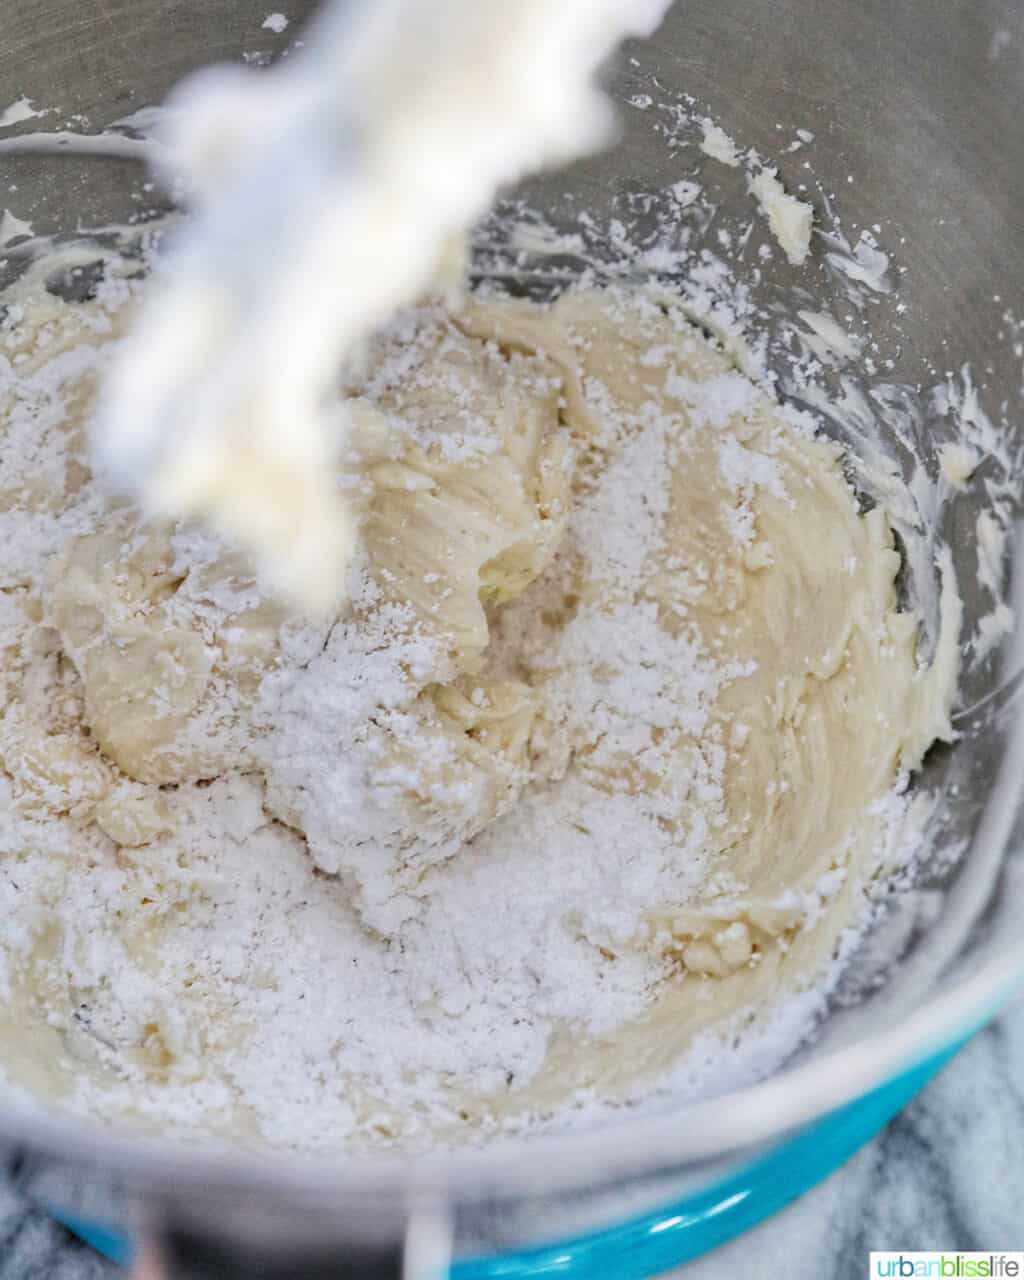
Then gradually add the powdered sugar until the frosting is light and creamy.
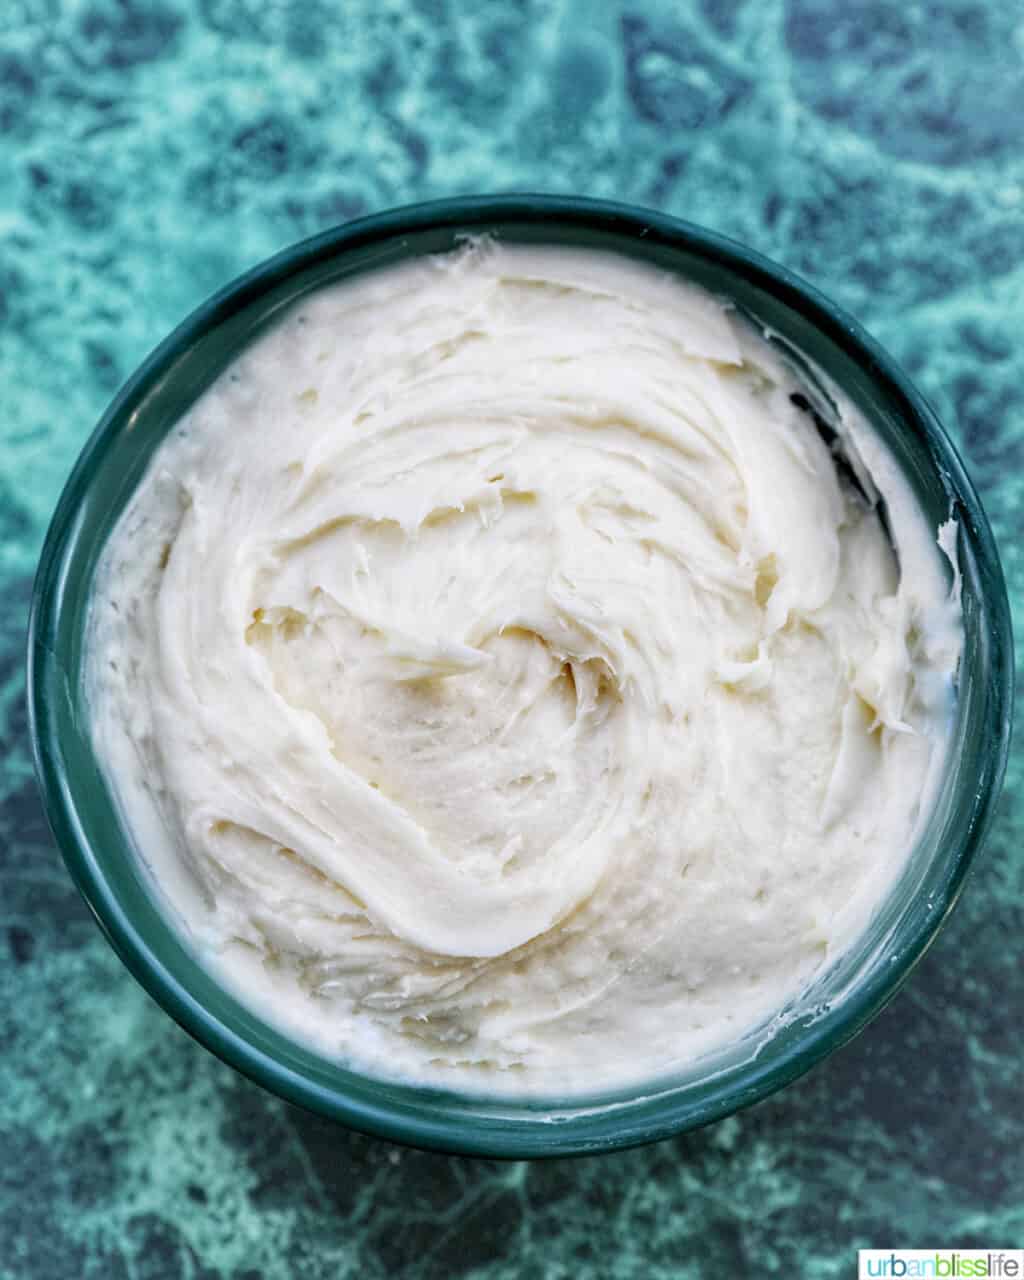
Set aside until your cakes are baked and fully cool before frosting.
Assemble the cake
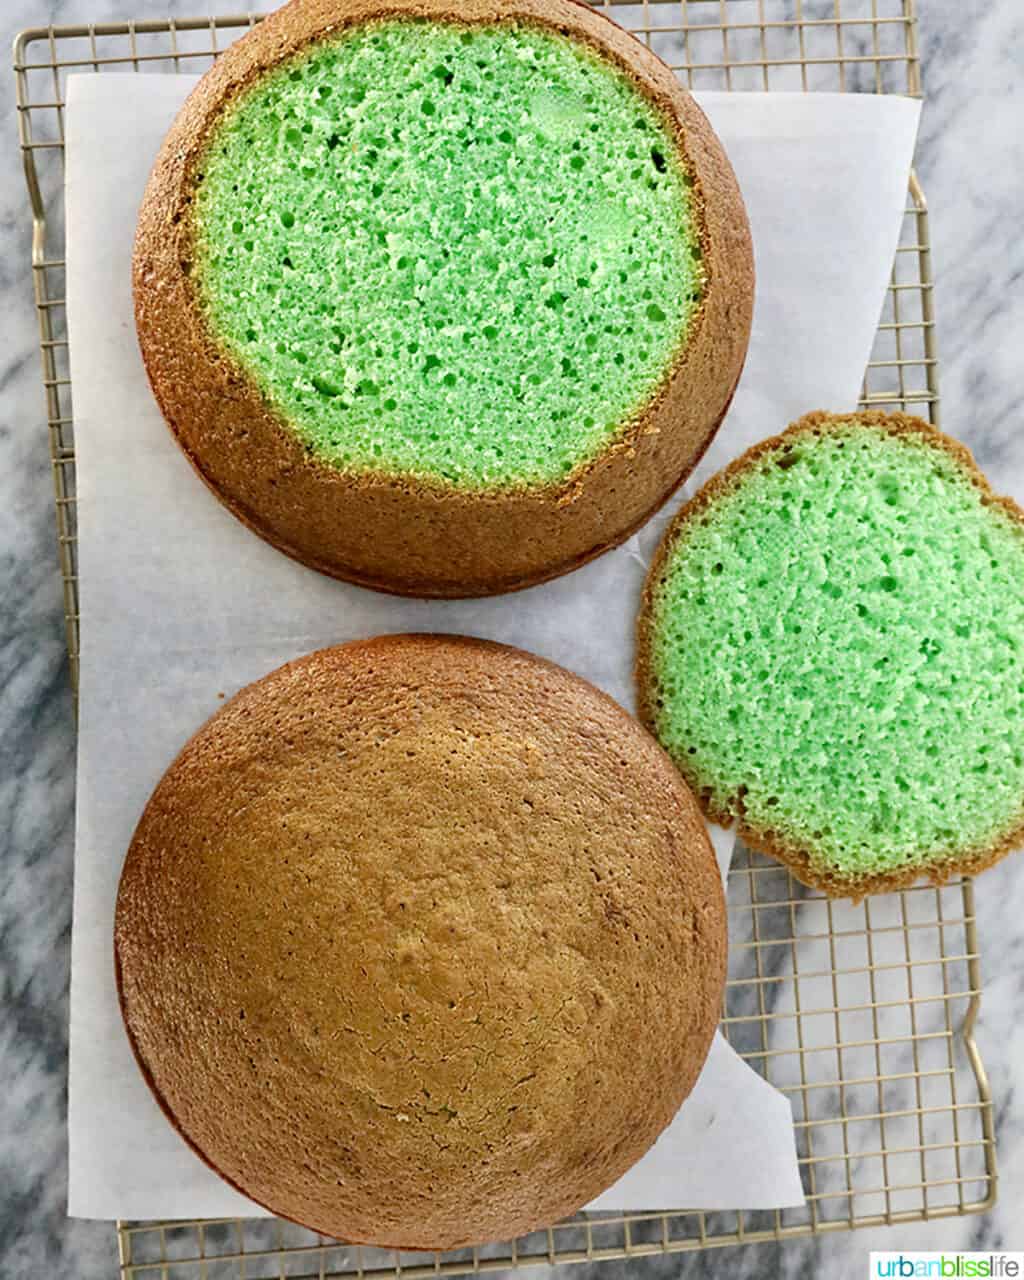
- If you would like, you can use a serrated knife to trim off the brown or golden edges of the cake so that you only see the bright green center.
TIP: Be sure to save those edges and use them to make cake pops or trifles!
You can also leave the brown edges on - there's no harm, other than you'll see a thin layer of brown when you slice into the cake. We didn't care so much about that (because a cake is a cake and it all tastes the same!), so you'll see some bits of brown edge peeking out in some of our photos here.
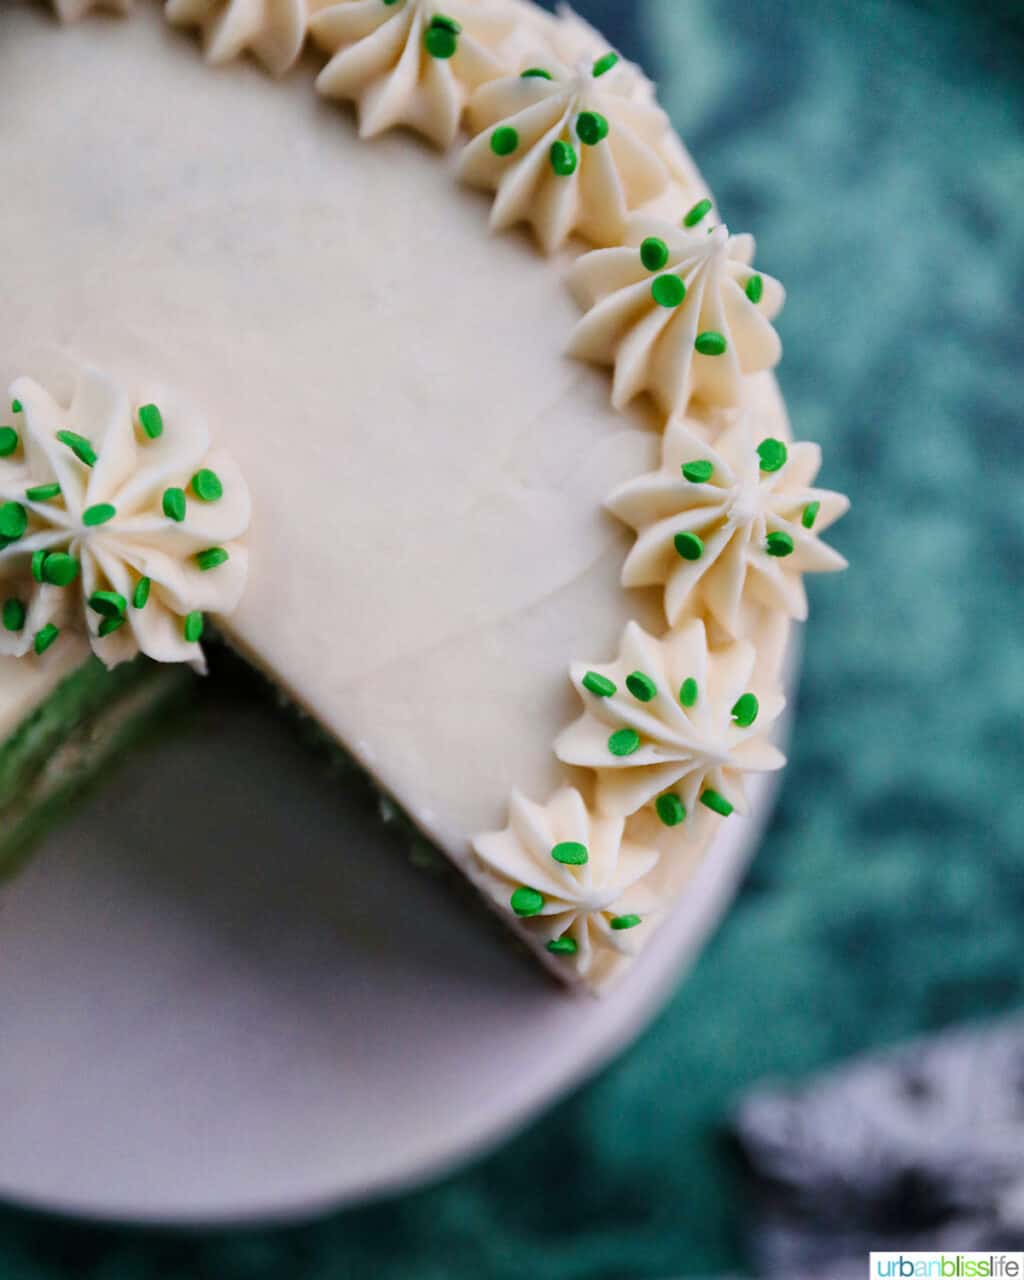
- Use an offset spatula and bench scraper to decorate your cake.
- TIP: for frosting coverage that you see here, I made two batches of the cream cheese frosting recipe.
This makes enough to fully cover the cakes outside and provide a nice thick middle layer of frosting, and more to pipe on top of the cake, as I did here. I usually end up with extra frosting.
For frosting tips, please read this post dedicated to Cream Cheese Frosting.
Cake Storage Tips & FAQs
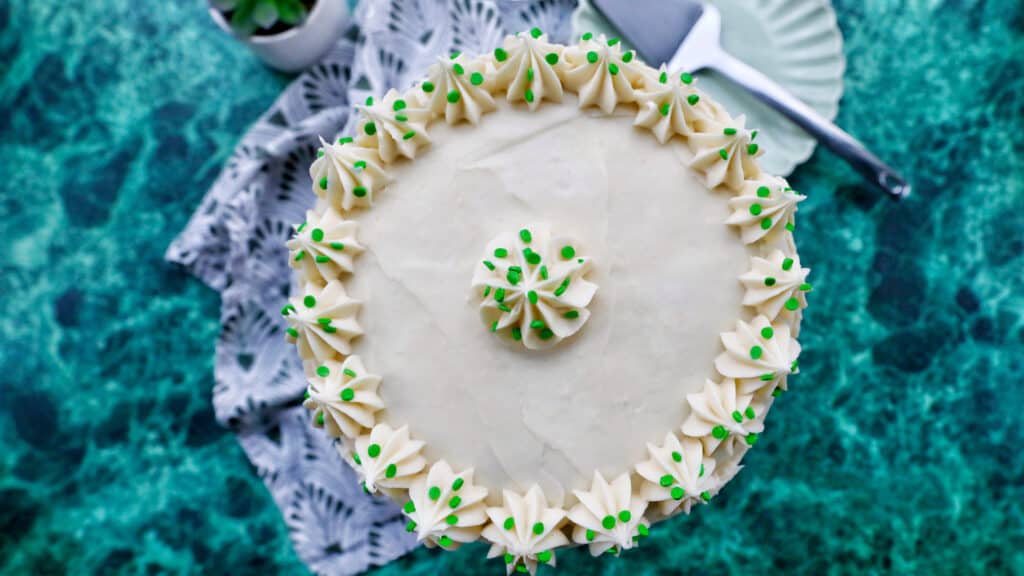
If you cover unfrosted cake layers, they will stay fresh at room temperature for three to four days after baking. After that, they start to dry out.
A frosted cake will stay fresh for a few days longer if wrapped in plastic wrap and refrigerated. The frosting will help seal in the moisture in the cake.
You can store frosted cakes on a cake plate with cover at room temperature for four to five days.
Chill frosted cakes in the refrigerator for 15 minutes to allow the frosting to harden a bit. Then cover the entire frosted cakes with plastic wrap and refrigerate
Once sliced, wrap each individual slice with plastic wrap. You can store wrapped slices at room temperature for about three days before they start to lose moisture.
Cakes that are made with oil, such as this green velvet cake recipe, will keep for a few days longer than cakes that are made with butter.
What to serve with this cake
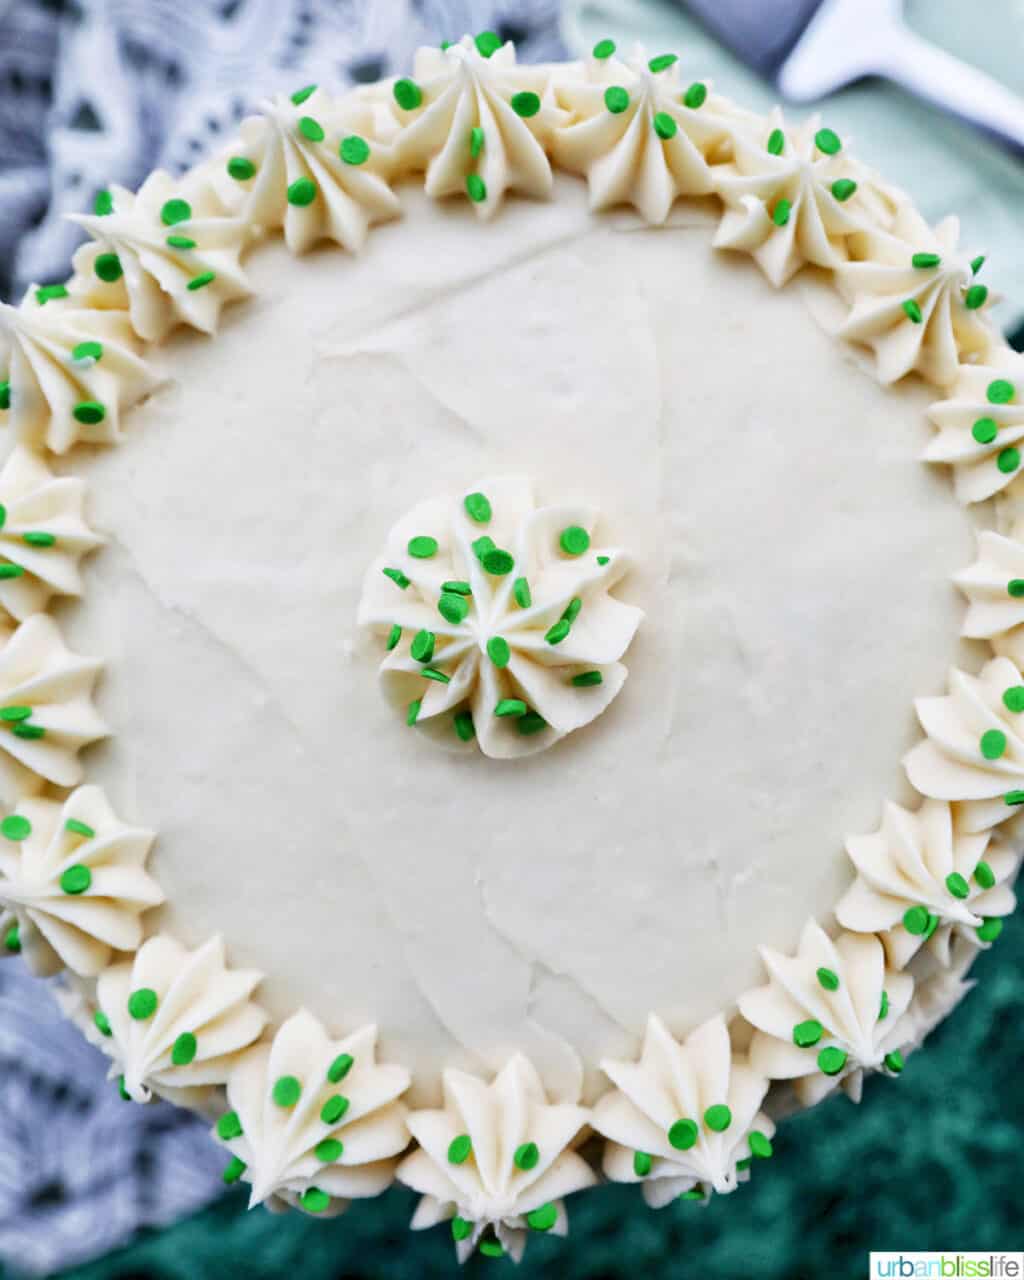
This green velvet cake is perfect for fun, vibrant, green-centered holidays, like St. Patrick's Day, Christmas, and Easter.
For St. Patrick's Day, serve this cake as the gorgeous finale to a dinner of Irish Lamb Stew. Or serve it along with homemade Shamrock Shakes.
If you're serving this as a Christmas cake, enjoy this with Garlic Rosemary Beef Roast and Potatoes.
This cake is beautiful on any Easter table, too, along with these Hard-Boiled Egg Appetizers and Pan-Seared Salmon.
More dessert recipes
- Chocolate Chip Cupcakes with Cookie Dough Frosting
- Easy Vegan Chocolate Cake with Vegan Chocolate Frosting
- Mini Citrus Bundt Cakes
- How to Make an Ombre Cake
- Mini Gingerbread Bundt Cakes
Green Velvet Cake Recipe
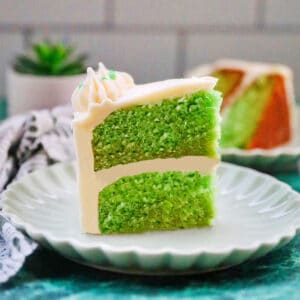
Green Velvet Cake with Cream Cheese Frosting
Equipment
Ingredients
For the Green Velvet Cake
- 2½ cups all-purpose flour
- 1 teaspoon baking soda
- 1 teaspoon baking powder
- ½ teaspoon salt
- 1½ cups granulated sugar
- 1½ cups vegetable oil
- 3 large eggs, at room temperature
- 2 teaspoons vanilla extract
- 1 cup buttermilk
- 1 Tablespoon green food coloring, about 20 to 30 drops
For the Cream Cheese Frosting
- ½ cup (1 stick) unsalted butter, softened at room temperature
- 8 ounces (1 package) cream cheese, softened at room temperature
- 1 teaspoon vanilla extract
- ¼ teaspoon kosher salt
- 4 cups sifted powdered sugar
Instructions
Make the Green Velvet Cake
- Preheat oven to 350°F. Line two 8-inch cake pans with parchment paper and set aside.
- In a large bowl, whisk together flour, baking soda, baking powder, and salt.
- In a separate large bowl, whisk together the sugar and vegetable oil until combined. Then whisk in the eggs, one at a time, until combined. Whisk in the vanilla.
- Slowly whisk in ⅓ of the flour mixture then ⅓ of the buttermilk until combined. Then repeat twice, alternating the flour mixture and the buttermilk mixture, until everything is combined.
- Then whisk in the green food coloring. Start by adding about 10 drops, whisking, then adding more as needed until the color reaches the color of green you like. For me, that's usually between 20 and 30 drops.
- Pour the batter evenly between the two prepared cake pans. Bake at 350°F for 30 to 40 minutes, until a toothpick inserted into the center of the cakes comes out clean. While the cakes are baking, make the frosting.
Make the Cream Cheese Frosting
- In a stand mixer using the paddle attachment (or using a hand mixer and a large bowl) cream the butter and cream cheese together until light yellow and fluffy, about 3 to 5 minutes. Use a spatula to scrape down the sides as needed.
- Beat in the salt and vanilla.
- Then beat the powdered sugar in, one cup at a time, until fully combined, scraping the sides down with a spatula as needed. Set aside until the cakes are done baking. (See NOTES for helpful tips.)
Cooling Time
- Once the cakes are done, remove from the oven and allow the cakes to cool in the pans for about 20 minutes. Then invert the cake pans onto a cooling rack and allow the cakes to cool at room temperature until completely cooled.
Assemble
- Once the cakes are cool, use an offset spatula to spread the frosting over the cakes. Decorate as you wish!
Notes
- Make sure your eggs, butter, and cream cheese are all at room temperature before you start baking. Take them out of the refrigerator about 30 minutes before you are ready to start.
- If your frosting is too thin, add more powdered sugar.
- If your frosting is too thick, add a little milk, one tablespoon at a time.
- Make sure the cakes are completely cool before frosting. You can also refrigerate the cakes before frosting them.
Nutrition
Nutrition information is a general estimate. Actual nutrition details may vary depending on the exact foods & brands you use to make this recipe. It does not take into account any substitutions, toppings, or optional ingredients.
Baking Troubleshooting
As with most baking recipes, especially cake recipes, there are many, many influencing factors that play a role in how your cake turns out.
Room temperature that is too hot or too cold, humidity in the air, older leavening agents, and the exact brand of baking products you use will affect the final outcome.
We've made this cake several times, tweaking the recipe along the way, to ensure the best result. The recipe in this post has been the winning recipe for us!
If you're having issues making this - or any of the recipes on this blog - please feel free to email me at info @ urbanblisslife.com. I'm happy to try to help!
Pin it


Irena says
Wow, amazing cake for a fun,green-themed birthday party or St Patrick's Day. We used this recipe to make a green caterpillar made out of cupcakes. Just changed the cooking time.
Erin says
This green velvet layered cake is a sweet treat and is a great addition to your St. Patrick's day meal.
Emily says
I can't get over the vibrant green color and amazing texture of this cake! So delicious and everyone loved it at the St. Patrick's Day potluck at work!
Tara says
Such a beautiful cake and so perfect for St. Patrick's Day! I love that vibrant green color.
Michele says
OMG! This was so good. We had a St Patrick's Day party last night and I made this cake for dessert, and it was a hit! Everyone loved it and there were no leftovers. Thanks for a delicious recipe.